

Ziplock bag creative hacks – who knew these everyday kitchen staples could be your secret weapon for a thriving home and garden? I’m always on the lookout for clever ways to simplify my life, and let me tell you, I’ve stumbled upon some game-changing uses for ziplock bags that go way beyond storing leftovers!
For generations, resourceful gardeners have sought innovative solutions to nurture their plants. Think about it – from ancient civilizations using clay pots to modern-day hydroponics, the drive to cultivate life has always sparked creativity. Now, we’re adding a new chapter to that story with the humble ziplock bag.
Are you tired of struggling with seed starting? Do you want to protect your delicate seedlings from unexpected frost? Or maybe you’re just looking for a budget-friendly way to propagate your favorite plants? Then you’re in the right place! These ziplock bag creative hacks are not only incredibly easy, but they’re also surprisingly effective. I’m going to show you how to transform these simple bags into mini-greenhouses, seed-starting stations, and even pest-control devices. Get ready to unlock the full potential of your garden with these simple, yet brilliant, DIY tricks!
Creative Ziplock Bag Hacks: Beyond Food Storage!
Hey there, fellow DIY enthusiasts! I’m always on the lookout for clever ways to repurpose everyday items, and let me tell you, the humble ziplock bag is a goldmine of potential. Forget just storing leftovers; these versatile bags can be transformed into so much more! I’m going to share some of my favorite ziplock bag hacks that will save you time, money, and maybe even a little sanity.
Hack 1: Sous Vide Cooking Without the Fancy Equipment
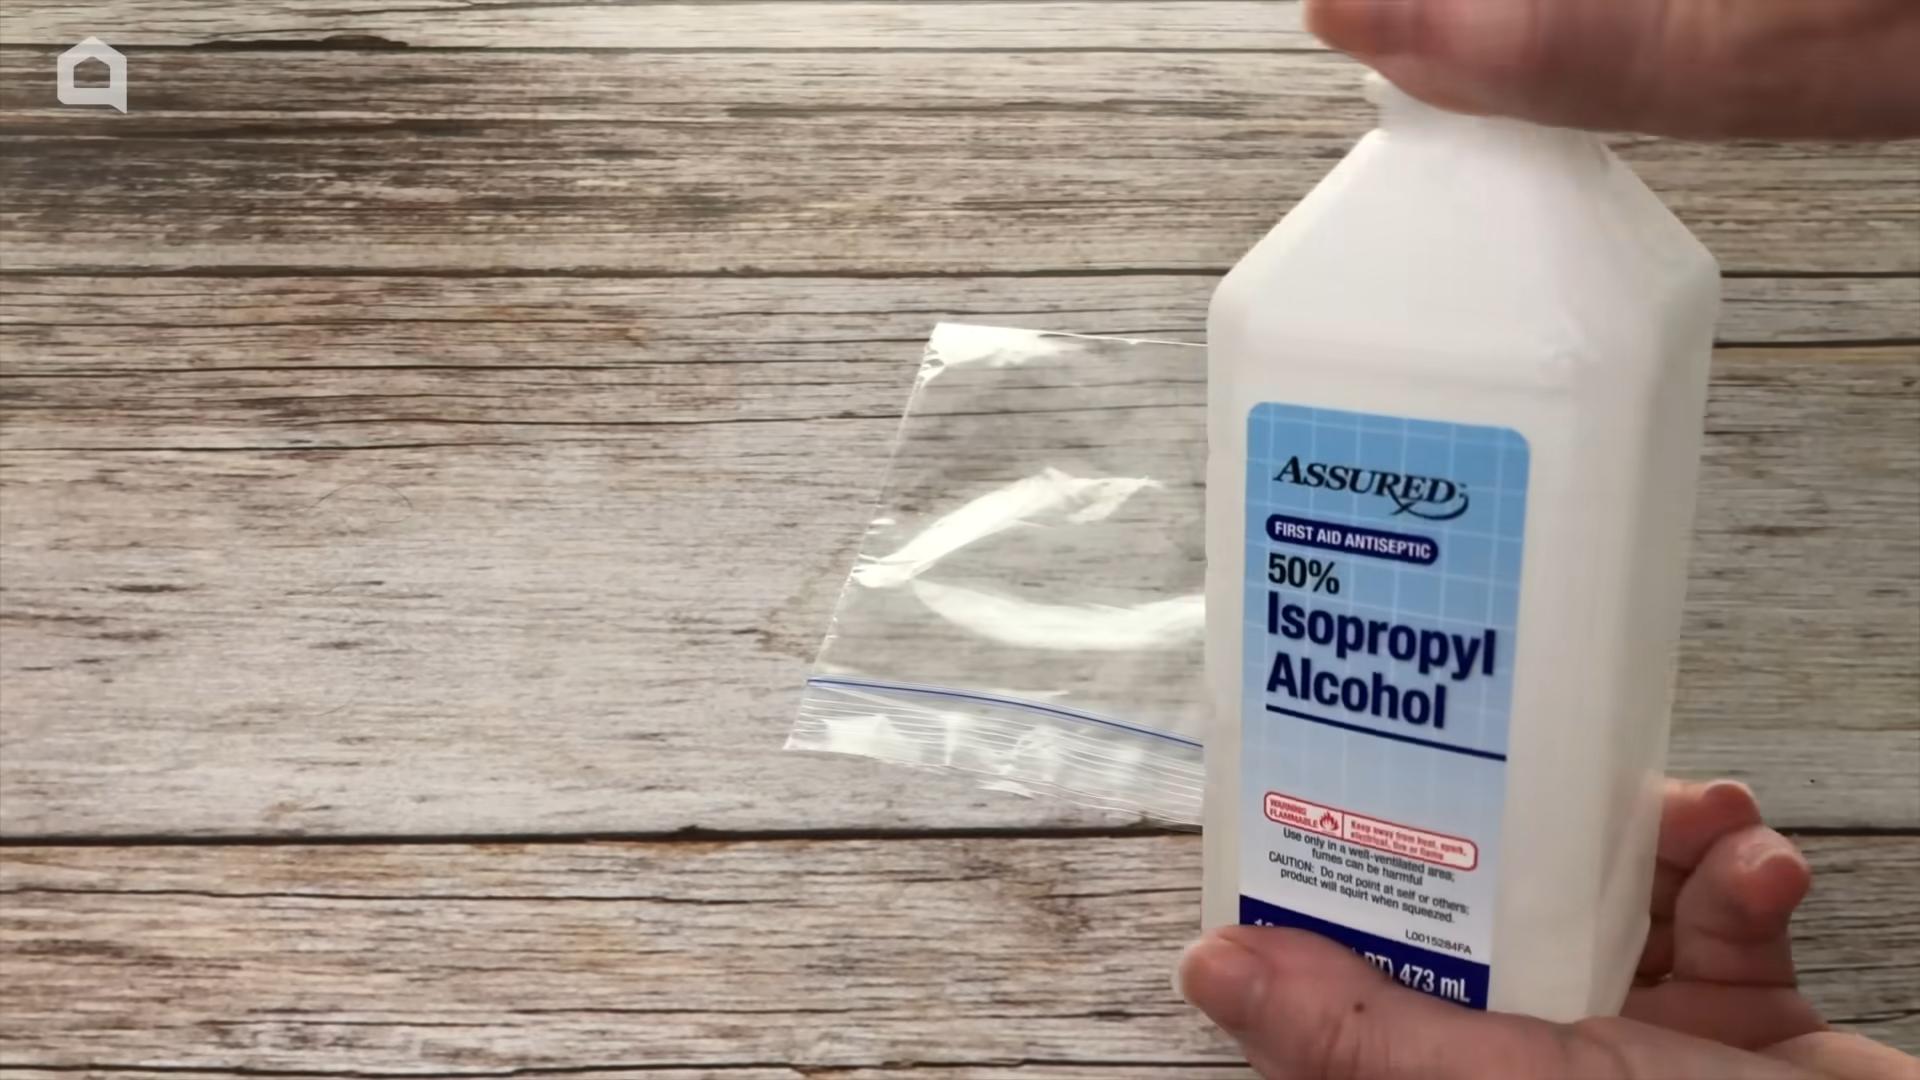
Okay, so sous vide cooking sounds super fancy, right? But the principle is simple: cooking food in a precisely controlled water bath. You don’t need an expensive immersion circulator to achieve this at home. Ziplock bags to the rescue!
What You’ll Need:
* Ziplock bags (gallon-sized, freezer-safe are best)
* A large pot or container
* Water
* A thermometer
* Your food of choice (steak, chicken, veggies – anything goes!)
Step-by-Step Instructions:
1. Prep Your Food: Season your food as you normally would. If you’re using herbs or spices, now’s the time to add them. For meats, consider a quick sear before bagging to develop some extra flavor.
2. Bag It Up: Place your seasoned food into the ziplock bag. Try to arrange it in a single layer for even cooking.
3. The Water Displacement Method: This is key to removing air from the bag. Fill your pot or container with water. Slowly lower the bag into the water, leaving the top unsealed. The water pressure will force the air out.
4. Seal the Deal: Once most of the air is out, carefully seal the bag. You want as little air as possible inside.
5. Temperature Control: Use your thermometer to monitor the water temperature. Aim for the specific temperature recommended for your food. For example, a medium-rare steak might require a water temperature of 130-135°F (54-57°C).
6. Cook Time: Cooking times vary depending on the food and thickness. Research the recommended sous vide cooking time for your chosen ingredients.
7. Maintain the Temperature: You’ll need to maintain the water temperature throughout the cooking process. You can do this by adding hot water as needed or using a stovetop on very low heat.
8. Finishing Touches: Once cooked, remove the food from the bag. Pat it dry with paper towels. For meats, a quick sear in a hot pan will give it a beautiful crust.
Important Notes:
* Always use freezer-safe ziplock bags for sous vide cooking. Regular bags might not withstand the heat.
* Make sure the bag is properly sealed to prevent water from entering.
* Monitor the water temperature closely to ensure even cooking.
Hack 2: Travel-Sized Toiletries on the Go
Traveling light is my motto, but those tiny travel-sized toiletries can be so expensive! Here’s how I create my own using ziplock bags.
What You’ll Need:
* Small ziplock bags (snack-sized or sandwich-sized)
* Your favorite shampoo, conditioner, lotion, etc.
* A permanent marker
* Scissors (optional)
Step-by-Step Instructions:
1. Choose Your Products: Decide which toiletries you want to bring.
2. Fill the Bags: Carefully pour a small amount of each product into a separate ziplock bag. Don’t overfill! Leave some room for sealing.
3. Seal Tightly: Press out any excess air and seal the bags tightly.
4. Label Everything: Use a permanent marker to label each bag clearly. This is crucial to avoid any confusion later.
5. Reinforce the Seal (Optional): For extra security, you can use a small piece of tape to reinforce the seal.
6. Pack Smart: Place all the filled bags into a larger ziplock bag to contain any potential leaks.
Pro Tip:
* For thicker products like creams or gels, you can use a small spoon or spatula to transfer them into the bags.
* Consider using different colored bags for different types of products to make them easier to identify.
Hack 3: Piping Bag Substitute for Cake Decorating
Don’t have a piping bag? No problem! A ziplock bag can work in a pinch for simple cake decorating.
What You’ll Need:
* Ziplock bag (sandwich-sized or quart-sized)
* Frosting or icing
* Scissors
* Piping tip (optional)
Step-by-Step Instructions:
1. Prepare the Bag: If you’re using a piping tip, cut a small corner off the ziplock bag. Insert the piping tip into the hole. If you’re not using a tip, just cut a very small corner off the bag.
2. Fill the Bag: Spoon your frosting or icing into the bag. Don’t overfill it, as it will be difficult to control.
3. Seal and Squeeze: Twist the top of the bag to seal it. Gently squeeze the bag to pipe the frosting.
4. Practice Makes Perfect: Practice piping on a plate or piece of parchment paper before decorating your cake.
Tips for Success:
* Use a sturdy ziplock bag to prevent it from bursting.
* Cut a very small hole to start. You can always make it bigger if needed.
* Apply even pressure to the bag for consistent piping.
Hack 4: Phone Protection from Water Damage
Heading to the beach or pool? Protect your phone from water damage with a ziplock bag.
What You’ll Need:
* Ziplock bag (sandwich-sized or quart-sized, depending on your phone size)
Step-by-Step Instructions:
1. Insert Your Phone: Place your phone inside the ziplock bag.
2. Seal Tightly: Press out any excess air and seal the bag tightly.
3. Test the Touchscreen: You should still be able to use your phone’s touchscreen through the bag.
4. Enjoy Your Water Activities: Now you can relax and enjoy your time without worrying about water damage.
Important Considerations:
* This is a temporary solution and not a substitute for a waterproof phone case.
* Be careful not to submerge the bag completely in water.
* Check the bag for any holes or tears before using it.
Hack 5: Marinating Made Easy (and Less Messy!)
Marinating in a ziplock bag is a game-changer. It’s less messy than using a bowl, and it ensures that the marinade coats the food evenly.
What You’ll Need:
* Ziplock bag (gallon-sized, freezer-safe)
* Your marinade of choice
* Your food of choice (meat, chicken, fish, veggies)
Step-by-Step Instructions:
1. Place Food in Bag: Put your food into the ziplock bag.
2. Pour in Marinade: Pour the marinade over the food.
3. Seal and Massage: Seal the bag, pressing out any excess air. Gently massage the bag to ensure that the marinade coats all sides of the food.
4. Refrigerate: Place the bag in the refrigerator and let it marinate for the recommended time.
5. Turn Occasionally: Turn the bag occasionally to ensure even marinating.
Why This Works:
* The bag keeps the marinade contained, preventing spills and messes.
* The close contact between the food and the marinade ensures maximum flavor absorption.
* It takes up less space in the refrigerator than a bowl.
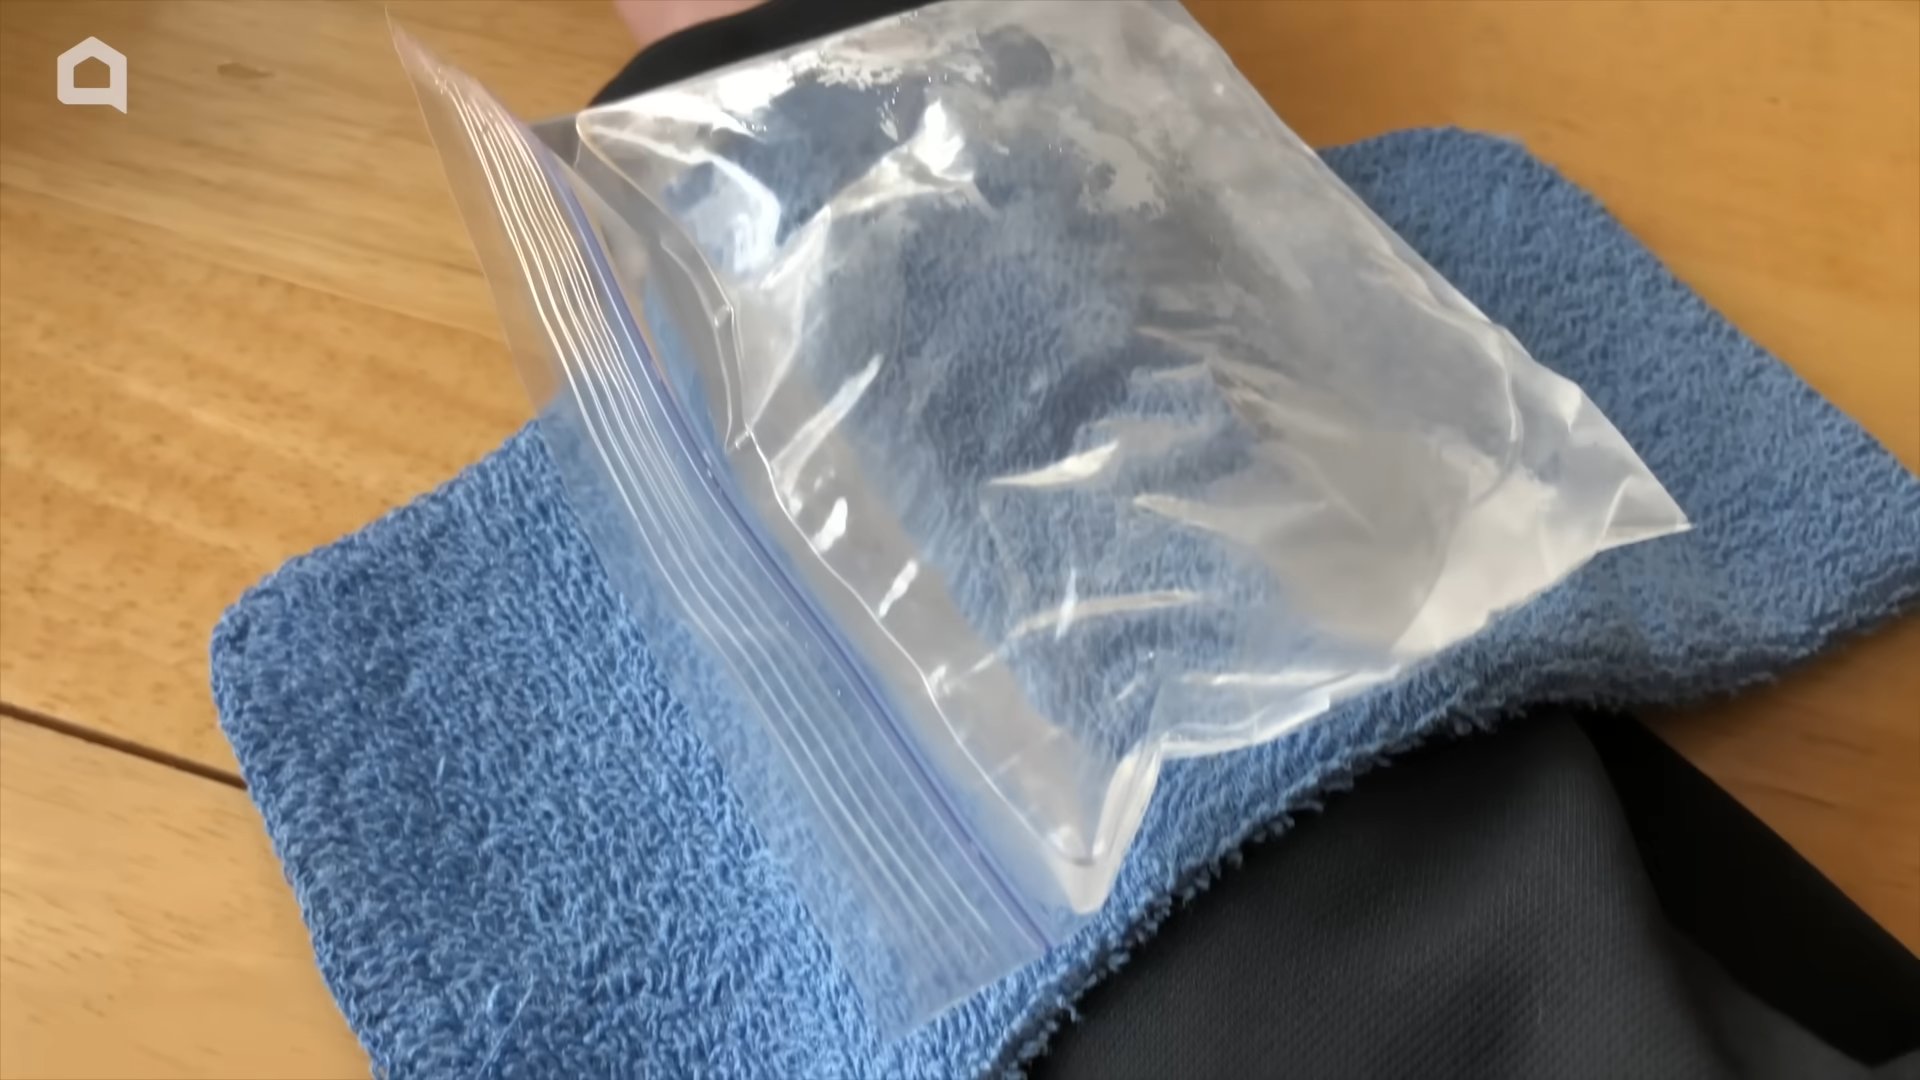
Hack 6: Ice Pack on the Fly
Need an ice pack in a hurry? A ziplock bag filled with ice and water is a quick and easy solution.
What You’ll Need:
* Ziplock bag (quart-sized or gallon-sized)
* Ice
* Water
* A towel or cloth
Step-by-Step Instructions:
1. Fill the Bag: Fill the ziplock bag with ice and a small amount of water. The water helps to make the ice pack more pliable.
2. Seal Tightly: Press out any excess air and seal the bag tightly.
3. Wrap in a Towel: Wrap the ice pack in a towel or cloth to protect your skin from direct contact with the ice.
4. Apply to Affected Area: Apply the ice pack to the affected area for 15-20 minutes at a time.
Important Safety Tip:
* Never apply ice directly
Conclusion
So, there you have it! Transforming the humble Ziplock bag into a versatile tool for organization, cooking, and even emergency situations is not just a clever idea; it’s a game-changer. We’ve explored a range of creative hacks, from sous vide cooking to creating makeshift piping bags, all demonstrating the incredible potential hidden within these everyday items. Why spend money on specialized gadgets when a simple Ziplock bag can often do the trick, and sometimes even better?
The beauty of these DIY tricks lies in their simplicity and accessibility. You likely already have a box of Ziplock bags tucked away in your kitchen, waiting to be unleashed. No need for fancy equipment or specialized skills; just a little ingenuity and a willingness to experiment. And that’s precisely what makes these hacks so appealing. They empower you to be resourceful, creative, and ultimately, more efficient in your daily life.
But the real magic happens when you start to personalize these ideas. Perhaps you’ll discover a new way to use a Ziplock bag for marinating meats, infusing oils, or even creating unique ice packs for injuries. The possibilities are truly endless. Consider using different sizes of bags for various tasks. For example, gallon-sized bags are perfect for larger projects like storing bulky items or marinating a whole chicken, while snack-sized bags are ideal for portioning out nuts, seeds, or small craft supplies. You can even explore using freezer bags for added durability when dealing with sharp objects or extreme temperatures.
Don’t be afraid to get creative with your materials, too. While standard Ziplock bags are a great starting point, you might find that reusable silicone bags offer a more sustainable and durable alternative for certain applications. These bags are often dishwasher-safe and can withstand higher temperatures, making them perfect for sous vide cooking or storing hot leftovers.
We strongly encourage you to try out these **Ziplock bag creative hacks** and see for yourself how much they can simplify your life. Start with one or two that resonate with you and gradually explore the others. You might be surprised at how quickly you become a Ziplock bag aficionado!
And most importantly, we want to hear about your experiences! Share your own Ziplock bag hacks, tips, and variations in the comments below. Let’s create a community of resourceful individuals who are constantly finding new and innovative ways to utilize these everyday items. Your insights could inspire others and help us all unlock the full potential of the humble Ziplock bag. So go ahead, give it a try, and let us know what you discover! We can’t wait to see what you come up with.
FAQ
Are all Ziplock bags food-safe?
Not all Ziplock bags are created equal, especially when it comes to food safety. It’s crucial to check the packaging to ensure that the bags you’re using are specifically labeled as food-safe. These bags are typically made from polyethylene or polypropylene, which are considered safe for contact with food. Avoid using bags that are not explicitly marked as food-safe, as they may contain chemicals that could leach into your food. For cooking applications like sous vide, always opt for freezer bags, as they are thicker and more durable, reducing the risk of leaks and contamination.
Can I reuse Ziplock bags?
The reusability of Ziplock bags depends on what they were used for. If you used a bag to store dry goods like crackers or pretzels, it can likely be reused after a quick wash with soap and water. However, if you used a bag to store raw meat, poultry, or fish, it’s best to discard it to prevent the spread of bacteria. Similarly, bags that have been used to store greasy or oily foods may be difficult to clean thoroughly and should also be discarded. When reusing bags, inspect them carefully for any signs of damage, such as tears or punctures, and discard them if necessary. Reusable silicone bags are a great alternative if you’re looking for a more sustainable and durable option.
How do I clean Ziplock bags effectively?
Cleaning Ziplock bags can be a bit tricky, but it’s definitely doable. Start by rinsing the bag with warm water to remove any loose debris. Then, add a small amount of dish soap and fill the bag with water. Seal the bag and gently massage it to distribute the soap. Rinse the bag thoroughly with warm water until all traces of soap are gone. To dry the bag, you can either hang it upside down over a bottle or use a clothespin to clip it to a drying rack. Avoid using abrasive cleaners or scrub brushes, as they can damage the plastic. For stubborn stains or odors, try soaking the bag in a solution of baking soda and water for a few hours before washing.
Are Ziplock bags microwave-safe?
Whether or not a Ziplock bag is microwave-safe depends on the specific type of bag and the manufacturer’s recommendations. Some Ziplock bags are specifically designed for microwave use and will be labeled accordingly. These bags are typically made from heat-resistant materials that can withstand the temperatures of a microwave oven. However, it’s important to note that even microwave-safe bags should not be used for prolonged cooking or heating at high temperatures. Always follow the manufacturer’s instructions carefully. If you’re unsure whether a particular bag is microwave-safe, it’s best to err on the side of caution and use a microwave-safe container instead.
Can I use Ziplock bags for sous vide cooking?
Yes, Ziplock bags can be used for sous vide cooking, but it’s important to choose the right type of bag and follow proper safety precautions. Freezer bags are the best option for sous vide, as they are thicker and more durable than standard storage bags. Before using a Ziplock bag for sous vide, make sure it is BPA-free and food-safe. To remove air from the bag, you can use the water displacement method. Simply place the food in the bag, seal it almost completely, and then slowly lower the bag into a pot of water. The water pressure will force the air out of the bag. Once most of the air is removed, seal the bag completely. Ensure the bag is fully submerged during the cooking process. While Ziplock bags can work, vacuum-sealed bags are generally considered safer and more effective for sous vide cooking, as they provide a tighter seal and prevent water from entering the bag.
What are some alternative uses for Ziplock bags besides food storage?
Ziplock bags are incredibly versatile and can be used for a wide range of purposes beyond food storage. They’re great for organizing small items like jewelry, craft supplies, or travel toiletries. You can use them to protect delicate items from moisture or dust. They can also be used as makeshift piping bags for decorating cakes or cookies. In a pinch, a Ziplock bag can even serve as an ice pack for minor injuries. The possibilities are truly endless!
How can I reduce my environmental impact when using Ziplock bags?
While Ziplock bags are convenient, they can contribute to plastic waste. To reduce your environmental impact, consider using reusable silicone bags instead. These bags are durable, dishwasher-safe, and can be used for a variety of purposes. When using disposable Ziplock bags, try to reuse them whenever possible. Avoid using them for messy or greasy foods that are difficult to clean. You can also recycle Ziplock bags at designated plastic recycling centers. By making small changes to your usage habits, you can significantly reduce your environmental footprint.

Leave a Comment