

WD40 tool rust removal – sounds like a chore, right? But what if I told you that restoring your trusty tools to their former glory could be easier than you think, and all it takes is a can of WD40? We’ve all been there: you reach for your favorite wrench, only to find it’s sporting a lovely coat of rust. It’s frustrating, unsightly, and can seriously impact the tool’s performance.
For generations, resourceful individuals have sought clever ways to combat rust, a problem as old as metal itself. From ancient blacksmiths using natural oils to modern-day mechanics relying on chemical solutions, the battle against corrosion is a timeless one. But sometimes, the simplest solutions are the most effective.
That’s where WD40 comes in. This isn’t just about aesthetics; rust weakens metal, making your tools less reliable and potentially dangerous. By learning these simple WD40 tool rust removal tricks, you’ll not only extend the life of your valuable tools but also save money by avoiding costly replacements. I’m going to show you some easy DIY methods to get your tools looking and working like new again. Let’s get started and say goodbye to rust for good!
DIY Rust Removal with WD-40: A Comprehensive Guide
Hey there, fellow DIY enthusiasts! I’m excited to share my go-to method for tackling rust using the ever-reliable WD-40. Rust can be a real pain, especially when it starts to creep onto your favorite tools or equipment. But don’t worry, with a little elbow grease and WD-40, you can restore your items to their former glory. This guide will walk you through the process step-by-step, ensuring you get the best results.
What You’ll Need
Before we dive in, let’s gather all the necessary supplies. Having everything on hand will make the process smoother and more efficient.
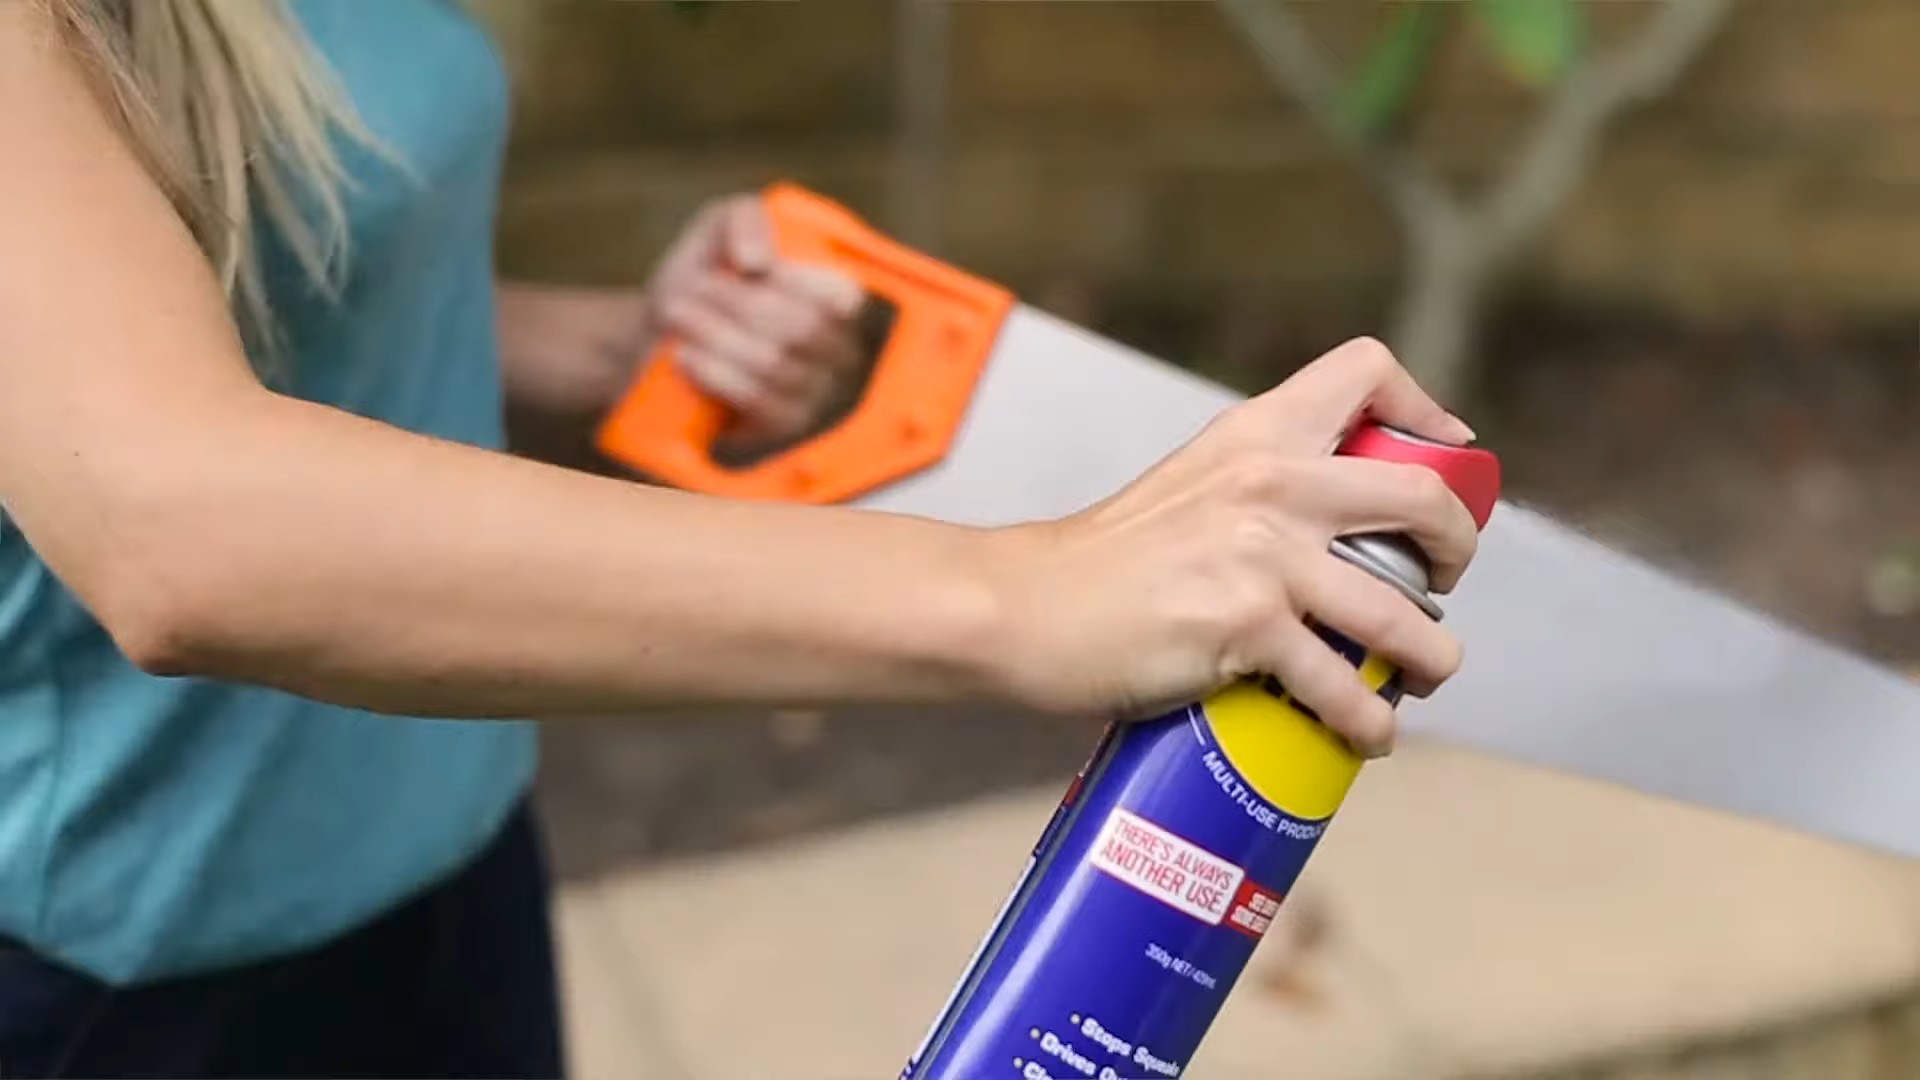
* **WD-40:** The star of the show! Make sure you have a can of WD-40 Multi-Use Product.
* **Wire Brush:** A sturdy wire brush is essential for scrubbing away loose rust. I prefer a brush with both steel and brass bristles for different levels of abrasion.
* **Sandpaper (Various Grits):** You’ll need sandpaper to smooth out the surface after removing the bulk of the rust. I recommend having a range of grits, from coarse (80-grit) to fine (400-grit).
* **Rags or Paper Towels:** For wiping away excess WD-40 and rust debris. Microfiber cloths work great too!
* **Safety Glasses:** Protecting your eyes is crucial when dealing with rust and metal particles.
* **Gloves:** To keep your hands clean and protected from sharp edges and chemicals.
* **Optional: Rust Converter/Primer:** If you want to prevent future rust, consider using a rust converter or primer after cleaning.
* **Optional: Steel Wool:** For delicate surfaces or intricate details, steel wool can be a gentler alternative to a wire brush.
* **Optional: Small Container:** If you’re working with small parts, a container to soak them in WD-40 can be helpful.
Step-by-Step Rust Removal Process
Now that we have our supplies, let’s get to work!
1. **Preparation is Key:**
* First, put on your safety glasses and gloves. Safety first!
* Find a well-ventilated area to work in. WD-40 has a distinct smell, so fresh air is your friend.
* Lay down some newspaper or a drop cloth to protect your work surface from rust and WD-40.
2. **Initial WD-40 Application:**
* Generously spray the rusted area with WD-40. Don’t be shy – you want to thoroughly saturate the rust.
* Let the WD-40 soak for at least 10-15 minutes. This allows it to penetrate the rust and loosen its grip on the metal. For heavily rusted items, you can even let it soak overnight.
3. **Scrubbing Away the Rust:**
* Grab your wire brush and start scrubbing the rusted area. Apply firm, even pressure.
* Work in small sections, focusing on areas with heavy rust buildup.
* You’ll notice the rust starting to flake off. Keep scrubbing until you’ve removed as much loose rust as possible.
* If you’re working with a delicate surface, use steel wool instead of a wire brush. Steel wool is less abrasive and will help prevent scratches.
4. **Wiping and Reapplication:**
* Use a rag or paper towel to wipe away the loosened rust and excess WD-40.
* Inspect the area. If there’s still rust remaining, reapply WD-40 and let it soak for another 10-15 minutes.
* Repeat the scrubbing and wiping process until you’ve removed as much rust as possible with the wire brush or steel wool.
5. **Sanding for a Smooth Finish:**
* Once you’ve removed the bulk of the rust, it’s time to smooth out the surface with sandpaper.
* Start with a coarse grit sandpaper (80-grit or 120-grit) to remove any remaining rust and imperfections.
* Sand in a back-and-forth motion, applying even pressure.
* After sanding with the coarse grit, switch to a medium grit sandpaper (220-grit) to further smooth the surface.
* Finally, finish with a fine grit sandpaper (320-grit or 400-grit) to create a smooth, polished finish.
* Remember to wipe away any sanding dust with a clean rag between each grit.
6. **Final Cleaning and Inspection:**
* Thoroughly clean the area with a clean rag and WD-40 to remove any remaining rust particles and sanding dust.
* Inspect the surface carefully. If you’re satisfied with the results, you can move on to the next step. If not, repeat the sanding process as needed.
7. **Protecting Against Future Rust (Optional):**
* To prevent future rust, consider applying a rust converter or primer.
* Rust converters chemically convert the remaining rust into a stable compound, preventing it from spreading.
* Primers create a protective barrier that prevents moisture and oxygen from reaching the metal surface.
* Follow the manufacturer’s instructions for applying the rust converter or primer.
* After the rust converter or primer has dried, you can apply a coat of paint to further protect the metal and give it a finished look.
Dealing with Stubborn Rust
Sometimes, rust can be particularly stubborn and difficult to remove. Here are a few tips for dealing with those tough spots:
* **Extended Soaking:** If the rust is heavily embedded, try soaking the item in WD-40 for an extended period, even overnight. This will give the WD-40 more time to penetrate the rust and loosen its grip.
* **WD-40 Specialist Rust Remover Soak:** For extremely stubborn rust, consider using WD-40 Specialist Rust Remover Soak. This product is specifically designed to dissolve rust and can be more effective than regular WD-40. Follow the instructions on the product label.
* **Heat Application:** Applying heat to the rusted area can help loosen the rust. You can use a heat gun or a hairdryer, but be careful not to overheat the metal. After applying heat, immediately spray the area with WD-40 and scrub with a wire brush.
* **Electrolysis:** For larger items or heavily rusted objects, electrolysis can be a very effective rust removal method. This involves using an electric current to remove the rust. However, electrolysis requires some specialized equipment and knowledge, so it’s best to research the process thoroughly before attempting it.
Tips for Specific Tools and Items
* **Rusty Screws and Bolts:** Spray the screw or bolt head with WD-40 and let it soak for a few minutes. Then, use a screwdriver or wrench to try to loosen it. If it’s still stuck, try tapping the screw or bolt head with a hammer to help break the rust bond.
* **Rusty Garden Tools:** Clean your garden tools regularly to prevent rust buildup. After each use, wipe them down with a rag and apply a light coat of WD-40. Store them in a dry place.
* **Rusty Bike Chains:** Spray the bike chain with WD-40 and let it soak for a few minutes. Then, use a chain brush to scrub away the rust. Wipe the chain clean and apply a chain lubricant to protect it from future rust.
* **Rusty Car Parts:** Removing rust from car parts can be tricky, especially if the rust is severe. For surface rust, you can use the methods described above. However, for more serious rust, you may need to consult a professional.
Important Considerations
* **Ventilation:** Always work in a well-ventilated area when using WD-40 or other chemicals.
* **Safety Gear:** Wear safety glasses and gloves to protect your eyes and hands.
* **Flammability:** WD-40 is flammable, so keep it away from open flames and heat sources.
* **Surface Compatibility:** Test WD-40 on an inconspicuous area before applying it to the entire surface, especially if you’re working with delicate materials.
* **Disposal:** Dispose of used rags and sandpaper properly.
Why WD-40 Works for Rust Removal
WD-40 is effective for rust removal because it’s a penetrating oil that can loosen the bond between the rust and the metal surface. It also contains solvents that help dissolve the rust. While WD-40 isn’t a dedicated rust converter, its lubricating and penetrating properties make it a great first step in the rust removal process. It helps to break down the rust, making it easier to scrub away with a wire brush or sandpaper.
I hope this guide has been helpful! Remember, patience and persistence are key when it comes to rust removal. With a little effort and the power of WD-40, you can restore your rusty items to their former glory. Happy DIY-ing!
Conclusion
So, there you have it! This simple yet incredibly effective WD40 tool rust removal trick is a game-changer for anyone who values their tools and wants to keep them in tip-top shape without breaking the bank. Forget expensive rust removers and laborious scrubbing; WD40 offers a fast, efficient, and readily available solution.
Why is this a must-try? Because it saves you time, money, and effort. Imagine spending hours scrubbing away at stubborn rust, only to achieve mediocre results. With WD40, you can achieve professional-level rust removal with minimal effort. Plus, it’s a preventative measure! Regularly treating your tools with WD40 can help prevent rust from forming in the first place, extending their lifespan and ensuring they’re always ready for the job.
Looking for variations? Consider using a wire brush or steel wool for particularly stubborn rust after the WD40 has had time to penetrate. For delicate tools, a soft cloth or even a toothbrush can be used to gently remove the loosened rust. You can also experiment with different soaking times depending on the severity of the rust. For heavily rusted tools, an overnight soak might be necessary. Another variation is to use WD40 Specialist Rust Remover Soak for even more powerful rust removal on heavily corroded items. This product is specifically formulated to dissolve rust and can be a great option for tools that are severely affected.
Don’t just take our word for it! We wholeheartedly encourage you to try this WD40 tool rust removal method on your own rusty tools. You’ll be amazed at the results. It’s a simple process that yields significant improvements in the appearance and functionality of your tools.
We’re confident that you’ll find this DIY trick to be a valuable addition to your tool maintenance routine. Once you’ve experienced the magic of WD40 in removing rust, you’ll wonder why you didn’t try it sooner.
We’d love to hear about your experiences! Share your before-and-after photos and any tips or variations you discover in the comments below. Let’s build a community of tool enthusiasts who are dedicated to keeping their equipment in the best possible condition. Your insights could help others discover the power of WD40 and its rust-busting capabilities. So go ahead, give it a try, and let us know what you think! We are sure you will be amazed at how well WD40 works for tool rust removal.
Frequently Asked Questions (FAQ)
What exactly is WD40, and why does it work for rust removal?
WD40 is a water-displacing spray that contains a blend of lubricants, solvents, and corrosion inhibitors. Its effectiveness in rust removal stems from its ability to penetrate rust, loosen the bond between the rust and the metal surface, and displace moisture that contributes to further corrosion. The solvents in WD40 help to dissolve the rust, while the lubricants provide a protective layer to prevent future rust formation. It’s not a dedicated rust converter, but it’s excellent for loosening and removing surface rust.
Is WD40 safe to use on all types of tools?
Generally, WD40 is safe to use on most metal tools, including those made of steel, iron, and aluminum. However, it’s always a good idea to test it on a small, inconspicuous area first, especially if you’re dealing with antique or delicate tools. Avoid using WD40 on tools with rubber or plastic components, as it can degrade these materials over time. If your tool has wooden handles, be careful not to saturate the wood, as it can cause swelling or warping.
How long should I let WD40 soak on the rusty tool?
The soaking time depends on the severity of the rust. For light surface rust, 15-30 minutes may be sufficient. For more stubborn rust, you may need to let the WD40 soak for several hours or even overnight. The longer the WD40 has to penetrate the rust, the easier it will be to remove. Check the tool periodically to see if the rust is loosening.
What’s the best way to remove the loosened rust after soaking in WD40?
After soaking, you can use a variety of tools to remove the loosened rust. A wire brush is effective for removing heavy rust from durable tools. Steel wool can be used for more delicate tools or for removing rust from intricate areas. A soft cloth or toothbrush can be used for light rust or for polishing the tool after cleaning. Always wear gloves and eye protection when removing rust.
Can I use WD40 to prevent rust from forming in the first place?
Yes! WD40 is an excellent preventative measure against rust. After cleaning your tools, spray them with a light coat of WD40 and wipe off the excess. This will create a protective barrier that prevents moisture and oxygen from reaching the metal surface, thus inhibiting rust formation. Reapply WD40 periodically, especially after using your tools in wet or humid conditions.
Are there any alternatives to WD40 for rust removal?
Yes, there are several alternatives to WD40 for rust removal, including:
* **Vinegar:** Soaking tools in white vinegar can dissolve rust, but it may take several hours or even days.
* **Citric acid:** Citric acid is a more potent rust remover than vinegar and can be used in a similar way.
* **Commercial rust removers:** These products are specifically formulated to remove rust and can be very effective, but they may also be more expensive and contain harsh chemicals.
* **Electrolysis:** This method uses an electric current to remove rust and is best suited for larger or heavily rusted items.
However, WD40 is often the most convenient and readily available option for light to moderate rust removal.
How do I dispose of WD40 safely?
WD40 is flammable and should be disposed of properly. Do not pour it down the drain or into the environment. Check with your local waste management authority for information on how to dispose of hazardous waste in your area. You can also take it to a hazardous waste collection center.
What if WD40 doesn’t completely remove all the rust?
If WD40 doesn’t completely remove all the rust, you may need to repeat the process or try a different rust removal method. For stubborn rust, consider using a commercial rust remover or a more abrasive cleaning tool, such as a wire brush or steel wool. You can also try soaking the tool in WD40 for a longer period of time. In some cases, you may need to accept that some rust is permanent, especially on older or heavily corroded tools.
Can I use WD40 on power tools?
Yes, you can use WD40 on power tools, but be careful not to get it on electrical components. Disconnect the power tool from the power source before applying WD40. Use a cloth to apply WD40 to the metal parts of the tool, avoiding the motor and any electrical connections. Wipe off any excess WD40 before using the tool.
Is WD40 the same as a rust converter?
No, WD40 is not a rust converter. A rust converter chemically changes the rust into a stable, paintable surface. WD40, on the other hand, primarily works by penetrating and loosening the rust, making it easier to remove. While WD40 can help prevent future rust formation, it doesn’t convert existing rust into a protective coating like a rust converter does. For heavily rusted items, you may want to use a rust converter after removing the loose rust with WD40.

Leave a Comment