

Vinegar and salt cleaning: sounds like a science experiment gone wrong, right? Actually, it’s your secret weapon to a sparkling clean home, and I’m here to tell you all about it! Forget those expensive, chemical-laden cleaners that promise the world but often leave you with a headache and a hefty bill. We’re diving into the world of DIY cleaning with two ingredients you probably already have in your pantry.
For generations, resourceful homemakers have relied on the power of simple, natural ingredients to keep their homes fresh and tidy. Think back to your grandmother’s cleaning rituals – chances are, vinegar and salt played a starring role! This isn’t just some trendy new hack; it’s a time-tested method passed down through families, proving its effectiveness and affordability.
But why should you ditch the store-bought stuff and embrace vinegar and salt cleaning? Well, for starters, it’s incredibly budget-friendly. Plus, it’s a fantastic way to reduce your exposure to harsh chemicals, creating a healthier environment for you and your loved ones. In this article, I’ll share my favorite DIY tricks and hacks using this dynamic duo, from tackling stubborn stains to banishing grime from your kitchen and bathroom. Get ready to unlock the cleaning power of your pantry – you’ll be amazed at the results!
DIY Power Cleaner: Vinegar and Salt for a Sparkling Home
Hey everyone! I’m so excited to share one of my favorite DIY cleaning hacks with you – using vinegar and salt! It’s seriously a game-changer for tackling tough stains and grime around the house, and the best part? It’s super cheap and uses ingredients you probably already have in your pantry. Forget those harsh chemicals; let’s get cleaning the natural way!
Why Vinegar and Salt?
Vinegar, with its acetic acid, is a fantastic natural disinfectant and degreaser. It’s great for cutting through grease, dissolving mineral deposits, and killing bacteria. Salt, on the other hand, acts as a gentle abrasive, helping to scrub away stubborn stains without scratching most surfaces. Together, they create a powerful cleaning duo that’s safe, effective, and eco-friendly.
What You’ll Need
Before we dive in, let’s gather our supplies. This is a pretty simple list:
* White vinegar (the cheaper, the better!)
* Table salt (again, nothing fancy needed)
* Spray bottles (I like to have a few on hand)
* Cleaning cloths or sponges
* A scrub brush (for tougher jobs)
* Gloves (optional, but recommended if you have sensitive skin)
* A bucket or bowl (for mixing solutions)
* Measuring cups and spoons (for accurate ratios)
General Cleaning Solution: All-Purpose Power
This is my go-to solution for everyday cleaning. It’s perfect for countertops, sinks, showers, and even floors (test in an inconspicuous area first!).
Instructions:
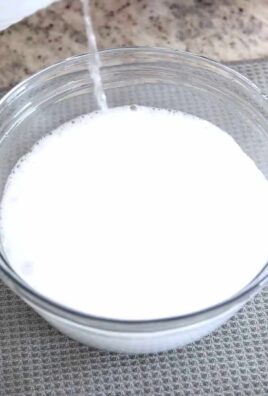
1. Mix the Solution: In a spray bottle, combine equal parts white vinegar and water. I usually start with 1 cup of each. Add a tablespoon of salt. Shake well until the salt dissolves.
2. Spray and Wipe: Spray the solution onto the surface you want to clean.
3. Let it Sit: Allow the solution to sit for a few minutes (5-10 minutes is usually good) to let the vinegar and salt work their magic.
4. Wipe Clean: Use a clean cloth or sponge to wipe away the grime. For stubborn spots, use a scrub brush.
5. Rinse (Optional): If you’re cleaning a surface that comes into contact with food, like a countertop, you might want to rinse it with water afterward.
Tackling Tough Stains: The Paste Powerhouse
For really stubborn stains, like those baked-on messes in the oven or the grime on your stovetop, a vinegar and salt paste is your best friend.
Instructions:
1. Create the Paste: In a bowl, mix together vinegar and salt to form a thick paste. The ratio is usually about 2 parts salt to 1 part vinegar, but you can adjust it to get the consistency you want. It should be thick enough to stick to the surface you’re cleaning.
2. Apply the Paste: Apply the paste directly to the stain.
3. Let it Sit (Longer): Let the paste sit for a longer period of time – anywhere from 30 minutes to a few hours, depending on the severity of the stain. For really tough stains, you can even leave it overnight.
4. Scrub and Wipe: Use a scrub brush or sponge to scrub the stain. The salt will act as an abrasive to help lift the grime.
5. Rinse Thoroughly: Rinse the area thoroughly with water to remove any remaining paste and residue.
Specific Cleaning Applications: Let’s Get Specific!
Now, let’s get into some specific areas of the house where vinegar and salt can really shine.
Cleaning the Microwave
Microwaves can get pretty gross, pretty quickly. Splatters, spills, and lingering odors – it’s a breeding ground for mess. But don’t worry, vinegar and salt are here to help!
Instructions:
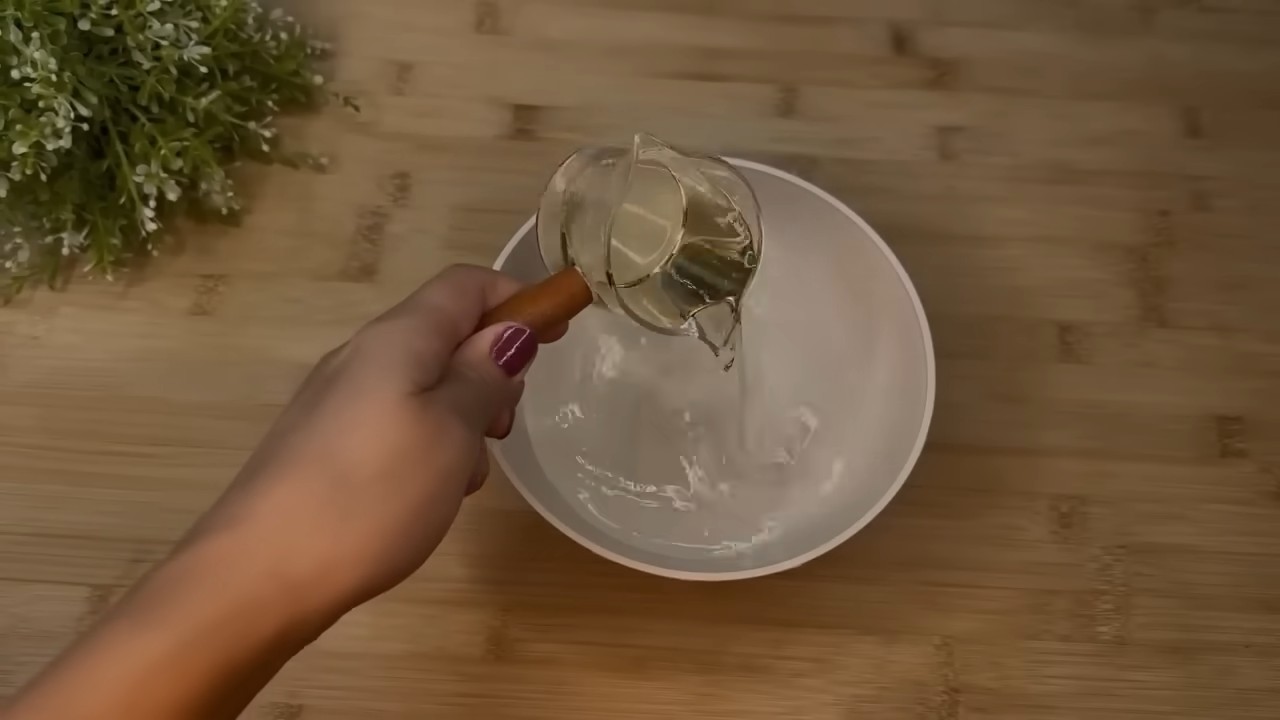
1. Vinegar Steam Clean: Fill a microwave-safe bowl with 1 cup of water and 2 tablespoons of white vinegar. Add a pinch of salt.
2. Microwave for 5 Minutes: Microwave the mixture on high for 5 minutes. This will create steam that loosens the grime.
3. Let it Sit: Let the bowl sit in the microwave for another 5 minutes without opening the door. This allows the steam to continue working.
4. Wipe Clean: Carefully remove the bowl (it will be hot!) and wipe down the inside of the microwave with a clean cloth or sponge. The grime should come off easily.
Cleaning the Showerhead
Hard water deposits can clog your showerhead and reduce water pressure. Vinegar and salt can dissolve those mineral deposits and restore your showerhead to its former glory.
Instructions:
1. Remove the Showerhead (Optional): If possible, remove the showerhead from the shower arm. This will make the cleaning process easier. If you can’t remove it, don’t worry, you can still clean it in place.
2. Soak in Vinegar and Salt: Fill a plastic bag with white vinegar and a tablespoon of salt. Submerge the showerhead in the bag, making sure all the nozzles are covered. Secure the bag with a rubber band or twist tie.
3. Let it Soak Overnight: Let the showerhead soak overnight. This will give the vinegar and salt plenty of time to dissolve the mineral deposits.
4. Rinse and Scrub: Remove the showerhead from the bag and rinse it thoroughly with water. Use a small brush or toothpick to clean out any remaining debris from the nozzles.
Cleaning Grout
Grout can be a real pain to clean. It’s porous and easily absorbs dirt and grime. But vinegar and salt can help to brighten and whiten your grout lines.
Instructions:
1. Make a Paste: Mix together vinegar and salt to form a thick paste.
2. Apply to Grout: Apply the paste to the grout lines.
3. Let it Sit: Let the paste sit for at least 30 minutes.
4. Scrub: Use a grout brush or old toothbrush to scrub the grout lines.
5. Rinse: Rinse the area thoroughly with water.
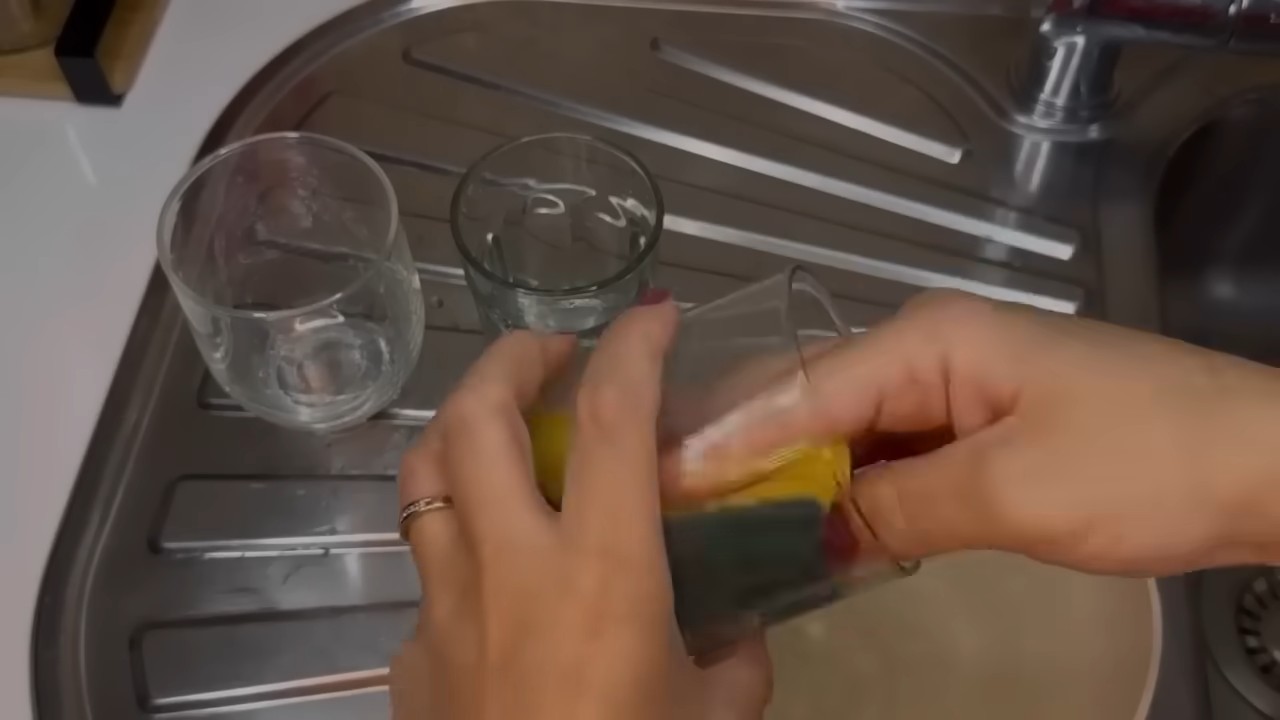
Cleaning Stainless Steel
Vinegar and salt can be used to clean and polish stainless steel appliances and surfaces.
Instructions:
1. Make a Solution: Mix equal parts white vinegar and water in a spray bottle. Add a pinch of salt.
2. Spray and Wipe: Spray the solution onto the stainless steel surface.
3. Wipe with the Grain: Use a clean cloth to wipe the surface, following the grain of the stainless steel.
4. Dry: Dry the surface with a clean, dry cloth to prevent water spots.
Cleaning Drains
While not a complete replacement for a professional plumber, vinegar and salt can help to clear minor drain clogs and freshen up your drains.
Instructions:
1. Pour in Salt: Pour about 1/2 cup of salt down the drain.
2. Follow with Vinegar: Pour 1 cup of white vinegar down the drain.
3. Let it Fizz: Let the mixture fizz for about 30 minutes.
4. Flush with Hot Water: Flush the drain with hot water for several minutes.
Important Considerations and Precautions
While vinegar and salt are generally safe to use, there are a few things to keep in mind:
* Test First: Always test the solution or paste in an inconspicuous area before applying it to the entire surface. This is especially important for delicate surfaces like marble or granite.
* Avoid Certain Surfaces: Avoid using vinegar and salt on natural stone surfaces like marble and granite, as the acid can etch and damage them. Also, avoid using it on waxed furniture, as it can strip the wax.
* Ventilation: When cleaning with vinegar, make sure to ventilate the area well. The fumes can be strong and irritating to some people.
* Eye Protection: Wear eye protection when spraying vinegar solutions, especially when cleaning overhead.
* Skin Sensitivity: If you have sensitive skin, wear gloves when cleaning with vinegar and salt.
* Mixing with Bleach: Never mix vinegar with bleach, as this can create toxic fumes.
Final Thoughts
I hope you found these DIY cleaning tips helpful! Vinegar and salt are truly amazing cleaning agents that can save you money and reduce your reliance on harsh chemicals. Give them a try and see the difference they can make in your home. Happy cleaning!
Conclusion
So, there you have it! This simple yet incredibly effective vinegar and salt cleaning solution is a game-changer for anyone looking to ditch harsh chemicals and embrace a more natural, budget-friendly approach to keeping their home sparkling. We’ve explored how the acidic power of vinegar, combined with the abrasive action of salt, creates a dynamic duo capable of tackling grime, stains, and even stubborn mineral deposits.
But why is this DIY trick a must-try? Beyond the obvious benefits of being eco-friendly and cost-effective, it’s about reclaiming control over the products you use in your home. You know exactly what’s going into your cleaning solution – no hidden ingredients, no questionable chemicals. This is particularly important for households with children, pets, or individuals with sensitivities to strong fragrances or harsh cleaning agents.
Furthermore, the versatility of this vinegar and salt cleaning solution is truly remarkable. While we’ve focused on its effectiveness in cleaning bathrooms and kitchens, don’t be afraid to experiment! Try it on stainless steel appliances (always test in an inconspicuous area first!), use it to scrub grout, or even tackle those pesky hard water stains on shower doors.
Looking for variations? Consider infusing your vinegar with citrus peels for a fresh, invigorating scent. Simply add orange, lemon, or grapefruit peels to a jar of vinegar and let it steep for a week or two before straining and using. You can also add a few drops of your favorite essential oil, such as lavender, tea tree, or eucalyptus, for added antibacterial and aromatic benefits. For tougher stains, create a paste of vinegar and salt and let it sit on the affected area for a longer period before scrubbing. Remember to always test any cleaning solution on a small, hidden area first to ensure it doesn’t damage the surface.
The beauty of this DIY approach lies in its adaptability. You can adjust the ratio of vinegar and salt to suit your specific cleaning needs. A stronger solution might be necessary for tackling stubborn grime, while a milder solution may be sufficient for everyday cleaning tasks.
We are confident that once you experience the cleaning power of this simple vinegar and salt cleaning solution, you’ll be hooked. It’s a testament to the fact that sometimes, the most effective solutions are also the simplest and most readily available.
We wholeheartedly encourage you to give this DIY trick a try. Not only will you be saving money and reducing your environmental impact, but you’ll also be creating a healthier and more pleasant living environment for yourself and your loved ones.
And most importantly, we want to hear about your experience! Share your tips, tricks, and success stories in the comments below. Let us know how you’ve adapted this vinegar and salt cleaning solution to suit your specific needs and what surfaces you’ve found it to be most effective on. Your feedback will not only help us improve this guide but also inspire others to embrace the power of DIY cleaning. Let’s build a community of eco-conscious cleaners, one vinegar and salt solution at a time!
Frequently Asked Questions (FAQ)
Is vinegar and salt cleaning safe for all surfaces?
No, vinegar and salt cleaning is not safe for all surfaces. It’s crucial to exercise caution and test the solution in an inconspicuous area before applying it to the entire surface. Avoid using vinegar and salt on natural stone surfaces like marble, granite, and limestone, as the acidity of the vinegar can etch and damage these materials. Similarly, avoid using it on waxed wood, as it can strip the finish. It’s also not recommended for use on aluminum, as it can cause corrosion. Always check the manufacturer’s recommendations for cleaning specific surfaces. When in doubt, err on the side of caution and use a gentler cleaning method.
What is the best ratio of vinegar to salt for cleaning?
The best ratio of vinegar to salt depends on the cleaning task. For general cleaning, a good starting point is a 1:1 ratio – equal parts vinegar and salt. For tougher stains or grime, you can increase the amount of salt to create a more abrasive paste. For example, you might use 2 parts salt to 1 part vinegar. Conversely, for more delicate surfaces, you can dilute the vinegar with water to create a milder solution. Experiment to find the ratio that works best for your specific needs. Remember to always test the solution in an inconspicuous area first.
Can I use any type of vinegar for cleaning?
While you can technically use any type of vinegar for cleaning, white distilled vinegar is generally recommended. It’s the most affordable and readily available option, and it has a high acidity level, making it effective at cutting through grease and grime. Apple cider vinegar can also be used, but it has a lower acidity level and may not be as effective for tougher cleaning tasks. Avoid using flavored vinegars, as they may contain sugars or other additives that can leave a sticky residue.
Will vinegar and salt cleaning leave a strong vinegar smell?
Yes, vinegar does have a distinct smell, which some people find unpleasant. However, the smell typically dissipates quickly after cleaning. To minimize the odor, ensure good ventilation by opening windows or using a fan. You can also add a few drops of your favorite essential oil to the cleaning solution to mask the vinegar smell. Citrus oils, lavender oil, and tea tree oil are all popular choices. Another option is to infuse your vinegar with citrus peels for a more natural and refreshing scent.
How do I store the vinegar and salt cleaning solution?
Store your vinegar and salt cleaning solution in a clean, airtight container. A glass spray bottle is a good option for easy application. Label the container clearly to avoid confusion. Keep the solution out of reach of children and pets. While the solution is generally safe, it’s best to store it in a secure location. The solution can be stored at room temperature for an extended period.
Is vinegar and salt cleaning antibacterial?
Vinegar has some antibacterial properties, but it’s not as effective as commercial disinfectants. It can kill some types of bacteria and viruses, but it’s not a substitute for proper sanitization, especially in areas where hygiene is critical, such as kitchens and bathrooms. For disinfecting purposes, consider using a commercial disinfectant or a solution of bleach and water. However, for general cleaning and removing grime, vinegar and salt can be a very effective and natural option.
Can I use vinegar and salt cleaning on grout?
Yes, vinegar and salt cleaning can be effective for cleaning grout. The abrasive action of the salt helps to scrub away dirt and grime, while the acidity of the vinegar helps to dissolve mineral deposits. To clean grout, create a paste of vinegar and salt and apply it to the grout lines. Let it sit for a few minutes, then scrub with a stiff brush. Rinse thoroughly with water. For stubborn stains, you may need to repeat the process. Be careful not to use too much pressure when scrubbing, as this can damage the grout.
What are some other uses for vinegar and salt cleaning?
Beyond cleaning bathrooms and kitchens, vinegar and salt cleaning can be used for a variety of other purposes. It can be used to clean stainless steel appliances, remove hard water stains from shower doors, clean coffee makers, and even remove rust from metal surfaces. It’s a versatile and cost-effective cleaning solution that can be used throughout your home. Just remember to always test the solution in an inconspicuous area first to ensure it doesn’t damage the surface.

Leave a Comment