

Sponge cleaning hacks – who knew such simple household items could be the key to a sparkling clean home? I’m always on the lookout for clever ways to save time and money, and let me tell you, these DIY sponge cleaning tricks are a game-changer!
Sponges have been around for centuries, with natural sea sponges being used for cleaning and hygiene since ancient times. While we’ve traded those ocean treasures for synthetic versions, the sponge’s cleaning power remains undeniable. But let’s face it, sponges can get pretty gross, pretty fast. They’re breeding grounds for bacteria, and nobody wants to spread germs around their home while trying to clean it!
That’s where these amazing sponge cleaning hacks come in. I’m going to share some easy and effective ways to keep your sponges fresh, sanitized, and ready to tackle any mess. From microwave tricks to vinegar soaks, you’ll learn how to extend the life of your sponges and avoid constantly replacing them. Not only will you save money, but you’ll also be doing your part to reduce waste. So, grab your sponges, and let’s get cleaning!
DIY Sponge Cleaning Hacks: Extend the Life of Your Kitchen Companion!
Hey everyone! Let’s be honest, our kitchen sponges are the unsung heroes of our daily cleaning routine. They tackle everything from greasy pans to sticky countertops. But because they work so hard, they can quickly become breeding grounds for bacteria and start to smell less than fresh. Instead of constantly tossing them out, let’s explore some awesome DIY hacks to keep your sponges clean, sanitized, and lasting longer! I’m going to share my favorite methods, from simple daily habits to more intensive cleaning sessions.
Daily Maintenance: The Key to a Long-Lasting Sponge
Before we dive into the deep cleaning, let’s establish some good habits. These simple steps, done daily, will significantly extend the life of your sponges and keep them much cleaner.
* Rinse Thoroughly After Each Use: This is the most crucial step! After washing dishes or wiping surfaces, rinse your sponge under hot, running water until all food particles and soap residue are gone. Squeeze it out well.
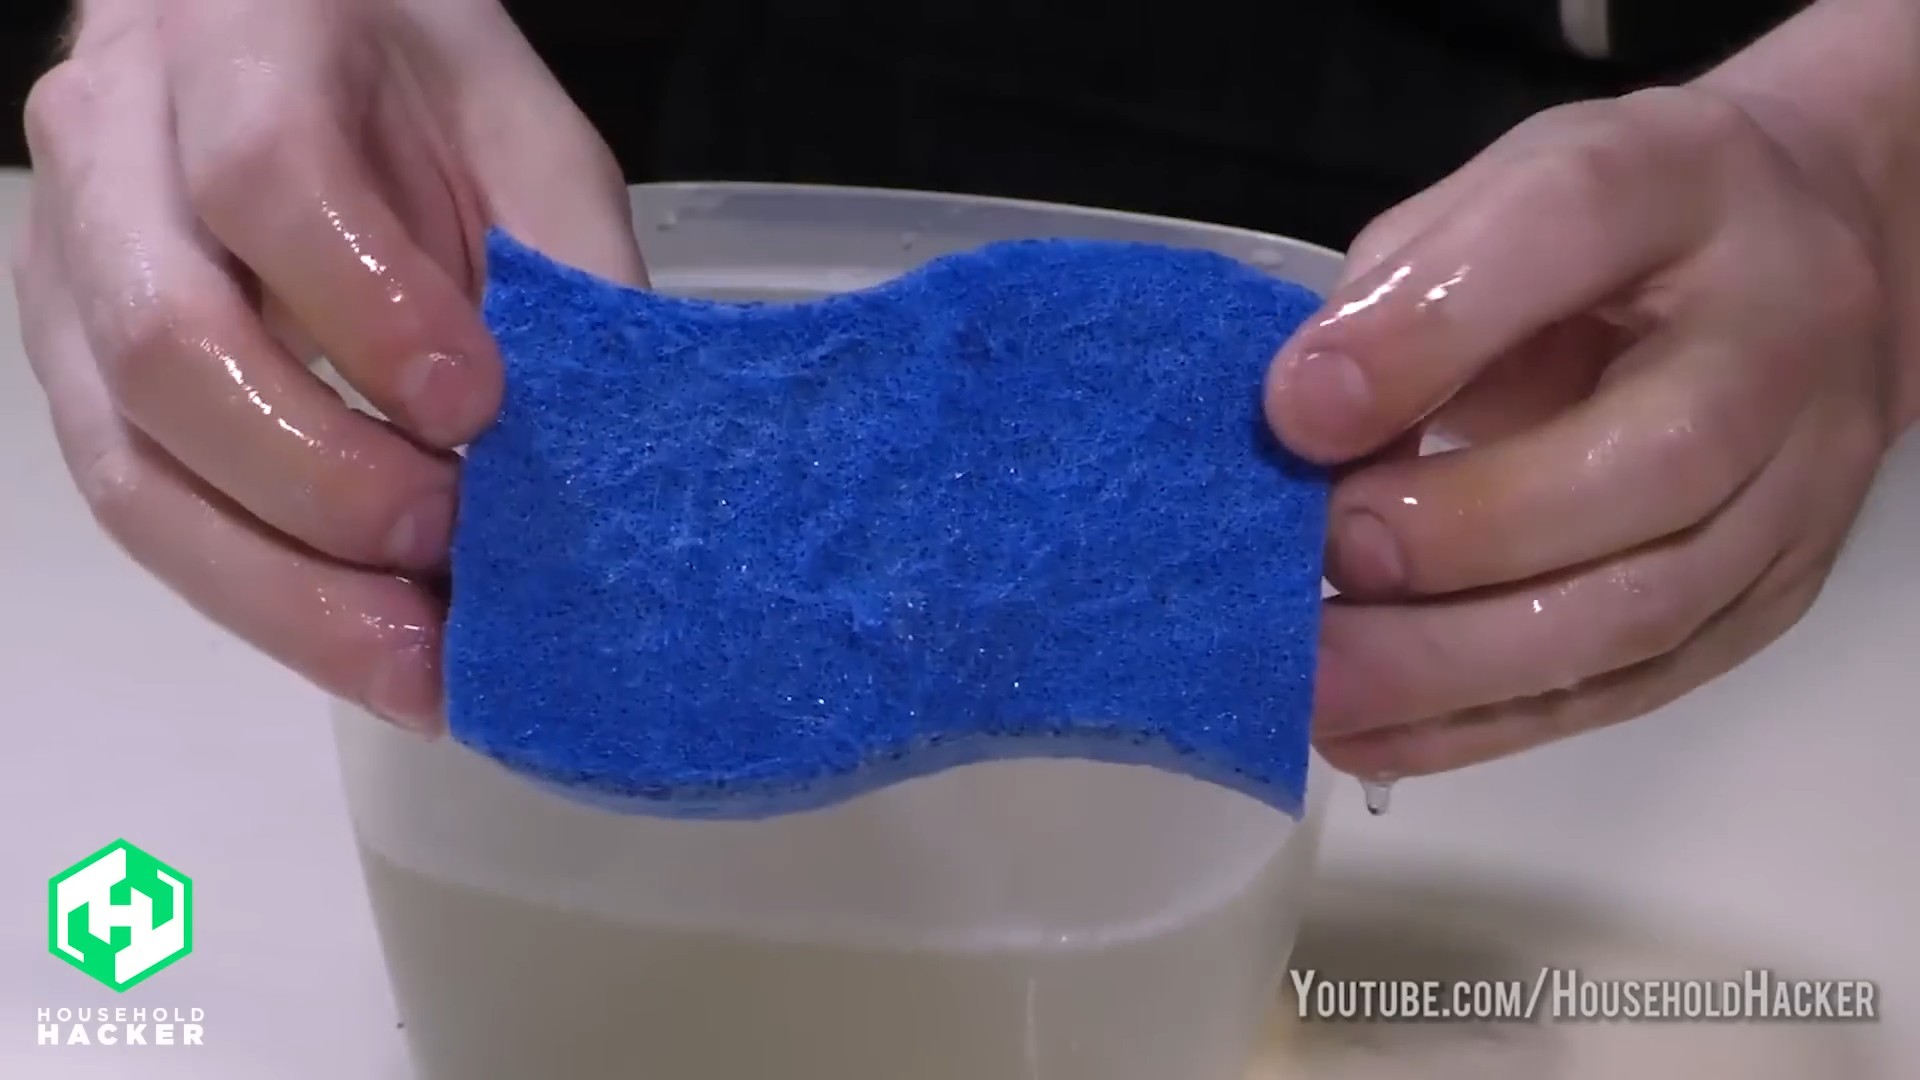
* Wring Out Excess Water: Bacteria thrive in moist environments. After rinsing, wring out as much water as possible. I like to use both hands and really give it a good squeeze.
* Air Dry Properly: Don’t just leave your sponge sitting in the sink! This is a recipe for disaster. Find a well-ventilated spot where it can air dry completely. I use a small sponge holder with good airflow, but you can also prop it up on its side.
* Avoid Harsh Chemicals: While some cleaning products are fine, avoid using harsh chemicals like bleach directly on your sponge on a daily basis. These can break down the sponge material and shorten its lifespan.
Deep Cleaning Methods: Banish Bacteria and Odors!
Okay, now for the real cleaning! These methods are designed to kill bacteria, remove stubborn stains, and eliminate those unpleasant odors that can develop over time. I recommend doing one of these deep cleaning methods at least once a week, or more often if your sponge is particularly dirty.
Method 1: The Microwave Miracle
This is one of the easiest and quickest ways to sanitize your sponge.
What you’ll need:
* Your dirty sponge
* Microwave-safe bowl
* Water
* Optional: Lemon juice or vinegar
Step-by-step instructions:
1. Prepare the Sponge: Thoroughly rinse your sponge to remove any loose debris.
2. Soak in Water: Place the sponge in the microwave-safe bowl and add enough water to completely submerge it.
3. Add Optional Cleaning Agent: If you want to boost the cleaning power, add a tablespoon of lemon juice or vinegar to the water. These natural ingredients help to deodorize and disinfect.
4. Microwave on High: Microwave the sponge on high for 2 minutes. Important: Keep a close eye on the sponge while it’s microwaving. It can get very hot and may even start to smoke if it’s too dry.
5. Let it Cool: Carefully remove the bowl from the microwave. The water and sponge will be extremely hot, so let them cool down for a few minutes before handling.
6. Rinse and Wring: Once the sponge is cool enough to handle, rinse it thoroughly under running water and wring out any excess water.
7. Air Dry: As always, let the sponge air dry completely in a well-ventilated area.
Method 2: The Dishwasher Delight
If you have a dishwasher, you can easily sanitize your sponges while you’re cleaning your dishes.
What you’ll need:
* Your dirty sponge
* Dishwasher
Step-by-step instructions:
1. Rinse the Sponge: Rinse your sponge thoroughly to remove any loose debris.
2. Place in Dishwasher: Place the sponge in the top rack of your dishwasher. Make sure it’s not blocking any of the spray arms.
3. Run a Normal Cycle: Run your dishwasher on a normal cycle with your regular dish soap. The hot water and detergent will effectively sanitize the sponge.
4. Dry Thoroughly: Once the cycle is complete, remove the sponge and let it air dry completely.
Method 3: The Vinegar Soak
Vinegar is a natural disinfectant and deodorizer, making it a great option for cleaning sponges.
What you’ll need:
* Your dirty sponge
* White vinegar
* Water
* Bowl or container
Step-by-step instructions:
1. Rinse the Sponge: Rinse your sponge thoroughly to remove any loose debris.
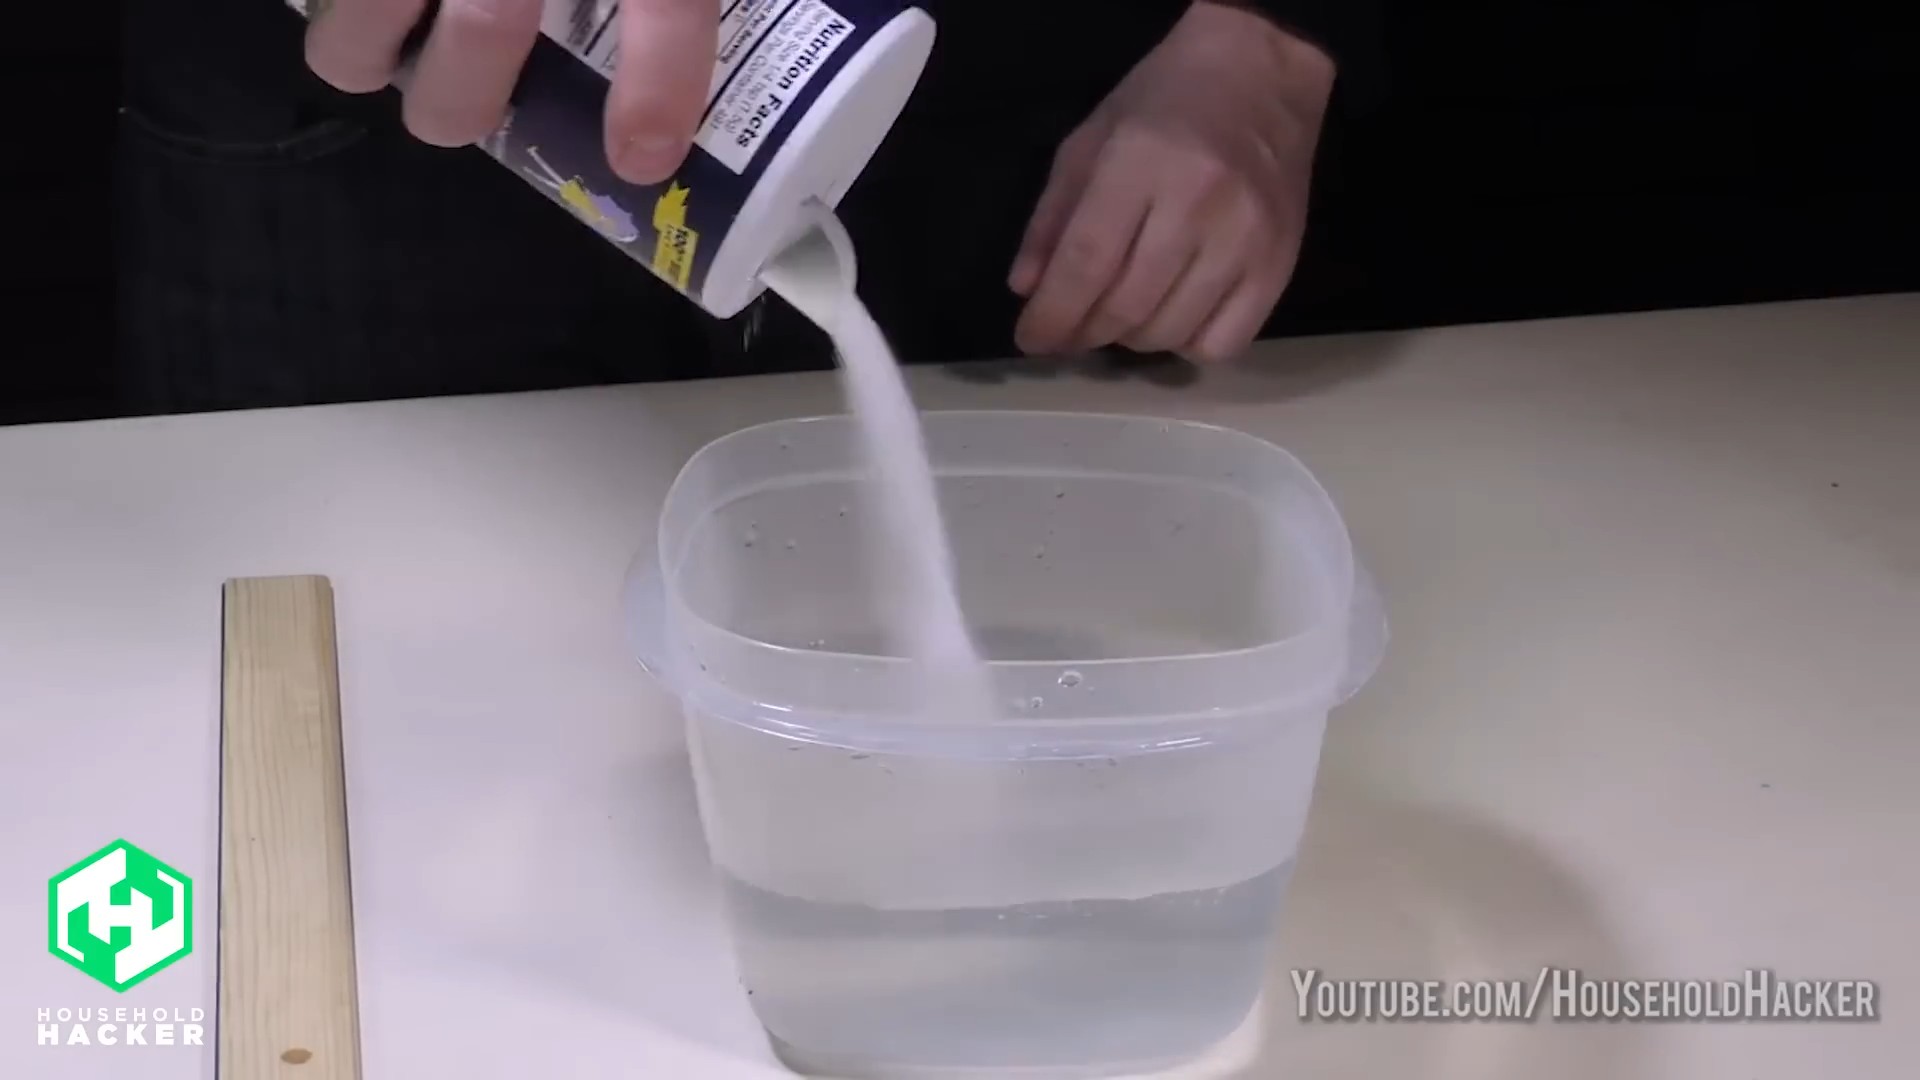
2. Prepare the Vinegar Solution: In a bowl or container, mix equal parts white vinegar and water.
3. Soak the Sponge: Submerge the sponge in the vinegar solution and let it soak for at least 5 minutes, or even longer for heavily soiled sponges. I sometimes let mine soak for an hour!
4. Rinse and Wring: After soaking, rinse the sponge thoroughly under running water and wring out any excess water.
5. Air Dry: Let the sponge air dry completely.
Method 4: The Bleach Bath (Use with Caution!)
Bleach is a powerful disinfectant, but it should be used with caution as it can damage the sponge and release harmful fumes. Always wear gloves and work in a well-ventilated area when using bleach.
What you’ll need:
* Your dirty sponge
* Bleach
* Water
* Gloves
* Bowl or container
Step-by-step instructions:
1. Rinse the Sponge: Rinse your sponge thoroughly to remove any loose debris.
2. Prepare the Bleach Solution: In a bowl or container, mix 1 teaspoon of bleach with 1 gallon of water. Do not use more bleach than recommended, as it can damage the sponge and release harmful fumes.
3. Soak the Sponge: Submerge the sponge in the bleach solution and let it soak for 1 minute. Do not soak for longer than 1 minute, as this can damage the sponge.
4. Rinse Thoroughly: Rinse the sponge extremely thoroughly under running water until all traces of bleach are gone. Make sure you rinse it very well to avoid any bleach residue on your dishes or surfaces.
5. Wring and Air Dry: Wring out any excess water and let the sponge air dry completely.
Dealing with Stubborn Stains and Odors
Sometimes, even after deep cleaning, your sponge might still have stubborn stains or lingering odors. Here are a few tricks I use to tackle those tough cases:
* Baking Soda Paste: For stains, make a paste of baking soda and water and apply it to the stained area of the sponge. Let it sit for a few minutes, then rinse thoroughly.
* Lemon Juice Soak: For lingering odors, soak the sponge in lemon juice for a few hours. The citric acid in lemon juice helps to neutralize odors.
* Freezing: Believe it or not, freezing your sponge can help kill bacteria and reduce odors. Simply place the damp sponge in a freezer bag and freeze it overnight. Thaw it out before using.
When to Say Goodbye: Knowing When to Replace Your Sponge
Even with the best care, sponges don’t last forever. Here are some signs that it’s time to replace your sponge:
* It’s falling apart: If your sponge is starting to crumble or tear, it’s time to toss it.
* It has a persistent odor: If you’ve tried all the cleaning methods and your sponge still smells bad, it’s time to replace it.
* It’s visibly worn: If your sponge looks discolored or worn, it’s probably harboring bacteria and should be replaced.
I generally replace my sponges every 2-4 weeks, depending on how often I use them and how well I maintain them.
Choosing the Right Sponge: A Few Tips
The type of sponge you use can also affect its lifespan and cleanliness. Here are a few things to consider when choosing a sponge:
* Material: Sponges come in a variety of materials, including cellulose, synthetic, and natural sea sponges. Cellulose sponges are absorbent and affordable, but they can harbor bacteria more easily than other types. Synthetic sponges are more durable and resistant to bacteria, but they may not be as absorbent. Natural sea sponges are the most expensive option, but they are naturally antibacterial and very durable.
* Texture: Consider the texture of the sponge. Some sponges have a rough scrubbing side for removing stubborn food particles, while others are softer for delicate surfaces.
* Size: Choose a sponge that is comfortable to hold and use.
By following these DIY sponge cleaning hacks, you can keep your sponges clean, sanitized, and lasting longer. Not only will this save you money, but it will also help to keep your kitchen cleaner and
Conclusion
So, there you have it! Transforming your cleaning routine with these simple sponge cleaning hacks is not just about saving money; it’s about embracing a more efficient, hygienic, and ultimately, more satisfying way to keep your home sparkling. We’ve explored how to sanitize, deodorize, and even extend the life of your humble kitchen sponge, turning it from a germ-ridden liability into a powerful cleaning ally.
Why is this a must-try? Because let’s face it, we all use sponges. They’re indispensable for washing dishes, wiping counters, and tackling countless other cleaning tasks. But their porous nature makes them breeding grounds for bacteria and unpleasant odors. Ignoring this issue means you’re essentially spreading germs around your home instead of eliminating them. These sponge cleaning hacks offer a simple, proactive solution to this common problem. They’re quick, easy, and use ingredients you likely already have in your pantry.
Beyond the methods we’ve discussed, feel free to experiment with variations. For example, if you’re not a fan of vinegar’s scent, try using lemon juice instead. Its natural acidity works similarly, and it leaves behind a fresh, citrusy aroma. You can also add a few drops of your favorite essential oil to the microwave or dishwasher cycle for an extra boost of fragrance. Tea tree oil, lavender, and eucalyptus are all excellent choices for their antibacterial properties.
Another variation to consider is the frequency of cleaning. While daily rinsing is essential, deep cleaning your sponges should be done at least twice a week, or even more often if you’re dealing with particularly messy situations. If you notice your sponge is starting to crumble or develop a persistent odor, it’s time to replace it, no matter how diligently you’ve been cleaning it.
Don’t underestimate the power of preventative measures either. Designate separate sponges for different tasks to avoid cross-contamination. Use one sponge for dishes, another for countertops, and a third for cleaning bathrooms. Color-coding your sponges can help you keep track of which one is used for what.
We truly believe that incorporating these sponge cleaning hacks into your routine will make a noticeable difference in the cleanliness and hygiene of your home. It’s a small change that yields significant results.
So, what are you waiting for? Give these sponge cleaning hacks a try and see for yourself! We’re confident you’ll be amazed at how much fresher and cleaner your sponges can be. And most importantly, we want to hear about your experience! Share your tips, tricks, and results in the comments below. Let’s create a community of clean sponge enthusiasts and help each other keep our homes sparkling! We are excited to see how these tips work for you.
Frequently Asked Questions (FAQs)
1. How often should I clean my kitchen sponge?
Ideally, you should rinse your kitchen sponge thoroughly with hot water after each use to remove food particles and debris. A deep clean, using one of the methods described above (microwave, dishwasher, or bleach solution), should be performed at least twice a week. If you use your sponge frequently or for particularly messy tasks, consider cleaning it daily. The key is to prevent bacteria from building up and causing unpleasant odors.
2. Can I really sanitize a sponge in the microwave?
Yes, microwaving a wet sponge is an effective way to kill bacteria. Make sure the sponge is thoroughly saturated with water before placing it in the microwave. Heat it on high for 1-2 minutes. Be careful when removing the sponge, as it will be very hot. Allow it to cool slightly before handling. While microwaving is effective, it’s important to note that it may not eliminate all bacteria, especially if the sponge is heavily soiled.
3. Is bleach safe to use on my kitchen sponge?
A diluted bleach solution is a safe and effective way to sanitize your kitchen sponge. However, it’s crucial to use the correct concentration. The CDC recommends mixing 3/4 cup of household bleach with one gallon of water. Soak the sponge in the solution for 5 minutes, then rinse thoroughly with clean water. Always wear gloves when handling bleach and avoid getting it on your skin or clothing. Never mix bleach with other cleaning products, as this can create dangerous fumes.
4. My sponge smells bad even after cleaning it. What should I do?
If your sponge still smells bad after cleaning, it’s likely that it’s heavily contaminated with bacteria or mold. In this case, it’s best to replace the sponge with a new one. A persistent odor is a sign that the sponge is no longer effectively cleanable. To prevent odors from developing in the future, be sure to clean your sponges regularly and allow them to dry completely between uses.
5. Are there any alternatives to using sponges for cleaning?
Yes, there are several alternatives to using sponges for cleaning. Dishcloths are a popular option, as they can be easily washed in the washing machine. Silicone scrubbers are another alternative, as they are non-porous and less likely to harbor bacteria. You can also use brushes with replaceable heads for scrubbing dishes and surfaces. Ultimately, the best alternative depends on your personal preferences and cleaning needs.
6. How can I make my sponges last longer?
To extend the life of your sponges, rinse them thoroughly after each use and squeeze out excess water. Store them in a well-ventilated area to allow them to dry completely. Avoid leaving them in a damp sink, as this promotes bacterial growth. Clean your sponges regularly using one of the methods described above. And finally, replace your sponges every 1-2 weeks, or sooner if they show signs of wear and tear.
7. Can I use these cleaning methods on other types of sponges, like those used for bathing?
While the basic principles of cleaning apply to all types of sponges, the specific methods may need to be adjusted. For example, you may not want to use bleach on a sponge that you use for bathing, as it could irritate your skin. Instead, try using a mild soap and hot water to clean your bath sponge. You can also soak it in a vinegar solution to help remove soap scum and bacteria. Always rinse thoroughly and allow to dry completely.
8. What is the best way to dry a sponge after cleaning it?
The best way to dry a sponge after cleaning it is to squeeze out as much water as possible and then place it in a well-ventilated area where it can air dry completely. You can use a sponge holder that allows air to circulate around the sponge, or simply place it on a wire rack. Avoid leaving the sponge in a damp sink, as this will promote bacterial growth.
9. Are all sponges created equal? Should I be buying a specific type of sponge?
No, not all sponges are created equal. Some sponges are more absorbent than others, while others are more durable. Consider the types of cleaning tasks you typically perform when choosing a sponge. For example, if you frequently scrub dishes, you may want to choose a sponge with a scouring pad. If you primarily use sponges for wiping surfaces, a softer, more absorbent sponge may be a better choice. There are also eco-friendly sponges made from natural materials like cellulose or plant fibers.
10. How do these sponge cleaning hacks contribute to a more sustainable lifestyle?
By extending the life of your sponges and reducing the frequency with which you need to replace them, these cleaning hacks contribute to a more sustainable lifestyle. You’ll be reducing waste and saving money in the long run. Additionally, by using natural cleaning solutions like vinegar and lemon juice, you’ll be avoiding harsh chemicals that can be harmful to the environment. Embracing these simple sponge cleaning hacks is a small but meaningful step towards a more eco-conscious way of living.


Leave a Comment