

Shaving Foam Cleaning Hacks: Who knew that the foamy stuff you use to get a smooth shave could also be your secret weapon for a sparkling clean home? I’m always on the lookout for clever, budget-friendly ways to tackle household chores, and let me tell you, this one’s a game-changer! Forget spending a fortune on specialized cleaning products; you probably already have the solution sitting in your bathroom cabinet.
While shaving foam might seem like a modern invention, the concept of using soap-based mixtures for cleaning has been around for centuries. Think about it – our grandmothers used simple soaps for everything! Now, we’re rediscovering the power of these basic ingredients in new and innovative ways. This isn’t just about saving money; it’s about finding simpler, more effective solutions for everyday problems.
Let’s be honest, cleaning isn’t exactly anyone’s favorite pastime. But what if I told you that you could make it easier, faster, and even a little bit fun? That’s where these shaving foam cleaning hacks come in. From banishing stubborn stains to polishing surfaces, the possibilities are surprisingly endless. I’m going to show you how to unlock the cleaning potential of shaving foam and transform your home into a spotless sanctuary, all while saving time and money. Get ready to be amazed!
Shaving Foam: Your Unexpected Cleaning Superhero!
Okay, friends, let’s talk about something you probably have sitting in your bathroom right now: shaving foam! Yes, that fluffy stuff you (or someone you live with) uses to get a smooth shave is actually a surprisingly versatile cleaning agent. I’m going to walk you through some of my favorite shaving foam cleaning hacks that will make your life easier and your home sparkling. Get ready to be amazed!
General Tips Before We Dive In
Before we get started, here are a few things to keep in mind:
* Test First: Always, always, ALWAYS test shaving foam on an inconspicuous area before applying it to a larger surface. You want to make sure it doesn’t discolor or damage the material. A small corner or the underside of something is perfect.
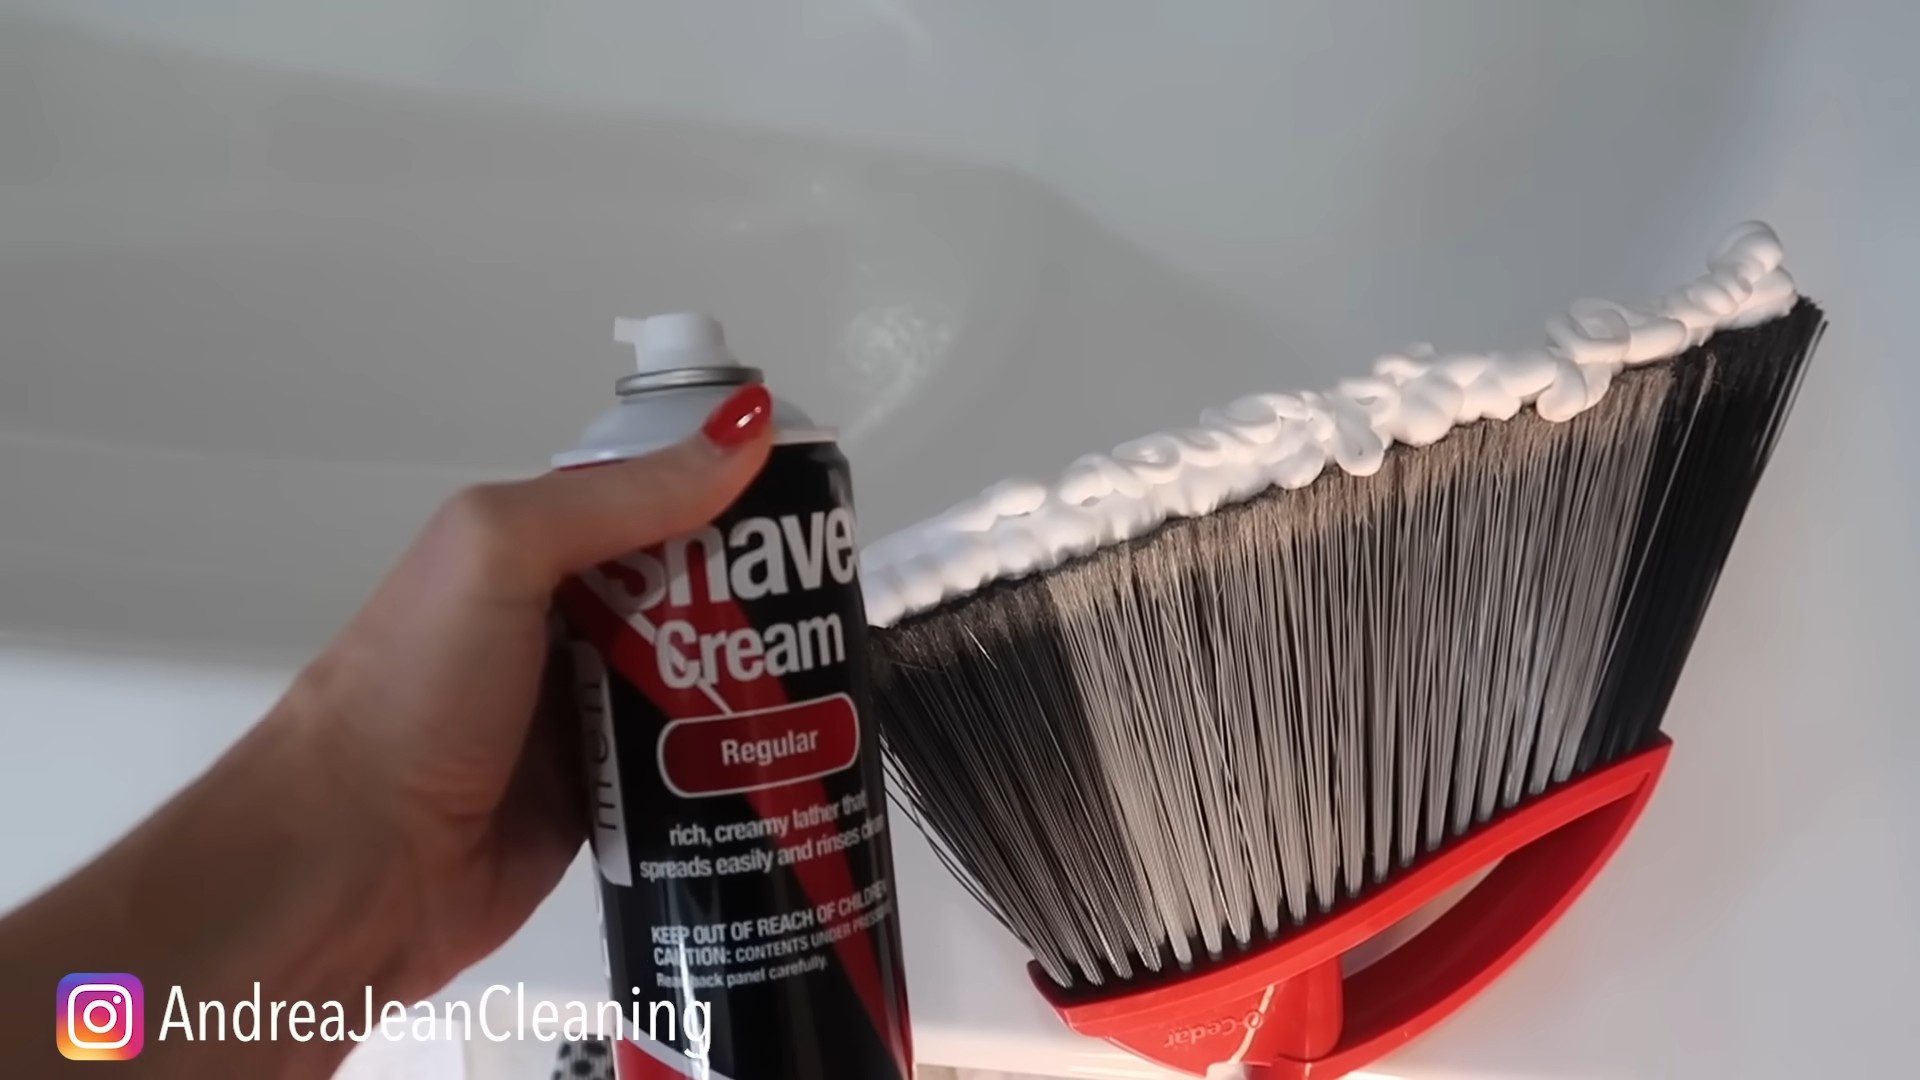
* Use Plain Shaving Foam: We’re talking about the basic, white, foamy kind. Avoid gels, creams, or anything with added colors or moisturizers, as these can sometimes leave a residue or stain. The cheaper, the better, honestly!
* Gentle Scrubbing: When scrubbing, be gentle! You don’t want to scratch or damage the surface you’re cleaning. A soft cloth or sponge is your best friend here.
* Rinse Thoroughly: Make sure to rinse away all traces of shaving foam after cleaning. Leftover residue can attract dirt and grime.
* Safety First: While shaving foam is generally safe, avoid getting it in your eyes. If you do, rinse immediately with plenty of water.
Cleaning Mirrors and Glass
This is probably the most well-known shaving foam cleaning hack, and for good reason – it works like a charm! Say goodbye to streaks and hello to sparkling clean mirrors and windows.
What You’ll Need:
* Shaving foam (plain, white, foamy kind)
* Soft cloth or microfiber cloth
* Water (in a spray bottle or a bowl)
Step-by-Step Instructions:
1. Apply the Shaving Foam: Spray a thin layer of shaving foam onto the mirror or glass surface. You don’t need a ton – a little goes a long way.
2. Spread it Around: Use your fingers or a soft cloth to spread the shaving foam evenly over the entire surface.
3. Let it Sit: Allow the shaving foam to sit for a minute or two. This gives it time to loosen any dirt and grime.
4. Wipe it Clean: Using a clean, damp cloth, wipe away the shaving foam. You might need to rinse the cloth a few times as you go.
5. Buff to a Shine: Use a dry microfiber cloth to buff the surface to a streak-free shine. And voila! Sparkling clean mirrors and windows.
Removing Carpet Stains
Accidents happen, especially if you have kids or pets. But don’t despair! Shaving foam can be a surprisingly effective carpet stain remover.
What You’ll Need:
* Shaving foam (plain, white, foamy kind)
* Soft cloth or sponge
* Water
* Vacuum cleaner
Step-by-Step Instructions:
1. Apply the Shaving Foam: Apply a generous amount of shaving foam directly onto the stain. Make sure to cover the entire affected area.
2. Work it In: Gently work the shaving foam into the stain using a soft cloth or sponge. Don’t scrub too hard, as this can damage the carpet fibers.
3. Let it Sit: Allow the shaving foam to sit for at least 30 minutes, or even longer for stubborn stains. This gives it time to break down the stain.
4. Blot it Up: Using a clean, damp cloth, blot up the shaving foam and the stain. Continue blotting until the cloth comes away clean.
5. Rinse with Water: Lightly rinse the area with clean water to remove any remaining shaving foam residue.
6. Blot Dry: Blot the area dry with a clean towel.
7. Vacuum: Once the area is completely dry, vacuum it to restore the carpet’s texture.
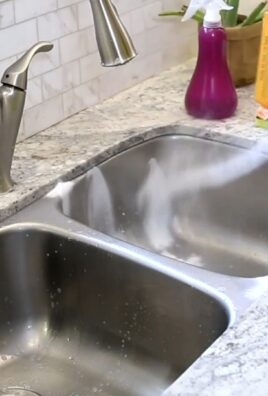
Cleaning Stainless Steel
Stainless steel appliances can be a pain to keep clean, but shaving foam can help! It removes fingerprints, smudges, and water spots, leaving your appliances looking shiny and new.
What You’ll Need:
* Shaving foam (plain, white, foamy kind)
* Soft cloth or microfiber cloth
Step-by-Step Instructions:
1. Apply the Shaving Foam: Apply a small amount of shaving foam to a soft cloth.
2. Wipe the Surface: Gently wipe the stainless steel surface with the cloth, following the grain of the metal.
3. Buff to a Shine: Use a clean, dry microfiber cloth to buff the surface to a shine.
Polishing Jewelry
Believe it or not, shaving foam can also be used to polish jewelry! It’s a gentle and effective way to remove tarnish and grime, leaving your jewelry sparkling.
What You’ll Need:
* Shaving foam (plain, white, foamy kind)
* Soft toothbrush
* Water
* Soft cloth
Step-by-Step Instructions:
1. Apply the Shaving Foam: Apply a small amount of shaving foam to your jewelry.
2. Gently Scrub: Use a soft toothbrush to gently scrub the jewelry, paying attention to any crevices or areas with tarnish.
3. Rinse Thoroughly: Rinse the jewelry thoroughly with water to remove all traces of shaving foam.
4. Dry and Buff: Dry the jewelry with a soft cloth and buff it to a shine.
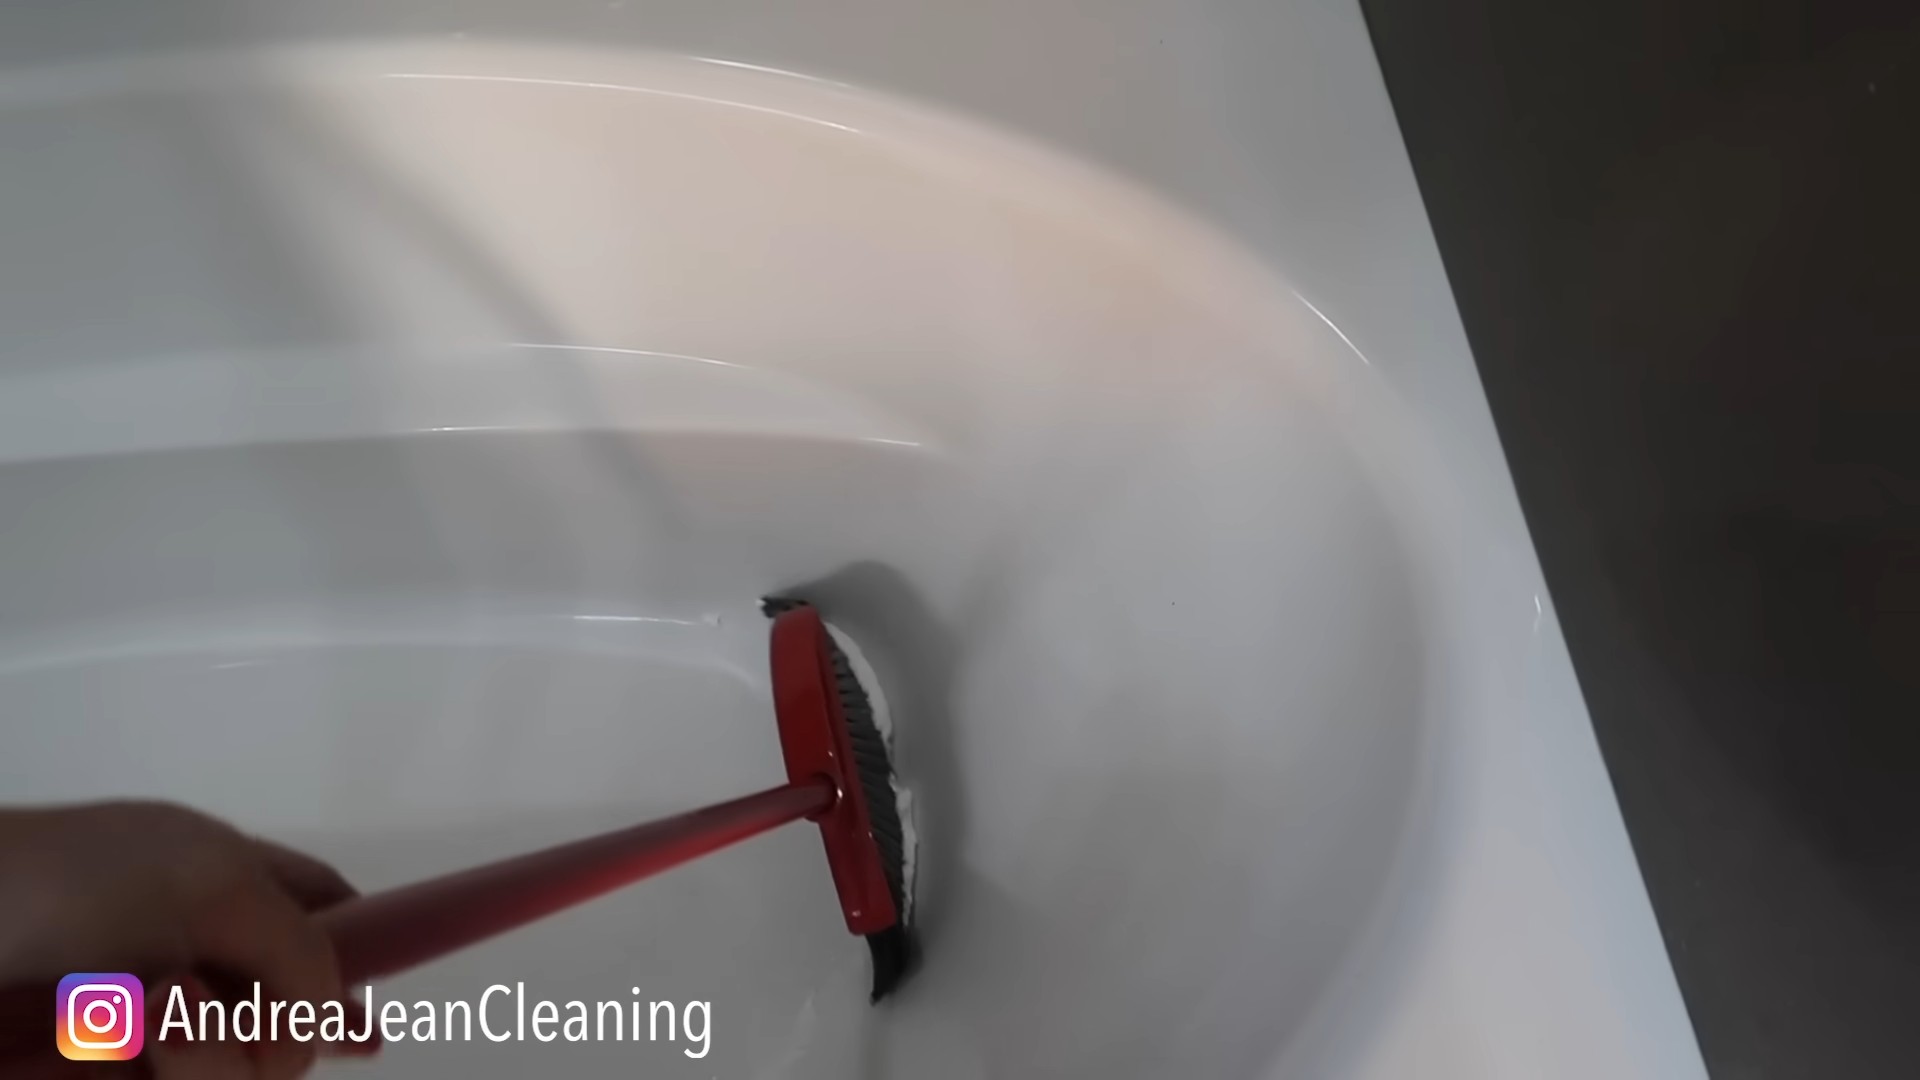
Cleaning Bathroom Fixtures
Shaving foam is great for cleaning bathroom fixtures like faucets, showerheads, and sinks. It removes soap scum, water spots, and grime, leaving them sparkling clean.
What You’ll Need:
* Shaving foam (plain, white, foamy kind)
* Soft cloth or sponge
* Water
Step-by-Step Instructions:
1. Apply the Shaving Foam: Apply a generous amount of shaving foam to the bathroom fixtures.
2. Let it Sit: Allow the shaving foam to sit for a few minutes to loosen any dirt and grime.
3. Wipe Clean: Wipe the fixtures clean with a soft cloth or sponge.
4. Rinse Thoroughly: Rinse the fixtures thoroughly with water to remove all traces of shaving foam.
5. Dry and Buff: Dry the fixtures with a clean cloth and buff them to a shine.
Preventing Foggy Mirrors in the Bathroom
This is a game-changer! Applying shaving foam to your bathroom mirror can prevent it from fogging up after a hot shower.
What You’ll Need:
* Shaving foam (plain, white, foamy kind)
* Soft cloth or microfiber cloth
Step-by-Step Instructions:
1. Apply the Shaving Foam: Apply a thin layer of shaving foam to the dry mirror.
2. Spread it Around: Use your fingers or a soft cloth to spread the shaving foam evenly over the entire surface.
3. Wipe it Clean: Using a clean, damp cloth, wipe away the shaving foam.
4. Buff to a Shine: Use a dry microfiber cloth to buff the surface to a streak-free shine.
Now, the next time you take a hot shower, your mirror won’t fog up! This trick lasts for several days, so you don’t have to do it every time you shower.
Cleaning Upholstery
Shaving foam can even tackle some upholstery stains! Again, test in an inconspicuous area first!
What You’ll Need:
* Shaving foam (plain, white, foamy kind)
* Soft cloth or sponge
* Water
Step-by-Step Instructions:
1. Apply the Shaving Foam: Apply a small amount of shaving foam to the stained area of the upholstery.
2. Work it In: Gently work the shaving foam into the stain using a soft cloth or sponge.
3. Let it Sit: Allow the shaving foam to sit for about 15-20 minutes.
4. Blot it Up: Using a clean, damp cloth, blot up the shaving foam and the stain.
5. Rinse with Water: Lightly rinse the area with clean water to remove any remaining shaving foam residue.
6. Blot Dry: Blot the area dry with a clean towel.
7. Allow to Air Dry: Allow the upholstery to air dry completely.
Cleaning Computer Screens and Keyboards
Okay, this one might sound a little crazy, but hear me out! Shaving foam can be used to gently clean computer screens and keyboards. However, proceed with extreme caution and
Conclusion
So, there you have it! Shaving foam, that humble bathroom staple, is revealed as a surprisingly versatile cleaning powerhouse. We’ve explored how this simple product can tackle everything from stubborn stains on carpets and upholstery to grimy bathroom mirrors and even baked-on grease in the kitchen. The beauty of these shaving foam cleaning hacks lies not only in their effectiveness but also in their accessibility and affordability. You likely already have a can of shaving foam tucked away, making it a readily available solution for a multitude of cleaning challenges.
Why is this DIY trick a must-try? Because it’s a game-changer. It saves you money on expensive, specialized cleaning products. It’s gentle enough for delicate surfaces yet powerful enough to lift tough stains. It’s quick, easy, and frankly, a little bit fun! Who knew cleaning could be so enjoyable?
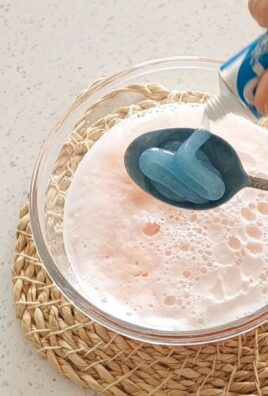
But the possibilities don’t stop there. Feel free to experiment with variations to suit your specific needs. For instance, for particularly stubborn stains on carpets, try adding a few drops of white vinegar to the shaving foam before applying it. The vinegar’s acidity will help break down the stain even further. For a refreshing scent boost, consider using a scented shaving foam or adding a few drops of your favorite essential oil to the mixture. Lavender, lemon, and tea tree oil are all excellent choices for their cleaning properties and pleasant aromas.
Remember to always test the shaving foam on an inconspicuous area first, especially when cleaning delicate fabrics or surfaces. This will ensure that it doesn’t cause any discoloration or damage.
We’re confident that once you experience the cleaning magic of shaving foam, you’ll be hooked. It’s a simple, effective, and budget-friendly way to keep your home sparkling clean. So, ditch those harsh chemicals and embrace the power of shaving foam!
Now it’s your turn. Grab that can of shaving foam and put these cleaning hacks to the test. We encourage you to try these shaving foam cleaning hacks and share your experiences with us. Let us know what surfaces you’ve cleaned, what variations you’ve tried, and what amazing results you’ve achieved. Share your tips and tricks in the comments below – we’re eager to hear from you! Let’s revolutionize the way we clean, one can of shaving foam at a time.
Frequently Asked Questions (FAQs)
1. What type of shaving foam works best for cleaning?
The best type of shaving foam for cleaning is generally the basic, white, foamy kind. Avoid gel-based shaving creams, as they don’t have the same cleaning properties. Look for shaving foams that are primarily composed of water, soap, and emulsifiers. These ingredients work together to lift dirt and grime effectively. Scented shaving foams are fine to use, but be mindful of the scent, especially if you’re sensitive to fragrances. If you’re unsure, test a small, inconspicuous area first.
2. Can I use shaving foam on all types of carpets and upholstery?
While shaving foam is generally safe for most carpets and upholstery, it’s always best to test it on a hidden area first. Apply a small amount of shaving foam to an inconspicuous spot, such as under a sofa cushion or in a corner of the carpet. Let it sit for a few minutes, then blot it with a clean cloth. Check for any discoloration or damage before proceeding to clean the entire surface. Avoid using shaving foam on delicate fabrics like silk or velvet, as it may cause staining or damage.
3. How long should I leave the shaving foam on a stain before wiping it off?
The amount of time you leave the shaving foam on a stain depends on the severity of the stain. For light stains, a few minutes may be sufficient. For more stubborn stains, you may need to leave it on for up to 15-20 minutes. Keep an eye on the area and blot it periodically to check if the stain is lifting. Avoid letting the shaving foam dry completely, as this can make it more difficult to remove.
4. Will shaving foam damage my bathroom mirrors or glass surfaces?
No, shaving foam is actually a great way to clean bathroom mirrors and glass surfaces. It helps to remove streaks, smudges, and water spots, leaving them sparkling clean. Simply apply a thin layer of shaving foam to the surface, let it sit for a minute or two, and then wipe it off with a clean, damp cloth. Follow up with a dry cloth to buff the surface and remove any remaining residue.
5. Can I use shaving foam to clean stainless steel appliances?
Yes, shaving foam can be used to clean stainless steel appliances. It helps to remove fingerprints, smudges, and water spots, leaving them looking shiny and new. Apply a small amount of shaving foam to a soft cloth and gently wipe the surface of the appliance. Then, wipe it off with a clean, damp cloth and buff it dry with a microfiber cloth. Be sure to follow the grain of the stainless steel to avoid scratching the surface.
6. Is shaving foam safe to use around children and pets?
While shaving foam is generally considered safe, it’s always best to keep it out of reach of children and pets. Avoid allowing them to ingest the shaving foam, as it may cause stomach upset. If you’re using shaving foam to clean areas where children or pets play, be sure to rinse the area thoroughly with water after cleaning.
7. Can I use shaving foam to remove grease from my kitchen appliances?
Yes, shaving foam can be effective at removing grease from kitchen appliances. Apply a generous amount of shaving foam to the greasy surface and let it sit for 10-15 minutes. The shaving foam will help to break down the grease, making it easier to wipe away. Use a damp cloth to remove the shaving foam and grease, and then dry the surface with a clean cloth. For particularly stubborn grease, you may need to repeat the process or use a scrub brush to help loosen the grime.
8. What are some other uses for shaving foam besides cleaning?
Besides cleaning, shaving foam can also be used for a variety of other purposes, such as:
* **Removing makeup stains:** Apply shaving foam to the stain, let it sit for a few minutes, and then blot it with a clean cloth.
* **Polishing chrome:** Use shaving foam to polish chrome fixtures in your bathroom or kitchen.
* **Cleaning paintbrushes:** Soak paintbrushes in shaving foam to remove paint residue.
* **Soothing sunburn:** Apply shaving foam to sunburned skin to help relieve pain and inflammation.
* **Preventing fogging:** Apply a thin layer of shaving foam to bathroom mirrors or car windows to prevent fogging.
9. Can I add essential oils to shaving foam for cleaning?
Yes, you can add essential oils to shaving foam for cleaning. Essential oils can provide additional cleaning benefits and a pleasant scent. Some popular essential oils for cleaning include lemon, tea tree, lavender, and eucalyptus. Add a few drops of your favorite essential oil to the shaving foam before applying it to the surface you want to clean. Be sure to use high-quality essential oils and test a small area first to ensure that they don’t damage the surface.
10. Where can I buy shaving foam?
Shaving foam is readily available at most drugstores, supermarkets, and online retailers. Look for basic, white, foamy shaving foam for the best cleaning results. You can also find shaving foam in travel sizes, which are convenient for cleaning on the go.

Leave a Comment