

Shaving Cream Uses: Who knew that the foamy friend you use for a smooth shave could be your secret weapon for a sparkling home and thriving garden? For generations, shaving cream has been a bathroom staple, evolving from simple soaps to the luxurious, moisturizing formulas we know today. But its utility extends far beyond just hair removal!
I’m excited to share some amazing DIY tricks and hacks that will completely change the way you look at that can of shaving cream. Forget harsh chemicals and expensive cleaners – shaving cream is a surprisingly versatile and gentle solution for a multitude of household tasks.
Why should you care about these shaving cream uses? Because life is busy! We’re all looking for ways to simplify our routines, save money, and find eco-friendly alternatives to harsh chemicals. From banishing stubborn stains to creating mesmerizing marble art, these DIY projects are not only effective but also fun and surprisingly easy. Get ready to unlock the hidden potential of your shaving cream and transform your home with these clever and creative hacks!
Unlock the Unexpected: 10 Surprising Uses for Shaving Cream Beyond Shaving!
Hey there, DIY enthusiasts! Are you ready to be amazed? I’m about to let you in on a little secret: that can of shaving cream sitting in your bathroom cabinet is a multi-purpose marvel! Forget just using it for a smooth shave; we’re diving into 10 incredible ways to use shaving cream around your house. Get ready to be surprised and save some money along the way!
1. Spotless Mirrors and Windows: Streak-Free Shine
Tired of streaks on your mirrors and windows? Shaving cream is your new best friend! It’s a fantastic, gentle cleaner that leaves surfaces sparkling.
Step-by-Step Instructions:
1. Apply a Thin Layer: Squirt a small amount of shaving cream onto the mirror or window. You don’t need much – a little goes a long way!
2. Spread Evenly: Using a soft, clean cloth or your fingers, spread the shaving cream in a thin, even layer over the entire surface.
3. Let it Sit: Allow the shaving cream to sit for a minute or two. This gives it time to work its magic and loosen any grime.
4. Wipe Clean: With a damp cloth, wipe away the shaving cream. You’ll immediately notice the difference!
5. Buff to a Shine: Use a dry, clean cloth to buff the surface to a brilliant, streak-free shine.
Why it Works: The ingredients in shaving cream help to break down dirt and grease, leaving behind a protective layer that prevents fogging (more on that later!).
2. Fog-Free Mirrors: Say Goodbye to Steamy Showers!
This is one of my absolute favorite uses! No more wiping down your mirror after every shower. Shaving cream creates a barrier that prevents condensation from forming.
Step-by-Step Instructions:
1. Apply a Thin Layer: Just like cleaning, apply a small amount of shaving cream to the dry mirror.
2. Spread Evenly: Spread the cream in a thin, even layer, ensuring the entire surface is covered.
3. Let it Sit: Let the shaving cream sit for about 5-10 minutes. This allows the ingredients to properly bond with the glass.
4. Wipe Clean: Wipe away the shaving cream with a clean, damp cloth. Make sure to remove all traces of the cream.
5. Buff to a Shine: Buff the mirror with a dry, clean cloth until it’s crystal clear.
Pro Tip: Reapply every few weeks or as needed to maintain the fog-free effect.
3. Stain Remover: Tackle Tough Spots on Fabric
Accidentally spilled something on your favorite shirt? Don’t panic! Shaving cream can be a surprisingly effective stain remover, especially for oil-based stains.
Step-by-Step Instructions:
1. Apply to the Stain: Generously apply shaving cream directly onto the stain.
2. Gently Rub: Gently rub the shaving cream into the fabric using your fingers or a soft cloth.
3. Let it Sit: Allow the shaving cream to sit on the stain for about 30 minutes. For tougher stains, you can let it sit longer, even overnight.
4. Rinse Thoroughly: Rinse the area thoroughly with cold water, making sure to remove all traces of the shaving cream.
5. Launder as Usual: Launder the garment as usual, following the care instructions on the label.
Important Note: Always test the shaving cream on an inconspicuous area of the fabric first to ensure it doesn’t cause any discoloration. This is especially important for delicate fabrics.
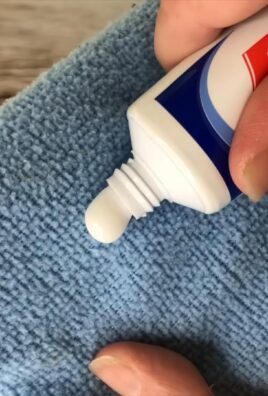
4. Polishing Chrome: Bring Back the Shine
Is your chrome looking dull and lackluster? Shaving cream can bring back its shine and luster with minimal effort.
Step-by-Step Instructions:
1. Apply a Small Amount: Apply a small amount of shaving cream to the chrome surface.
2. Rub Gently: Using a soft cloth, gently rub the shaving cream onto the chrome in a circular motion.
3. Let it Sit: Allow the shaving cream to sit for a few minutes.
4. Wipe Clean: Wipe away the shaving cream with a clean, damp cloth.
5. Buff to a Shine: Buff the chrome with a dry, clean cloth until it shines.
Where to Use It: This works great on chrome fixtures in your bathroom, kitchen, or even on your car!
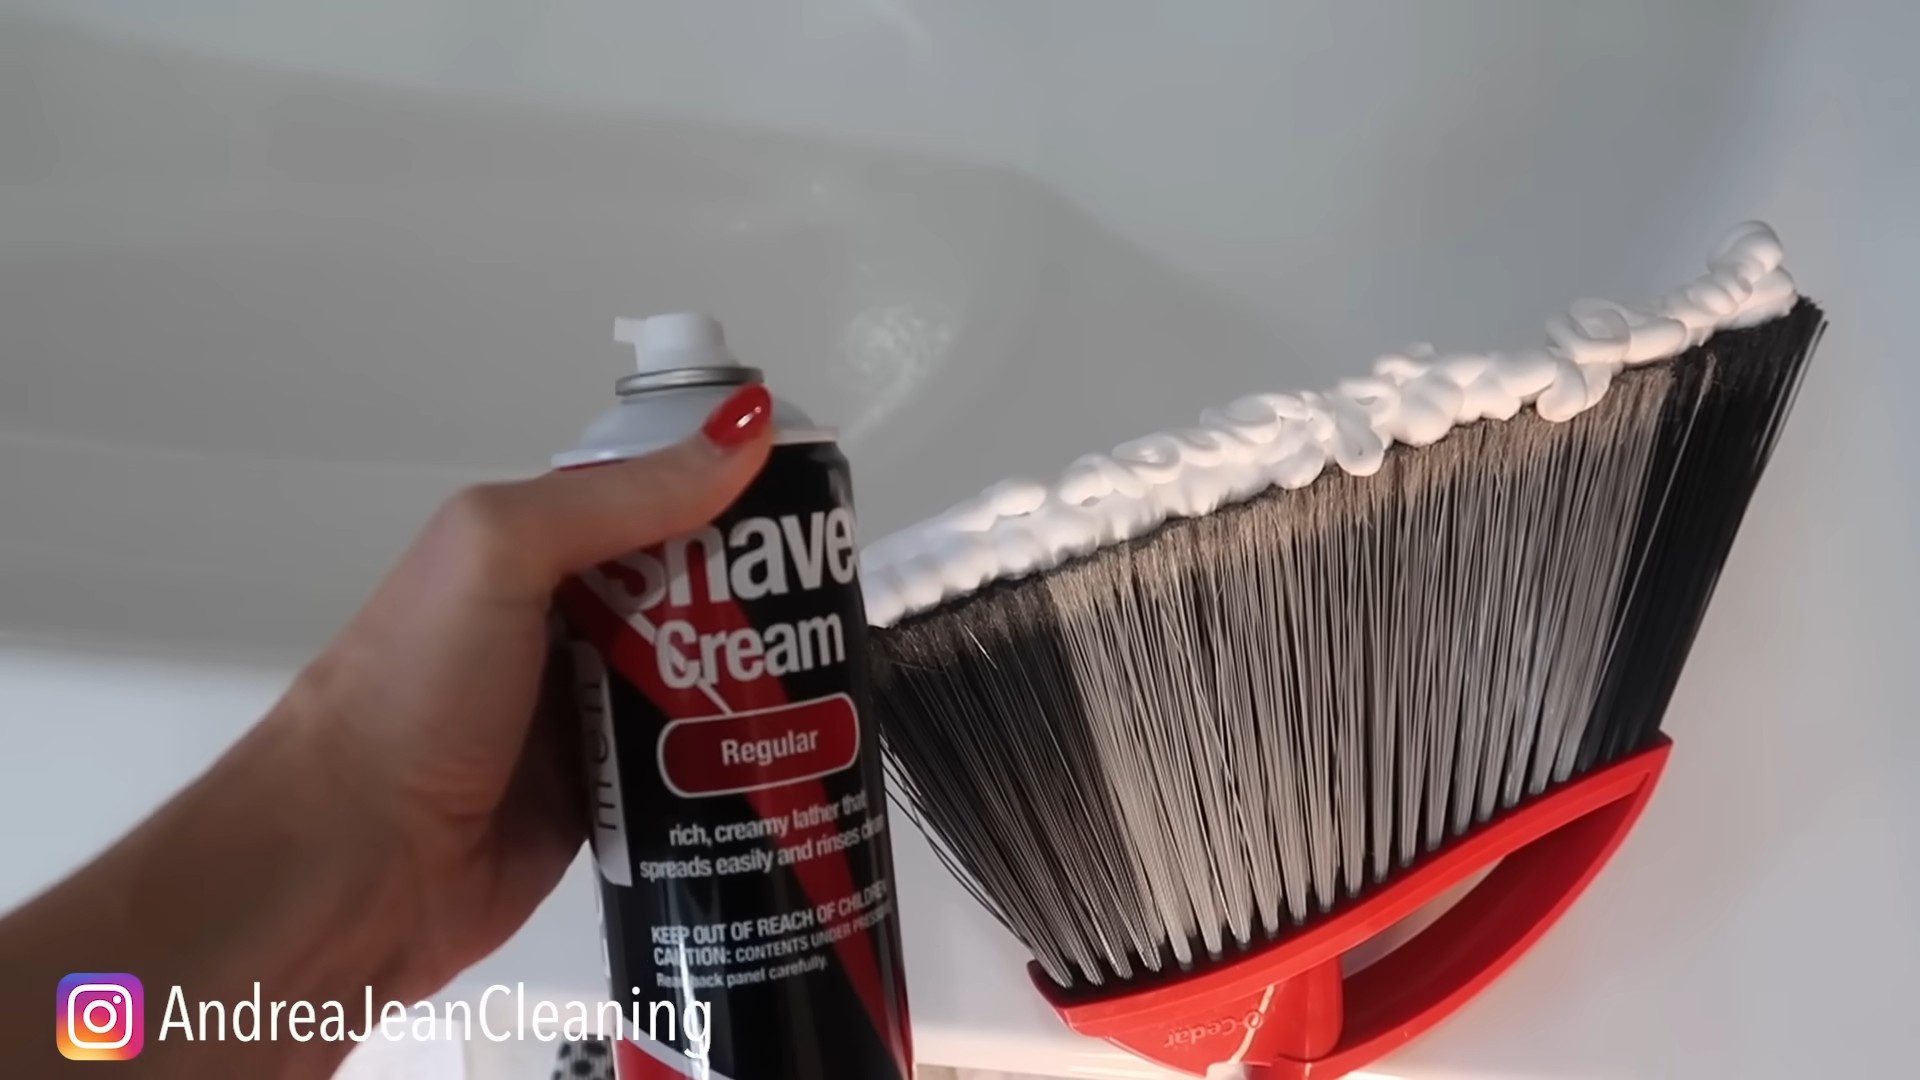
5. Cleaning Bathroom Fixtures: Soap Scum’s Worst Nightmare
Soap scum can be a real pain to remove, but shaving cream can make the job much easier. Its gentle cleaning properties help to break down the buildup without damaging your fixtures.
Step-by-Step Instructions:
1. Apply to Fixtures: Apply shaving cream to your bathroom fixtures, such as faucets, showerheads, and shower doors.
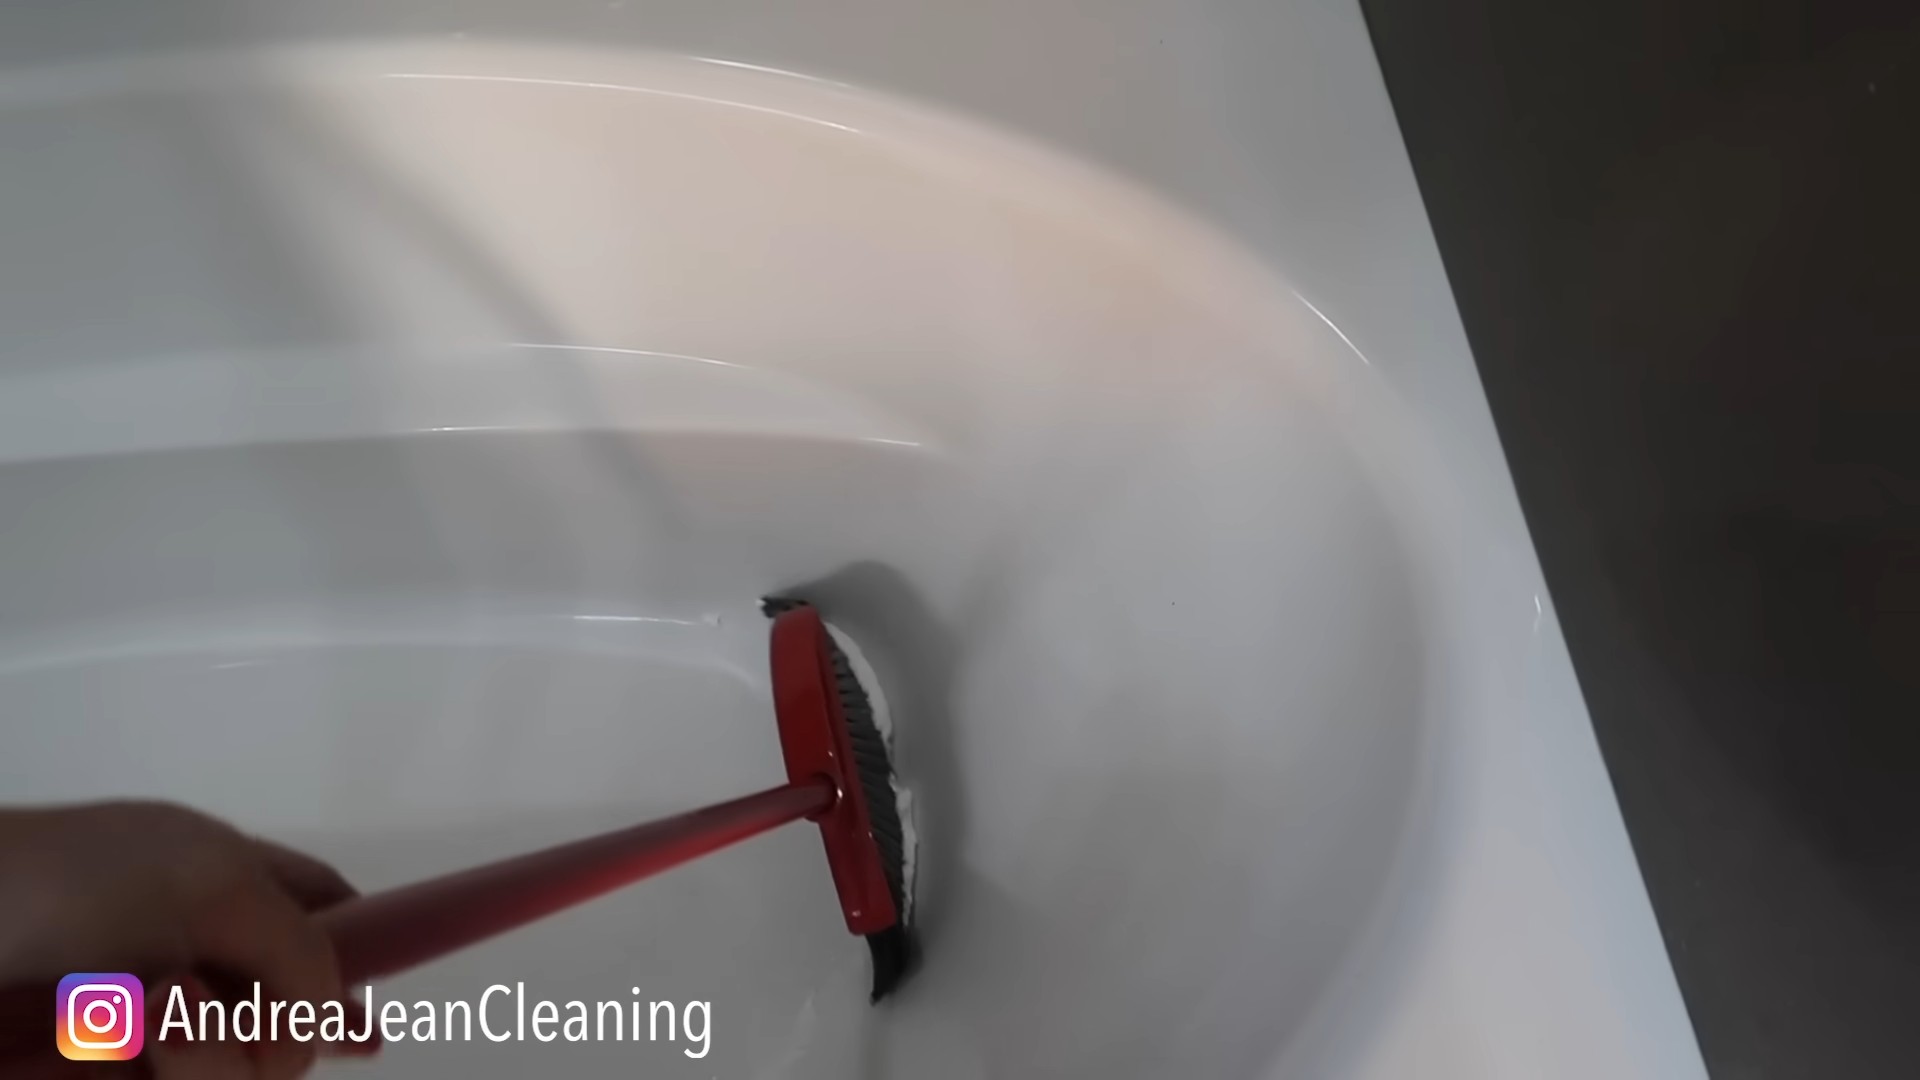
2. Let it Sit: Allow the shaving cream to sit for about 15-20 minutes to soften the soap scum.
3. Scrub Gently: Using a sponge or soft brush, gently scrub the fixtures to remove the loosened soap scum.
4. Rinse Thoroughly: Rinse the fixtures thoroughly with water.
5. Dry and Shine: Dry the fixtures with a clean cloth to prevent water spots and leave them sparkling.
Bonus Tip: For stubborn soap scum, you can add a little baking soda to the shaving cream for extra cleaning power.
6. Soothing Minor Burns: Relief from the Sting
Did you know that shaving cream can help soothe minor burns? The moisturizing ingredients can provide relief and promote healing.
Step-by-Step Instructions:
1. Cool the Burn: Immediately cool the burn with cold water for several minutes.
2. Apply Shaving Cream: Gently apply a thin layer of shaving cream to the affected area.
3. Leave it On: Leave the shaving cream on the burn. Do not rub it in.
4. Reapply as Needed: Reapply the shaving cream as needed to keep the area moisturized and soothed.
Important Note: This is only for minor burns. For severe burns, seek medical attention immediately.
7. DIY Puffy Paint: Fun for Kids (and Adults!)
Get creative with shaving cream and make your own puffy paint! It’s a fun and easy activity that kids will love.
Step-by-Step Instructions:
1. Gather Your Supplies: You’ll need shaving cream, white school glue, food coloring (or liquid watercolors), and containers for mixing.
2. Mix the Ingredients: In each container, mix equal parts shaving cream and white school glue.
3. Add Color: Add a few drops of food coloring or liquid watercolors to each container and stir until you achieve your desired color.
4. Paint Away: Use paintbrushes or squeeze bottles to create your puffy masterpieces on paper or cardboard.
5. Let it Dry: Allow the paint to dry completely. It will puff up as it dries, creating a fun, textured effect.
Tips for Success:
* Use a good quality shaving cream for the best results.
* Experiment with different colors and techniques.
* Have fun!
8. Cleaning Paint Brushes: Keep Your Brushes in Top Shape
Don’t let your paint brushes dry out and become unusable. Shaving cream can help keep them clean and soft.
Step-by-Step Instructions:
1. Rinse the Brush: Rinse the paint brush thoroughly with water to remove as much paint as possible.
2. Apply Shaving Cream: Apply a generous amount of shaving cream to the bristles of the brush.
3. Work it In: Gently work the shaving cream into the bristles, making sure to reach all the way to the base.
4. Rinse Again: Rinse the brush thoroughly with water until all traces of shaving cream and paint are gone.
5. Shape and Dry: Reshape the bristles and allow the brush to air dry.
Why it Works: The shaving cream helps to loosen the paint and condition the bristles, keeping them soft and flexible.
9. Unsticking Zippers: A Quick Fix for a Common Problem
Struggling with a stuck zipper? Shaving cream can help lubricate the teeth and get it moving again.
Step-by-Step Instructions:
1. Apply to Zipper: Apply a small amount of shaving cream to the teeth of the zipper, both above and below the stuck area.
2. Work it In: Gently work the shaving cream into the zipper teeth using your fingers or a cotton swab.
3. Gently Wiggle: Gently wiggle the zipper pull back and forth until it starts to move.
4. Wipe Away Excess
Conclusion
So, there you have it! Unlocking the surprising potential of shaving cream goes far beyond just a smooth shave. From banishing stubborn stains to adding a touch of sparkle to your cleaning routine, this humble bathroom staple is a true multi-tasking marvel. We’ve explored a range of unexpected applications, proving that a can of shaving cream is more than just a grooming essential; it’s a secret weapon for a cleaner, brighter, and more creatively decorated home.
The beauty of these DIY tricks lies in their simplicity and accessibility. You likely already have a can of shaving cream tucked away in your bathroom, making these solutions incredibly convenient and cost-effective. Why spend money on specialized cleaning products or art supplies when a simple dollop of shaving cream can achieve the same, if not better, results?
But don’t just take our word for it! We wholeheartedly encourage you to experiment with these shaving cream uses and discover the magic for yourself. Imagine effortlessly removing that stubborn coffee stain from your favorite rug, or creating mesmerizing marbled paper for your next crafting project. The possibilities are truly endless.
For those seeking variations, consider experimenting with different types of shaving cream. While the classic, foamy variety is generally recommended for most applications, gel-based shaving creams can sometimes offer a slightly different texture or consistency, which might be preferable for certain tasks. For example, a gel shaving cream might be better for cleaning leather as it tends to be less drying. Scented shaving creams can also add a pleasant aroma to your cleaning or crafting projects, but be mindful of potential sensitivities or allergies. Always test a small, inconspicuous area first before applying any shaving cream to a larger surface.
Furthermore, don’t be afraid to combine shaving cream with other household ingredients to create even more powerful solutions. A mixture of shaving cream and baking soda can create a potent stain remover, while a blend of shaving cream and vinegar can tackle tough grime and mildew. The key is to experiment and find what works best for your specific needs and preferences.
We are confident that once you experience the versatility of shaving cream firsthand, you’ll be amazed by its transformative power. It’s a simple, affordable, and surprisingly effective way to tackle a wide range of household tasks.
Now, it’s your turn! We’re eager to hear about your experiences with these DIY shaving cream uses. Did you discover a new and innovative application? Did you find a particular trick especially helpful? Share your stories, tips, and photos in the comments below. Let’s create a community of shaving cream enthusiasts and unlock even more of its hidden potential together! Your insights could inspire others to embrace the versatility of this everyday essential and discover the many ways it can simplify their lives. So go ahead, grab that can of shaving cream, and prepare to be amazed!
Frequently Asked Questions (FAQs)
What type of shaving cream works best for these DIY tricks?
Generally, the classic, foamy type of shaving cream is recommended for most of the DIY applications mentioned. This type of shaving cream is readily available, affordable, and provides the right consistency for tasks like stain removal, cleaning, and crafting. Gel-based shaving creams can also be used in some cases, but they may not be as effective for certain applications due to their different texture and composition. Always test a small, inconspicuous area first to ensure compatibility and desired results. Avoid using shaving creams that contain harsh chemicals or dyes, as these could potentially damage surfaces or cause discoloration.
Can I use shaving cream to remove stains from all types of fabrics?
While shaving cream is generally effective at removing many types of stains from various fabrics, it’s always best to exercise caution and test a small, hidden area first, especially on delicate or sensitive materials like silk, wool, or leather. Some stains, such as those caused by oil or grease, may require additional treatment or specialized stain removers. For stubborn stains, you may need to repeat the shaving cream application or combine it with other cleaning agents like baking soda or vinegar. If you’re unsure about using shaving cream on a particular fabric, consult a professional cleaner for advice.
Is shaving cream safe to use on all types of surfaces?
Shaving cream is generally safe to use on most non-porous surfaces like glass, mirrors, and ceramic tiles. However, it’s important to avoid using it on porous surfaces like unfinished wood or natural stone, as it could potentially seep into the material and cause staining or damage. Always test a small, inconspicuous area first to ensure compatibility and prevent any adverse effects. When cleaning electronic screens with shaving cream, be sure to apply it sparingly and avoid getting any liquid inside the device. Wipe the screen gently with a soft, lint-free cloth to remove any residue.
How long should I leave shaving cream on a stain before wiping it off?
The amount of time you should leave shaving cream on a stain depends on the severity of the stain and the type of fabric or surface you’re treating. For light stains, a few minutes may be sufficient. For more stubborn stains, you may need to leave the shaving cream on for up to 30 minutes or even longer. Monitor the stain closely and check for any signs of discoloration or damage. Once the stain has lifted, wipe the area clean with a damp cloth and allow it to dry completely.
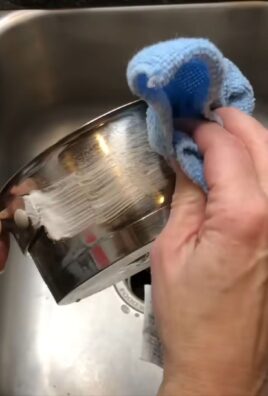
Can I use shaving cream to clean jewelry?
Yes, shaving cream can be used to clean certain types of jewelry, particularly those made of metal like silver or gold. However, it’s important to avoid using shaving cream on delicate or porous gemstones like pearls, opals, or emeralds, as it could potentially damage them. To clean metal jewelry with shaving cream, simply apply a small amount to a soft cloth and gently rub the jewelry to remove any dirt or tarnish. Rinse the jewelry thoroughly with water and dry it with a clean cloth.
Does the scent of the shaving cream linger after using it for cleaning?
The scent of the shaving cream may linger slightly after using it for cleaning, but it typically dissipates within a few hours. If you’re sensitive to fragrances, you can opt for unscented shaving cream or add a few drops of essential oil to the shaving cream to create a more pleasant aroma. You can also ventilate the area after cleaning to help dissipate the scent more quickly.
Can I use shaving cream to prevent fogging on mirrors and windows?
Yes, shaving cream is an excellent way to prevent fogging on mirrors and windows. Simply apply a thin layer of shaving cream to the surface, let it sit for a few minutes, and then wipe it off with a clean, dry cloth. This will create a protective barrier that prevents condensation from forming, keeping your mirrors and windows clear and fog-free.
Are there any safety precautions I should take when using shaving cream for DIY projects?
While shaving cream is generally safe to use, it’s always a good idea to take a few basic safety precautions. Avoid getting shaving cream in your eyes or mouth. If contact occurs, rinse thoroughly with water. Keep shaving cream out of reach of children and pets. When using shaving cream for cleaning, wear gloves to protect your hands from irritation. And as always, test a small, inconspicuous area first before applying shaving cream to a larger surface.

Leave a Comment