

Pumpkin Growing Hacks: Ready to transform your garden into a pumpkin patch paradise? I’m so excited to share some amazing DIY tricks that will help you cultivate the biggest, most beautiful pumpkins you’ve ever seen! Forget those tiny, store-bought gourds – we’re talking prize-winning pumpkins right from your own backyard.
Pumpkins have a rich history, deeply rooted in North American culture. Native Americans cultivated them for centuries, using them not only for food but also for medicinal purposes and crafting. Today, pumpkins are synonymous with autumn, Halloween, and Thanksgiving, bringing a sense of warmth and nostalgia to our homes.
But let’s be honest, growing pumpkins can be a bit tricky. They’re hungry plants that need a lot of space and attention. That’s where these pumpkin growing hacks come in! I’ve compiled a collection of simple, yet effective, techniques that will help you overcome common challenges like pest control, nutrient deficiencies, and even maximizing fruit size. Whether you’re a seasoned gardener or just starting out, these tips will empower you to grow impressive pumpkins with minimal effort. So, grab your gardening gloves, and let’s get started on your pumpkin-growing adventure!
Pumpkin Growing Hacks: From Seed to Spooky!
Okay, pumpkin lovers, let’s dive into some seriously awesome hacks to get you growing the biggest, baddest pumpkins on the block. I’ve learned a thing or two over the years, and I’m excited to share my secrets with you. Get ready to roll up your sleeves and get your hands dirty!
Choosing the Right Variety
Before we even think about planting, we need to talk about pumpkin varieties. Not all pumpkins are created equal! Some are bred for size, some for carving, and some for pie.
* Giant Pumpkins: If you’re dreaming of a record-breaker, look for varieties like ‘Atlantic Giant’. These need a LOT of space and attention, but the payoff can be HUGE.
* Carving Pumpkins: ‘Howden’ and ‘Connecticut Field’ are classic choices for carving. They have good shape and size, and the flesh is easy to work with.
* Pie Pumpkins: ‘Sugar Pie’ and ‘Baby Pam’ are smaller, sweeter pumpkins perfect for baking.
* Specialty Pumpkins: Don’t forget about the fun ones! ‘Lumina’ (white), ‘Jarrahdale’ (blue-grey), and ‘Rouge Vif d’Etampes’ (bright red) add a splash of color to your fall display.
Preparing Your Pumpkin Patch
Pumpkins are hungry plants, so soil preparation is key. Think of it as building a five-star restaurant for your future gourds!
* Sunlight: Pumpkins need at least 6-8 hours of direct sunlight per day. Choose a spot that gets plenty of sunshine.
* Soil: Pumpkins thrive in well-drained soil that’s rich in organic matter.
* Space: Give your pumpkins plenty of room to spread out. Giant varieties can need up to 100 square feet per plant!
* Compost: Load up your soil with compost! This will provide essential nutrients and improve drainage.
* pH: Aim for a soil pH between 6.0 and 7.0. You can test your soil with a kit from your local garden center.
Planting Your Pumpkin Seeds
Now for the fun part! Let’s get those seeds in the ground.
1. Timing is Everything: Pumpkins need a long growing season (75-100 days), so start your seeds indoors about 2-3 weeks before the last expected frost. You can also direct sow them in the garden after the danger of frost has passed.
2. Starting Seeds Indoors: Use peat pots or biodegradable pots to avoid disturbing the roots when transplanting. Fill the pots with seed-starting mix and plant 2-3 seeds per pot, about 1 inch deep. Water gently and keep the soil moist.
3. Direct Sowing: Create small hills or mounds of soil about 1-2 feet apart. Plant 3-5 seeds per hill, about 1 inch deep. Water gently and keep the soil moist.
4. Thinning: Once the seedlings emerge, thin them to the strongest plant per pot or hill. This ensures that each plant has enough space and resources to thrive.
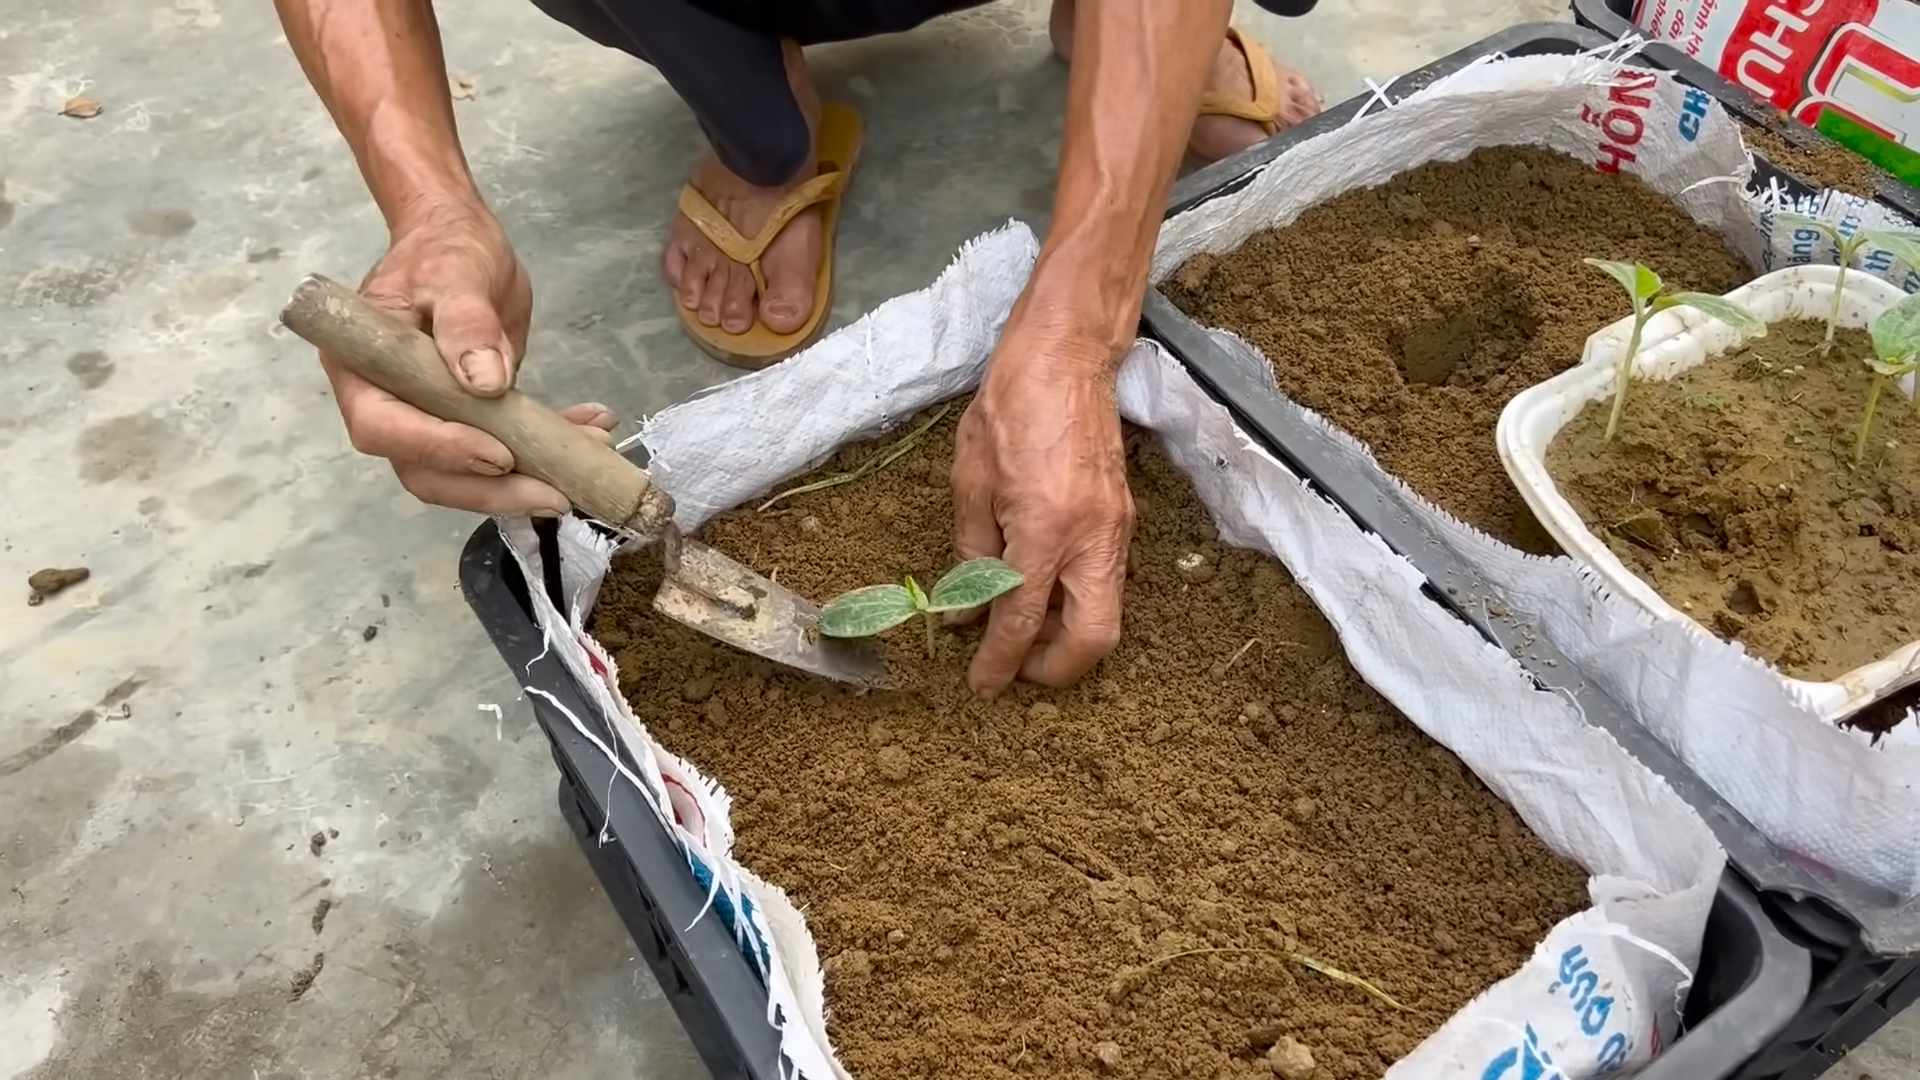
5. Transplanting: If you started your seeds indoors, harden them off by gradually exposing them to outdoor conditions for a week before transplanting. Dig a hole slightly larger than the pot and gently remove the seedling. Place it in the hole and backfill with soil. Water thoroughly.
Watering and Feeding Your Pumpkins
Pumpkins are thirsty and hungry plants, so regular watering and feeding are essential for healthy growth.
* Watering: Water deeply and regularly, especially during dry spells. Aim for about 1 inch of water per week. Water at the base of the plant to avoid wetting the foliage, which can lead to fungal diseases.
* Fertilizing: Feed your pumpkins with a balanced fertilizer every 2-3 weeks. Look for a fertilizer that’s high in phosphorus and potassium, which promote fruit development. You can also use compost tea or fish emulsion for a natural boost.
* Side-dressing: When the vines start to run, side-dress your plants with compost or aged manure. This will provide a slow-release source of nutrients throughout the growing season.
Pruning and Training Your Pumpkin Vines
Pruning and training your pumpkin vines can help to improve air circulation, reduce disease, and encourage larger fruit.
* Pruning: Remove any dead or diseased leaves and vines. You can also prune away some of the secondary vines to focus the plant’s energy on producing fewer, larger pumpkins.
* Training: Train the vines to grow in a specific direction to maximize space and sunlight exposure. You can use stakes or trellises to support the vines.
* Pollination: Pumpkins have separate male and female flowers. The female flowers have a small fruit at the base. If pollination is poor, you can hand-pollinate the flowers by transferring pollen from the male flowers to the female flowers with a small brush. Do this early in the morning when the flowers are open.
Protecting Your Pumpkins from Pests and Diseases
Pumpkins are susceptible to a variety of pests and diseases, so it’s important to take preventative measures to protect your crop.
* Pests: Common pumpkin pests include squash bugs, squash vine borers, and cucumber beetles. You can control these pests with insecticidal soap, neem oil, or row covers.
* Diseases: Common pumpkin diseases include powdery mildew, downy mildew, and blossom-end rot. You can prevent these diseases by providing good air circulation, avoiding overhead watering, and applying a fungicide if necessary.
* Slugs and Snails: These slimy critters love to munch on young pumpkin plants. Use beer traps, copper tape, or diatomaceous earth to keep them away.
* Rodents: Mice, rats, and squirrels can damage pumpkins. Use traps or repellents to keep them away.
The Great Pumpkin Growing Hacks!
Okay, now for the real secrets! These are the tricks I’ve learned that have helped me grow some seriously impressive pumpkins.
* Epsom Salts: Epsom salts are a great source of magnesium, which is essential for plant growth. Dissolve 1 tablespoon of Epsom salts in 1 gallon of water and spray the foliage every 2-3 weeks.
* Milk: Milk can help to prevent powdery mildew. Mix 1 part milk with 9 parts water and spray the foliage every week.
* Sugar: Some growers swear that adding sugar to the soil can help to increase the size of the pumpkins. Mix 1 cup of sugar with 1 gallon of water and pour it around the base of the plant every 2-3 weeks.
* Bury the Vine: As the vines grow, bury sections of them in the soil. This encourages the development of additional roots, which can help to provide more nutrients and water to the plant.
* Weed Control: Keep the area around your pumpkins free of weeds. Weeds compete with pumpkins for nutrients and water. Mulch can help to suppress weeds and retain moisture.
* Sun Protection: As the pumpkins get larger, protect them from sunburn by shading them with a cloth or umbrella during the hottest part of the day.
* Rotating the Pumpkin: Gently rotate the pumpkin every few days to ensure that it develops evenly.
* Elevate the Pumpkin: Place a piece of wood or cardboard under the pumpkin to prevent it from rotting. This also helps to protect it from pests.
* Talk to Your Pumpkins: Okay, this might sound crazy, but I swear it works! Talk to your pumpkins and tell them how beautiful they are. Positive energy can go a long way!
Harvesting Your Pumpkins
The moment we’ve all been waiting for! Harvesting your pumpkins is the culmination of all your hard work.
1. Timing: Harvest your pumpkins when they are fully mature and the rind is hard. The stem should be dry and brown.
2. Cutting: Use a sharp knife or pruning shears to cut the pumpkin from the vine, leaving about 4-6 inches of stem attached.
3. Handling: Handle your pumpkins carefully to avoid bruising or damaging them.
4. Curing: Cure your pumpkins in a warm, dry place for about 1-2 weeks. This will help to harden the rind and prolong their storage life.
5. Storage: Store your pumpkins in a cool, dry place. They should last for several months.
Troubleshooting
Even with the best planning, sometimes things go wrong. Here are some common problems and how to fix them:
* Blossom-End Rot: This is caused by a calcium deficiency. Add calcium to the soil or spray the foliage with a calcium solution.
* Powdery Mildew: This is a fungal disease that causes a white powdery coating on the leaves. Improve air circulation and apply a fungicide if necessary.
* Squash Vine Borers
Conclusion
So, there you have it! These pumpkin growing hacks aren’t just about getting bigger pumpkins; they’re about cultivating a more rewarding and enjoyable gardening experience. From the strategic pruning techniques that redirect energy to fruit development to the ingenious watering methods that deliver hydration right where it’s needed, each tip is designed to maximize your yield and minimize potential problems.
Why is this a must-try? Because growing pumpkins, especially large ones, can be challenging. These hacks take the guesswork out of the process, providing a clear roadmap to success. Imagine the satisfaction of harvesting pumpkins that are not only healthy and vibrant but also significantly larger than you ever thought possible. Think of the bragging rights! Think of the pies!
But it’s not just about size. These techniques also improve the overall health of your pumpkin plants, making them more resistant to pests and diseases. A healthy plant produces better fruit, and that’s what we’re all aiming for.
Variations and Suggestions:
Don’t be afraid to experiment! While these hacks provide a solid foundation, gardening is all about adapting to your specific environment and preferences.
* Soil Amendments: Consider adding different types of organic matter to your soil. Compost, aged manure, and even coffee grounds can provide valuable nutrients and improve soil structure. Experiment with different combinations to see what works best for your soil type.
* Pollination Assistance: If you’re not seeing enough bees in your garden, try hand-pollinating your pumpkin flowers. Use a small paintbrush to transfer pollen from the male flowers to the female flowers. This can significantly increase your chances of getting a good fruit set.
* Vertical Growing: If space is limited, consider growing your pumpkins vertically on a sturdy trellis. This can help to save space and improve air circulation around the plants. Just be sure to provide adequate support for the heavy pumpkins as they grow.
* Companion Planting: Plant beneficial companion plants around your pumpkins to deter pests and attract pollinators. Marigolds, nasturtiums, and basil are all excellent choices.
* Different Varieties: While these hacks work well for most pumpkin varieties, some may respond better than others. Experiment with different types of pumpkins to see which ones thrive in your garden. Consider trying Atlantic Giant for the largest pumpkins, or smaller varieties like Jack Be Little for decorative purposes.
We’re confident that these pumpkin growing hacks will transform your gardening efforts. But the real magic happens when you put them into practice. So, grab your gardening gloves, get your hands dirty, and start growing!
We encourage you to try these DIY tricks and share your experiences with us. Let us know what worked for you, what didn’t, and any variations you tried. Your feedback will help us refine these techniques and make them even more effective for other gardeners. Share your pumpkin photos and stories on social media using #PumpkinGrowingHacks. We can’t wait to see what you grow!
FAQ
Frequently Asked Questions About Pumpkin Growing Hacks
Q: How much space do pumpkins need to grow?
A: Pumpkins are sprawling plants that require a significant amount of space. Generally, you should allow at least 6 to 8 feet between plants. For larger varieties like Atlantic Giant, you may need even more space, up to 10 to 12 feet. If you’re growing pumpkins vertically on a trellis, you can get away with less ground space, but ensure the trellis is strong enough to support the weight of the mature pumpkins.
Q: What is the best type of soil for growing pumpkins?
A: Pumpkins thrive in well-drained, fertile soil that is rich in organic matter. The ideal soil pH is between 6.0 and 7.0. Before planting, amend your soil with compost, aged manure, or other organic materials to improve its fertility and drainage. A soil test can help you determine if your soil is lacking any essential nutrients.
Q: How often should I water my pumpkin plants?
A: Pumpkins need consistent moisture, especially during fruit development. Water deeply and regularly, aiming for about 1 inch of water per week. Avoid overhead watering, as this can lead to fungal diseases. Instead, water at the base of the plants or use a soaker hose. During hot, dry weather, you may need to water more frequently.
Q: When should I start pruning my pumpkin plants?
A: You can start pruning your pumpkin plants once they have developed several healthy vines. The goal of pruning is to direct the plant’s energy towards fruit production rather than vegetative growth. Remove any suckers (small shoots that grow from the base of the plant) and any non-productive vines. Focus on maintaining one or two main vines per plant.
Q: How do I know when my pumpkins are ripe?
A: Pumpkins are typically ready to harvest in the fall, about 90 to 120 days after planting. The skin should be hard and resistant to scratching, and the stem should be dry and brown. The color of the pumpkin should also be uniform and vibrant. When harvesting, cut the stem with a sharp knife, leaving a few inches of stem attached to the pumpkin.
Q: What are some common pests and diseases that affect pumpkins?
A: Common pests that affect pumpkins include squash bugs, squash vine borers, and aphids. Common diseases include powdery mildew, downy mildew, and blossom-end rot. To prevent pests and diseases, practice good garden hygiene, such as removing plant debris and weeds. You can also use organic pest control methods, such as insecticidal soap or neem oil. Ensure good air circulation around your plants to prevent fungal diseases.
Q: Can I grow pumpkins in containers?
A: While it’s possible to grow pumpkins in containers, it’s best to choose smaller varieties like Jack Be Little or Baby Boo. Use a large container (at least 20 gallons) and fill it with a high-quality potting mix. Provide adequate support for the vines and water regularly. Container-grown pumpkins may not reach the same size as those grown in the ground.
Q: How can I encourage larger pumpkin growth?
A: Several factors contribute to larger pumpkin growth. These include:
* Genetics: Choose a variety known for producing large pumpkins, such as Atlantic Giant.
* Soil: Provide rich, well-drained soil with plenty of organic matter.
* Water: Water deeply and consistently, especially during fruit development.
* Fertilizer: Fertilize regularly with a balanced fertilizer.
* Pruning: Prune your plants to direct energy towards a single fruit.
* Sunlight: Ensure your plants receive at least 6 hours of sunlight per day.
* Pollination: Hand-pollinate your flowers to ensure a good fruit set.
Q: What should I do if my pumpkin plant is not producing any fruit?
A: There are several reasons why your pumpkin plant may not be producing fruit. These include:
* Lack of pollination: Ensure that your plants are being pollinated by bees or other insects. If not, try hand-pollinating the flowers.
* Nutrient deficiencies: Test your soil and amend it with any necessary nutrients.
* Water stress: Water deeply and regularly, especially during hot, dry weather.
* Disease: Check your plants for signs of disease and treat accordingly.
* Temperature: Pumpkins need warm temperatures to thrive. If the weather is too cold, they may not produce fruit.
Q: How do I store my harvested pumpkins?
A: Store your harvested pumpkins in a cool, dry place with good air circulation. Avoid storing them in direct sunlight or near heat sources. Properly stored pumpkins can last for several months. Before storing, inspect your pumpkins for any signs of damage or disease. Discard any pumpkins that are soft or have blemishes.
Leave a Comment