

Pet Owner Cleaning Products: DIY Solutions for a Sparkling Home
I’m a pet owner, and like many of you, I love my furry friends more than words can say. But let’s be honest, the reality of pet ownership often involves a constant battle against pet hair, muddy paw prints, and the occasional…accident. Traditional pet cleaning products can be expensive, and some contain harsh chemicals that I’m not comfortable using around my beloved animals. That’s why I’ve compiled these Pet Owner Cleaning Products DIY solutions – a collection of simple, effective, and eco-friendly recipes to keep your home sparkling clean without breaking the bank or exposing your pets to potentially harmful substances.
The desire for clean and safe homes is as old as civilization itself. Throughout history, people have used natural ingredients to clean and deodorize their living spaces. From ancient Romans using urine as a cleaning agent (yes, really!) to Victorian-era housewives relying on homemade lye soap, the pursuit of a spotless home has always been intertwined with resourcefulness and innovation. Today, we have the opportunity to revive these traditions, creating Pet Owner Cleaning Products that are both effective and environmentally conscious.
Why DIY Pet Cleaning Products?
Making your own pet cleaning products offers several key advantages. Firstly, you have complete control over the ingredients, ensuring they’re safe for your pets and your family. Secondly, DIY solutions are often more affordable than commercially available products. And finally, you can reduce your environmental impact by avoiding harsh chemicals and excessive packaging. This article will guide you through creating several essential pet-friendly cleaning solutions, from pet stain removers to deodorizers, empowering you to maintain a clean and healthy home for both you and your furry companions.
Making Your Own Pet-Friendly Cleaning Products
I’m a huge advocate for DIY, especially when it comes to cleaning products, particularly for my furry friends. Store-bought cleaners often contain harsh chemicals that can be harmful to pets. So, I decided to take matters into my own paws (or hands!) and create my own pet-friendly cleaning solutions. Here’s how I did it, and how you can too!
Section 1: Gathering Your Supplies
- Essential Oils (Pet-Safe): Lavender, chamomile, and peppermint are great choices. A little goes a long way, so start with a small bottle. Always check that the essential oil is safe for pets before using it. Some oils can be toxic.
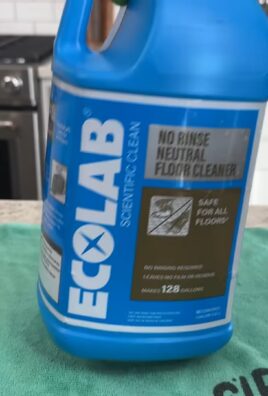
- White Vinegar: This is a natural disinfectant and deodorizer. Make sure it’s distilled white vinegar for the best results.
- Baking Soda: Another natural powerhouse. It’s great for scrubbing and deodorizing.
- Water: Use filtered water if possible.
- Spray Bottles: Get a few different sized spray bottles depending on your needs. One for all-purpose cleaner, one for pet-specific areas, etc.
- Microfiber Cloths: These are gentle on surfaces and effective at cleaning.
- Measuring Cups and Spoons: For accurate measurements.
Section 2: Creating Your All-Purpose Cleaner
- In a spray bottle, combine 1 cup of water and 1/2 cup of white vinegar.
- Add 10-15 drops of your chosen pet-safe essential oil (I like lavender for its calming scent). Start with fewer drops and add more if needed, as essential oils can be potent.
- Close the spray bottle tightly and shake well to mix the ingredients.
- Test the cleaner on a small, inconspicuous area before using it on a larger surface to ensure it doesn’t damage the material.
- Spray the cleaner onto the surface and wipe with a microfiber cloth. For tougher stains, let the cleaner sit for a few minutes before wiping.
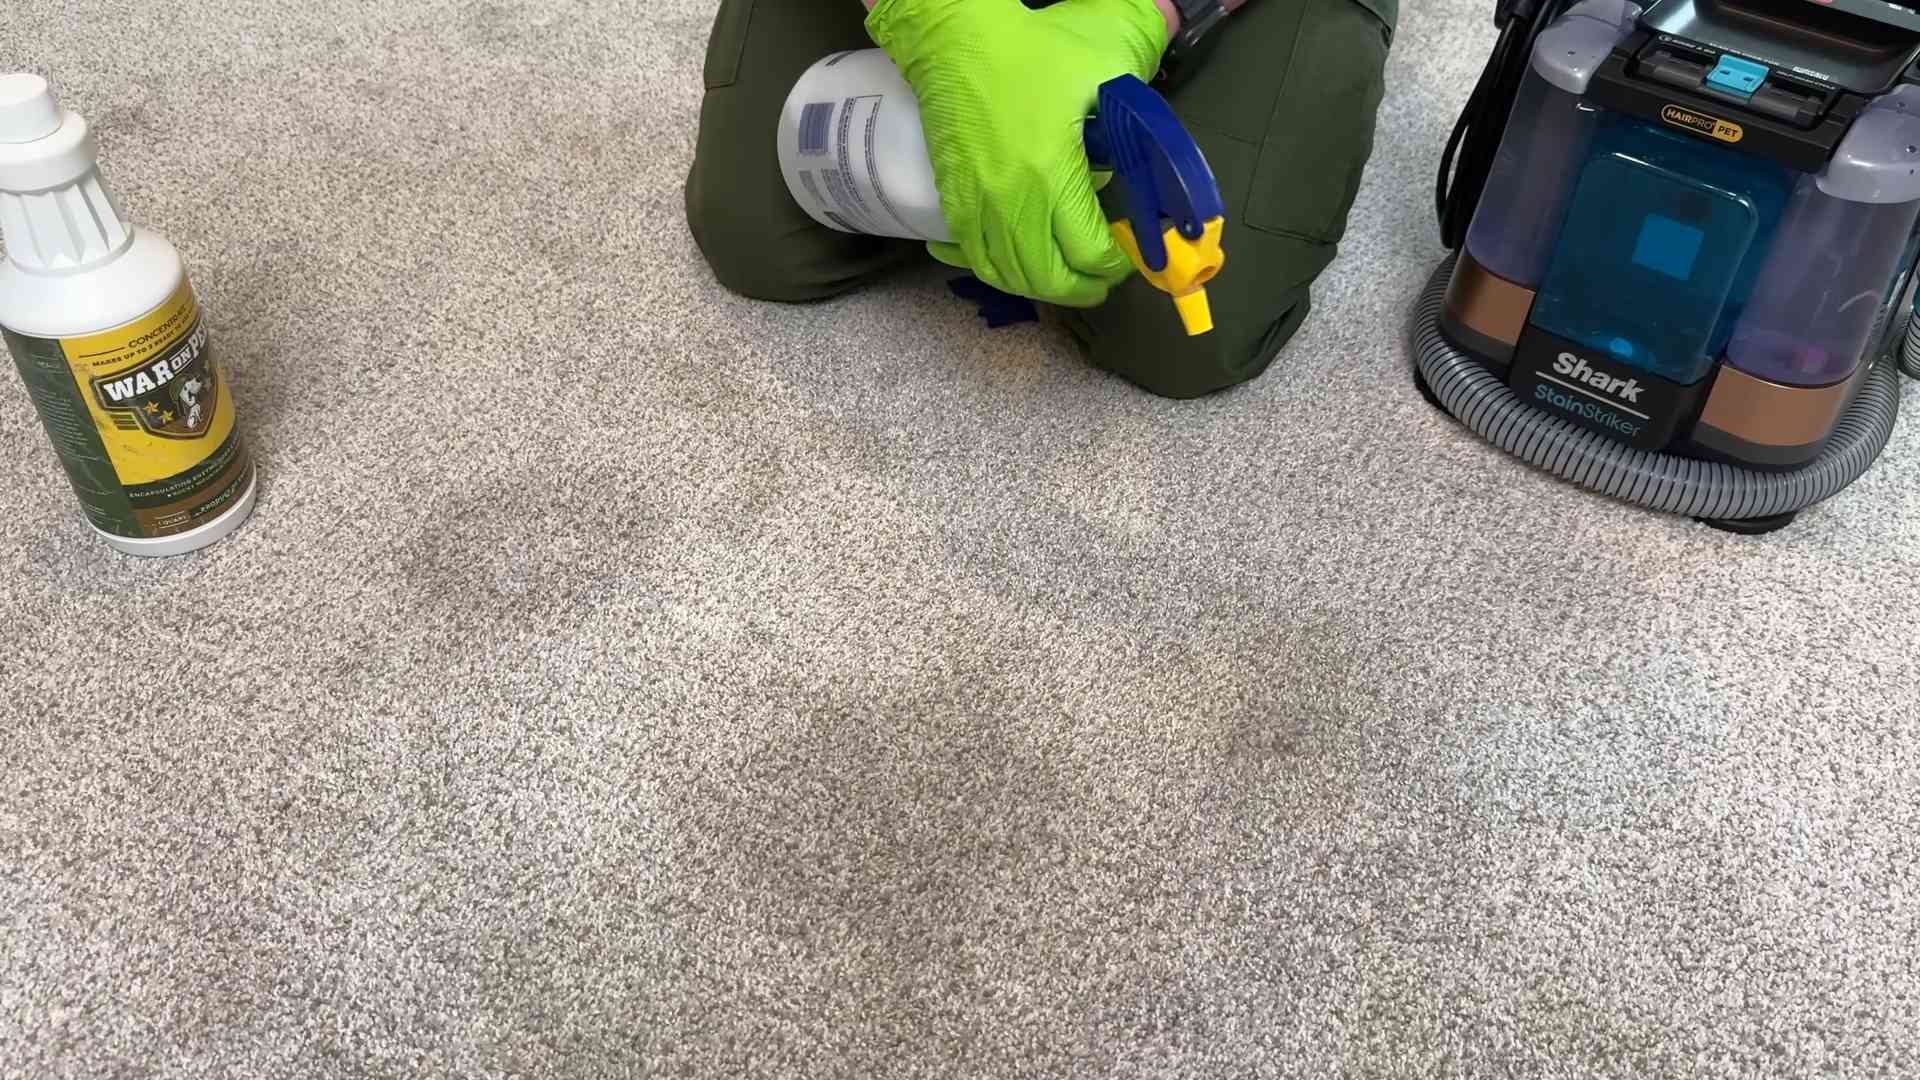
Section 3: Making a Pet-Specific Stain and Odor Remover
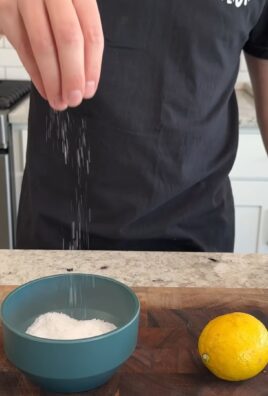
- In a small bowl, mix 1/4 cup of baking soda with 2 tablespoons of white vinegar. It will fizz a bit – that’s normal!
- Let the mixture sit for a few minutes until the fizzing stops.
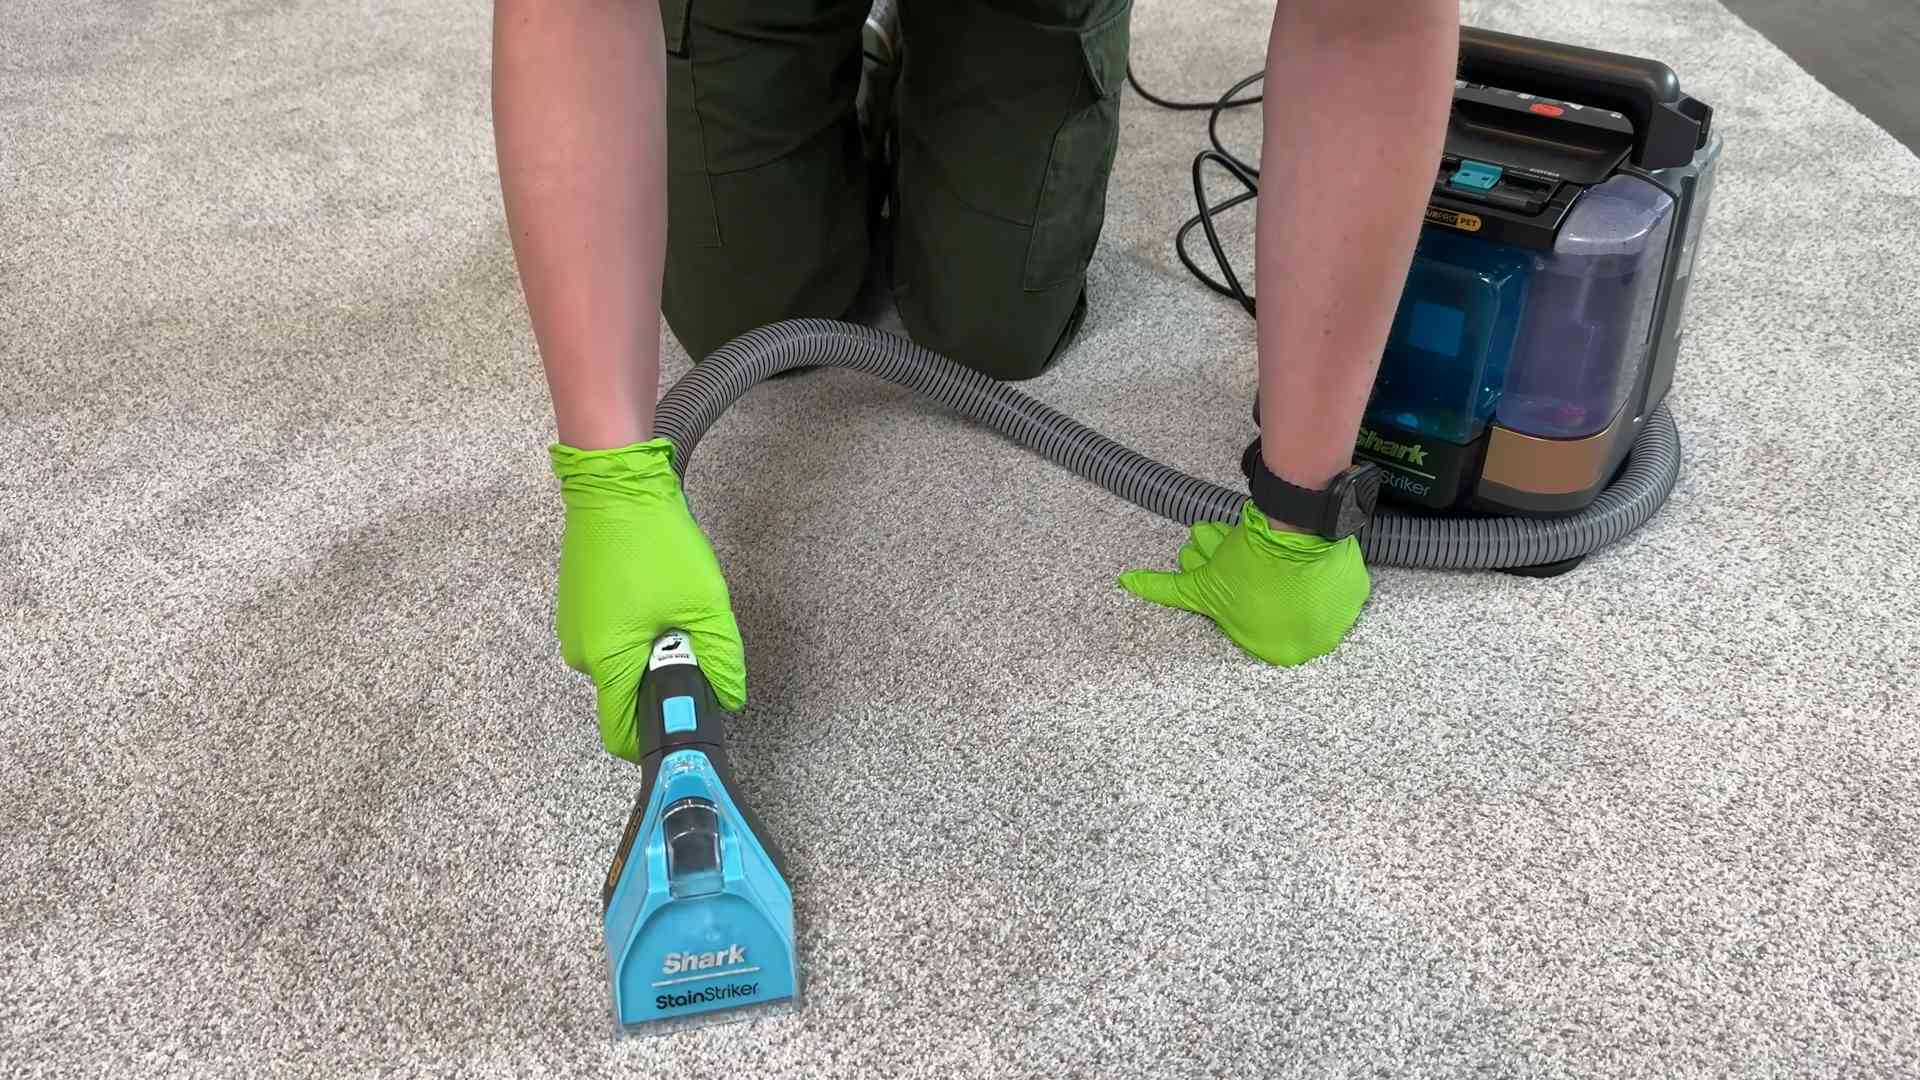
- Apply the paste directly to pet stains or odorous areas. For carpets or upholstery, gently rub the paste into the fabric.
- Let the paste sit for 15-30 minutes to allow it to absorb odors and lift stains.
- Vacuum or wipe up the paste thoroughly. For stubborn stains, you may need to repeat the process.
Section 4: DIY Pet Bed Deodorizer
- Sprinkle a generous amount of baking soda onto your pet’s bed. Make sure to cover the entire surface.
- Let the baking soda sit for at least 30 minutes, or even overnight, to absorb odors.
- Vacuum up the baking soda thoroughly. You’ll be amazed at how much odor it absorbs!
- For an extra fresh scent, you can add a few drops of pet-safe essential oil to the baking soda before sprinkling it on the bed. Again, test a small area first.
Section 5: Cleaning Pet Bowls
- Wash pet bowls with hot, soapy water. Use a pet-safe dish soap.
- Rinse thoroughly to remove all traces of soap.
- For stubborn stains or food residue, you can soak the bowls in a solution of equal parts water and white vinegar for 30 minutes before washing.
- Once clean, allow the bowls to air dry completely.
Section 6: Important Considerations
- Always test any cleaning solution on a small, inconspicuous area before using it on a larger surface. This will help prevent damage to your furniture or flooring.
- Never use essential oils directly on your pet’s skin. They can be irritating or even toxic if ingested.
- Keep all cleaning solutions out of reach of children and pets.
- If you have any concerns about using homemade cleaning products, consult your veterinarian.
- Remember that these are natural cleaning solutions, so they may not be as effective as commercial cleaners for extremely stubborn stains or messes. You may need to repeat the process or use a different method for particularly tough situations.
Section 7: Expanding Your DIY Cleaning Arsenal
Once you’ve mastered these basic recipes, you can experiment with other natural ingredients and essential oil combinations to create your own unique pet-friendly cleaning solutions. Consider adding things like lemon juice (in moderation) for extra cleaning power or tea tree oil (again, in moderation and only if safe for your pets) for its antiseptic properties. Always prioritize safety and test thoroughly before widespread use.
Remember, a little creativity and a lot of care can go a long way in keeping your home clean and your pets safe and happy!
Conclusion
So there you have it! Our guide to making your own pet owner cleaning products. This DIY approach isn’t just about saving money; it’s about taking control of what you use to clean your pet’s environment and ensuring a healthier, safer space for your furry friend. By using natural ingredients, you eliminate harsh chemicals that can be irritating to your pet’s sensitive skin and respiratory system, and potentially harmful if ingested. This method offers a superior level of control and peace of mind, knowing exactly what’s in the products you’re using. The simple recipes are easy to follow, requiring ingredients readily available at most grocery stores. The time investment is minimal, and the rewards – a cleaner, healthier home and a happier pet – are immeasurable. This truly is a must-try for any responsible pet owner.
Beyond the recipes provided, the possibilities for customization are endless. Experiment with different essential oils to create your own signature scent, keeping in mind your pet’s sensitivities. Lavender is generally calming, while citrus scents can be uplifting. However, always research essential oils thoroughly before using them around pets, as some can be toxic. You can also adjust the ratios of ingredients to suit your specific needs. If you have a particularly stubborn stain, you might increase the concentration of baking soda or vinegar. For a more fragrant cleaner, add a few extra drops of essential oil. Remember to always test any new mixture on a small, inconspicuous area first to ensure it doesn’t damage surfaces. Consider making larger batches of your favorite cleaning solutions to have on hand, reducing the frequency of preparation. And don’t forget to label your homemade pet owner cleaning products clearly, indicating the ingredients and date of preparation.
We strongly encourage you to try these DIY pet owner cleaning products and share your experience with us! Let us know in the comments below which recipe was your favorite, any modifications you made, and how your pet reacted to the cleaner, fresher environment. Your feedback will help other pet owners discover the benefits of this simple yet effective approach to pet-friendly cleaning. Join the growing community of pet owners who are embracing natural, safe, and effective cleaning solutions for their beloved companions. Let’s create a cleaner, healthier world for our pets, one DIY cleaning product at a time! Remember to always prioritize your pet’s safety and well-being.
Frequently Asked Questions
What are the benefits of using DIY pet owner cleaning products?
DIY pet owner cleaning products offer several key advantages. Firstly, they are significantly more cost-effective than commercially available pet cleaning products. Secondly, and perhaps most importantly, they allow you to control the ingredients, eliminating harsh chemicals and potentially harmful substances that can irritate your pet’s skin or respiratory system. This is especially crucial for pets with allergies or sensitivities. Finally, using natural ingredients contributes to a more environmentally friendly cleaning routine, reducing your carbon footprint.
Are these DIY cleaners safe for all pets?
While the ingredients used in these recipes are generally considered safe for pets, it’s crucial to always test a small amount of any new cleaning solution on an inconspicuous area first. Some pets may have individual sensitivities to certain ingredients. Always supervise your pet while cleaning and ensure they don’t ingest any cleaning solution. If you have concerns about a specific ingredient or your pet’s health, consult your veterinarian before using these DIY cleaners.
How long do these homemade cleaners last?
The shelf life of your homemade pet owner cleaning products will depend on the ingredients and storage conditions. Generally, solutions stored in airtight containers in a cool, dark place will last for several weeks. However, it’s always best to use your cleaning solutions within a month to ensure their effectiveness and safety. Always check for any signs of spoilage, such as unusual odors or changes in consistency, before using.
Can I use these cleaners on all surfaces?
While these cleaners are generally safe for most surfaces, it’s essential to test them on a small, inconspicuous area first to ensure they don’t cause damage or discoloration. Avoid using abrasive cleaners on delicate surfaces. Always refer to the manufacturer’s instructions for cleaning specific materials.
What if my pet ingests some of the cleaning solution?
If your pet ingests any of the cleaning solution, contact your veterinarian or an animal poison control center immediately. Provide them with details about the ingredients used and the amount ingested. Prompt action is crucial in such situations.
Where can I find the ingredients for these DIY pet owner cleaning products?
Most of the ingredients for these recipes, such as baking soda, white vinegar, and essential oils, are readily available at grocery stores, pharmacies, and online retailers. You can often find these items in the cleaning aisle, baking aisle, or health and beauty section.
Can I adjust the recipes to suit my needs?
Absolutely! The recipes provided are guidelines, and you can adjust them to suit your specific needs and preferences. You can experiment with different essential oils, adjust the ratios of ingredients, or add other natural cleaning agents. However, always remember to test any new mixture on a small, inconspicuous area first.
Leave a Comment