

Hydrogen Peroxide Grout Cleaning: Are you tired of staring at dingy, discolored grout lines that make your entire kitchen or bathroom look old and unclean? I know I was! It’s amazing how something so small can have such a big impact on the overall appearance of a room. For centuries, people have struggled with keeping grout clean, from using harsh chemicals to endless scrubbing with little success. But what if I told you there’s a simple, effective, and budget-friendly solution hiding in your medicine cabinet?
This DIY guide will reveal the power of hydrogen peroxide grout cleaning. Forget those expensive, store-bought cleaners filled with questionable ingredients. We’re going back to basics with a method that’s not only gentle on your surfaces but also incredibly effective at banishing stains and restoring your grout to its former glory. You might be wondering, “Why hydrogen peroxide?” Well, its mild bleaching action and disinfecting properties make it a perfect candidate for tackling stubborn grout stains without damaging the surrounding tiles. Plus, it’s a much safer alternative to harsh chemicals, especially if you have kids or pets.
I’m going to walk you through the entire process, step-by-step, with easy-to-follow instructions and helpful tips to ensure you achieve professional-looking results. Get ready to say goodbye to grimy grout and hello to a sparkling clean home with this simple, yet powerful DIY trick!

DIY Grout Cleaning with Hydrogen Peroxide: A Sparkling Solution!
Okay, let’s face it: grout is the bane of every homeowner’s existence. It gets grimy, stained, and just plain gross. But don’t despair! You don’t need harsh chemicals or expensive professional cleaning services to get your grout looking brand new. I’m going to show you how to clean your grout effectively and affordably using a simple household staple: hydrogen peroxide.
This method is fantastic because it’s relatively gentle, readily available, and surprisingly powerful. Plus, it’s a much safer alternative to bleach, especially if you have kids or pets. I’ve used this trick for years, and I’m always amazed at the results.
What You’ll Need:
Before we dive in, let’s gather our supplies. This is a pretty straightforward process, so the list is short and sweet:
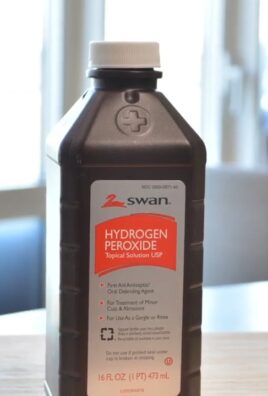
* Hydrogen Peroxide (3% solution): This is the standard concentration you find at the drugstore. Don’t go for anything stronger unless you’re a seasoned pro and know what you’re doing.
* Spray Bottle: A clean, empty spray bottle is essential for easy application.
* Old Toothbrush or Grout Brush: An old toothbrush works perfectly for scrubbing those narrow grout lines. A specialized grout brush is even better if you have one.
* Paper Towels or Clean Cloths: For wiping away the grime and excess hydrogen peroxide.
* Gloves (Optional but Recommended): While hydrogen peroxide is relatively mild, it can irritate sensitive skin. Gloves are always a good idea.
* Eye Protection (Optional but Recommended): Splashes happen! Protect your eyes, especially if you’re cleaning overhead surfaces.
* Baking Soda (Optional, for Stubborn Stains): If you’re dealing with particularly tough stains, baking soda can give your cleaning power an extra boost.
* Small Bowl (Optional, for Baking Soda Paste): If you’re using baking soda, you’ll need a bowl to mix it into a paste.
Step-by-Step Grout Cleaning Guide:
Alright, let’s get down to business! Here’s how to clean your grout using hydrogen peroxide:
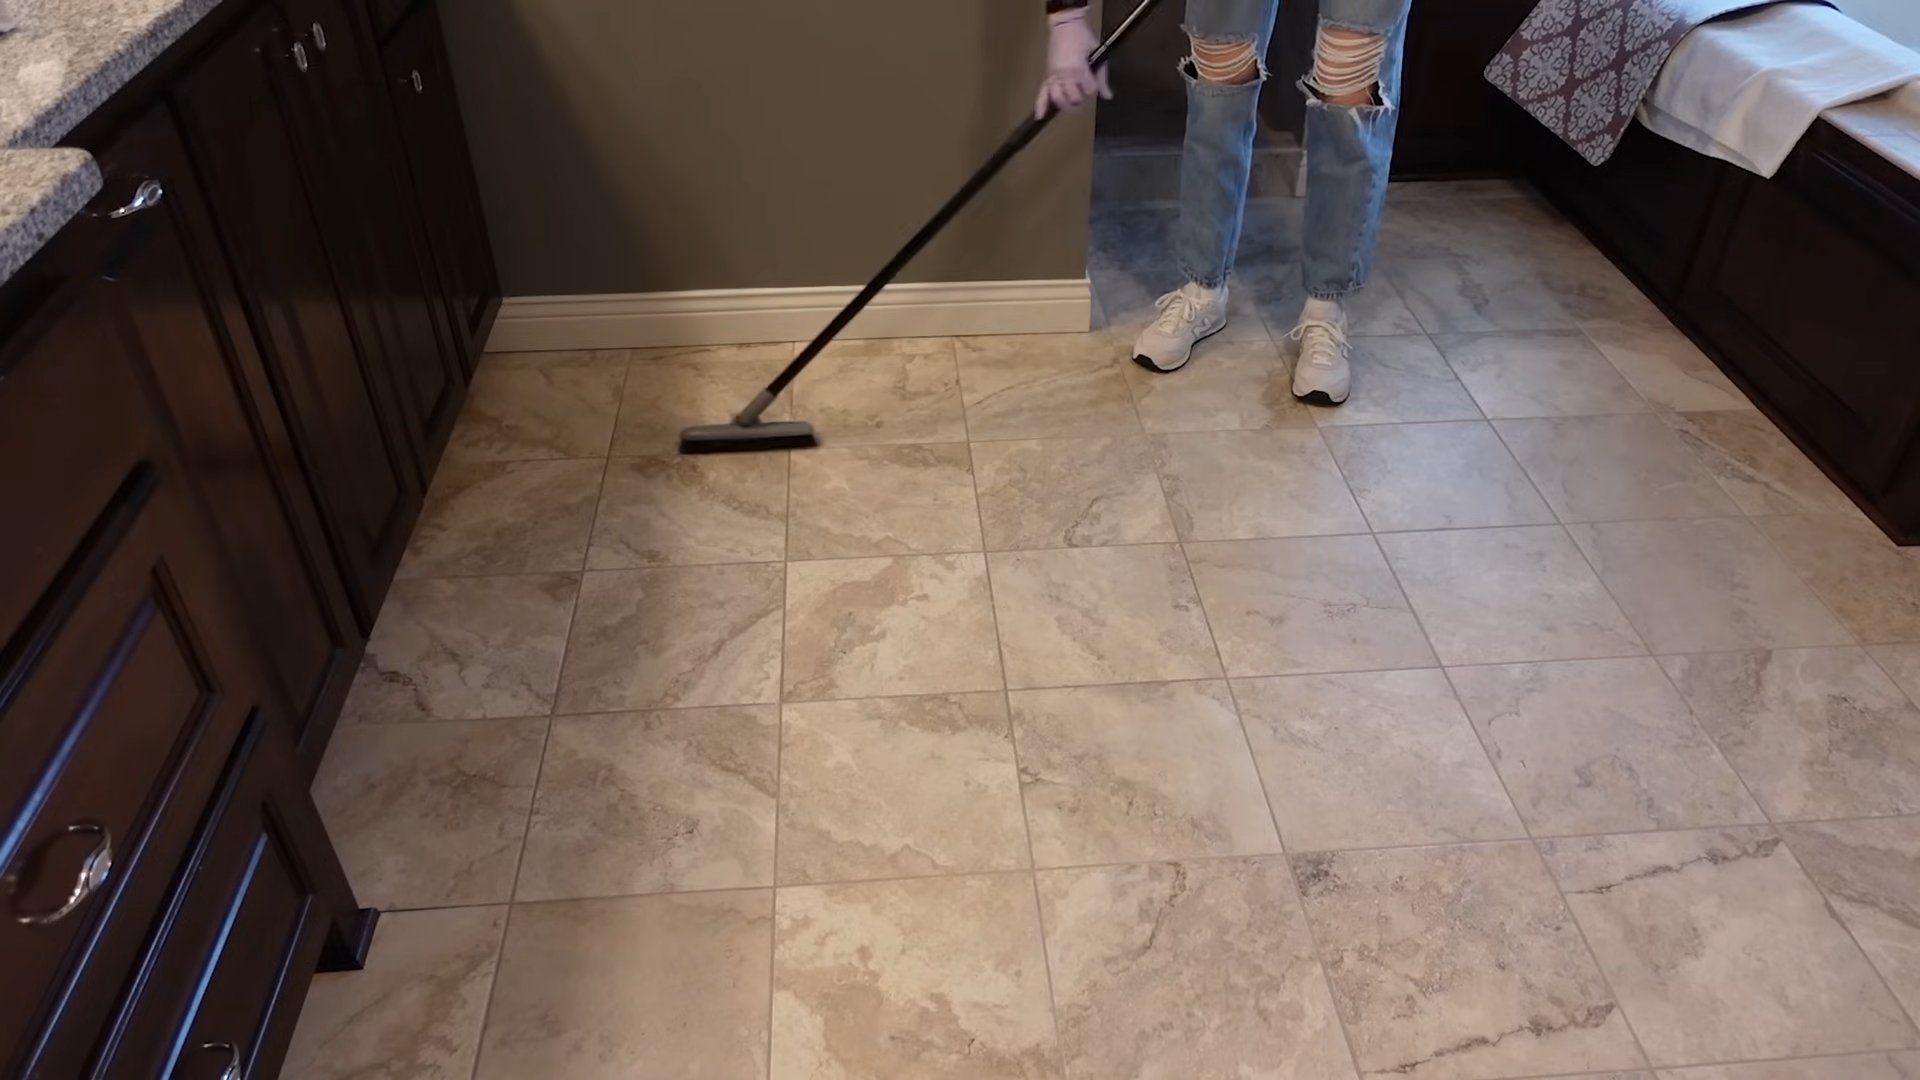
1. Prepare the Area: Before you start spraying, sweep or vacuum the area you’ll be cleaning. This removes any loose dirt, dust, or debris that could hinder the cleaning process. You want the hydrogen peroxide to directly target the grout, not the surface grime.
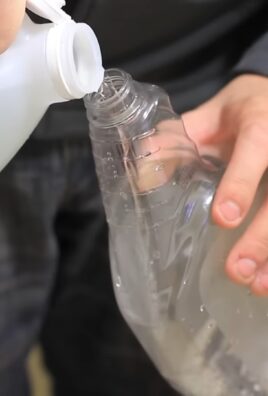
2. Apply the Hydrogen Peroxide: Pour the hydrogen peroxide into your spray bottle. Then, generously spray the grout lines you want to clean. Make sure the grout is thoroughly saturated. Don’t be shy! You want the hydrogen peroxide to really soak in and work its magic.
3. Let it Sit (The Waiting Game): This is the crucial part! Let the hydrogen peroxide sit on the grout for at least 10-15 minutes. For heavily stained grout, you can let it sit for up to 30 minutes. The longer it sits, the more time it has to break down the dirt and grime. I usually set a timer so I don’t forget.
4. Scrub-a-Dub-Dub: Now comes the elbow grease! Using your old toothbrush or grout brush, scrub the grout lines vigorously. You’ll likely see the dirt and grime start to lift away. Pay close attention to any areas with stubborn stains and give them extra scrubbing.
5. Wipe Away the Grime: Once you’ve scrubbed all the grout lines, use paper towels or clean cloths to wipe away the dirty hydrogen peroxide solution. You’ll be amazed at how much grime comes off! Rinse your cloths frequently to avoid spreading the dirt around.
6. Rinse (If Necessary): If you’re cleaning a large area, you might want to rinse the surface with clean water after wiping away the hydrogen peroxide. This helps to remove any remaining residue. However, for smaller areas, wiping is usually sufficient.
7. Dry the Area: Finally, dry the area with a clean towel or let it air dry. And that’s it! You should now have sparkling clean grout.
Tackling Stubborn Stains with Baking Soda:
Sometimes, hydrogen peroxide alone isn’t enough to tackle those really stubborn stains. That’s where baking soda comes in! This dynamic duo is a powerhouse for grout cleaning.
1. Make a Baking Soda Paste: In a small bowl, mix baking soda with a small amount of hydrogen peroxide to form a thick paste. The consistency should be similar to toothpaste.
2. Apply the Paste: Apply the baking soda paste directly to the stained grout lines. Use your fingers or a small spatula to ensure the paste is packed into the grout.
3. Let it Sit (Again!): Let the baking soda paste sit on the grout for at least 30 minutes, or even longer for really tough stains. I’ve even left it overnight in some cases!
4. Scrub and Wipe: After the waiting period, scrub the grout lines with your toothbrush or grout brush. The baking soda will act as a gentle abrasive, helping to lift away the stains. Then, wipe away the paste with paper towels or clean cloths.
5. Rinse and Dry: Rinse the area with clean water to remove any remaining baking soda residue. Finally, dry the area with a clean towel or let it air dry.
Important Tips and Considerations:
* Test in an Inconspicuous Area: Before cleaning your entire grout surface, test the hydrogen peroxide (or baking soda paste) in a small, inconspicuous area to ensure it doesn’t damage the tile or grout. While hydrogen peroxide is generally safe, it’s always better to be cautious.
* Ventilation is Key: Make sure the area you’re cleaning is well-ventilated. Open windows or turn on a fan to circulate the air.
* Multiple Applications May Be Necessary: For heavily stained grout, you may need to repeat the cleaning process multiple times to achieve the desired results. Don’t get discouraged if it doesn’t look perfect after the first try!
* Preventative Measures: To keep your grout clean in the future, wipe up spills immediately and regularly clean your grout with a mild cleaner. Sealing your grout can also help to prevent stains.
* Colored Grout Caution: While hydrogen peroxide is generally safe for most grout types, it *could* potentially lighten colored grout over time with repeated use. If you have colored grout, test in an inconspicuous area and monitor closely. You might want to reduce the soaking time or dilute the hydrogen peroxide with water.
* Don’t Mix with Other Cleaners: Never mix hydrogen peroxide with other cleaning products, especially bleach. This can create dangerous and toxic fumes.
* Safety First: Always wear gloves and eye protection when cleaning with hydrogen peroxide, especially if you have sensitive skin or are cleaning overhead surfaces.
Troubleshooting:
* Grout Still Looks Dirty: If your grout still looks dirty after cleaning, try using a stronger concentration of hydrogen peroxide (although I generally don’t recommend this unless you’re experienced). You can also try using a more abrasive scrubbing tool, such as a stiff-bristled brush.
* Grout is Cracking or Crumbling: If your grout is cracking or crumbling, it may be damaged and need to be repaired or replaced. Cleaning it won’t fix the underlying problem.
* Hydrogen Peroxide is Foaming Excessively: This is normal! The foaming action is a sign that the hydrogen peroxide is reacting with the dirt and grime. Just wipe away the excess foam with a paper towel.
Maintaining Your Sparkling Grout:
Once you’ve achieved that sparkling clean grout, you’ll want to keep it that way! Here are a few tips for maintaining your grout and preventing future stains:
* Regular Cleaning: Wipe down your grout regularly with a mild cleaner to prevent dirt and grime from building up.
* Seal Your Grout: Sealing your grout creates a protective barrier that helps to repel water and stains. You can purchase grout sealant at most home improvement stores.
* Wipe Up Spills Immediately: Don’t let spills sit on your grout for long periods of time. Wipe them up as soon as possible to prevent staining.
* Use a Squeegee: After showering, use a squeegee to remove excess water from your shower walls and floor. This helps to prevent mildew and mold growth, which can stain your grout.
* Ventilate Your Bathroom: Make sure your bathroom is well-ventilated to prevent moisture buildup. Run the exhaust fan during and after showering.
I hope this guide helps you achieve sparkling clean grout without breaking the bank or resorting to harsh chemicals. Happy cleaning!
Conclusion
So, there you have it! Ditching those harsh chemicals and embracing the power of hydrogen peroxide grout cleaning is not just a trend; it’s a smarter, safer, and often more effective way to tackle that stubborn grime between your tiles. We’ve walked you through the simple steps, highlighted the benefits, and hopefully, dispelled any lingering doubts you might have had.
Why is this DIY trick a must-try? Because it’s a game-changer. It’s a cost-effective solution that utilizes a readily available household item to achieve professional-looking results. Think about it: no more battling overpowering fumes, no more worrying about damaging your surfaces, and no more breaking the bank on expensive cleaning products. You’re essentially unlocking the cleaning potential that’s been sitting in your medicine cabinet all along!
But the beauty of this method lies in its adaptability. Feel free to experiment with variations to suit your specific needs and preferences. For instance, if you’re dealing with particularly stubborn stains, consider creating a paste by mixing hydrogen peroxide with baking soda. This dynamic duo forms a powerful cleaning agent that can penetrate even the most ingrained dirt. Alternatively, for lighter cleaning or maintenance, dilute the hydrogen peroxide with water in a spray bottle for easy application. You can even add a few drops of your favorite essential oil, like lemon or tea tree, for a refreshing scent and added antibacterial properties. Remember to always test any new mixture in an inconspicuous area first to ensure it doesn’t damage your grout or tiles.
Beyond the basic method, consider the tools you use. A stiff-bristled brush is your best friend for scrubbing, but an old toothbrush can be invaluable for reaching tight corners and crevices. For larger areas, a grout cleaning brush with a long handle can save your back and knees. And don’t underestimate the power of a good rinse! Thoroughly rinsing the cleaned area with clean water is crucial for removing any remaining residue and preventing future buildup.
We truly believe that once you experience the effectiveness of hydrogen peroxide grout cleaning, you’ll never go back to those harsh chemical cleaners. It’s a simple, sustainable, and satisfying way to keep your tiles sparkling and your home feeling fresh.
Now, it’s your turn! We wholeheartedly encourage you to give this DIY trick a try. Gather your supplies, follow the steps, and prepare to be amazed by the results. And most importantly, we want to hear about your experience! Share your before-and-after photos, your tips and tricks, and any variations you discovered in the comments section below. Let’s create a community of clean grout enthusiasts and help each other achieve sparkling, stain-free tiles! Your feedback will not only inspire others but also help us refine and improve this guide for future readers. So, go ahead, unleash the power of hydrogen peroxide, and let us know how it works for you! We can’t wait to see your sparkling results!
Frequently Asked Questions (FAQ)
Is hydrogen peroxide safe to use on all types of grout?
While hydrogen peroxide is generally safe for most types of grout, it’s always a good idea to test it in an inconspicuous area first, especially if you have colored grout. Some colored grouts may be susceptible to fading or discoloration, although this is rare with the concentrations typically used for cleaning. To test, apply a small amount of hydrogen peroxide to a hidden area of grout, let it sit for a few minutes, and then wipe it away. Check for any changes in color or texture before proceeding to clean the entire area. If you notice any adverse effects, consider using a more diluted solution or exploring alternative cleaning methods. Also, be mindful of the type of tile you have. While hydrogen peroxide is generally safe for most tiles, certain delicate materials like natural stone may require special care.
What concentration of hydrogen peroxide should I use for grout cleaning?
The standard 3% hydrogen peroxide solution, which is readily available at most drugstores and supermarkets, is generally sufficient for most grout cleaning tasks. This concentration is effective at killing mold and mildew and breaking down dirt and grime without being overly harsh. However, for particularly stubborn stains or heavily soiled grout, you can try using a slightly higher concentration, such as 6%. Be sure to exercise caution when using higher concentrations and always wear gloves to protect your skin. Avoid using concentrations higher than 6% unless you are experienced with cleaning and understand the potential risks.
How long should I let the hydrogen peroxide sit on the grout before scrubbing?
The ideal dwell time for hydrogen peroxide on grout depends on the severity of the staining. For light cleaning and maintenance, allowing the hydrogen peroxide to sit for 5-10 minutes is usually sufficient. This gives the solution time to penetrate the grout and loosen any surface dirt and grime. For more stubborn stains, you can let it sit for up to 30 minutes. However, it’s important to monitor the area and prevent the hydrogen peroxide from drying out completely. If it starts to dry, you can lightly mist it with water to keep it active. After the dwell time, scrub the grout with a stiff-bristled brush and rinse thoroughly with clean water.
Can I mix hydrogen peroxide with other cleaning products for better results?
While hydrogen peroxide is a powerful cleaning agent on its own, it’s generally not recommended to mix it with other cleaning products, especially those containing ammonia or vinegar. Mixing hydrogen peroxide with ammonia can create toxic fumes that are harmful to your health. Mixing it with vinegar can create peracetic acid, which can be irritating to the skin, eyes, and respiratory system. It’s always best to use hydrogen peroxide on its own or in combination with baking soda, which is a safe and effective alternative. If you’re unsure about mixing hydrogen peroxide with a particular cleaning product, it’s always best to err on the side of caution and avoid doing so.
How often should I clean my grout with hydrogen peroxide?
The frequency of grout cleaning depends on several factors, including the amount of foot traffic in the area, the type of grout, and your personal preferences. In general, it’s a good idea to clean your grout every 1-3 months to prevent dirt and grime from building up. For high-traffic areas like bathrooms and kitchens, you may need to clean more frequently. Regular cleaning not only keeps your grout looking its best but also helps to prevent the growth of mold and mildew. In between deep cleanings with hydrogen peroxide, you can maintain your grout by wiping it down with a damp cloth or sponge after each use.
What if hydrogen peroxide doesn’t remove all the stains from my grout?
If hydrogen peroxide alone doesn’t remove all the stains from your grout, there are a few things you can try. First, make a paste of hydrogen peroxide and baking soda and apply it to the stained area. Let it sit for 30-60 minutes before scrubbing and rinsing. The baking soda acts as a mild abrasive, helping to lift stubborn stains. Second, you can try using a grout stain remover specifically designed for your type of grout. Be sure to follow the manufacturer’s instructions carefully. Finally, if all else fails, you may need to consider re-grouting the area. This is a more involved process, but it can be a worthwhile investment if your grout is severely stained or damaged.
How do I prevent grout from getting stained in the first place?
Prevention is always better than cure! Sealing your grout is the best way to prevent it from getting stained in the first place. Grout sealers create a protective barrier that repels water, dirt, and grime, making it easier to clean and maintain. Apply a grout sealer according to the manufacturer’s instructions, and reapply it every 6-12 months, or as needed. In addition to sealing, you can also take other preventative measures, such as wiping up spills immediately, using bath mats and rugs in high-traffic areas, and ventilating your bathroom after showering to prevent the growth of mold and mildew.

Leave a Comment