

Harvest Radishes Home Garden: There’s nothing quite like the satisfying crunch of a freshly harvested radish, especially when you’ve grown it yourself! Imagine biting into a crisp, peppery radish, knowing you nurtured it from seed to table. But let’s be honest, knowing when and how to harvest these little root vegetables can sometimes feel like a guessing game. Have you ever pulled up a radish only to find it tiny and underdeveloped, or worse, woody and cracked? I know I have!
Radishes have been cultivated for centuries, with evidence suggesting their presence in ancient Egypt and Greece. They were valued not only for their taste but also for their medicinal properties. Today, the joy of growing your own food, including radishes, is experiencing a resurgence. More and more people are turning to home gardening, seeking fresh, healthy produce and a connection to nature.
That’s where this DIY guide comes in! I’m going to share my tried-and-true tricks for knowing exactly when to harvest radishes home garden, ensuring you get the most flavorful and perfectly sized roots every time. We’ll cover everything from visual cues to simple tests you can perform to determine ripeness. Plus, I’ll share some clever DIY hacks to make the harvesting process easier and more efficient. Say goodbye to disappointing radish harvests and hello to a bounty of crisp, delicious goodness!
Harvesting Radishes: A Beginner’s Guide to Bumper Crops
Okay, so you’ve planted radishes and now you’re eagerly anticipating that peppery crunch. Harvesting radishes is actually pretty straightforward, but knowing when and how to do it makes all the difference between a crisp, delicious radish and a woody, bitter one. I’m going to walk you through everything you need to know to get the most out of your radish harvest!
When to Harvest: The Key to Radish Perfection
The biggest mistake people make with radishes is leaving them in the ground too long. They grow incredibly fast, which is awesome, but it also means they can quickly become overgrown and lose their flavor.
* Days to Maturity: Pay attention to the “days to maturity” listed on your seed packet. This is your best guide. Most radish varieties are ready to harvest in 20-30 days.
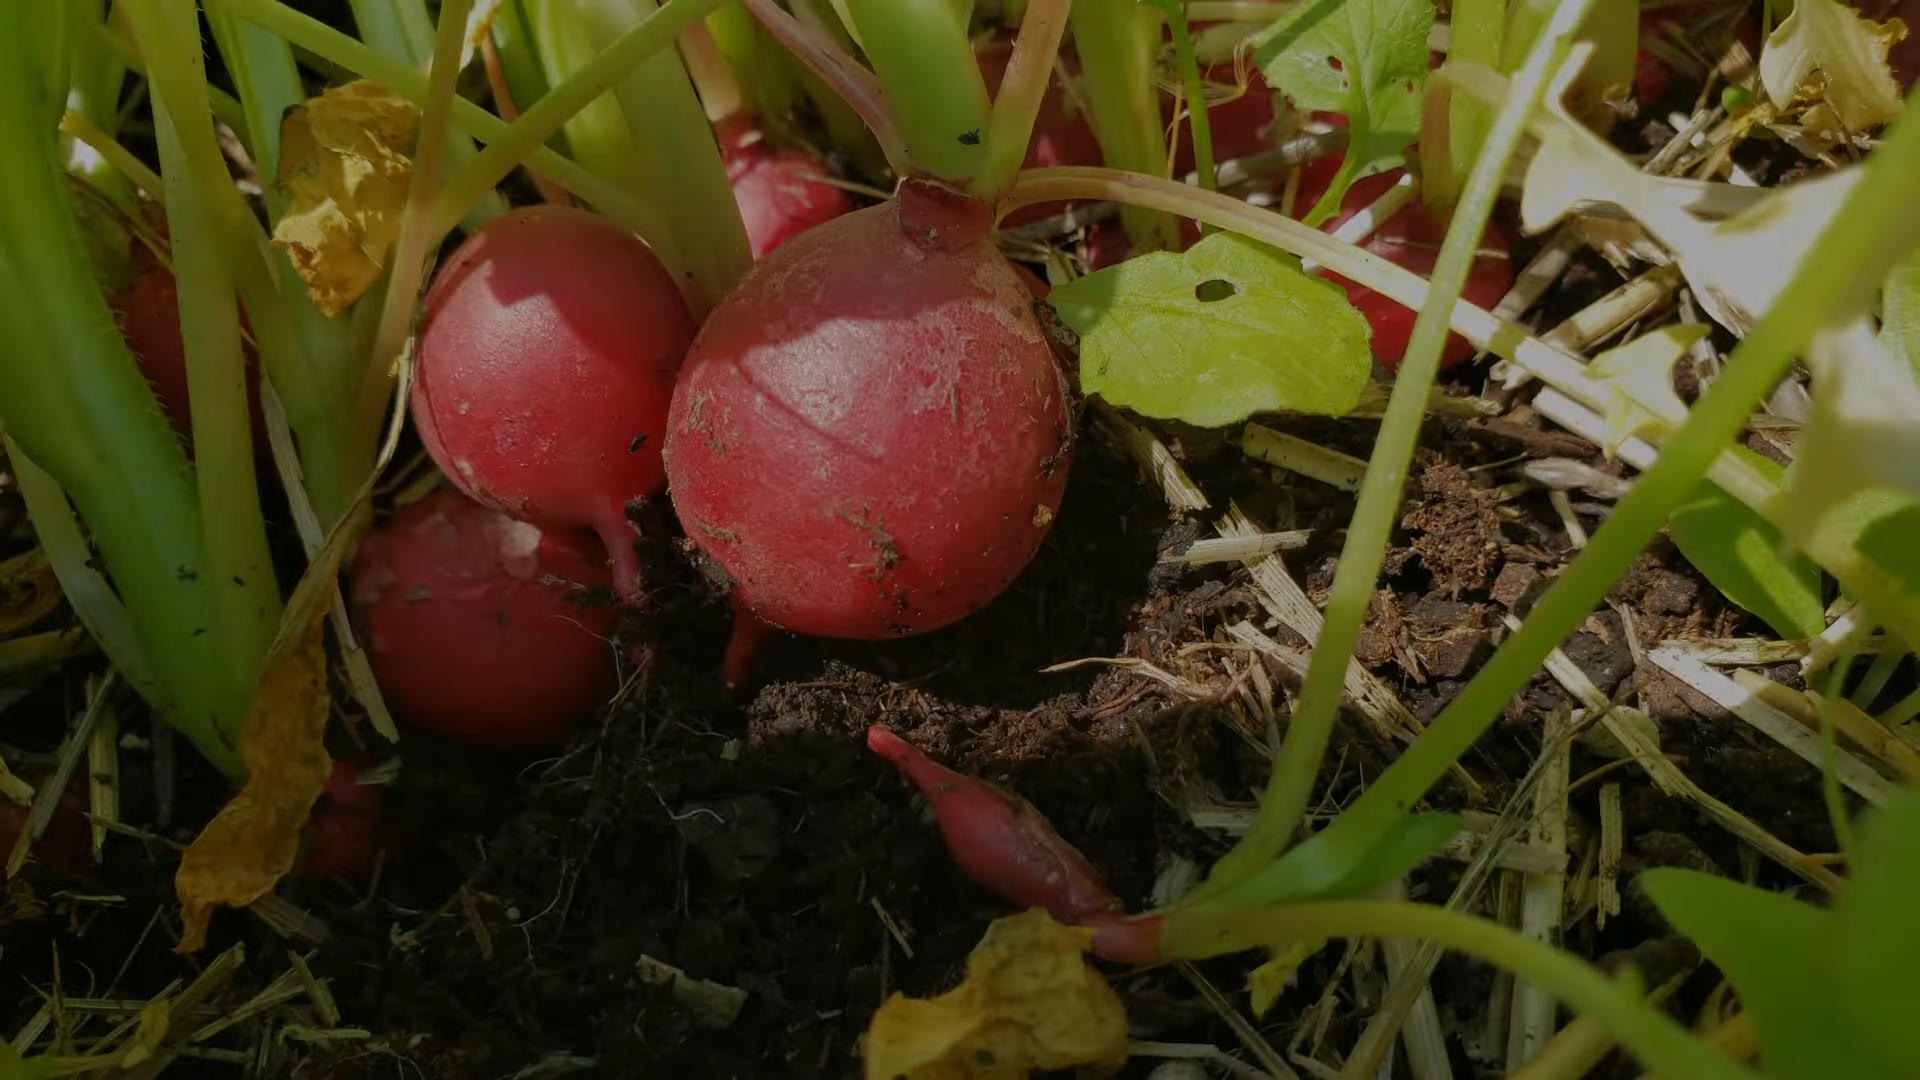
* Visual Cues: Don’t rely solely on the calendar. Start checking your radishes visually around the time they should be ready. Look for the round root (the part you eat) to be about 1 inch in diameter for most common varieties. Some larger varieties, like French Breakfast, will be longer and slightly larger in diameter.
* Testing One Out: If you’re unsure, gently loosen the soil around one radish and pull it up. Give it a taste! If it’s crisp and flavorful, harvest the rest. If it’s too small, leave the others for a few more days and test again. If it’s woody or bitter, you’ve waited too long.
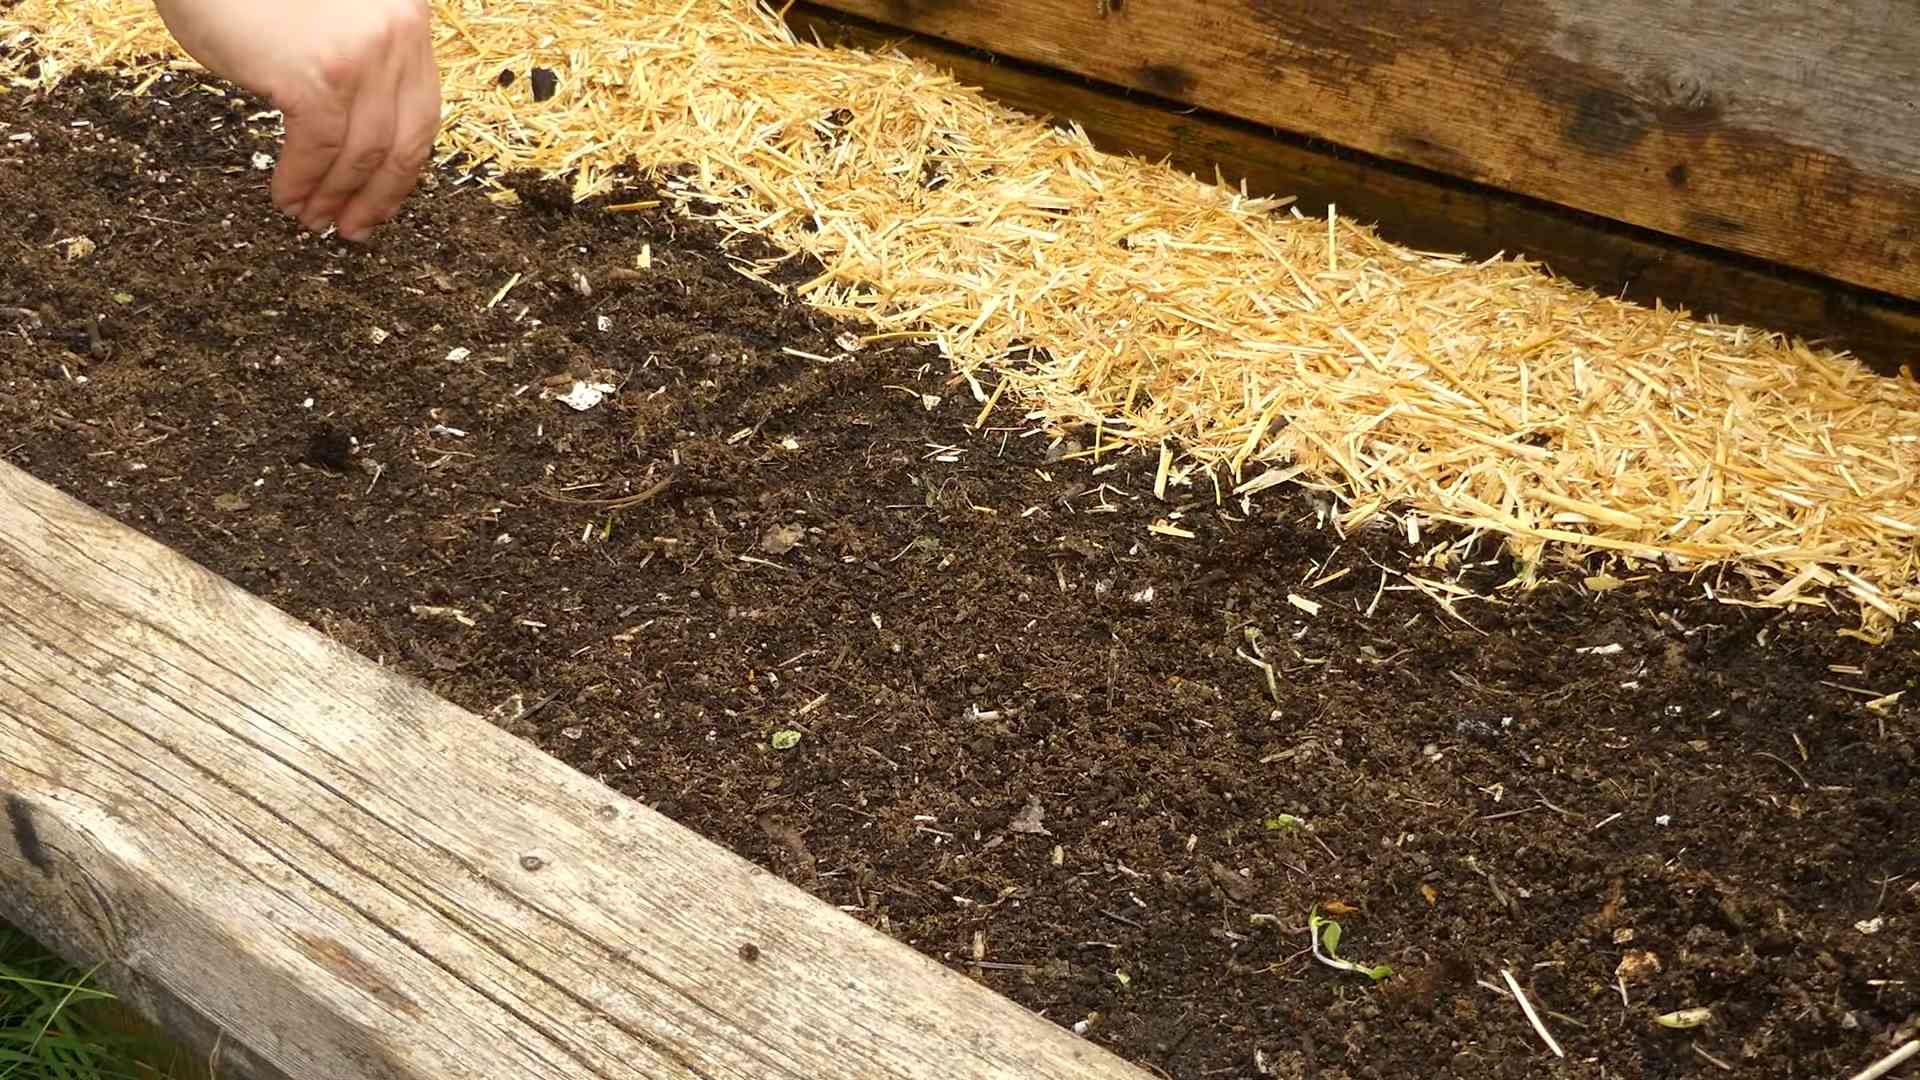
* Succession Planting: To avoid having all your radishes mature at once (and potentially become overgrown), plant them in succession. Sow a new batch of seeds every week or two for a continuous harvest.
Tools You’ll Need
You really don’t need much to harvest radishes. Here’s a quick list:
* Gloves: Optional, but I like to wear gardening gloves to keep my hands clean.
* Small Trowel or Fork: This is helpful for loosening the soil around the radishes, especially if your soil is compacted.
* Bucket or Basket: To collect your harvested radishes.
* Water Hose or Bucket of Water: For washing the radishes.
The Harvesting Process: Step-by-Step
Alright, let’s get down to the nitty-gritty. Here’s how I harvest my radishes:
1. Loosen the Soil (If Necessary): If your soil is hard or compacted, use a small trowel or fork to gently loosen the soil around the radishes. Be careful not to damage the roots. I usually insert the trowel a couple of inches away from the radish and gently pry upwards.
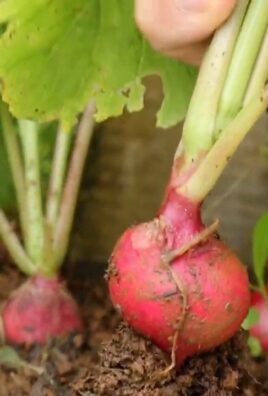
2. Grasp the Greens: Grab the radish greens (the leafy tops) close to the base of the root.
3. Pull Gently but Firmly: Pull straight up with a gentle but firm motion. The radish should pop right out of the ground. If it doesn’t, try loosening the soil a bit more. Avoid yanking too hard, as you might break the greens off and leave the radish in the ground.
4. Shake Off Excess Soil: Give the radish a good shake to remove any excess soil clinging to the root and greens.
5. Place in Your Bucket or Basket: Put the harvested radish in your bucket or basket.
6. Repeat: Continue harvesting the radishes that are ready, leaving any smaller ones to grow for a few more days.
Cleaning and Preparing Your Radishes
Once you’ve harvested your radishes, you’ll want to clean them up before eating or storing them.
1. Rinse Thoroughly: Rinse the radishes under cool, running water to remove any remaining soil. I like to use a vegetable brush to scrub them gently, especially if they’re particularly dirty.
2. Trim the Greens: Cut off the radish greens about an inch above the root. You can save the greens for salads or sauteing (they have a peppery flavor similar to the radishes themselves!). Make sure to wash the greens thoroughly as well.
3. Trim the Root Tail: Trim off the thin root tail at the bottom of the radish.
4. Dry the Radishes: Pat the radishes dry with a clean towel or let them air dry.
Storing Your Radishes for Freshness
Proper storage is key to keeping your radishes crisp and flavorful.
1. Remove Greens: As mentioned above, always remove the greens before storing radishes. The greens draw moisture from the root, causing them to become soft and wilted.
2. Store in the Refrigerator: The best way to store radishes is in the refrigerator.
3. In a Plastic Bag or Container: Place the cleaned and trimmed radishes in a plastic bag or container lined with a damp paper towel. The damp paper towel helps to maintain humidity and prevent the radishes from drying out.
4. How Long They Last: Stored properly, radishes can last for up to two weeks in the refrigerator. Check them periodically and discard any that are soft or slimy.
Troubleshooting Common Radish Problems
Sometimes, things don’t go exactly as planned. Here are a few common radish problems and how to address them:
* Radishes are Small: This could be due to several factors, including overcrowding, poor soil, or lack of sunlight. Thin your radish seedlings to give them more space to grow. Amend your soil with compost or other organic matter to improve its fertility. Make sure your radishes are getting at least 6 hours of sunlight per day.
* Radishes are Woody or Bitter: This is usually caused by leaving the radishes in the ground too long. Harvest them promptly when they reach the desired size. Hot weather can also contribute to bitterness, so try to plant radishes in the spring or fall when temperatures are cooler.
* Radishes are Cracked: This can be caused by inconsistent watering. Radishes need consistent moisture to grow properly. Water them regularly, especially during dry spells.
* Pests and Diseases: Radishes are generally pest-resistant, but they can sometimes be affected by flea beetles or root maggots. Cover your radish plants with row covers to protect them from pests. If you have a serious infestation, you can use insecticidal soap or other organic pest control methods.
Enjoying Your Radish Harvest
Now for the best part – eating your radishes! There are so many ways to enjoy them:
* Raw: Radishes are delicious eaten raw in salads, on sandwiches, or as a crunchy snack.
* Roasted: Roasting radishes mellows their flavor and brings out their sweetness. Toss them with olive oil, salt, and pepper and roast them in the oven until tender.
* Pickled: Pickled radishes are a tangy and flavorful addition to salads, sandwiches, or tacos.
* Sauteed: Sauteed radish greens are a delicious and nutritious side dish.
* Radish Butter: Mix softened butter with finely chopped radishes, salt, and pepper for a flavorful spread.
Beyond the Root: Don’t Forget the Greens!
I mentioned this earlier, but it’s worth repeating: don’t throw away those radish greens! They’re packed with nutrients and have a delicious peppery flavor. You can use them in salads, saute them with garlic and olive oil, or add them to soups and stews. Just be sure to wash them thoroughly before using them.
Final Thoughts
Harvesting radishes is a quick and rewarding gardening experience. With a little attention to timing and proper care, you can enjoy a continuous supply of crisp, flavorful radishes throughout the growing season. Happy gardening!
Conclusion
So, there you have it! Mastering the art of harvesting radishes from your home garden doesn’t have to be a guessing game. By following these simple steps and paying attention to the telltale signs of maturity, you can ensure a bountiful and delicious radish harvest every time. This DIY trick, focusing on consistent watering, careful observation, and timely pulling, is a game-changer for any home gardener, regardless of experience level.
Why is this a must-try? Because store-bought radishes simply can’t compare to the crisp, peppery flavor and satisfying crunch of freshly harvested, homegrown radishes. Plus, knowing exactly where your food comes from and how it was grown adds a layer of satisfaction that’s hard to beat. You’re not just getting radishes; you’re getting an experience, a connection to nature, and a healthy dose of pride in your own gardening abilities.
But don’t stop there! Experiment with different radish varieties to discover your favorites. Try French Breakfast radishes for their mild flavor and elongated shape, or go bold with Black Spanish radishes for a spicy kick. Consider succession planting, sowing new seeds every couple of weeks, to enjoy a continuous supply of radishes throughout the growing season. You can also get creative with your radish greens! Don’t toss them – they’re perfectly edible and delicious in salads, stir-fries, or even pesto.
Ready to elevate your radish game? Give this DIY harvesting method a try and see the difference it makes. We’re confident that you’ll be amazed by the results. And most importantly, we want to hear about your experience! Share your radish harvesting stories, tips, and photos in the comments below. Let’s build a community of radish-loving gardeners and learn from each other. Happy harvesting!
Frequently Asked Questions (FAQs)
Q: How do I know when my radishes are ready to harvest?
A: This is the million-dollar question! The best way to determine radish ripeness is by checking the seed packet for the “days to maturity.” This is an estimate, of course, and environmental factors can influence the actual time. However, it’s a good starting point. Generally, radishes are ready to harvest about 3-5 weeks after planting. Look for the radish “shoulders” to be visible above the soil line. Gently brush away some soil to check the size. Most varieties are best harvested when they are about 1 inch in diameter, but this can vary depending on the specific type. Overgrown radishes can become woody and bitter.
Q: What happens if I leave radishes in the ground too long?
A: Leaving radishes in the ground for too long is a common mistake, especially for beginner gardeners. Overripe radishes tend to become pithy, meaning they develop a spongy texture inside. They also lose their crispness and develop a much stronger, often unpleasant, flavor. In some cases, they can even crack or split. It’s always better to harvest a little early than to wait too long.
Q: Can I harvest just a few radishes at a time, or do I need to harvest them all at once?
A: Absolutely, you can harvest radishes selectively! This is one of the great advantages of growing your own. Simply harvest the largest radishes first, leaving the smaller ones to continue growing. This ensures that you’re always enjoying radishes at their peak flavor and texture.
Q: My radish greens are looking yellow or wilted. What’s wrong?
A: Yellowing or wilting radish greens can indicate a few different problems. The most common cause is inconsistent watering. Radishes need consistent moisture to thrive. Make sure you’re watering regularly, especially during hot or dry weather. Overwatering can also be a problem, leading to root rot. Ensure your soil is well-draining. Other potential causes include nutrient deficiencies or pest infestations. Inspect your plants carefully for signs of pests, such as aphids or flea beetles. A balanced fertilizer can help address nutrient deficiencies.
Q: How should I store radishes after harvesting them?
A: To keep your harvested radishes fresh and crisp, remove the greens (leaving about an inch of stem) and store them separately. Place the radishes in a plastic bag or container lined with a damp paper towel. Store them in the refrigerator. The greens can also be stored in a separate plastic bag in the refrigerator. Radishes stored this way should last for about a week or two.
Q: Can I eat radish greens?
A: Yes, radish greens are perfectly edible and quite nutritious! They have a peppery flavor similar to the radishes themselves. Wash them thoroughly before using them. You can add them to salads, stir-fries, soups, or even make radish green pesto.
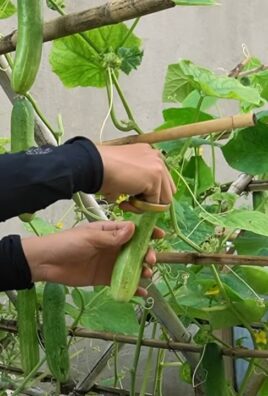
Q: What are some good companion plants for radishes?
A: Radishes are excellent companion plants for many vegetables. They grow quickly and help to break up the soil, making it easier for other plants to establish their roots. Good companion plants for radishes include carrots, lettuce, spinach, peas, and beans. Avoid planting radishes near hyssop, as it can inhibit their growth.
Q: My radishes are all tops and no bottoms. What did I do wrong?
A: This is a frustrating problem, but it’s often caused by a few common factors. The most likely culprit is overcrowding. If your radishes are planted too close together, they won’t have enough space to develop properly. Thin your seedlings early to ensure adequate spacing. Another potential cause is poor soil. Radishes prefer loose, well-draining soil that is rich in organic matter. Amend your soil with compost or other organic materials before planting. Insufficient sunlight can also contribute to this problem. Radishes need at least 6 hours of sunlight per day. Finally, excessive nitrogen in the soil can promote leafy growth at the expense of root development. Avoid using fertilizers that are high in nitrogen.
Q: Can I grow radishes in containers?
A: Absolutely! Radishes are well-suited for container gardening. Choose a container that is at least 6 inches deep and has good drainage. Use a high-quality potting mix. Sow the seeds directly into the container and keep the soil consistently moist. Place the container in a sunny location.
Q: What are some creative ways to use my radish harvest?
A: Beyond the classic salad, there are countless ways to enjoy your homegrown radishes. Try pickling them for a tangy and crunchy snack. Roast them with other root vegetables for a sweet and savory side dish. Slice them thinly and add them to tacos or sandwiches for a peppery kick. Use them as a garnish for soups or dips. Or, get adventurous and try making radish butter or radish kimchi! The possibilities are endless. Remember, mastering the DIY trick of harvesting at the right time will ensure the best flavor for all your culinary creations.
Leave a Comment