

Growing Sweet Potatoes Soil Free might sound like something out of a science fiction movie, but trust me, it’s a real and surprisingly simple way to cultivate these delicious and nutritious root vegetables! Forget back-breaking digging and endless weeding; we’re diving into the world of hydroponics and container gardening to bring you a method that’s perfect for small spaces, balconies, or anyone looking for a cleaner, more controlled growing environment.
Sweet potatoes have a rich history, dating back thousands of years in Central and South America. They’ve been a staple food source for countless cultures, prized for their versatility and nutritional benefits. While traditionally grown in soil, innovative gardeners have discovered that these resilient plants can thrive just as well, if not better, without it.
Why should you consider growing sweet potatoes soil free? Well, for starters, it eliminates the risk of soil-borne diseases and pests. Plus, you have complete control over the nutrients your plants receive, leading to potentially higher yields and more flavorful sweet potatoes. I know, it sounds almost too good to be true, but I’m here to guide you through every step of the process. Get ready to ditch the dirt and embrace a new, exciting way to enjoy the fruits (or rather, roots!) of your labor. Let’s get started on growing sweet potatoes soil free!
Growing Sweet Potatoes Without Soil: A Fun DIY Hydroponic Adventure!
Hey there, fellow gardening enthusiasts! Ever thought about growing sweet potatoes without getting your hands dirty? Well, get ready to ditch the soil because I’m going to walk you through a super cool DIY project: growing sweet potatoes hydroponically! It’s easier than you think, and the results are incredibly rewarding. Trust me, there’s nothing quite like harvesting your own sweet potatoes from a water-based system. Let’s dive in!
What You’ll Need
Before we get started, let’s gather all the necessary materials. This will make the whole process smoother and more enjoyable. Here’s what you’ll need:
* Sweet Potato Slips: These are the sprouts that grow from a sweet potato. You can either buy them online or start your own (more on that later!).
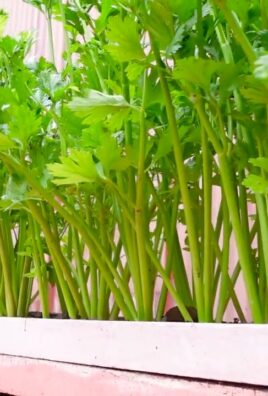
* A Large Container: Think a plastic storage bin, a large bucket, or even a repurposed container. Make sure it’s opaque to prevent algae growth. I prefer a dark-colored bin.
* Net Pots: These are small, mesh pots that will hold your sweet potato slips. You can find them at most garden supply stores or online.
* Hydroponic Growing Medium: I recommend using clay pebbles (also known as hydroton) or coco coir. These provide support for the roots and allow for good drainage and aeration.
* Air Pump and Air Stone: These are essential for oxygenating the water, which is crucial for healthy root development.
* Hydroponic Nutrient Solution: You’ll need a balanced nutrient solution specifically formulated for hydroponics. Look for one that’s suitable for root vegetables.
* pH Meter and pH Up/Down Solutions: Maintaining the correct pH level is vital for nutrient absorption.
* Water: Tap water is usually fine, but if your water is heavily chlorinated, let it sit out for 24 hours to allow the chlorine to dissipate.
* Drill and Hole Saw (optional): If your container doesn’t have pre-made holes for the net pots, you’ll need these to create them.
* Measuring Cups and Spoons: For accurately measuring the nutrient solution.
* Gloves: To protect your hands.
Starting Your Sweet Potato Slips (If You’re Not Buying Them)
If you’re feeling adventurous (and saving a few bucks!), you can easily start your own sweet potato slips. Here’s how:
1. Choose a Healthy Sweet Potato: Select a firm, unblemished sweet potato from your local grocery store or farmer’s market. Organic ones are always a good choice.
2. Prepare the Potato: Wash the sweet potato thoroughly. You can cut it in half or leave it whole, depending on the size of your container.
3. Suspend the Potato in Water: There are two main methods for this:
* Toothpick Method: Insert toothpicks around the middle of the sweet potato and suspend it over a jar or glass filled with water, with the bottom half submerged.
* Water Bath Method: Place the sweet potato directly in a shallow dish of water, ensuring that about half of the potato is submerged.
4. Place in a Warm, Sunny Location: Put the jar or dish in a warm spot with plenty of sunlight. A windowsill is perfect.
5. Change the Water Regularly: Change the water every few days to prevent mold and bacteria growth.
6. Wait for Sprouts: In a few weeks, you should start to see sprouts (slips) emerging from the sweet potato.
7. Harvest the Slips: Once the slips are about 6-8 inches long, gently twist them off the sweet potato.
8. Root the Slips: Place the slips in a glass of water, ensuring that the bottom inch or two is submerged. In a few days, they will start to develop roots.
Setting Up Your Hydroponic System
Now that you have your sweet potato slips (either purchased or homegrown), it’s time to set up your hydroponic system.
1. Prepare the Container: Clean your container thoroughly with soap and water. Rinse it well to remove any soap residue.
2. Drill Holes for Net Pots (If Necessary): If your container doesn’t have pre-made holes, use a hole saw to drill holes that are slightly smaller than the diameter of your net pots. Space the holes evenly across the lid of the container.
3. Assemble the Air Pump and Air Stone: Connect the air stone to the air pump with the tubing provided.
4. Place the Air Stone in the Container: Place the air stone at the bottom of the container. This will oxygenate the water and promote healthy root growth.
5. Add Water to the Container: Fill the container with water, leaving a few inches of space at the top.
6. Add Nutrient Solution: Follow the instructions on your hydroponic nutrient solution to determine the correct amount to add to the water. Use measuring cups and spoons to ensure accuracy.
7. Check and Adjust pH: Use your pH meter to check the pH of the water. The ideal pH range for sweet potatoes is between 5.5 and 6.5. Use pH up or pH down solutions to adjust the pH as needed. Always add pH adjusting solutions gradually and re-check the pH after each addition.
Planting Your Sweet Potato Slips
With your hydroponic system set up, it’s time to plant your sweet potato slips.
1. Prepare the Net Pots: Fill the net pots with your chosen growing medium (clay pebbles or coco coir).
2. Plant the Slips: Gently place a sweet potato slip into each net pot, ensuring that the roots are surrounded by the growing medium. The base of the stem should be just above the surface of the medium.
3. Place the Net Pots in the Container: Place the net pots into the holes in the lid of the container. The roots should be submerged in the water.
4. Turn on the Air Pump: Plug in the air pump and make sure it’s working properly. You should see bubbles rising from the air stone.
Caring for Your Hydroponic Sweet Potatoes
Now that your sweet potatoes are planted, it’s important to provide them with the proper care to ensure healthy growth.
1. Maintain Water Level: Check the water level regularly and add water as needed to keep the roots submerged.
2. Monitor Nutrient Levels: Check the nutrient levels in the water every week or two and adjust as needed. Follow the instructions on your nutrient solution.
3. Check and Adjust pH: Continue to monitor the pH of the water and adjust as needed to maintain the ideal range of 5.5 to 6.5.
4. Provide Adequate Light: Sweet potatoes need plenty of light to grow. If you’re growing them indoors, you may need to supplement with grow lights. Aim for at least 6-8 hours of light per day.
5. Control Temperature: Sweet potatoes thrive in warm temperatures. Keep the water temperature between 65 and 80 degrees Fahrenheit.
6. Prune as Needed: As your sweet potatoes grow, you may need to prune the vines to keep them from becoming too unruly.
7. Prevent Algae Growth: Algae can be a problem in hydroponic systems. To prevent algae growth, keep the container out of direct sunlight and use an opaque container. You can also add a small amount of hydrogen peroxide to the water to kill algae.
Harvesting Your Sweet Potatoes
After several months of care, your sweet potatoes will be ready to harvest.
1. Check for Maturity: Sweet potatoes are typically ready to harvest when the vines start to turn yellow and die back. This usually takes about 3-4 months.
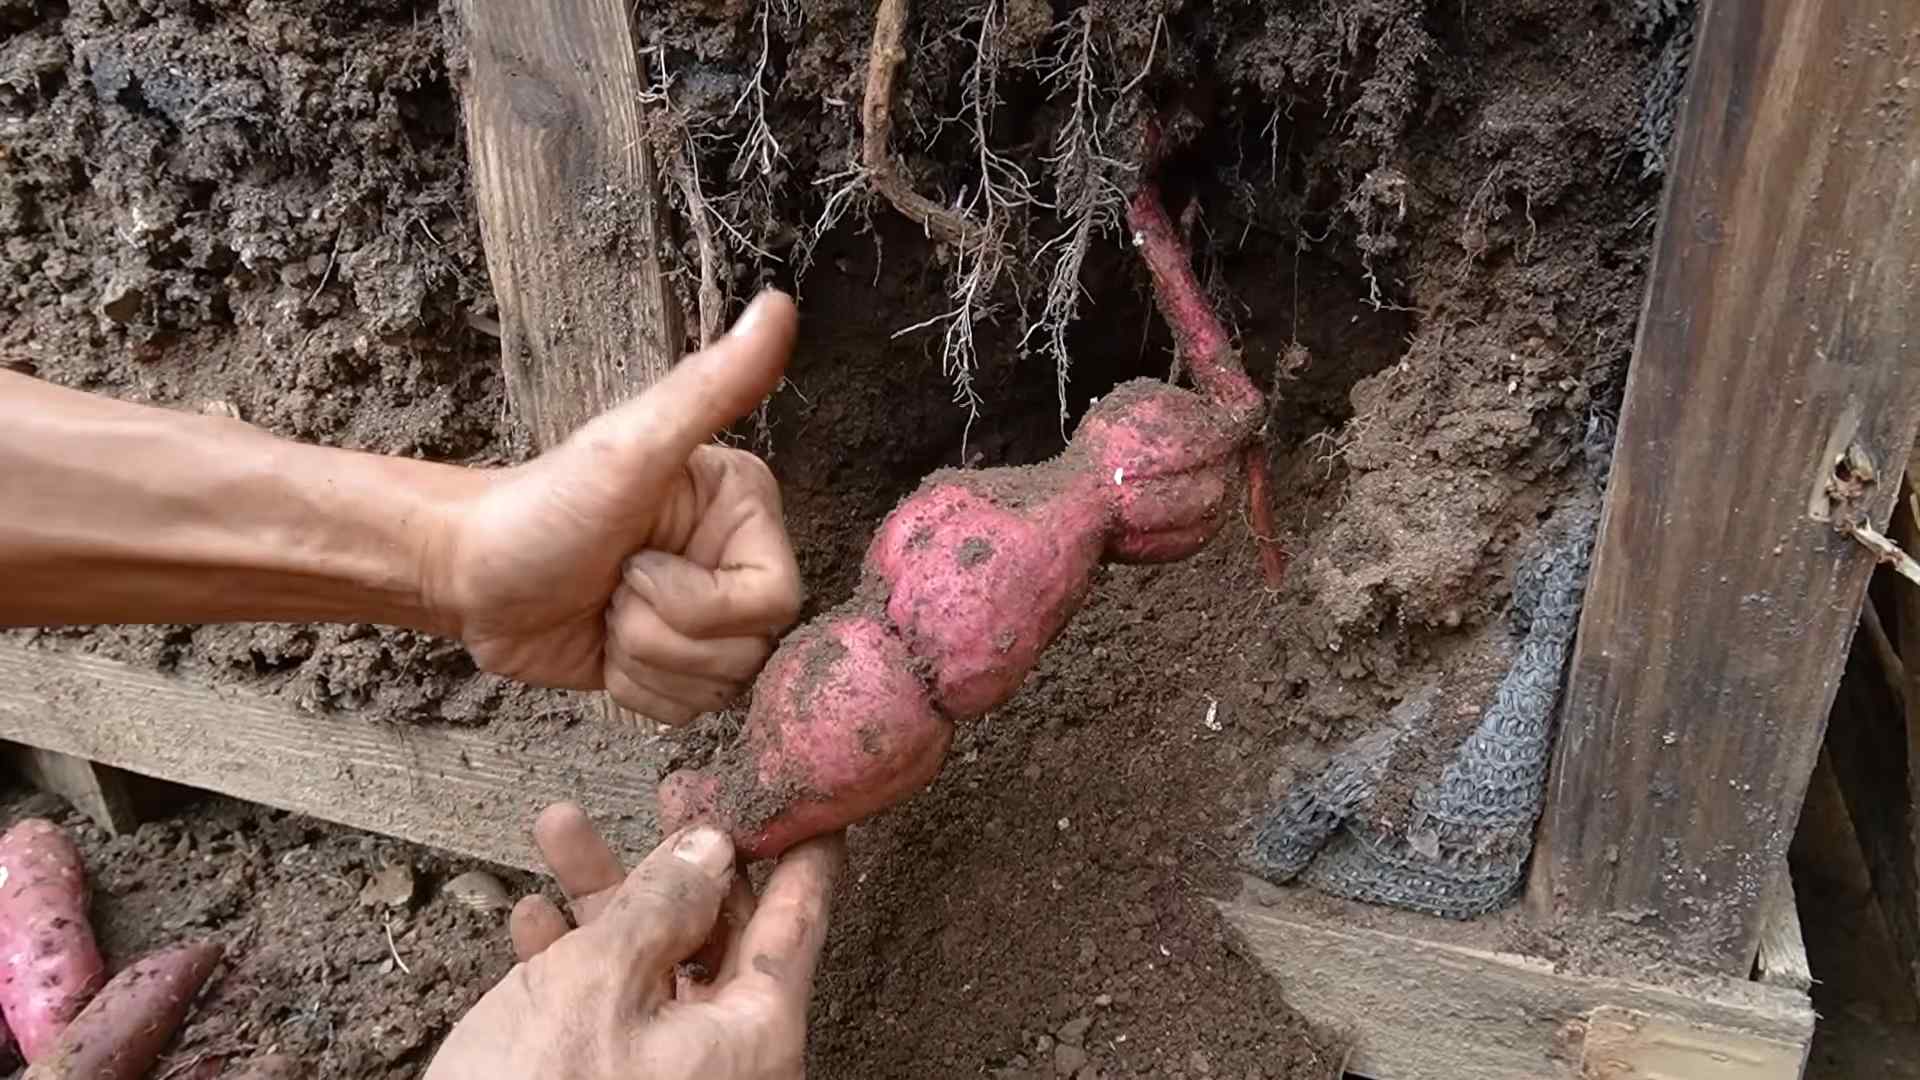
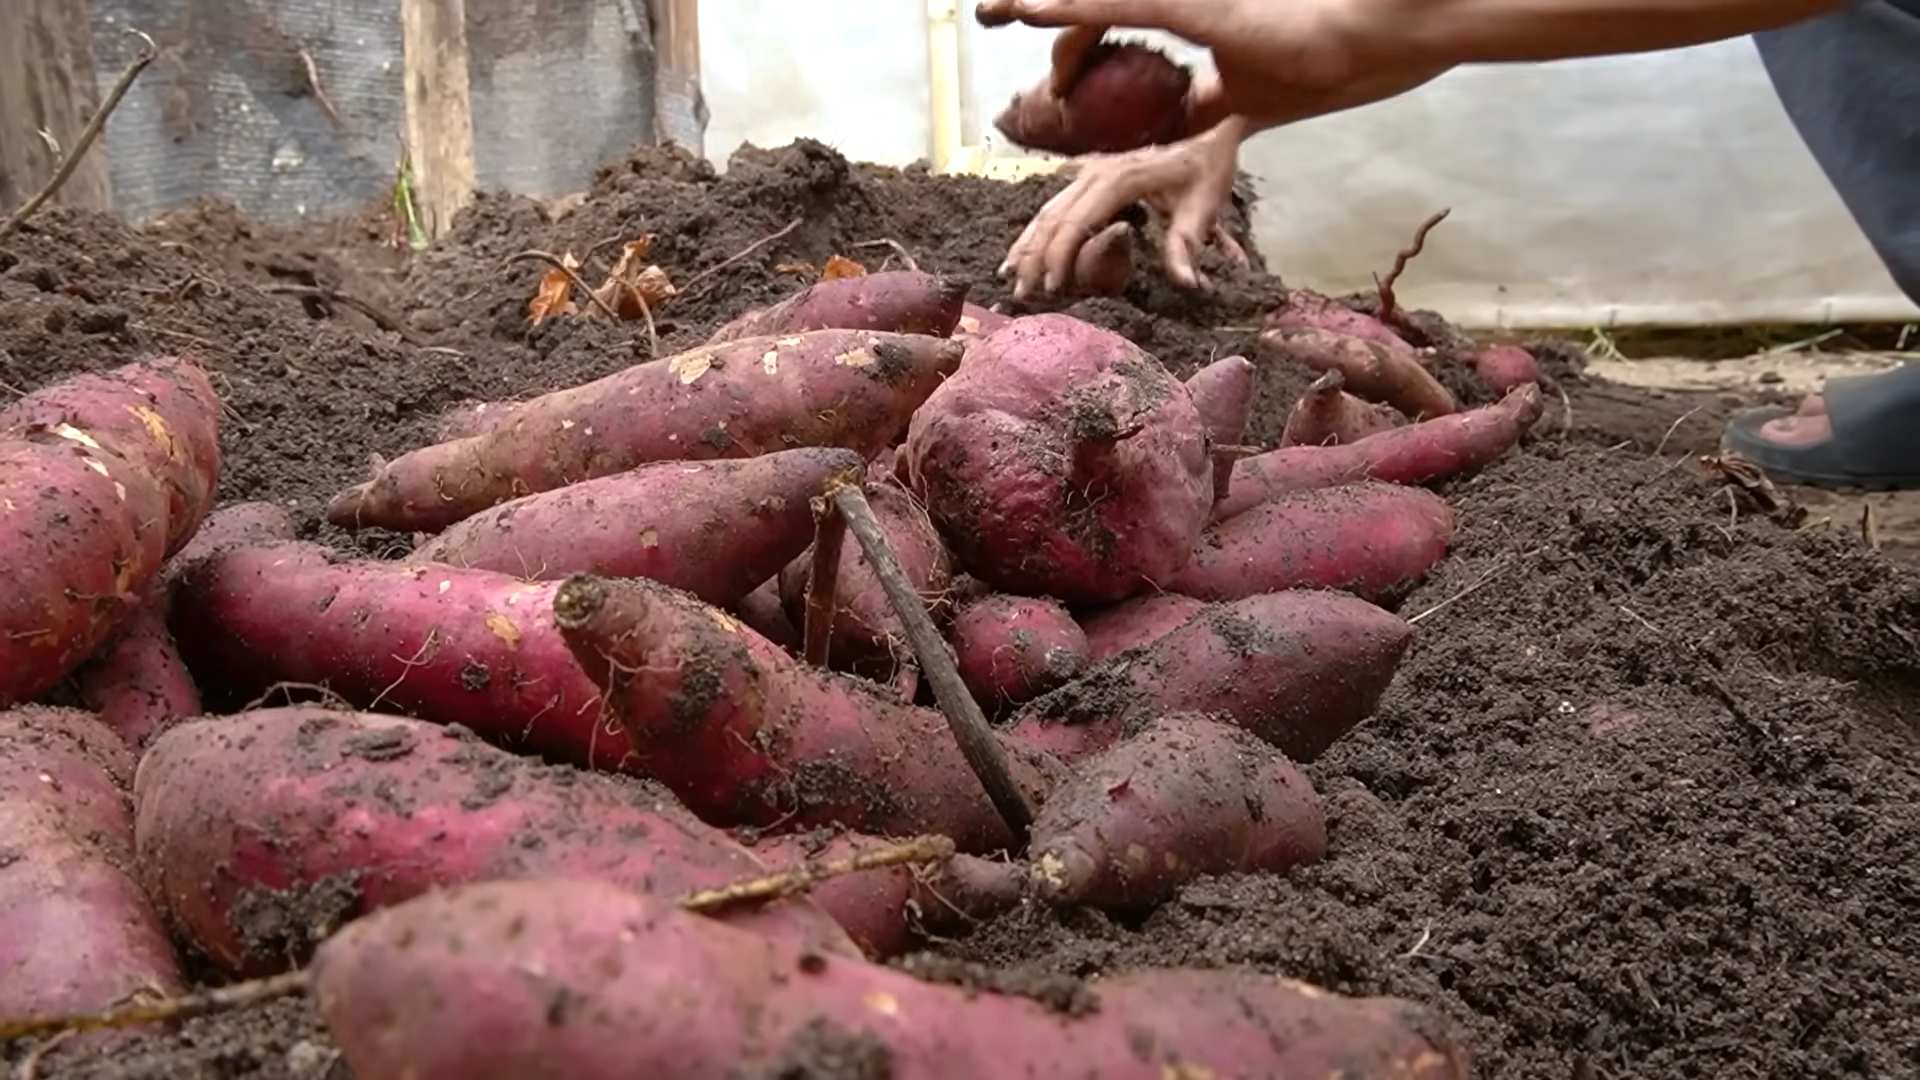
2. Harvest Carefully: Gently remove the net pots from the container and carefully pull the sweet potatoes from the roots. Be careful not to damage the potatoes.
3. Cure the Sweet Potatoes: Curing sweet potatoes improves their flavor and storage life. To cure them, place them in a warm, humid place (80-85 degrees Fahrenheit and 85-90% humidity) for about a week.
4. Store the Sweet Potatoes: After curing, store the sweet potatoes in a cool, dry place. They should last for several months.
Troubleshooting Common Problems
Even with the best care, you may encounter some problems when growing sweet potatoes hydroponically. Here are some common issues and how to address them:
* Yellowing Leaves: This can be a sign of nutrient deficiency. Check the nutrient levels in the water and adjust as needed.
* Slow Growth: This can be caused by a variety of factors, including insufficient light, low temperatures, or improper pH. Make sure your sweet potatoes are getting enough light, the water temperature is within the ideal range, and the pH is correct.
* Root
Conclusion
So, there you have it! Growing sweet potatoes soil free, using the water propagation method, is not just a fun experiment; it’s a game-changer for urban gardeners, space-conscious plant lovers, and anyone looking for a unique and rewarding gardening experience. We’ve explored the simplicity and efficiency of this method, highlighting how it bypasses the need for large garden plots and messy soil. The visual appeal of the cascading vines and the anticipation of sprouting roots add an element of beauty and excitement to the process, making it a truly engaging activity for all ages.
Why is this DIY trick a must-try? Because it offers a multitude of benefits. It’s incredibly space-saving, allowing you to cultivate sweet potatoes even in the smallest of apartments. It’s a fantastic way to repurpose sweet potatoes that might be past their prime, turning potential food waste into a thriving plant. And, perhaps most importantly, it’s a fantastic educational tool, demonstrating the power of nature and the resilience of plants in a tangible and accessible way. Plus, the satisfaction of harvesting your own sweet potatoes, grown with your own hands (and without any soil!), is simply unparalleled.
But the adventure doesn’t stop there! Feel free to experiment with different varieties of sweet potatoes to see which ones thrive best in your environment. Try using different types of containers – glass jars, vases, even repurposed plastic bottles can work wonders. You can also explore different nutrient solutions to optimize growth and yield. Consider adding a small amount of liquid fertilizer to the water every few weeks to provide your sweet potatoes with the extra boost they need.
For a decorative touch, try training the vines to climb a trellis or cascade down a shelf. You can even create a stunning indoor display by arranging multiple sweet potato slips in a decorative container. The possibilities are endless!
We wholeheartedly encourage you to give this soil-free sweet potato growing method a try. It’s a simple, rewarding, and surprisingly effective way to cultivate your own food and connect with nature. Don’t be afraid to experiment, adapt, and personalize the process to suit your own needs and preferences.
Most importantly, we want to hear about your experiences! Share your photos, tips, and stories with us in the comments below. Let us know what worked for you, what challenges you faced, and any creative variations you came up with. Together, we can learn and grow (literally!) and inspire others to embrace the joy of soil-free gardening. So, grab a sweet potato, a jar of water, and get ready to embark on a fascinating and fruitful journey! Let’s see those sweet potato vines flourish!
Frequently Asked Questions (FAQ)
What kind of sweet potato should I use for water propagation?
You can use any variety of sweet potato you find at your local grocery store or farmer’s market. However, organic sweet potatoes are often recommended, as they are less likely to be treated with growth inhibitors. Look for sweet potatoes that are firm, free from blemishes, and have a few “eyes” or small sprouts already forming. These are signs of a healthy and viable sweet potato.
How long does it take for sweet potato slips to grow?
The time it takes for sweet potato slips to grow can vary depending on several factors, including the variety of sweet potato, the temperature, and the amount of light it receives. Generally, you can expect to see sprouts emerging within 2-4 weeks. Once the sprouts have grown into slips that are 6-8 inches long, they are ready to be transplanted into soil or a hydroponic system.
What kind of water should I use?
Tap water is generally fine to use, but it’s best to let it sit out for 24 hours to allow any chlorine to dissipate. You can also use filtered water or rainwater. Avoid using distilled water, as it lacks the minerals that plants need to grow.
How often should I change the water?
It’s important to change the water regularly to prevent the growth of algae and bacteria. Change the water every 3-5 days, or more frequently if it appears cloudy or discolored. When changing the water, gently rinse the sweet potato to remove any debris or buildup.
What do I do with the slips once they’ve grown?
Once the slips have grown to be 6-8 inches long, you can carefully twist or cut them off the sweet potato. Remove the bottom leaves from the slip and place the stem in a glass of water to encourage root growth. Once the roots are about an inch long, you can transplant the slips into soil or a hydroponic system.
Can I grow sweet potatoes entirely in water?
While you can start sweet potatoes in water, they will eventually need to be transplanted into soil or a hydroponic system to produce a substantial harvest. Growing sweet potatoes entirely in water can be challenging, as they require a significant amount of nutrients that are not readily available in water alone.
What kind of soil should I use for transplanting?
When transplanting your sweet potato slips into soil, choose a well-draining soil mix that is rich in organic matter. A mixture of potting soil, compost, and perlite is a good option. Make sure the soil is loose and airy to allow the roots to grow easily.
How much sunlight do sweet potatoes need?
Sweet potatoes need at least 6-8 hours of direct sunlight per day to thrive. Place your sweet potato plants in a sunny location where they will receive plenty of light. If you are growing them indoors, you may need to supplement with artificial lighting.
What are some common problems when growing sweet potatoes soil free?
Some common problems when growing sweet potatoes soil free include algae growth in the water, root rot, and nutrient deficiencies. To prevent algae growth, change the water regularly and keep the container out of direct sunlight. To prevent root rot, avoid overwatering and ensure good air circulation. To prevent nutrient deficiencies, add a small amount of liquid fertilizer to the water every few weeks.
Can I eat the sweet potato that I used to grow the slips?
Yes, you can eat the sweet potato that you used to grow the slips, although it may not be as flavorful or nutritious as a freshly harvested sweet potato. The sweet potato will have provided nutrients to the growing slips, so it may be slightly depleted. However, it is still perfectly safe to eat. You can bake it, roast it, or use it in any recipe that calls for sweet potatoes.
How do I know when my sweet potatoes are ready to harvest?
Sweet potatoes are typically ready to harvest about 90-120 days after transplanting the slips. The leaves will start to turn yellow and the vines will begin to die back. To check if the sweet potatoes are ready, carefully dig around the base of the plant and feel for the tubers. If they are a good size and have a firm skin, they are ready to harvest.
Can I grow sweet potatoes soil free indoors year-round?
Yes, you can grow sweet potatoes soil free indoors year-round, provided you have adequate lighting and temperature control. Sweet potatoes thrive in warm temperatures (around 70-80°F) and need at least 6-8 hours of direct sunlight per day. If you don’t have enough natural light, you can supplement with artificial lighting.
What are some creative ways to display my soil-free sweet potato plants?
There are many creative ways to display your soil-free sweet potato plants. You can train the vines to climb a trellis or cascade down a shelf. You can also create a stunning indoor display by arranging multiple sweet potato slips in a decorative container. Consider using different types of containers, such as glass jars, vases, or repurposed plastic bottles, to add visual interest. You can also add decorative elements, such as pebbles, shells, or colored glass, to the container.
Leave a Comment