

Growing radishes without a garden? Absolutely! Who says you need acres of land to enjoy the peppery crunch of freshly harvested radishes? I’m here to tell you that even if your “garden” is a sunny windowsill or a small balcony, you can absolutely cultivate these vibrant little root vegetables. For centuries, radishes have been a staple in diets across the globe, from ancient Egypt where they were a common offering to the gods, to modern-day salads and snacks. Their quick growth and adaptability make them perfect for beginner gardeners and seasoned pros alike.
But let’s face it, not everyone has access to a traditional garden plot. Apartment living, busy schedules, or simply a lack of suitable outdoor space can put a damper on your gardening dreams. That’s where this DIY guide comes in! I’m going to share my favorite tricks and hacks for growing radishes without a garden, proving that anyone can enjoy the satisfaction of harvesting their own homegrown produce. Imagine adding a burst of fresh, peppery flavor to your meals, knowing you grew it yourself, right in your own home! This guide will empower you to overcome space limitations and cultivate a thriving radish crop, no matter where you live. So, grab your pots, soil, and radish seeds, and let’s get started!
Growing Radishes Indoors: No Garden? No Problem!
Hey there, fellow gardening enthusiasts! So, you’re itching to grow something, but you don’t have a garden? Don’t despair! Radishes are your answer. These peppery little root veggies are incredibly fast-growing and surprisingly easy to cultivate indoors. I’m going to walk you through everything you need to know to enjoy fresh, homegrown radishes, even if your only outdoor space is a balcony or windowsill.
What You’ll Need: The Radish-Growing Arsenal
Before we dive in, let’s gather our supplies. This is a pretty low-cost project, which is always a win!
* Container: This is key! Choose a container that’s at least 6 inches deep. Radishes need room to grow downwards. A rectangular planter box, a large pot, or even a repurposed plastic storage bin (with drainage holes, of course!) will work. I personally love using old plastic storage bins because they are cheap and easy to find.
* Potting Mix: Don’t use garden soil! It’s too dense for container gardening. Opt for a good quality, well-draining potting mix. You can find this at any garden center or even most big box stores.
* Radish Seeds: Obviously! Choose a variety that matures quickly. ‘Cherry Belle’ and ‘French Breakfast’ are popular choices and are known for their speedy growth. I usually buy a few different varieties to experiment and see which ones I like best.
* Watering Can or Spray Bottle: Gentle watering is essential, especially when the seeds are first sprouting.
* Grow Lights (Optional but Recommended): While radishes can grow indoors with sufficient natural light, grow lights will significantly improve your yield and prevent leggy growth (more on that later).
* Small Trowel or Spoon: For planting the seeds.
* Fertilizer (Optional): A balanced liquid fertilizer can give your radishes a boost, but it’s not strictly necessary.
Step-by-Step: Planting Your Radish Seeds
Alright, let’s get our hands dirty! This is the fun part.
1. Prepare Your Container: Make sure your container is clean and has adequate drainage holes. If you’re using a repurposed container, drill some holes in the bottom. Nobody wants soggy radishes!
2. Fill with Potting Mix: Fill your container with potting mix, leaving about an inch of space at the top. Gently pat down the soil to remove any large air pockets.
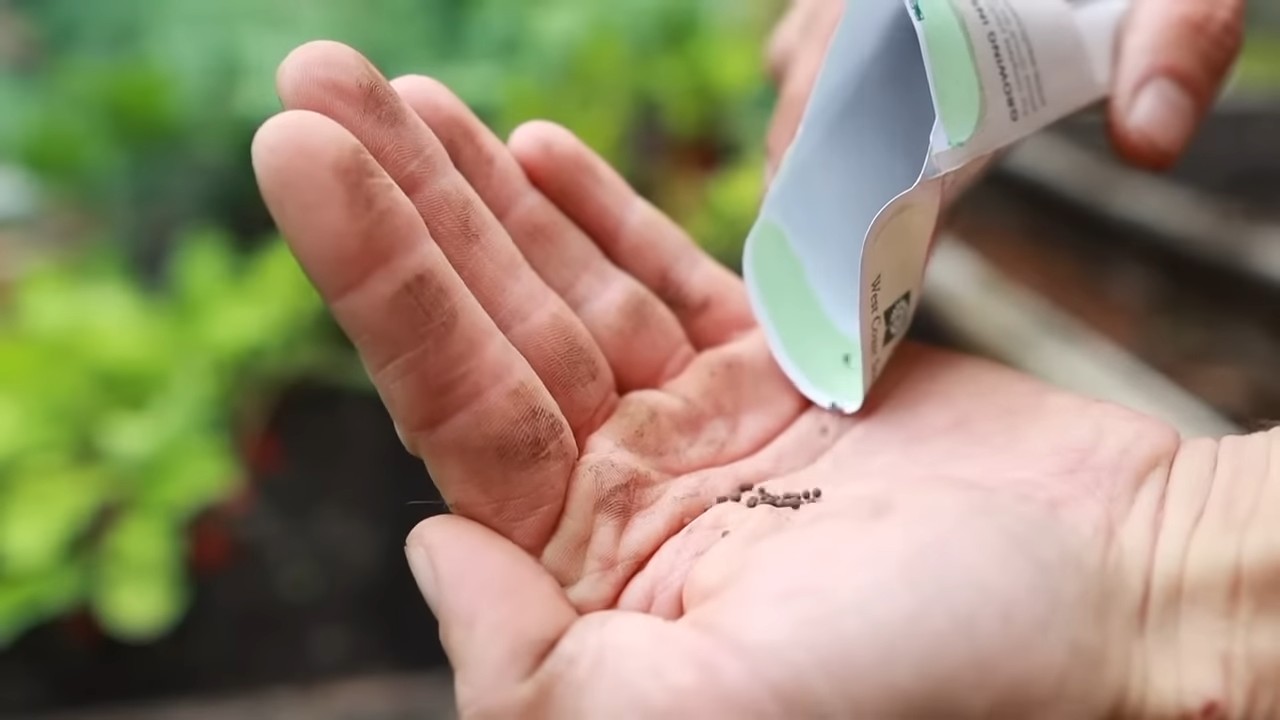
3. Sow the Seeds: This is where precision comes in. Radish seeds are small, so handle them carefully.
* Spacing: Sow the seeds about 1 inch apart and ½ inch deep. I like to use my finger to make small indentations in the soil, drop in the seeds, and then gently cover them.
* Rows: If you’re using a larger container, plant the seeds in rows, spacing the rows about 2 inches apart.
* Don’t Overcrowd: Resist the urge to plant too many seeds! Overcrowding will result in smaller radishes.
4. Water Gently: Use a watering can or spray bottle to gently water the soil. You want to moisten the soil thoroughly, but avoid washing away the seeds.
5. Placement: Place your container in a location that receives at least 6 hours of direct sunlight per day. A south-facing windowsill is ideal. If you don’t have enough natural light, use grow lights. I usually keep my grow lights on for about 12-14 hours a day.
6. Label Your Container: It’s always a good idea to label your container with the date you planted the seeds and the variety of radish you’re growing. This will help you keep track of your progress.
Nurturing Your Radishes: Care and Maintenance
Now that your seeds are planted, it’s time to nurture them and watch them grow!
1. Watering: Keep the soil consistently moist, but not soggy. Water when the top inch of soil feels dry to the touch. Overwatering can lead to root rot, so be careful! I usually check the soil moisture every day and water as needed.
2. Thinning: Once your seedlings emerge (usually within 3-7 days), you’ll need to thin them out. This means removing some of the seedlings to give the remaining ones enough space to grow.
* Why Thin? Thinning is crucial for radish growth. If the seedlings are too close together, they’ll compete for resources and won’t develop properly.
* How to Thin: Gently pull out the weaker seedlings, leaving about 2 inches between the remaining plants. Don’t just yank them out! Hold the soil around the seedling you want to keep and gently wiggle the unwanted seedling until it comes loose.
3. Fertilizing (Optional): If you want to give your radishes a boost, you can fertilize them with a balanced liquid fertilizer every two weeks. Follow the instructions on the fertilizer package. I usually dilute the fertilizer to half strength to avoid burning the roots.
4. Light: As mentioned earlier, radishes need plenty of light. If you’re not using grow lights, rotate your container regularly to ensure that all sides of the plants receive equal sunlight.
5. Temperature: Radishes prefer cooler temperatures, ideally between 60-70°F (15-21°C). Avoid placing your container near a heat source, such as a radiator.
Troubleshooting: Common Radish Problems
Even with the best care, you might encounter a few problems along the way. Here are some common issues and how to address them:
* Leggy Growth: This is when the seedlings are tall and spindly, with long stems and few leaves. It’s usually caused by insufficient light. Solution: Provide more light, either by moving your container to a sunnier location or by using grow lights.
* Root Rot: This is caused by overwatering and poor drainage. The roots will become mushy and brown. Solution: Reduce watering and make sure your container has adequate drainage. You may need to repot the radishes in fresh potting mix.
* Pests: Radishes are relatively pest-resistant, but they can sometimes be attacked by aphids or flea beetles. Solution: Inspect your plants regularly for pests. If you find any, you can try spraying them with insecticidal soap or neem oil.
* Splitting: This is when the radish roots crack or split. It’s usually caused by inconsistent watering. Solution: Water your radishes regularly and consistently, especially during dry periods.
* Bitter Taste: This can be caused by hot weather or letting the radishes grow too large. Solution: Harvest your radishes when they are still small and tender.
Harvest Time: Enjoying Your Homegrown Radishes
The best part! Radishes are incredibly fast-growing, so you can usually harvest them within 3-4 weeks of planting.
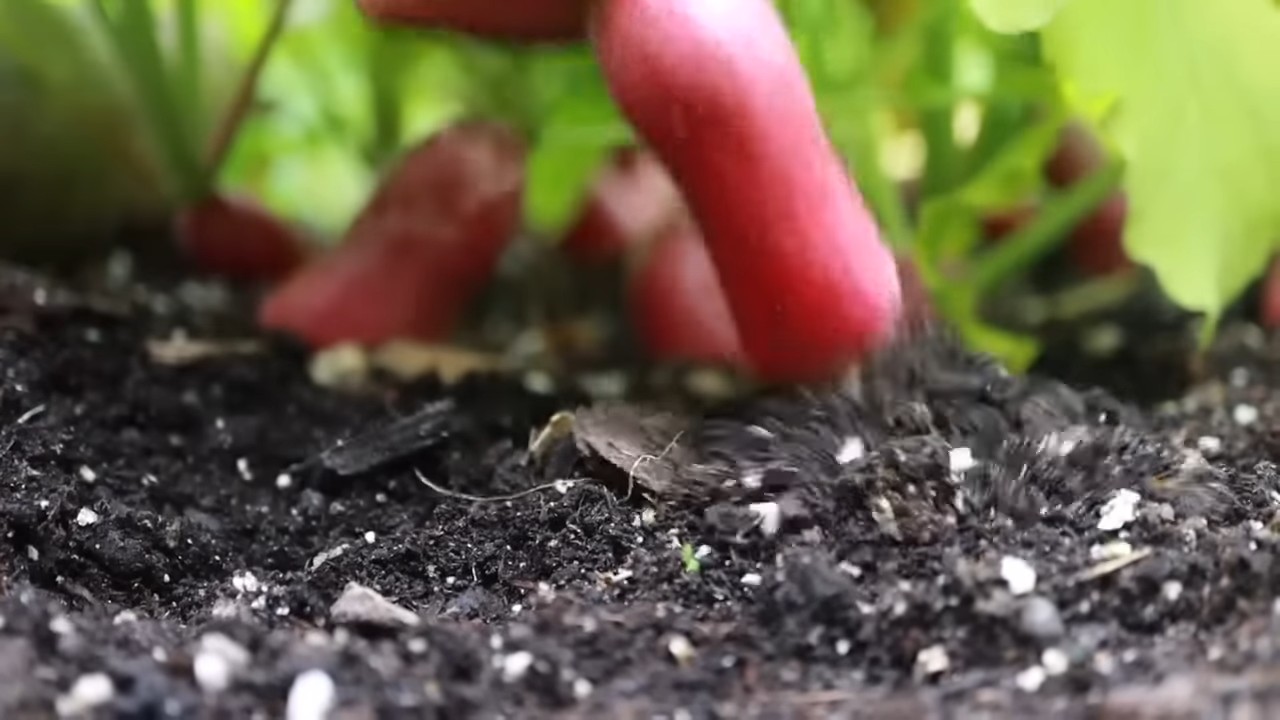
1. When to Harvest: Radishes are ready to harvest when the roots are about 1 inch in diameter. You can gently brush away some of the soil to check the size of the roots.
2. How to Harvest: Gently pull the radishes out of the soil. If the soil is dry, you may need to water it first to make it easier to pull them out.
3. Storage: Remove the greens and store the radishes in a plastic bag in the refrigerator. They will keep for about a week. The greens can also be stored in the refrigerator, but they will wilt quickly. I usually use the greens in salads or stir-fries.
4. Enjoy! Now you can enjoy your fresh, homegrown radishes! They’re delicious in salads, sandwiches, or as a crunchy snack. I love dipping them in hummus or ranch dressing.
Extra Tips for Radish-Growing Success
Here are a few extra tips to help you get the most out of your indoor radish garden:
* Succession Planting: To enjoy a continuous harvest of radishes, plant a new batch of seeds every 2 weeks.
* Companion Planting: Radishes are good companion plants for carrots, lettuce, and spinach.
* Experiment with Varieties: Try growing different varieties of radishes to find your favorites.
* Don’t Give Up! Gardening can be challenging, but it’s also incredibly rewarding. Don’t be discouraged if you don’t have success right away. Just keep experimenting and learning, and you’ll eventually get the hang of it.
Growing radishes indoors is a fun and easy way to enjoy fresh, homegrown vegetables, even if you don’t have a garden. With a little bit of care and attention, you can have a bountiful harvest of peppery radishes in just a few weeks. Happy gardening!
Conclusion
So, there you have it! Growing radishes without a garden is not only possible, it’s surprisingly simple and incredibly rewarding. We’ve walked you through the process, from selecting the right container and soil to ensuring proper watering and sunlight. But why should you bother trying this DIY trick? Because fresh, crisp radishes, bursting with peppery flavor, are just weeks away, regardless of whether you have a sprawling backyard or a tiny apartment balcony.
Imagine adding a vibrant crunch to your salads, a zesty kick to your tacos, or simply enjoying them as a healthy and satisfying snack. Store-bought radishes simply can’t compare to the flavor and freshness of homegrown ones. Plus, this project is incredibly budget-friendly and a fantastic way to introduce children to the joys of gardening.
But the beauty of this method lies in its adaptability. Feel free to experiment with different radish varieties. Try planting French Breakfast radishes for their mild flavor and elongated shape, or opt for Cherry Belle radishes for their classic round form and vibrant red color. You can even mix and match varieties in the same container for a colorful and diverse harvest.
Consider adding companion plants to your radish container. Herbs like chives or mint can help deter pests and enhance the flavor of your radishes. Marigolds are another excellent choice, adding a splash of color and further protecting your crop from unwanted insects.
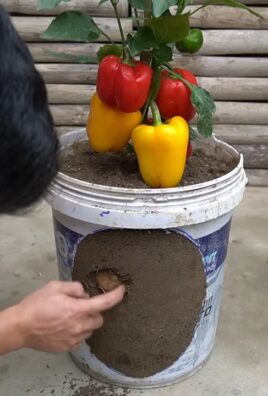
Don’t be afraid to get creative with your container selection. While we recommended a standard pot, you can also use repurposed items like old buckets, plastic tubs, or even grow bags. Just ensure that your chosen container has adequate drainage holes to prevent waterlogging.
This DIY radish growing method is a game-changer for urban gardeners and anyone looking to enjoy fresh, homegrown produce without the hassle of a traditional garden. It’s a quick, easy, and satisfying project that yields delicious results.
We wholeheartedly encourage you to give this DIY trick a try. It’s a fun and educational experience that will reward you with a bounty of fresh, flavorful radishes. And most importantly, we want to hear about your experience! Share your photos, tips, and tricks in the comments below. Let us know what radish varieties you tried, what challenges you faced, and what successes you celebrated. Your feedback will help other aspiring radish growers and inspire them to embark on their own gardening adventures. So, grab your seeds, soil, and container, and get ready to enjoy the taste of homegrown radishes! Happy gardening!
Frequently Asked Questions (FAQ)
What is the best time of year to plant radishes in containers?
Radishes are cool-season crops, meaning they thrive in cooler temperatures. The best time to plant them is in early spring or late summer/early fall. Avoid planting during the hottest months of summer, as the heat can cause the radishes to bolt (go to seed) and become bitter. In most regions, you can get multiple harvests per year by staggering your planting times. For a spring crop, plant as soon as the soil is workable. For a fall crop, plant about 4-6 weeks before the first expected frost. Check your local climate and frost dates for the most accurate timing.
How much sunlight do radishes need when grown in containers?
Radishes need at least 6 hours of direct sunlight per day to grow properly. If you don’t have a spot that receives that much sunlight, you can supplement with grow lights. Place your container in the sunniest location you have available. If you notice that your radishes are leggy (tall and spindly) or not developing properly, it could be a sign that they’re not getting enough sunlight. Rotate the container regularly to ensure that all sides of the plants receive equal exposure.
What type of soil is best for growing radishes in containers?
Radishes prefer well-draining, loose soil that is rich in organic matter. A good potting mix specifically designed for vegetables is ideal. Avoid using heavy clay soil, as it can become compacted and prevent the radishes from developing properly. You can amend your potting mix with compost or other organic matter to improve its fertility and drainage. A slightly acidic to neutral pH (around 6.0 to 7.0) is optimal for radish growth.
How often should I water my radishes in containers?
Radishes need consistent moisture to grow quickly and develop a good flavor. Water your radishes regularly, keeping the soil consistently moist but not waterlogged. Check the soil moisture level daily, especially during hot weather. Water when the top inch of soil feels dry to the touch. Avoid letting the soil dry out completely, as this can cause the radishes to become tough and bitter. Overwatering can lead to root rot, so ensure your container has adequate drainage.
How long does it take for radishes to mature in containers?
Radishes are one of the fastest-growing vegetables, making them a great choice for impatient gardeners. Most radish varieties mature in just 3-4 weeks. Check the seed packet for the specific maturity time of the variety you are growing. You can start harvesting radishes as soon as they reach the desired size. Don’t let them get too large, as they can become woody and bitter.
Why are my radishes cracking or splitting?
Cracking or splitting radishes are usually caused by inconsistent watering. This can happen if the soil dries out completely and then is suddenly saturated with water. To prevent this, maintain consistent soil moisture levels by watering regularly and evenly. Mulching around the plants can also help to retain moisture in the soil.
Why are my radishes all tops and no bottoms?
If your radishes are producing lots of leafy growth but small or nonexistent roots, it could be due to several factors. Insufficient sunlight, overcrowding, or soil that is too rich in nitrogen can all contribute to this problem. Make sure your radishes are getting at least 6 hours of sunlight per day. Thin out the seedlings to provide adequate spacing between plants. Avoid over-fertilizing with nitrogen-rich fertilizers.
Can I grow radishes in the same container as other vegetables?
Yes, radishes are excellent companion plants and can be grown alongside other vegetables in containers. They are particularly beneficial for slow-growing crops like carrots and parsnips, as they help to loosen the soil and make it easier for the other vegetables to establish their roots. Good companion plants for radishes include lettuce, spinach, peas, and beans. Avoid planting radishes near hyssop, as it can inhibit their growth.
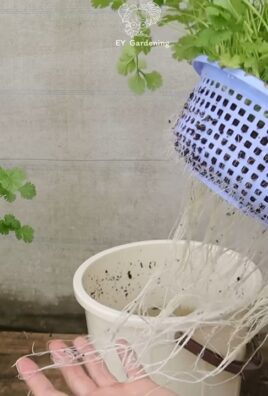
How do I harvest radishes from containers?
Harvest radishes when they reach the desired size, typically about 1 inch in diameter. Gently pull them from the soil, holding them by the base of the leaves. If the soil is dry, you may need to loosen it slightly before pulling the radishes. Wash the radishes thoroughly and trim off the leaves and root tips. The leaves are also edible and can be added to salads or stir-fries.
What are some common pests and diseases that affect radishes grown in containers?
Radishes are generally pest-resistant, but they can be susceptible to certain pests and diseases. Common pests include flea beetles, aphids, and root maggots. Flea beetles can be controlled with insecticidal soap or neem oil. Aphids can be washed off with a strong stream of water or treated with insecticidal soap. Root maggots can be prevented by using row covers or by incorporating beneficial nematodes into the soil. Common diseases include damping-off and white rust. Damping-off can be prevented by using sterile potting mix and avoiding overwatering. White rust can be treated with a fungicide. Regularly inspect your plants for signs of pests or diseases and take action promptly to prevent them from spreading.
Leave a Comment