

Growing Peas at Home can feel like a distant dream if you’re picturing sprawling fields, but I’m here to tell you it’s absolutely achievable, even in the smallest of spaces! Imagine plucking sweet, plump peas straight from your own garden, ready to be enjoyed in a salad, stir-fry, or simply as a delicious snack. Forget those bland, store-bought peas – the flavor of homegrown is simply unmatched.
Peas have a rich history, dating back thousands of years. Evidence suggests they were cultivated in the Near East as early as 7800 BC! Over time, they’ve become a staple in cuisines worldwide, symbolizing spring and new beginnings. But you don’t need to be an ancient farmer to enjoy them.
In today’s busy world, finding time for gardening can seem daunting. That’s where these simple DIY tricks and hacks come in. I’m going to share easy-to-follow methods that will help you successfully growing peas at home, regardless of your experience level or garden size. From choosing the right varieties to building simple support structures, these tips will empower you to cultivate a thriving pea patch. So, ditch the grocery store and get ready to experience the joy of homegrown goodness!
Growing Peas at Home: A Beginner’s Guide
Okay, so you want to grow peas at home? Awesome! Peas are one of the most rewarding veggies to grow. They’re delicious, relatively easy, and nothing beats the taste of fresh, homegrown peas straight from the pod. I’m going to walk you through everything you need to know to get started, from choosing the right variety to harvesting your bounty. Let’s get our hands dirty!
Choosing Your Pea Variety
First things first, you need to decide what kind of peas you want to grow. There are three main types:
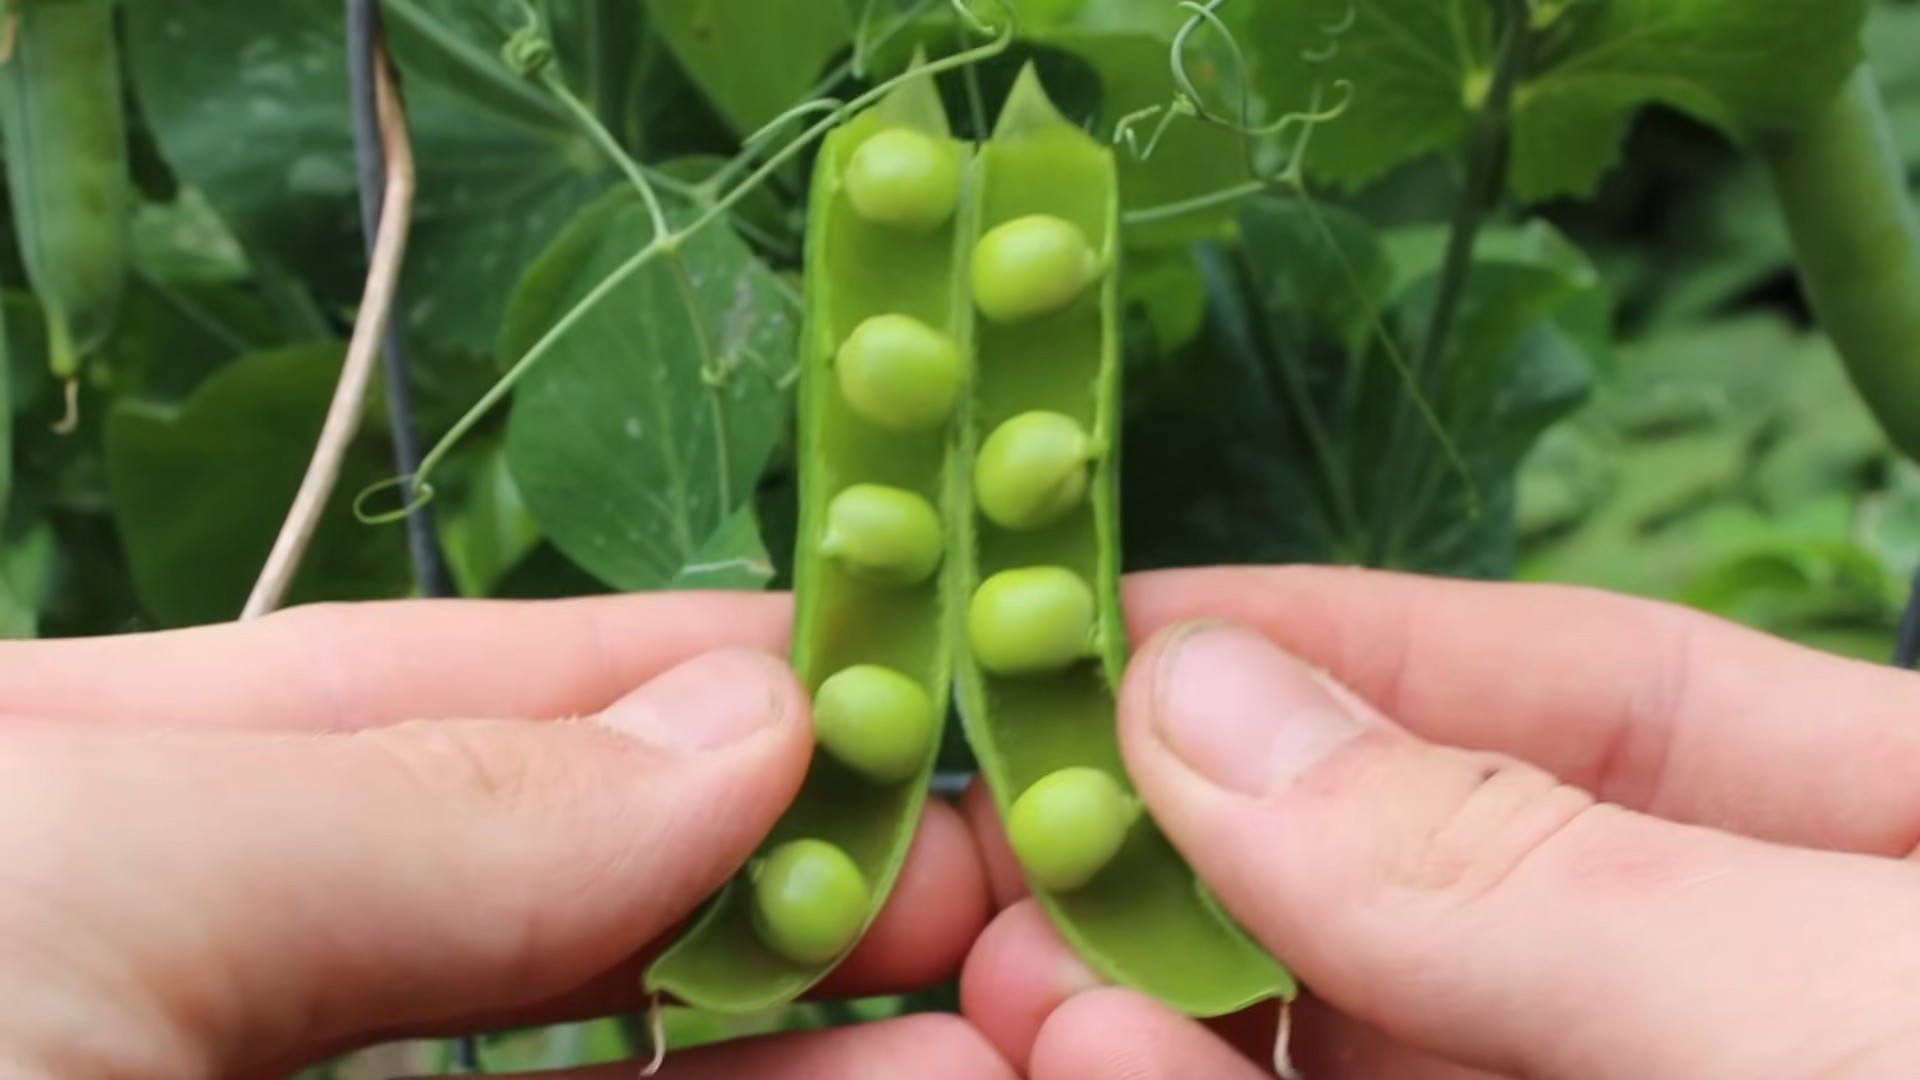
* Shelling Peas (English Peas): These are the classic peas where you remove the peas from the pod before eating. They’re great for freezing, canning, or just enjoying fresh. Popular varieties include ‘Little Marvel’ and ‘Green Arrow’.
* Snap Peas: These have edible pods that are crisp and plump. You can eat the whole pod, peas and all! ‘Sugar Snap’ is a very popular and reliable variety.
* Snow Peas: These also have edible pods, but they’re flatter and the peas inside are smaller. They’re often used in stir-fries. ‘Oregon Sugar Pod II’ is a good choice.
Think about how you want to use your peas and choose accordingly. I personally love snap peas because they’re so easy to snack on right in the garden!
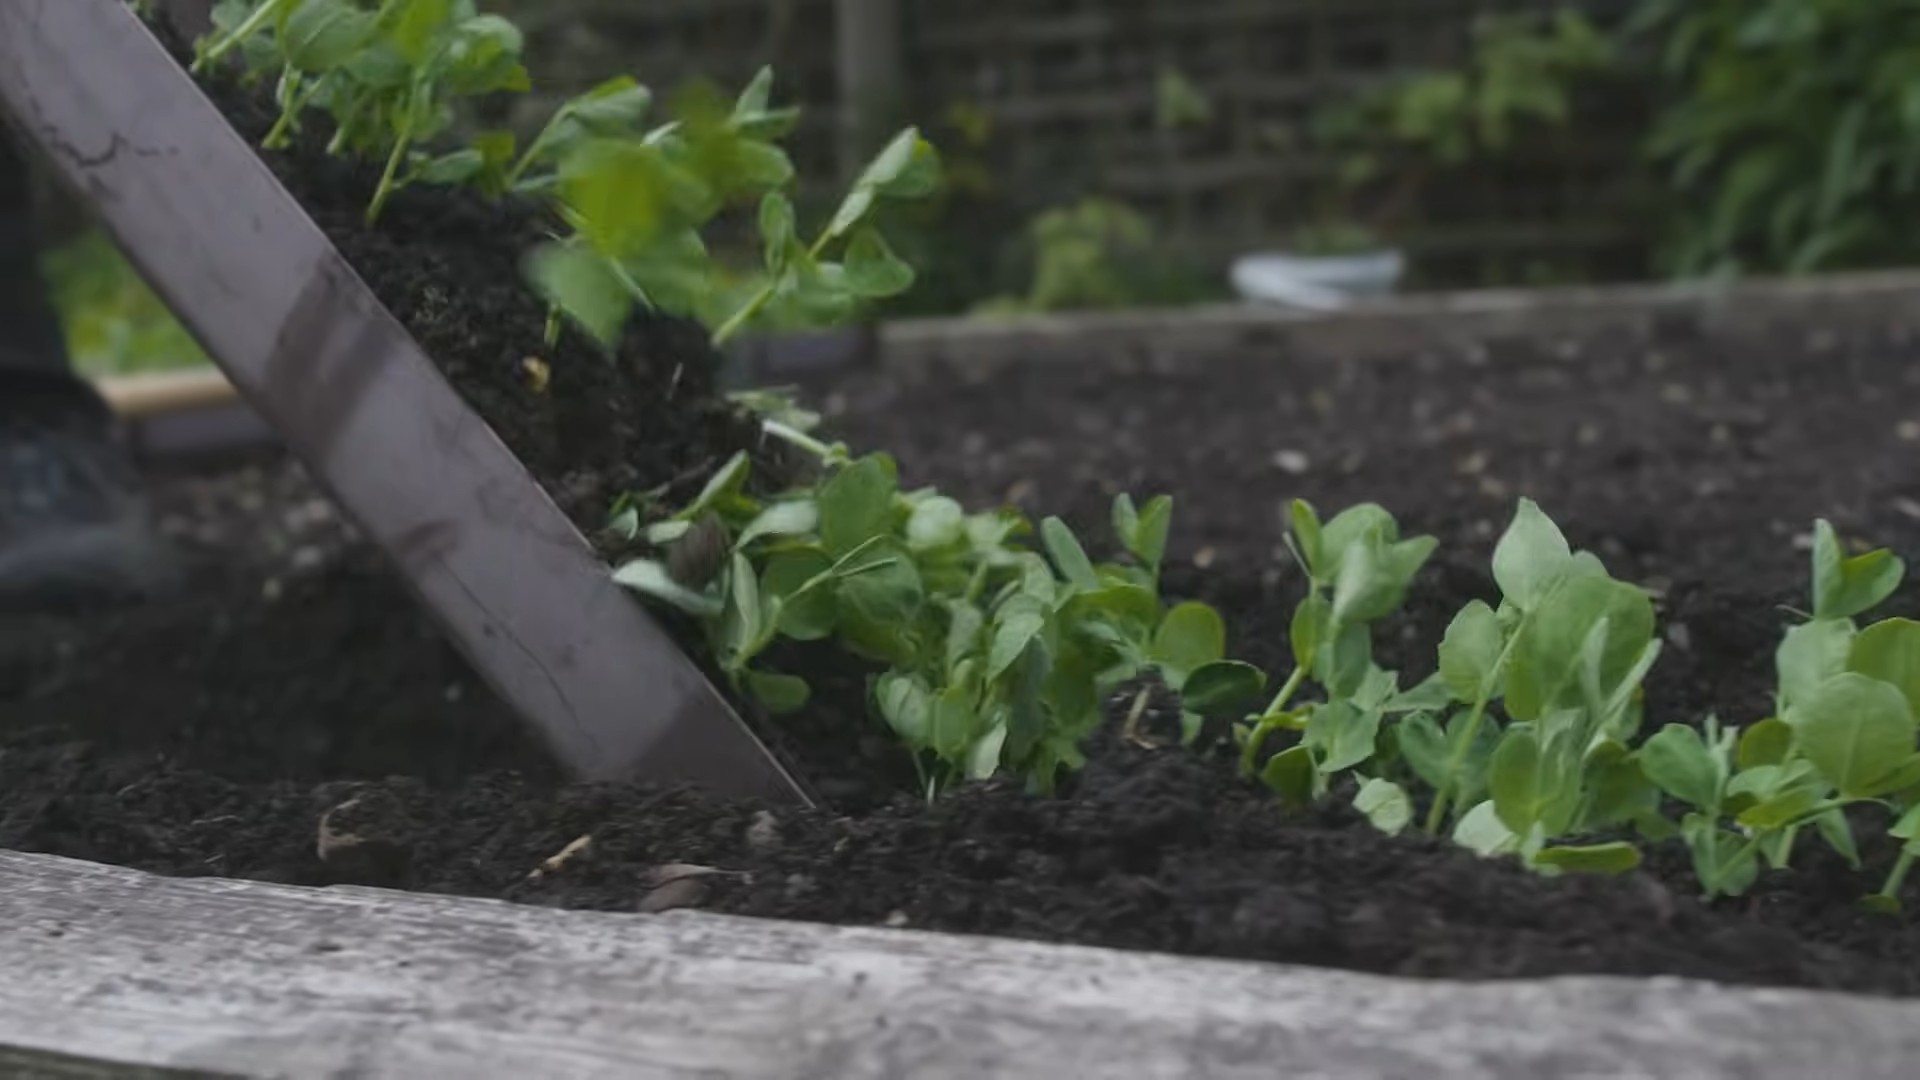
Preparing Your Garden Bed
Peas need a sunny spot with well-drained soil. They prefer slightly acidic to neutral soil (pH 6.0-7.0). Here’s how to get your garden bed ready:
1. Choose a Sunny Location: Peas need at least 6 hours of sunlight per day. Make sure the spot you choose gets plenty of sun.
2. Test Your Soil: A soil test will tell you the pH and nutrient levels of your soil. You can buy a soil test kit at most garden centers or send a sample to your local agricultural extension office.
3. Amend the Soil: Based on your soil test results, you may need to amend the soil. If your soil is too acidic, add lime to raise the pH. If it’s too alkaline, add sulfur to lower the pH. You should also add compost or other organic matter to improve drainage and fertility. I usually add a generous amount of compost to my pea beds.
4. Loosen the Soil: Use a garden fork or tiller to loosen the soil to a depth of at least 12 inches. This will help the pea roots grow easily.
5. Remove Rocks and Debris: Clear the area of any rocks, weeds, or other debris.
6. Level the Soil: Rake the soil to create a smooth, even surface.
Planting Your Pea Seeds
Peas are a cool-season crop, which means they grow best in cool weather. You can plant them in early spring as soon as the soil can be worked, or in late summer for a fall harvest.
1. Check the Last Frost Date: Find out the average last frost date for your area. You can usually find this information online or from your local agricultural extension office.
2. Planting Time: Plant your pea seeds 4-6 weeks before the last expected frost in spring. For a fall harvest, plant them 8-10 weeks before the first expected frost.
3. Soak the Seeds (Optional): Soaking the seeds in water for 12-24 hours before planting can help them germinate faster. I usually skip this step, but it can be helpful if your soil is dry.
4. Planting Depth: Plant the seeds about 1 inch deep and 2 inches apart.
5. Row Spacing: Space the rows about 18-24 inches apart.
6. Cover the Seeds: Cover the seeds with soil and gently pat it down.
7. Water Thoroughly: Water the soil thoroughly after planting.
Providing Support for Your Peas
Peas are vining plants, which means they need something to climb on. Providing support will help them grow upright, improve air circulation, and make harvesting easier.
1. Choose a Support System: There are several options for supporting your peas:
* Trellis: A trellis is a sturdy structure made of wood, metal, or plastic. You can buy a pre-made trellis or build your own.
* Netting: Netting is a lightweight material that peas can easily climb on. You can attach netting to stakes or a frame.
* Pea Sticks: Pea sticks are small branches that you stick into the ground near the pea plants. The peas will climb on the branches. I often use this method because it’s simple and natural.
* Chicken Wire: Chicken wire can be used to create a simple and effective trellis.
2. Install the Support System: Install the support system before the pea plants start to vine. This will make it easier for them to climb.
3. Guide the Vines: As the pea plants grow, gently guide the vines onto the support system. They will eventually start to climb on their own.
Watering and Fertilizing
Peas need consistent moisture to grow well. Water them regularly, especially during dry periods.
1. Watering Frequency: Water the pea plants when the top inch of soil feels dry to the touch.
2. Watering Method: Water the plants at the base to avoid wetting the foliage, which can lead to fungal diseases. A soaker hose or drip irrigation system is ideal.
3. Fertilizing: Peas don’t need a lot of fertilizer. In fact, too much nitrogen can actually inhibit their growth. If your soil is healthy, you may not need to fertilize at all. However, if your plants are looking pale or stunted, you can give them a light feeding of a balanced fertilizer. I like to use a fertilizer that’s specifically formulated for vegetables.
4. Side-Dressing: Apply the fertilizer as a side-dressing, which means spreading it along the rows of pea plants. Be sure to follow the instructions on the fertilizer package.
Dealing with Pests and Diseases
Peas are generally pretty easy to grow, but they can be susceptible to a few pests and diseases.
1. Common Pests:
* Aphids: These tiny insects suck the sap from plants. You can control them with insecticidal soap or by spraying them with a strong stream of water.
* Pea Weevils: These beetles lay their eggs in pea pods. The larvae then feed on the peas. You can control them by handpicking them off the plants or by using an insecticide.
* Slugs and Snails: These pests can damage pea plants, especially seedlings. You can control them with slug bait or by handpicking them off the plants.
2. Common Diseases:
* Powdery Mildew: This fungal disease causes a white, powdery coating on the leaves. You can prevent it by providing good air circulation and avoiding overhead watering. If your plants get powdery mildew, you can treat them with a fungicide.
* Root Rot: This fungal disease causes the roots to rot. It’s often caused by poorly drained soil. You can prevent it by planting peas in well-drained soil and avoiding overwatering.
3. Prevention is Key: The best way to deal with pests and diseases is to prevent them in the first place. Here are a few tips:
* Choose disease-resistant varieties.
* Plant peas in well-drained soil.
* Provide good air circulation.
* Avoid overhead watering.
* Rotate your crops each year.
* Keep your garden clean and free of debris.
Harvesting Your Peas
The best part of growing peas is harvesting them! The timing of the harvest depends on the type of peas you’re growing.
1. Shelling Peas: Harvest shelling peas when the pods are plump and full, but before they start to turn yellow. The peas should be round and firm.
2. Snap Peas: Harvest snap peas when the pods are plump and crisp, but before the peas inside get too large. The pods should snap easily when you bend them.
3. Snow Peas: Harvest snow peas when the pods are flat and tender, before the peas inside develop.
4. Harvesting Technique: Gently pull the pods from the vine. Be careful not to damage the plant.
5. Harvest Frequently: Harvest your peas frequently to encourage the plants to produce more pods.
6. Enjoy Your Harvest: Eat your peas fresh, freeze them, or can them. Freshly picked peas are the most delicious!
Extending Your Pea Season
Want to enjoy fresh peas for longer? Here are a few tips for extending your pea season:
* Succession Planting: Plant new pea seeds every
Conclusion
So, there you have it! Growing peas at home, from seed to table, is not only achievable but also incredibly rewarding. We’ve explored the simple steps, from selecting the right variety and preparing your soil to providing support and harvesting those sweet, plump pods. But why should you dedicate your precious garden space to this endeavor?
The answer is multifaceted. First and foremost, the taste of homegrown peas is simply unparalleled. Forget the bland, often starchy peas you find in the supermarket. Freshly picked peas burst with sweetness and a vibrant, grassy flavor that will elevate any dish. Imagine adding them to a spring risotto, tossing them into a vibrant salad, or simply enjoying them straight from the pod as a healthy and delicious snack.
Beyond the superior taste, growing your own peas offers a connection to nature that is deeply satisfying. Watching those tiny seeds sprout, the delicate tendrils reach for support, and the pods swell with promise is a truly magical experience. It’s a reminder of the simple beauty of the natural world and the power of nurturing life.
Furthermore, cultivating your own peas is an environmentally conscious choice. You’re reducing your reliance on commercially grown produce, which often travels long distances and contributes to carbon emissions. You’re also avoiding the use of harmful pesticides and herbicides, ensuring that your peas are healthy and safe for you and your family.
And let’s not forget the cost savings! While there’s an initial investment in seeds and perhaps some support structures, growing your own peas can significantly reduce your grocery bill, especially if you’re a pea lover.
But the benefits don’t stop there. Consider these variations to further enhance your pea-growing experience:
* **Succession Planting:** Plant new seeds every two to three weeks to ensure a continuous harvest throughout the growing season.
* **Vertical Gardening:** If you’re short on space, grow your peas vertically on a trellis or netting. This not only saves space but also improves air circulation and reduces the risk of disease.
* **Companion Planting:** Plant peas alongside beneficial companions like carrots, radishes, and cucumbers. These plants can help to deter pests and improve soil health.
* **Edible Pea Shoots:** Don’t forget about the delicious pea shoots! These tender leaves and tendrils can be harvested and enjoyed in salads or stir-fries. They offer a delicate pea flavor and a wealth of nutrients.
Ultimately, growing peas at home is a journey of discovery, a chance to connect with nature, and a way to enjoy the freshest, most flavorful peas imaginable. It’s a project that’s suitable for gardeners of all levels, from beginners to seasoned pros.
So, what are you waiting for? Grab some seeds, prepare your soil, and get ready to experience the joy of growing your own peas. We’re confident that you’ll be amazed by the results.
We encourage you to try this DIY trick and share your experience with us! Post photos of your pea plants, share your favorite pea recipes, and let us know what you’ve learned along the way. Together, we can create a community of pea-loving gardeners who are passionate about growing their own food. Happy growing!
Frequently Asked Questions (FAQs)
What is the best time to plant peas?
The ideal time to plant peas is in early spring, as soon as the soil can be worked. Peas are a cool-season crop and thrive in temperatures between 60°F and 70°F (15°C and 21°C). In warmer climates, you can also plant peas in the fall for a winter harvest. Check your local frost dates to determine the best planting time for your region. Generally, you want to plant them 4-6 weeks before the last expected frost.
What kind of soil do peas need?
Peas prefer well-drained soil that is rich in organic matter. Amend your soil with compost or well-rotted manure before planting to improve its fertility and drainage. The ideal soil pH for peas is between 6.0 and 7.0. If your soil is acidic, you can add lime to raise the pH. Avoid soils that are overly compacted or waterlogged, as these can lead to root rot.
How much sunlight do peas need?
Peas need at least 6 hours of sunlight per day to thrive. Choose a planting location that receives full sun for the majority of the day. If you live in a particularly hot climate, some afternoon shade can be beneficial to prevent the plants from overheating.
Do peas need support?
Yes, most varieties of peas need support to climb. This helps to keep the plants off the ground, improving air circulation and reducing the risk of disease. You can use a trellis, netting, or even branches to provide support for your pea plants. Install the support structure at the time of planting to avoid disturbing the roots later on.
How often should I water peas?
Peas need consistent moisture to thrive. Water them regularly, especially during dry periods. Aim to keep the soil consistently moist but not waterlogged. A good rule of thumb is to water deeply once or twice a week, depending on the weather conditions. Mulching around the plants can help to retain moisture in the soil.
What are some common pea pests and diseases?
Some common pea pests include aphids, pea weevils, and slugs. Aphids can be controlled with insecticidal soap or by introducing beneficial insects like ladybugs. Pea weevils can be handpicked or controlled with insecticides. Slugs can be trapped or deterred with copper tape or diatomaceous earth. Common pea diseases include powdery mildew and root rot. Powdery mildew can be prevented by ensuring good air circulation and avoiding overhead watering. Root rot can be prevented by planting in well-drained soil and avoiding overwatering.
When are peas ready to harvest?
Peas are typically ready to harvest about 60-70 days after planting, depending on the variety. The pods should be plump and filled with peas, but not overly mature or tough. Pick the peas regularly to encourage continued production. Snap peas are ready to harvest when the pods are plump and the peas inside are still small and tender. Snow peas are ready to harvest when the pods are flat and the peas inside are barely developed.
Can I save pea seeds for next year?
Yes, you can save pea seeds for next year. Allow some of the pods to dry completely on the vine. Once the pods are dry and brittle, shell the peas and store them in an airtight container in a cool, dry place. Be sure to label the container with the variety and date.
What are the best varieties of peas to grow at home?
There are many different varieties of peas to choose from, each with its own unique characteristics. Some popular varieties include ‘Sugar Snap’ (snap pea), ‘Oregon Sugar Pod II’ (snow pea), ‘Little Marvel’ (shelling pea), and ‘Wando’ (heat-tolerant pea). Consider your climate, growing space, and personal preferences when selecting pea varieties.
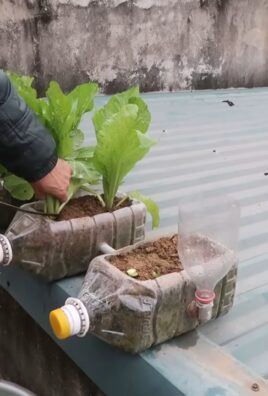
Can I grow peas in containers?
Yes, you can grow peas in containers, but you’ll need to choose a large enough container to accommodate the roots. A container that is at least 12 inches deep and 12 inches wide is recommended. Use a well-draining potting mix and provide support for the plants to climb. Container-grown peas may need more frequent watering and fertilizing than those grown in the ground.
Leave a Comment