

Growing Oregano Indoors can seem daunting, but trust me, it’s easier than you think! Imagine having fresh, fragrant oregano right at your fingertips, ready to spice up your favorite dishes any time of year. No more sad, dried-up herbs from the grocery store – just vibrant, flavorful oregano grown with your own two hands.
Oregano, with its rich history stretching back to ancient Greece and Rome, wasn’t just a culinary staple; it was a symbol of joy and well-being. The Greeks believed it was created by the goddess Aphrodite! Today, while we might not be worshipping Aphrodite with our oregano, we can certainly appreciate its incredible flavor and health benefits.
But why bother growing oregano indoors? Well, for starters, it gives you control over the growing environment, protecting your precious herb from harsh weather, pests, and diseases. Plus, it’s incredibly satisfying to nurture a plant from a tiny seedling to a thriving herb. In this article, I’m going to share my favorite DIY tricks and hacks for successfully growing oregano indoors, even if you don’t have a green thumb. Get ready to unlock the secrets to a bountiful indoor oregano harvest!
Growing Tomato Plants From Tomatoes: A DIY Guide
Okay, so you want to grow tomato plants from, well, tomatoes? It sounds a little crazy, right? Like planting a seed that’s already sprouted. But trust me, it’s totally doable, and it’s a fun experiment that can save you money and give you a ton of satisfaction. I’ve done it myself, and I’m here to walk you through the whole process.
What You’ll Need
Before we dive in, let’s gather our supplies. This is a pretty low-cost project, which is always a win in my book!
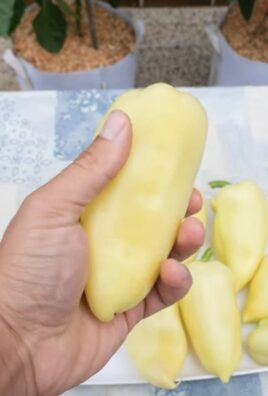
* A Ripe Tomato: This is the star of the show! Choose an organic tomato if possible. Heirloom varieties often work best, but any ripe, healthy tomato will do. Avoid hybrids if you want to ensure the offspring are similar to the parent.
* A Sharp Knife: For slicing and dicing our tomato. Safety first!
* A Cutting Board: To protect your countertops.
* Small Pots or Seed Trays: These will be the temporary homes for our seedlings.
* Seed Starting Mix: This is crucial! Regular potting soil is often too heavy for delicate seedlings.
* Watering Can or Spray Bottle: For gentle watering.
* Plastic Wrap or a Clear Plastic Bag: To create a mini-greenhouse effect.
* A Warm, Sunny Spot: Seedlings need light and warmth to thrive.
* Optional: Heat Mat: To speed up germination (especially helpful in cooler climates).
* Optional: Grow Light: If you don’t have a sunny spot, a grow light is a great alternative.
Understanding the Process
Before we get our hands dirty, let’s quickly understand what we’re doing. We’re essentially mimicking the natural process of tomato seeds germinating inside the fruit. The tomato flesh provides moisture and nutrients, and the slight fermentation that occurs helps break down the seed coating, making it easier for the seeds to sprout.
Step-by-Step Instructions: From Tomato to Seedling
Alright, let’s get started! This is where the magic happens.
1. Prepare Your Tomato:
* Place your tomato on the cutting board.
* Using your sharp knife, carefully slice the tomato into thin slices, about ¼ inch thick. You can also dice the tomato into small pieces if you prefer. The goal is to expose the seeds within the tomato flesh.
* Important: Don’t rinse the tomato slices or diced pieces. We want to keep the natural juices and pulp intact, as they contain beneficial compounds for germination.
2. Prepare Your Planting Containers:
* Fill your small pots or seed trays with seed starting mix. Leave about ½ inch of space at the top.
* Gently moisten the seed starting mix with your watering can or spray bottle. The mix should be damp but not soggy.
3. Plant the Tomato Slices or Diced Pieces:
* Take a tomato slice or a small handful of diced tomato pieces.
* Place the tomato slice or pieces directly on top of the moistened seed starting mix in your pot or tray.
* Gently press the tomato slice or pieces into the mix, ensuring good contact.
* Repeat this process for each pot or cell in your seed tray. Don’t overcrowd the containers; give the seedlings room to grow.
4. Cover with Seed Starting Mix:
* Lightly sprinkle a thin layer of seed starting mix over the tomato slices or pieces. This will help keep them moist and protect the seeds.
* Gently pat down the top layer of seed starting mix.
5. Create a Mini-Greenhouse:
* Cover your pots or seed trays with plastic wrap or a clear plastic bag. This will help create a humid environment, which is essential for germination.
* Secure the plastic wrap or bag with a rubber band or tape.
* Important: Make sure the plastic wrap or bag doesn’t touch the soil surface. You can use small sticks or skewers to prop it up if needed.
6. Provide Warmth and Light:
* Place your covered pots or seed trays in a warm, sunny spot. A south-facing window is ideal.
* If you’re using a heat mat, place the pots or trays on the mat.
* If you’re using a grow light, position it a few inches above the pots or trays.
7. Monitor and Water:
* Check the moisture level of the seed starting mix daily. It should remain consistently damp but not soggy.
* If the mix is dry, gently mist it with your watering can or spray bottle.
* Important: Remove the plastic wrap or bag for a few minutes each day to allow for air circulation and prevent mold growth.
8. Wait for Germination:
* Be patient! Tomato seeds can take anywhere from 5 to 14 days to germinate, depending on the variety and environmental conditions.
* Once you see tiny green sprouts emerging from the soil, it’s time to remove the plastic wrap or bag completely.
9. Provide Adequate Light:
* Once the seedlings have emerged, they need plenty of light to grow strong and healthy.
* If you’re using a sunny window, rotate the pots or trays regularly to ensure even light exposure.
* If you’re using a grow light, keep it on for 14-16 hours per day.
10. Thin the Seedlings:
* Once the seedlings have developed their first set of true leaves (the leaves that look like miniature tomato leaves), it’s time to thin them out.
* Thinning means removing some of the seedlings to give the remaining ones more space to grow.
* Choose the strongest, healthiest-looking seedlings and gently snip off the weaker ones at the soil level with a pair of scissors. Don’t pull them out, as this can disturb the roots of the remaining seedlings.
* Aim to have only one or two seedlings per pot or cell.
11. Water Regularly:
* Continue to water the seedlings regularly, keeping the soil consistently moist but not soggy.
* Water at the base of the plants to avoid wetting the leaves, which can lead to fungal diseases.
12. Fertilize (Optional):
* Once the seedlings have developed their second set of true leaves, you can start fertilizing them with a diluted liquid fertilizer.
* Use a fertilizer specifically formulated for seedlings or vegetables.
* Follow the instructions on the fertilizer label carefully.
13. Harden Off the Seedlings:
* Before transplanting the seedlings outdoors, you need to “harden them off.” This means gradually acclimating them to outdoor conditions.
* Start by placing the seedlings outdoors in a sheltered location for a few hours each day.
* Gradually increase the amount of time they spend outdoors each day, exposing them to more sunlight and wind.
* After about a week, the seedlings should be ready to be transplanted into your garden.
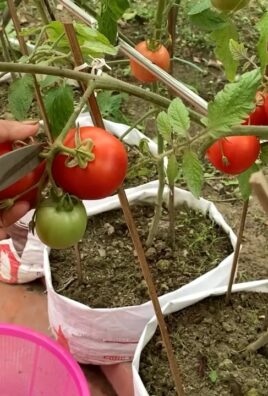
14. Transplant to the Garden:
* Choose a sunny location in your garden with well-drained soil.
* Dig a hole that is slightly larger than the root ball of the seedling.
* Gently remove the seedling from its pot or cell.
* Place the seedling in the hole and backfill with soil.
* Water thoroughly.
* Space the tomato plants according to the recommendations for the specific variety you are growing.
Troubleshooting
Even with the best intentions, things don’t always go according to plan. Here are a few common issues you might encounter and how to address them:
* No Germination: If your seeds aren’t germinating, make sure the soil is consistently moist and the temperature is warm enough. You can also try scarifying the seeds (gently scratching the surface) to help them absorb water.
* Leggy Seedlings: Leggy seedlings are tall and spindly, often due to insufficient light. Provide more light by moving them to a sunnier location or using a grow light.
* Damping Off: Damping off is a fungal disease that can kill seedlings. To prevent it, use sterile seed starting mix, avoid overwatering, and provide good air circulation.
* Yellowing Leaves: Yellowing leaves can be a sign of nutrient deficiency. Fertilize the seedlings with a diluted liquid fertilizer.
Tips for Success
Here are a few extra tips to help you succeed in growing tomato plants from tomatoes:
* Start with High-Quality Tomatoes: The better the tomato you start with, the better the chances of success.
* Use Organic Tomatoes: Organic tomatoes are less likely to have been treated with chemicals that could inhibit germination.
*
Conclusion
So, there you have it! Growing oregano indoors is not only achievable, but it’s also incredibly rewarding. Imagine having fresh, fragrant oregano readily available, no matter the season, to elevate your culinary creations. Forget those sad, dried-up flakes in the spice rack; with this simple DIY trick, you can enjoy the vibrant flavor of freshly harvested oregano whenever you desire.
This isn’t just about convenience; it’s about enhancing your cooking experience. The difference between dried and fresh oregano is truly remarkable. Fresh oregano boasts a brighter, more complex flavor profile that can transform a simple pasta sauce into a gourmet delight. Think of the possibilities: homemade pizzas bursting with herbaceous aroma, flavorful Mediterranean dishes, and even infused oils and vinegars that will impress your friends and family.
But the benefits extend beyond the kitchen. Growing oregano indoors is also a fantastic way to bring a touch of nature into your home. The plant’s vibrant green foliage adds a splash of color and life to any space, and its aromatic scent can be incredibly uplifting. It’s a small, manageable project that can bring a surprising amount of joy and satisfaction.
Why is this DIY trick a must-try? Because it’s easy, cost-effective, and yields delicious results. You don’t need a green thumb or a lot of space to succeed. With just a few simple supplies and a little bit of patience, you can have your own thriving oregano plant indoors.
Looking for variations? Consider experimenting with different varieties of oregano. Greek oregano is known for its strong, pungent flavor, while Italian oregano is slightly milder and sweeter. You can also try growing golden oregano for its beautiful foliage and subtle citrusy notes. Another fun variation is to propagate oregano from cuttings. If you already have an established oregano plant, simply snip off a few stems, root them in water, and then transplant them into soil. This is a great way to expand your oregano collection without spending any money. You can also try different types of containers, from terracotta pots to repurposed jars, to add a personal touch to your indoor garden.
We encourage you to give this DIY trick a try. It’s a simple project with a big payoff. Once you’ve experienced the joy of harvesting your own fresh oregano, you’ll never go back to store-bought dried herbs again.
Don’t be afraid to experiment and find what works best for you. Growing oregano indoors is a journey, and there’s always something new to learn. And most importantly, share your experience with us! We’d love to hear about your successes, your challenges, and any tips or tricks you’ve discovered along the way. Post pictures of your thriving oregano plants, share your favorite recipes using fresh oregano, and let us know how this DIY project has enhanced your cooking and your home. Let’s create a community of indoor oregano growers and inspire others to embrace the joy of fresh herbs!
Frequently Asked Questions (FAQ)
1. What kind of soil is best for growing oregano indoors?
Oregano thrives in well-draining soil. A good mix is a combination of potting soil, perlite, and vermiculite. This ensures that the roots don’t sit in water, which can lead to root rot. Avoid using heavy garden soil, as it tends to compact and doesn’t provide adequate drainage. You can also find specialized herb potting mixes at most garden centers, which are specifically formulated for herbs like oregano. The key is to provide a light, airy soil that allows for good root development.
2. How much sunlight does indoor oregano need?
Oregano needs at least six to eight hours of sunlight per day to thrive. If you don’t have a sunny windowsill, you can supplement with a grow light. Place the grow light about 6-12 inches above the plant. Without sufficient light, your oregano plant will become leggy and produce fewer leaves. A south-facing window is ideal, but an east- or west-facing window can also work. Rotate the plant regularly to ensure that all sides receive adequate light.
3. How often should I water my indoor oregano plant?
Water oregano when the top inch of soil feels dry to the touch. Avoid overwatering, as this can lead to root rot. Oregano prefers slightly dry conditions. When you do water, water thoroughly until water drains out of the bottom of the pot. Then, allow the soil to dry out again before watering again. During the winter months, when the plant is not actively growing, you may need to water less frequently.
4. What temperature is ideal for growing oregano indoors?
Oregano prefers temperatures between 60°F and 70°F (15°C and 21°C). Avoid placing the plant near drafts or heating vents, as this can cause temperature fluctuations that can stress the plant. Consistent temperatures are key to healthy growth.
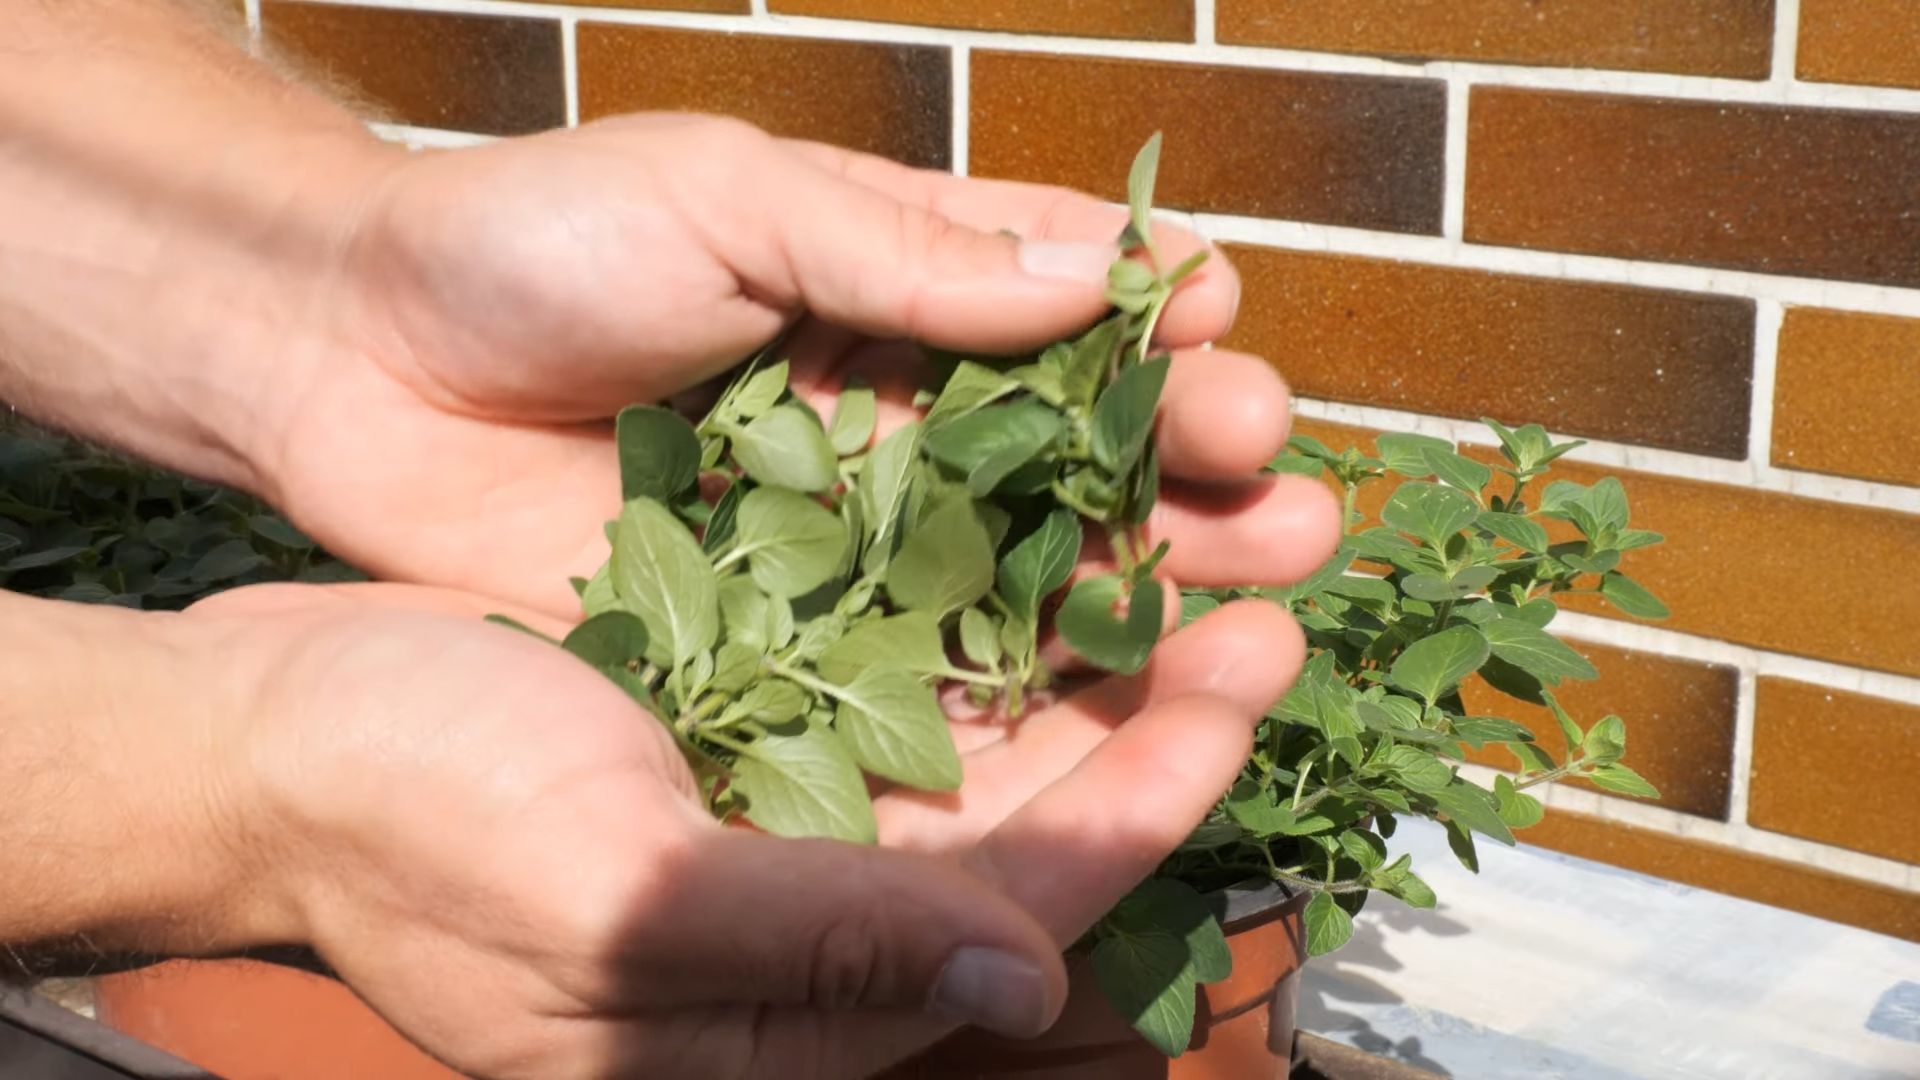
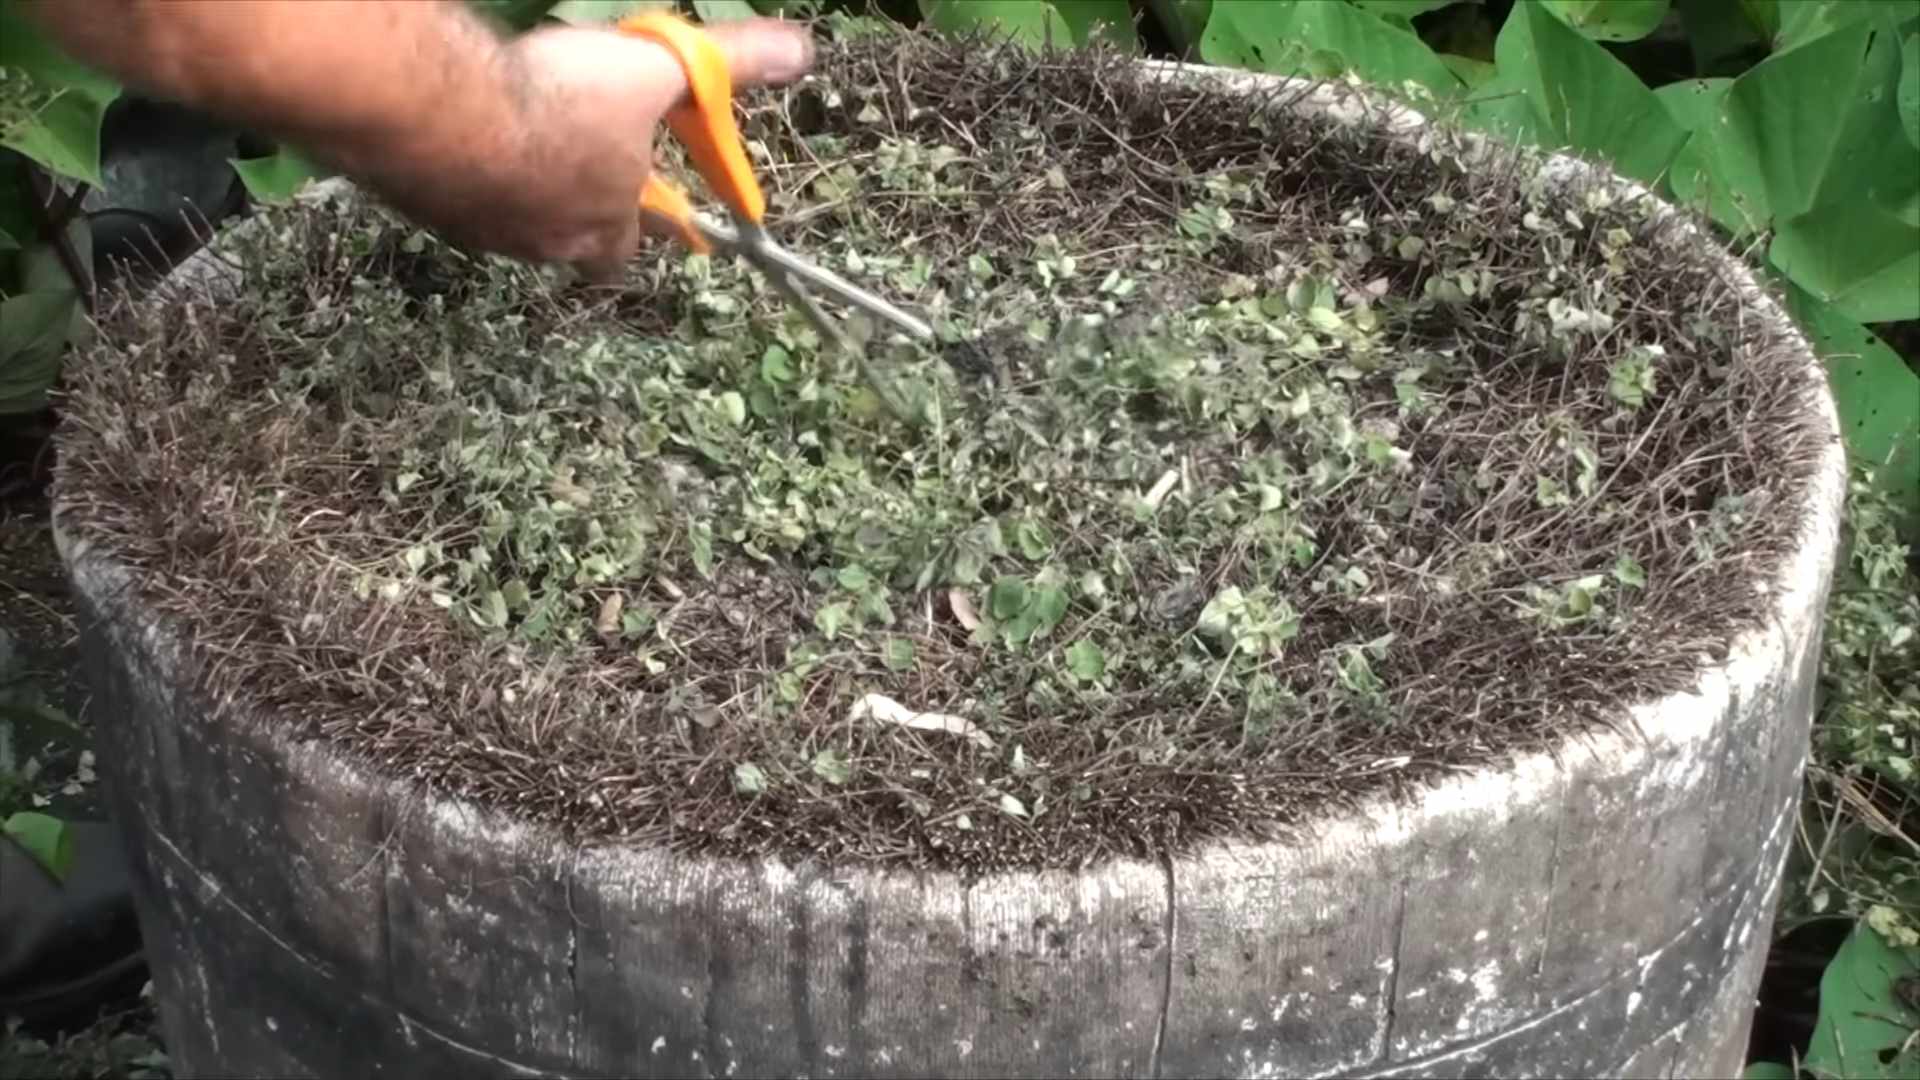
5. How do I harvest oregano from my indoor plant?
Harvest oregano by snipping off stems with scissors or pruning shears. It’s best to harvest in the morning, after the dew has dried, as this is when the essential oils are most concentrated. You can harvest up to one-third of the plant at a time without harming it. Regular harvesting encourages the plant to produce more leaves.
6. How do I fertilize my indoor oregano plant?
Oregano doesn’t need a lot of fertilizer. Feed it with a balanced liquid fertilizer diluted to half strength every two to three months during the growing season (spring and summer). Avoid over-fertilizing, as this can lead to leggy growth and a less flavorful herb.
7. My oregano plant is looking leggy. What should I do?
Leggy growth is often a sign of insufficient light. Move your plant to a sunnier location or supplement with a grow light. You can also prune the plant back to encourage bushier growth. Simply trim the stems back to just above a leaf node.
8. How do I propagate oregano from cuttings?
Propagating oregano from cuttings is easy. Take a 4-6 inch cutting from a healthy stem, removing the lower leaves. Place the cutting in a glass of water, making sure that the leaves are above the water line. Change the water every few days. After a few weeks, roots will begin to form. Once the roots are about an inch long, you can transplant the cutting into a pot filled with well-draining soil.
9. Can I grow oregano from seed indoors?
Yes, you can grow oregano from seed indoors. Start the seeds indoors 6-8 weeks before the last expected frost. Sow the seeds thinly on the surface of a seed-starting mix and gently press them into the soil. Keep the soil moist but not soggy. The seeds should germinate in 10-14 days. Once the seedlings have developed a few sets of true leaves, you can transplant them into individual pots.
10. What pests and diseases affect indoor oregano plants?
Common pests that can affect indoor oregano plants include aphids, spider mites, and whiteflies. These pests can be controlled with insecticidal soap or neem oil. Overwatering can lead to root rot, so it’s important to ensure that the soil is well-draining and that you’re not watering too frequently. Good air circulation can also help prevent fungal diseases. Regularly inspect your plant for any signs of pests or diseases and take action promptly to prevent them from spreading.
Leave a Comment