

Growing Chili Peppers Tips: Ever dreamt of adding a fiery kick to your dishes straight from your own backyard? I know I have! There’s something incredibly satisfying about nurturing a tiny seed into a vibrant plant that produces those flavorful, sometimes scorching, peppers. But let’s be honest, getting those peppers to thrive can sometimes feel like a fiery challenge in itself!
Chili peppers have a rich history, dating back thousands of years in South America, where they were not only a culinary staple but also held significant cultural and medicinal value. Today, they’re a global phenomenon, adding zest to cuisines worldwide. But you don’t need to be a seasoned gardener to enjoy the fruits (or should I say, peppers!) of your labor.
That’s where these growing chili peppers tips come in handy. Whether you’re a complete beginner or have a few gardening seasons under your belt, this guide is packed with simple, effective DIY tricks and hacks to help you cultivate a bountiful chili pepper harvest. We’ll cover everything from choosing the right varieties for your climate to troubleshooting common problems, ensuring you’ll be enjoying homemade hot sauce and spicy salsas in no time. So, grab your gardening gloves, and let’s get started on this exciting journey of growing chili peppers!
Growing Chili Peppers: From Seed to Sizzling Harvest!
Hey there, fellow chili enthusiasts! I’m so excited you’re diving into the wonderful world of growing your own chili peppers. Trust me, there’s nothing quite like the satisfaction of harvesting peppers you’ve nurtured from tiny seeds. This guide is packed with everything I’ve learned over the years, from choosing the right seeds to troubleshooting common problems. Let’s get started!
Choosing Your Chili Pepper Varieties
Before we even think about soil, let’s talk peppers! The sheer variety of chili peppers out there is mind-boggling, ranging from mild and fruity to face-meltingly hot. Here’s a quick rundown to help you choose:
* **Mild:** Bell peppers (technically chilies!), Poblano, Anaheim
* **Medium:** Jalapeño, Serrano, Cayenne
* **Hot:** Thai Chili, Habanero, Scotch Bonnet
* **Extreme:** Ghost Pepper (Bhut Jolokia), Carolina Reaper, Trinidad Scorpion
Consider your climate, your taste preferences, and how you plan to use your peppers. Do you want to make salsa? Hot sauce? Or just add a little kick to your meals? Also, think about the space you have available. Some varieties grow quite large!
Pro Tip: Start with a few different varieties. It’s a fun way to experiment and discover your favorites!
Starting Your Chili Pepper Seeds
Chili peppers have a long growing season, so starting them indoors is usually necessary, especially if you live in a cooler climate. I typically start my seeds 8-10 weeks before the last expected frost.
Materials You’ll Need:
* Chili pepper seeds
* Seed starting trays or small pots
* Seed starting mix (a light, well-draining mix is crucial)
* Heat mat (optional, but highly recommended)
* Grow light (essential for strong seedlings)
* Spray bottle with water
* Clear plastic dome or plastic wrap (to maintain humidity)
Step-by-Step Seed Starting:
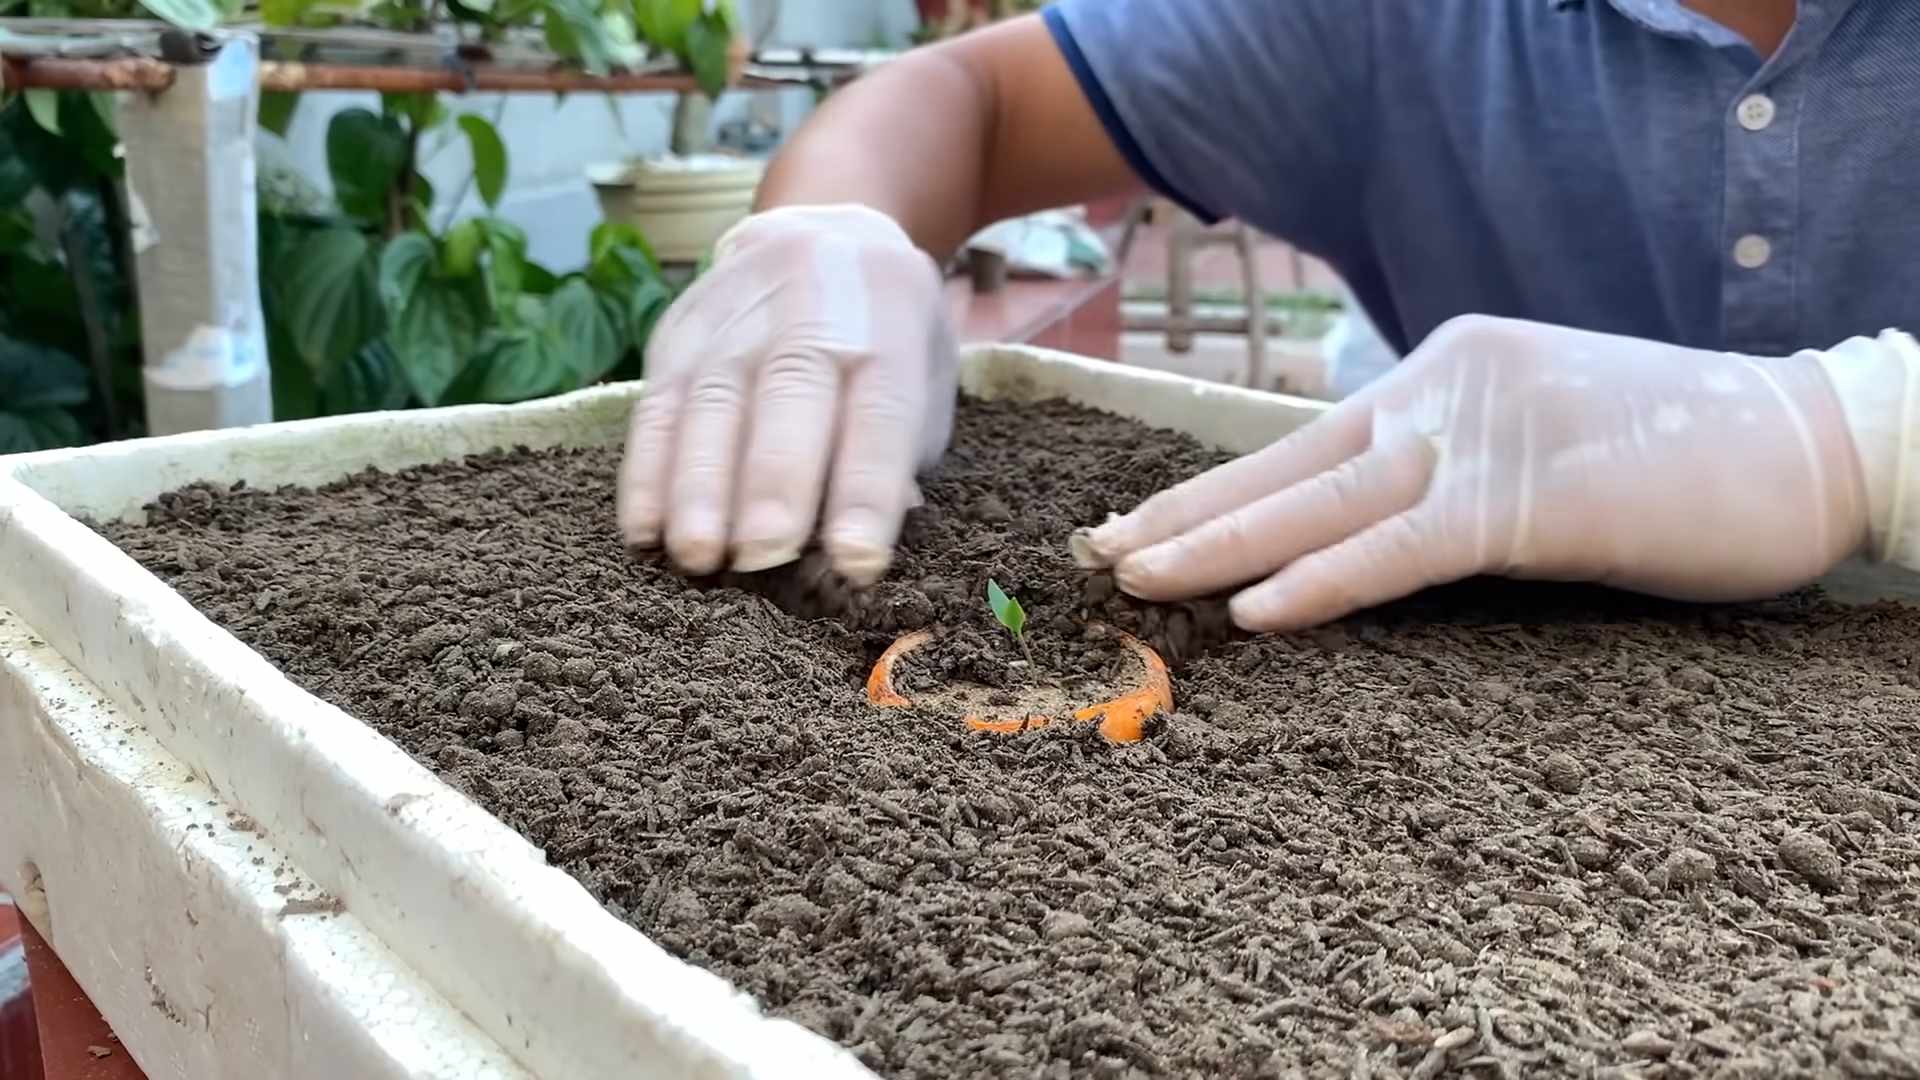
1. **Prepare Your Seed Starting Trays:** Fill your seed starting trays or pots with seed starting mix. Gently tap the trays to settle the mix, but don’t pack it down too tightly.
2. **Sow the Seeds:** Make a small indentation (about 1/4 inch deep) in the center of each cell or pot. Place 2-3 seeds in each indentation. This increases your chances of at least one seed germinating.
3. **Cover the Seeds:** Gently cover the seeds with more seed starting mix. Lightly pat the surface.
4. **Water Thoroughly:** Use a spray bottle to thoroughly moisten the soil. Avoid overwatering, which can lead to damping off (a fungal disease that kills seedlings).
5. **Create a Humid Environment:** Cover the trays with a clear plastic dome or plastic wrap to create a humid environment. This helps the seeds germinate.
6. **Provide Warmth:** Place the trays on a heat mat. Chili pepper seeds germinate best in warm temperatures (around 80-85°F).
7. **Provide Light:** Place the trays under a grow light. Keep the light on for 14-16 hours per day. Adjust the height of the light as the seedlings grow to prevent them from becoming leggy.
8. **Monitor and Water:** Check the soil moisture daily. Keep the soil consistently moist, but not soggy. Remove the plastic dome or plastic wrap once the seeds have germinated.
9. **Thin the Seedlings:** Once the seedlings have developed their first true leaves (the second set of leaves), thin them to one seedling per cell or pot. Choose the strongest, healthiest-looking seedling and snip off the others at the soil line. Don’t pull them out, as this can disturb the roots of the remaining seedling.
Important Note: Damping off is a common problem with seedlings. To prevent it, use a sterile seed starting mix, avoid overwatering, and provide good air circulation.
Transplanting Your Chili Pepper Seedlings
Once your seedlings are about 6-8 inches tall and the danger of frost has passed, it’s time to transplant them outdoors.
Hardening Off Your Seedlings:
Before transplanting, you need to “harden off” your seedlings. This process gradually acclimates them to the outdoor environment.
1. **Start Slowly:** Begin by placing the seedlings outdoors in a sheltered location (e.g., a shaded patio) for just a few hours each day.
2. **Increase Exposure:** Gradually increase the amount of time they spend outdoors each day, and slowly expose them to more sunlight.
3. **Monitor the Weather:** Protect the seedlings from strong winds, heavy rain, and extreme temperatures.
4. **After a Week or Two:** After a week or two, the seedlings should be fully acclimated to the outdoor environment and ready to be transplanted.
Transplanting into the Garden:
1. **Choose a Sunny Location:** Chili peppers need at least 6-8 hours of sunlight per day.
2. **Prepare the Soil:** Chili peppers prefer well-drained soil that is rich in organic matter. Amend the soil with compost or well-rotted manure.
3. **Dig Holes:** Dig holes that are slightly larger than the root balls of the seedlings. Space the holes about 18-24 inches apart, depending on the variety of pepper.
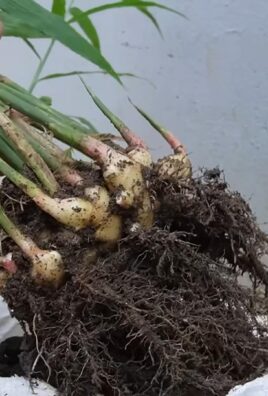
4. **Gently Remove Seedlings:** Carefully remove the seedlings from their pots or trays. Gently loosen the roots if they are tightly bound.
5. **Plant the Seedlings:** Place the seedlings in the holes and backfill with soil. Gently pat the soil around the base of the plants.
6. **Water Thoroughly:** Water the seedlings thoroughly after transplanting.
7. **Mulch:** Apply a layer of mulch around the base of the plants to help retain moisture, suppress weeds, and regulate soil temperature.
My Secret Weapon: I always add a handful of bone meal to the planting hole. It provides phosphorus, which is essential for root development and flowering.
Caring for Your Chili Pepper Plants
Now that your chili pepper plants are in the ground, it’s time to provide them with the care they need to thrive.
Watering:
* Water deeply and regularly, especially during hot, dry weather.
* Avoid overwatering, which can lead to root rot.
* Water at the base of the plants to avoid wetting the foliage, which can encourage fungal diseases.
Fertilizing:
* Fertilize your chili pepper plants every 2-3 weeks with a balanced fertilizer.
* Once the plants start to flower, switch to a fertilizer that is higher in phosphorus and potassium.
* Avoid over-fertilizing, which can lead to excessive foliage growth and fewer peppers.
Pruning:
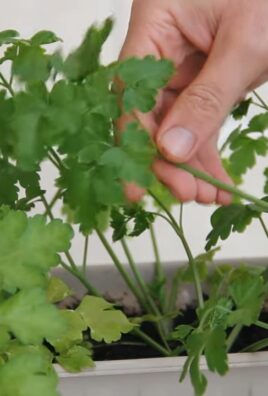
* Pruning is not essential for chili peppers, but it can help to improve air circulation and encourage bushier growth.
* Remove any yellowing or dead leaves.
* Pinch off the tips of the branches to encourage branching.
Pest and Disease Control:
* Monitor your chili pepper plants regularly for pests and diseases.
* Common pests include aphids, spider mites, and whiteflies.
* Common diseases include blossom end rot, fungal leaf spot, and powdery mildew.
* Use organic pest control methods whenever possible.
* Neem oil is an effective treatment for many common pests and diseases.
Dealing with Blossom End Rot: Blossom end rot is a common problem in chili peppers, especially during hot, dry weather. It’s caused by a calcium deficiency. To prevent blossom end rot, make sure your soil is rich in calcium and water your plants regularly. You can also add calcium to the soil by applying crushed eggshells or bone meal.
Harvesting Your Chili Peppers
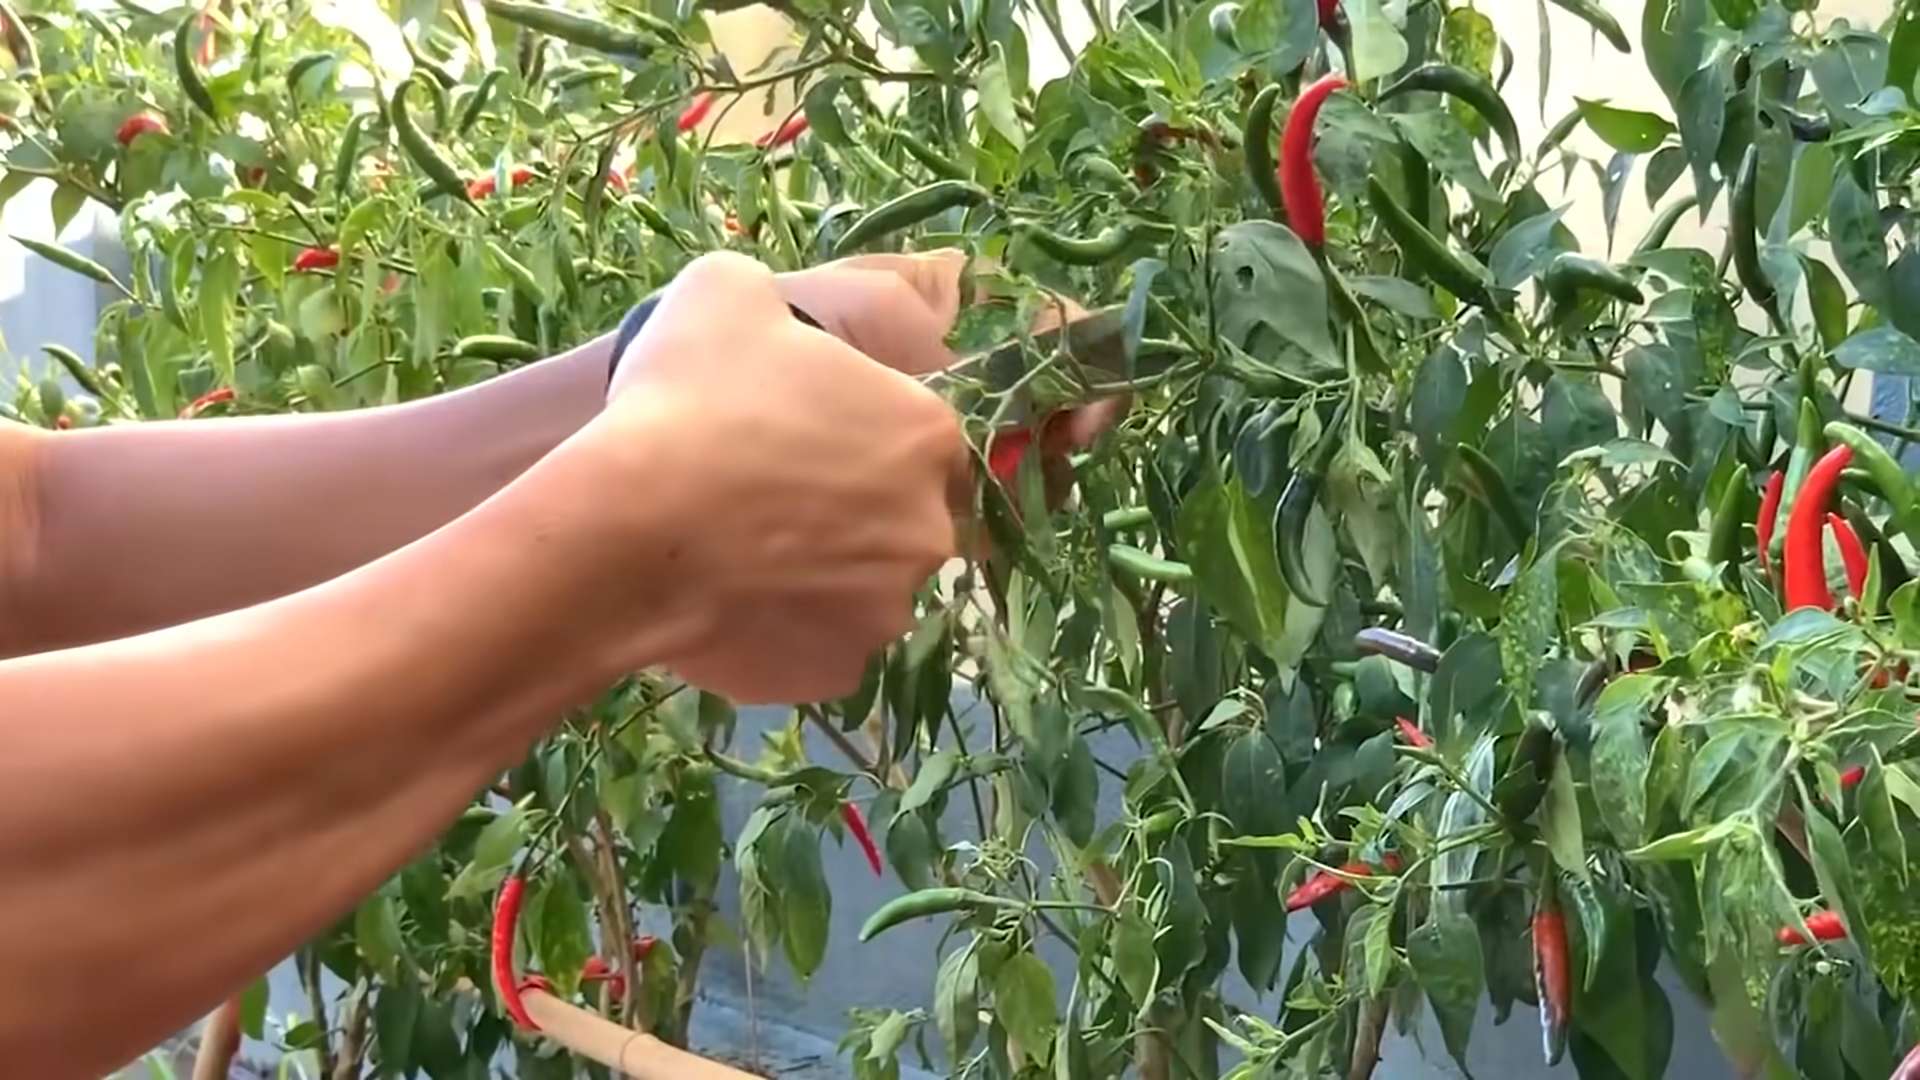
The moment you’ve been waiting for! Harvesting your chili peppers is the most rewarding part of the process.
* Harvest your chili peppers when they have reached their mature color and size.
* Use pruning shears or scissors to cut the peppers from the plant.
* Be careful not to damage the plant when harvesting.
* Wear gloves when harvesting hot peppers to avoid burning your skin.
Determining Pepper Maturity: The color of the pepper is usually the best indicator of maturity. For example, jalapeños are typically harvested when they are dark green, while habaneros are harvested when they are bright orange.
Storing Your Chili Peppers
Once you’ve harvested your chili peppers, you’ll want to store them properly to keep them fresh.
* **Fresh Storage:** Store fresh chili peppers in the refrigerator for up to a week.
* **Drying:** Dry chili peppers by stringing them together and hanging them in a well-ventilated area. You can also dry them in a dehydrator or oven.
* **Freezing:** Freeze chili peppers whole or chopped.
* **Pickling:** Pickle chili peppers in vinegar or brine.
* **Making Hot Sauce:** Use your chili peppers to make your own homemade hot sauce!
My Favorite Storage Method: I love to dry my chili
Conclusion
So, there you have it! Mastering the art of growing chili peppers doesn’t require a green thumb blessed by the gardening gods. It’s about understanding their needs, providing the right environment, and employing a few clever DIY tricks to boost their growth and productivity. This guide has armed you with the knowledge to cultivate a thriving chili pepper patch, even if you’re a beginner.
Why is this DIY approach a must-try? Because it empowers you to take control of your chili pepper journey. You’re not just passively waiting for peppers to appear; you’re actively nurturing them, optimizing their conditions, and reaping the rewards of your efforts. From understanding the importance of well-draining soil to mastering the art of watering and feeding, each tip contributes to a healthier, more productive plant. And let’s not forget the satisfaction of harvesting your own fiery bounty!
But the journey doesn’t end here. Feel free to experiment with different varieties of chili peppers. Try growing them in containers on your balcony or in raised beds in your garden. Explore different soil amendments and fertilizers to see what works best for your specific environment. Consider companion planting with herbs like basil or oregano to deter pests and enhance flavor.
Variations and Suggestions:
* Hydroponic Chili Peppers: For the adventurous gardener, consider growing chili peppers hydroponically. This method allows for precise control over nutrient delivery and can result in faster growth and higher yields.
* Vertical Gardening: If space is limited, explore vertical gardening techniques. Chili peppers can thrive in hanging baskets or stacked planters, adding a touch of spice to even the smallest spaces.
* Overwintering Chili Peppers: In colder climates, you can overwinter your chili pepper plants indoors. Prune them back, repot them in fresh soil, and provide them with adequate light and warmth.
* DIY Fertilizer: Create your own organic fertilizer using kitchen scraps like banana peels and coffee grounds. These provide essential nutrients for healthy growth.
* Seed Saving: Save seeds from your favorite chili peppers to grow them again next year. This is a great way to preserve unique varieties and adapt them to your local climate.
We encourage you to embrace these tips, adapt them to your own gardening style, and witness the incredible transformation of your chili pepper plants. Don’t be afraid to experiment, learn from your mistakes, and celebrate your successes.
Now, it’s your turn! Grab your gardening gloves, gather your supplies, and embark on your chili pepper growing adventure. We’re confident that with a little patience and dedication, you’ll be harvesting a bumper crop of fiery peppers in no time.
And most importantly, share your experience! We want to hear about your successes, your challenges, and your unique DIY tricks. Post photos of your chili pepper plants, share your favorite recipes, and connect with other chili pepper enthusiasts. Let’s create a community of passionate gardeners who are dedicated to growing the best chili peppers possible. Remember, the key to successful growing chili peppers is consistent care and attention. So, get out there and get growing!
Frequently Asked Questions (FAQ)
Q: What is the best time to start growing chili peppers?
A: The best time to start growing chili peppers depends on your climate. In warmer regions with long growing seasons, you can start seeds directly outdoors after the last frost. However, in colder climates, it’s best to start seeds indoors 6-8 weeks before the last expected frost. This gives the seedlings a head start and ensures they have enough time to mature and produce peppers before the end of the growing season. You can also purchase seedlings from a local nursery if you prefer not to start from seed.
Q: What type of soil is best for growing chili peppers?
A: Chili peppers thrive in well-draining soil that is rich in organic matter. A sandy loam soil is ideal, as it provides good drainage and aeration. Avoid heavy clay soils, as they can become waterlogged and suffocate the roots. Amend your soil with compost, aged manure, or other organic materials to improve its drainage and fertility. A slightly acidic to neutral pH (6.0-7.0) is also optimal.
Q: How often should I water my chili pepper plants?
A: Chili pepper plants need consistent moisture, but they don’t like to be waterlogged. Water deeply when the top inch of soil feels dry to the touch. Avoid overwatering, as this can lead to root rot. The frequency of watering will depend on the weather, the type of soil, and the size of the plant. During hot, dry weather, you may need to water daily. In cooler, wetter weather, you may only need to water every few days. Use a moisture meter to accurately gauge the moisture level of the soil.
Q: What kind of fertilizer should I use for chili peppers?
A: Chili peppers benefit from regular fertilization, especially during the flowering and fruiting stages. Use a balanced fertilizer with a slightly higher phosphorus content (e.g., 5-10-5) to promote flower and fruit development. You can also use organic fertilizers like compost tea, fish emulsion, or bone meal. Avoid over-fertilizing, as this can lead to excessive foliage growth and reduced fruit production. Follow the instructions on the fertilizer label carefully.
Q: How much sunlight do chili peppers need?
A: Chili peppers need at least 6-8 hours of direct sunlight per day to thrive. Choose a sunny location in your garden or on your balcony. If you’re growing chili peppers indoors, provide them with supplemental lighting using grow lights. Insufficient sunlight can lead to leggy growth, reduced flowering, and smaller peppers.
Q: How do I protect my chili pepper plants from pests and diseases?
A: Chili peppers can be susceptible to various pests and diseases, including aphids, spider mites, whiteflies, and fungal infections. Regularly inspect your plants for signs of infestation or disease. Use organic pest control methods like insecticidal soap, neem oil, or horticultural oil to control pests. Ensure good air circulation around your plants to prevent fungal diseases. Remove any infected leaves or plants promptly to prevent the spread of disease. Companion planting with herbs like basil or marigolds can also help deter pests.
Q: When should I harvest my chili peppers?
A: The timing of harvest depends on the variety of chili pepper and your personal preference. Most chili peppers will change color as they ripen, from green to red, yellow, orange, or brown. You can harvest them at any stage of ripeness, but the flavor and heat will intensify as they mature. Use pruning shears or scissors to cut the peppers from the plant, leaving a small stem attached.
Q: How do I store my harvested chili peppers?
A: There are several ways to store harvested chili peppers. You can dry them, freeze them, pickle them, or make them into hot sauce. To dry chili peppers, string them together and hang them in a well-ventilated area until they are completely dry. You can also dry them in a dehydrator or oven. To freeze chili peppers, wash them, remove the stems, and freeze them whole or chopped. Pickled chili peppers can be stored in the refrigerator for several months.
Q: Can I grow chili peppers in containers?
A: Yes, chili peppers can be successfully grown in containers. Choose a container that is at least 12 inches in diameter and has drainage holes. Use a well-draining potting mix and provide your plants with adequate sunlight, water, and fertilizer. Container-grown chili peppers may need to be watered more frequently than those grown in the ground.
Q: What are some common problems when growing chili peppers and how can I fix them?
A: Some common problems include blossom drop (flowers falling off without producing fruit), stunted growth, yellowing leaves, and pest infestations. Blossom drop can be caused by temperature stress, insufficient pollination, or nutrient deficiencies. Stunted growth can be caused by poor soil, lack of sunlight, or pest infestations. Yellowing leaves can be caused by nutrient deficiencies, overwatering, or disease. Identify the cause of the problem and take appropriate action to correct it. For example, provide shade during hot weather, hand-pollinate flowers, fertilize regularly, and control pests and diseases.
Leave a Comment