

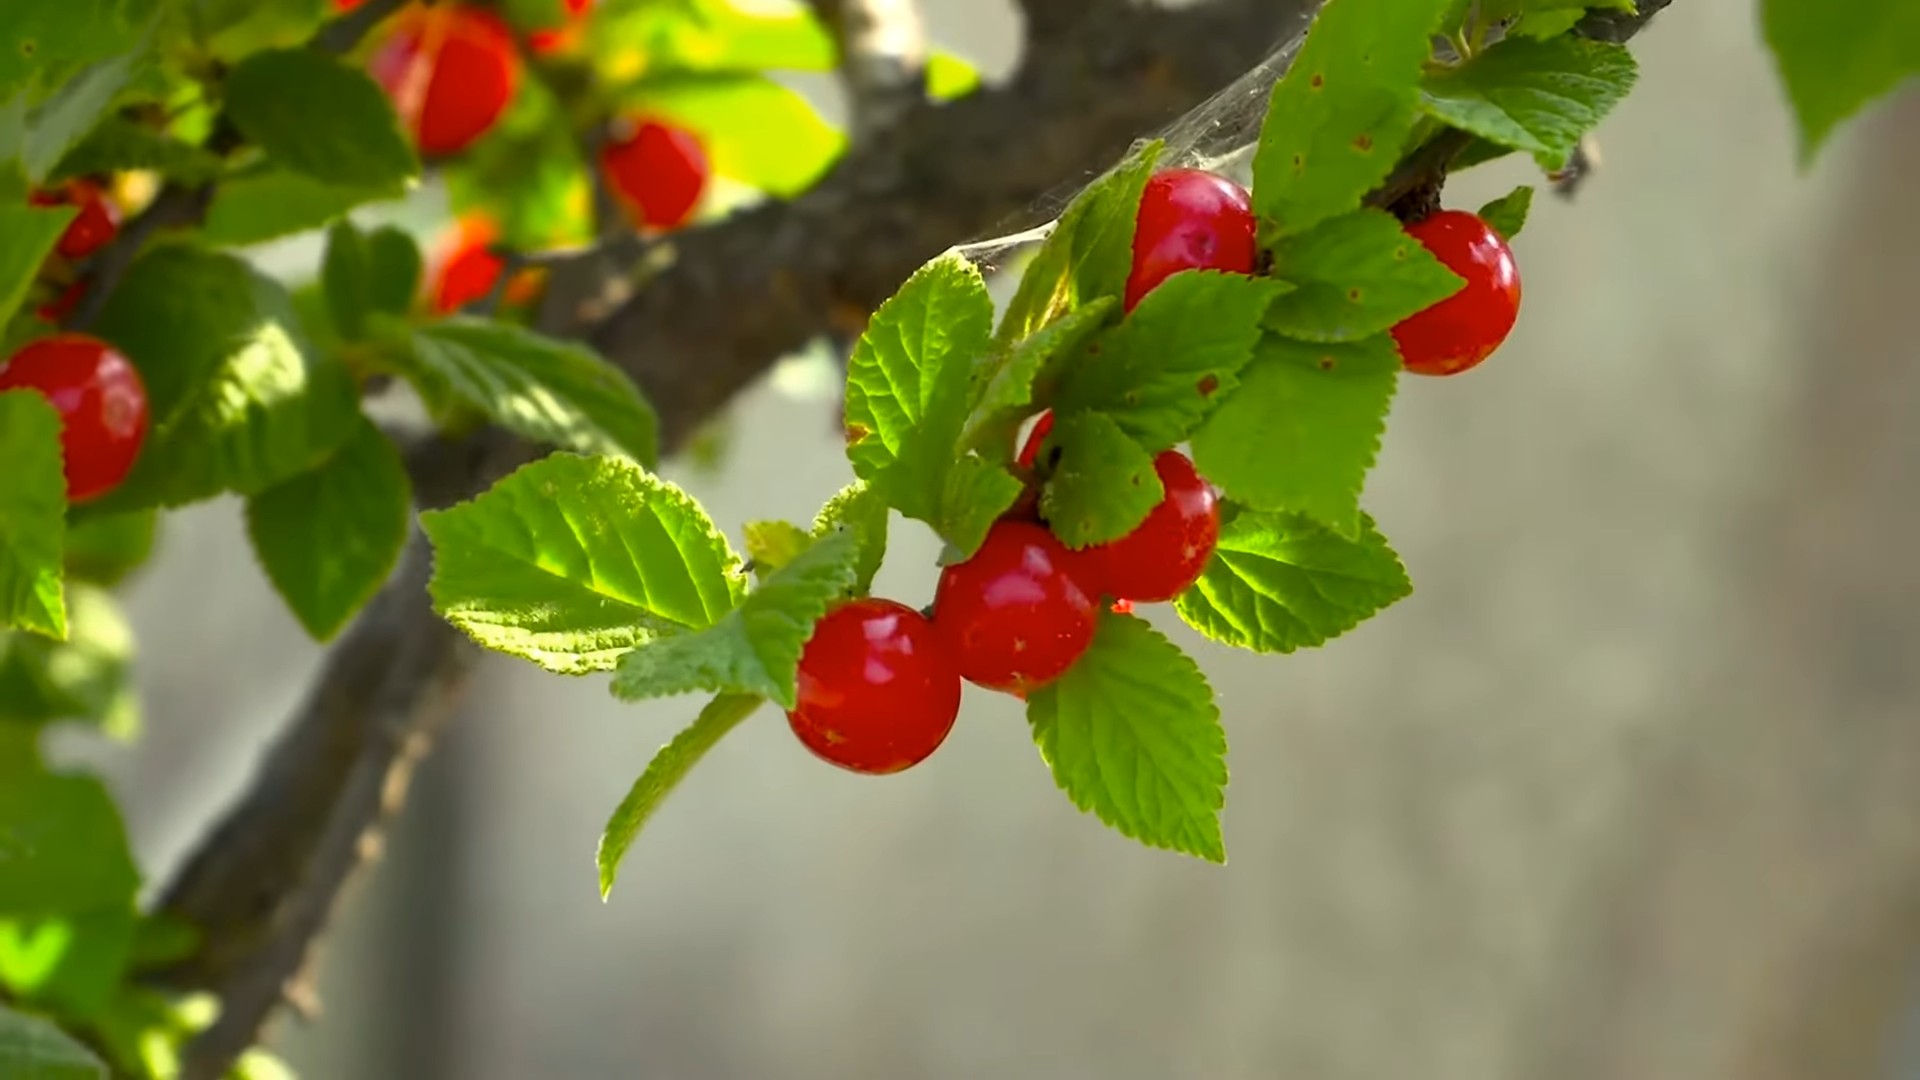
Growing Cherries at Home might seem like a distant dream reserved for sprawling orchards, but I’m here to tell you it’s absolutely achievable, even in a small backyard or balcony! Forget those expensive, often lackluster cherries from the grocery store. Imagine biting into a juicy, sun-ripened cherry you nurtured yourself – the taste is simply unparalleled.
Cherries have a rich history, enjoyed for centuries across cultures. From ancient Roman feasts to traditional Japanese cherry blossom festivals, these fruits have always held a special place in our hearts and diets. But the idea of cultivating them yourself? That’s where the real magic happens.
Why should you embark on this DIY adventure? Well, for starters, you’ll have complete control over the growing process, ensuring your cherries are free from harmful pesticides and chemicals. Plus, growing cherries at home is incredibly rewarding. There’s nothing quite like the satisfaction of watching your little tree blossom and bear fruit. I know it can seem daunting, but with the right guidance and a few clever tricks, you can enjoy a bountiful cherry harvest right in your own backyard. This article is packed with easy-to-follow tips and DIY hacks to help you succeed, no matter your gardening experience. Let’s get started!
Growing Cherries at Home: A DIY Guide to Sweet Success!
Okay, so you want to grow cherries at home? Awesome! It’s totally doable, and the reward of plucking your own juicy cherries straight from the tree is absolutely worth the effort. It might seem daunting at first, but trust me, with a little planning and some elbow grease, you’ll be enjoying homegrown cherries in no time. I’m going to walk you through everything you need to know, from choosing the right variety to protecting your precious fruit from hungry birds. Let’s get started!
Choosing the Right Cherry Tree
This is probably the most crucial step. Not all cherry trees are created equal, and some are much better suited for home gardens than others. Here’s what you need to consider:
* Sweet vs. Sour: Sweet cherries are the ones you typically eat fresh, like Bing or Rainier. Sour cherries (also called tart cherries), like Montmorency, are better for pies, jams, and preserves.
* Self-Pollinating vs. Cross-Pollinating: Many sweet cherry varieties need another compatible cherry tree nearby for pollination. Self-pollinating varieties, like Stella or Lapins, can produce fruit on their own. Sour cherries are generally self-pollinating.
* Climate: Cherries generally need a period of cold dormancy (chill hours) to produce fruit. Make sure the variety you choose is suitable for your climate’s chill hour requirements. Your local nursery can be a great resource for this!
* Size: Cherry trees can get quite large! Consider dwarf or semi-dwarf varieties if you have limited space. These are often grafted onto rootstocks that control their size.
* Disease Resistance: Look for varieties that are resistant to common cherry tree diseases like leaf spot or brown rot.
My Recommendation: If you’re a beginner, I’d suggest starting with a self-pollinating sweet cherry variety like Stella or Lapins, or a sour cherry variety like Montmorency. They’re relatively easy to grow and don’t require a second tree for pollination.
Preparing the Planting Site
Okay, you’ve picked your tree! Now it’s time to get the planting site ready. Cherries need well-drained soil and plenty of sunlight.
* Sunlight: Cherry trees need at least 6-8 hours of direct sunlight per day. Choose a location that gets plenty of sun.
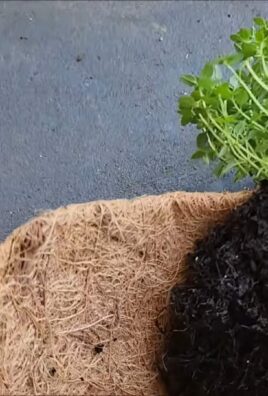
* Soil: Cherries prefer well-drained soil with a slightly acidic pH (around 6.0-7.0). If your soil is heavy clay, amend it with compost and other organic matter to improve drainage.
* Drainage: This is super important! Cherry trees hate having wet feet. Make sure the soil drains well. You can test drainage by digging a hole and filling it with water. If the water doesn’t drain within a few hours, you’ll need to improve the drainage before planting.
* Space: Give your cherry tree plenty of space to grow. Dwarf varieties need about 8-10 feet of space, while standard varieties need 20-30 feet.
* Weed Control: Clear the planting area of weeds and grass. This will help prevent competition for nutrients and water.
Planting Your Cherry Tree
Alright, time to get your hands dirty! Here’s how to plant your cherry tree:
1. Dig the Hole: Dig a hole that’s twice as wide as the root ball and just as deep.
2. Prepare the Root Ball: Gently remove the tree from its container. If the roots are circling the root ball, gently loosen them up with your fingers or a small trowel. This will encourage them to grow outward into the surrounding soil.
3. Position the Tree: Place the tree in the hole, making sure the top of the root ball is level with the surrounding soil. You don’t want to plant it too deep!
4. Backfill the Hole: Backfill the hole with the soil you removed, gently tamping it down as you go.
5. Water Thoroughly: Water the tree thoroughly after planting. This will help settle the soil and get the roots off to a good start.
6. Mulch: Apply a layer of mulch around the base of the tree, keeping it a few inches away from the trunk. Mulch helps retain moisture, suppress weeds, and regulate soil temperature. I like to use wood chips or shredded bark.
7. Stake (Optional): If your tree is young and spindly, you may want to stake it for the first year or two to provide support.
Caring for Your Cherry Tree
Now that your cherry tree is planted, it’s time to give it some TLC! Here’s what you need to do to keep it healthy and productive:
* Watering: Water your cherry tree regularly, especially during dry periods. Young trees need more frequent watering than established trees. Aim for deep, infrequent watering rather than shallow, frequent watering.
* Fertilizing: Fertilize your cherry tree in the spring with a balanced fertilizer. Follow the instructions on the fertilizer package. Avoid over-fertilizing, as this can damage the tree.
* Pruning: Prune your cherry tree in late winter or early spring to remove dead, damaged, or crossing branches. Pruning helps improve air circulation and sunlight penetration, which can reduce the risk of disease.
* Pest and Disease Control: Keep an eye out for pests and diseases. Common cherry tree pests include aphids, cherry fruit flies, and Japanese beetles. Common diseases include leaf spot, brown rot, and powdery mildew. Treat any problems promptly with appropriate insecticides or fungicides. I always try to use organic options whenever possible.
* Protecting from Birds: Birds love cherries just as much as we do! To protect your fruit, you’ll need to cover your tree with netting before the cherries start to ripen. This is probably the most important step to ensure a good harvest!
Dealing with Common Cherry Tree Problems
Even with the best care, you might encounter some problems along the way. Here are a few common issues and how to deal with them:
* Lack of Fruit: If your cherry tree isn’t producing fruit, it could be due to a number of factors, including lack of pollination, insufficient chill hours, poor soil, or improper pruning. Make sure you’ve addressed all of these potential issues.
* Leaf Spot: Leaf spot is a fungal disease that causes small, brown spots on the leaves. Treat it with a fungicide in the spring.
* Brown Rot: Brown rot is another fungal disease that can cause the fruit to rot on the tree. Remove any infected fruit and treat the tree with a fungicide.
* Aphids: Aphids are small, sap-sucking insects that can weaken the tree. Spray them with insecticidal soap or neem oil.
* Cherry Fruit Flies: Cherry fruit flies lay their eggs inside the cherries, causing them to become wormy. Hang yellow sticky traps in the tree to catch the flies. You can also use an insecticide specifically designed for cherry fruit flies.
Harvesting Your Cherries
Finally, the moment you’ve been waiting for! Here’s how to harvest your cherries:
1. Check for Ripeness: Cherries are ripe when they’re fully colored and slightly soft to the touch. They should also come off the tree easily when you gently pull them.
2. Harvest Carefully: Harvest the cherries carefully, being careful not to damage the tree. Use a ladder if necessary to reach the higher branches.
3. Enjoy Your Harvest: Enjoy your fresh cherries! You can eat them fresh, make pies, jams, or preserves, or freeze them for later.
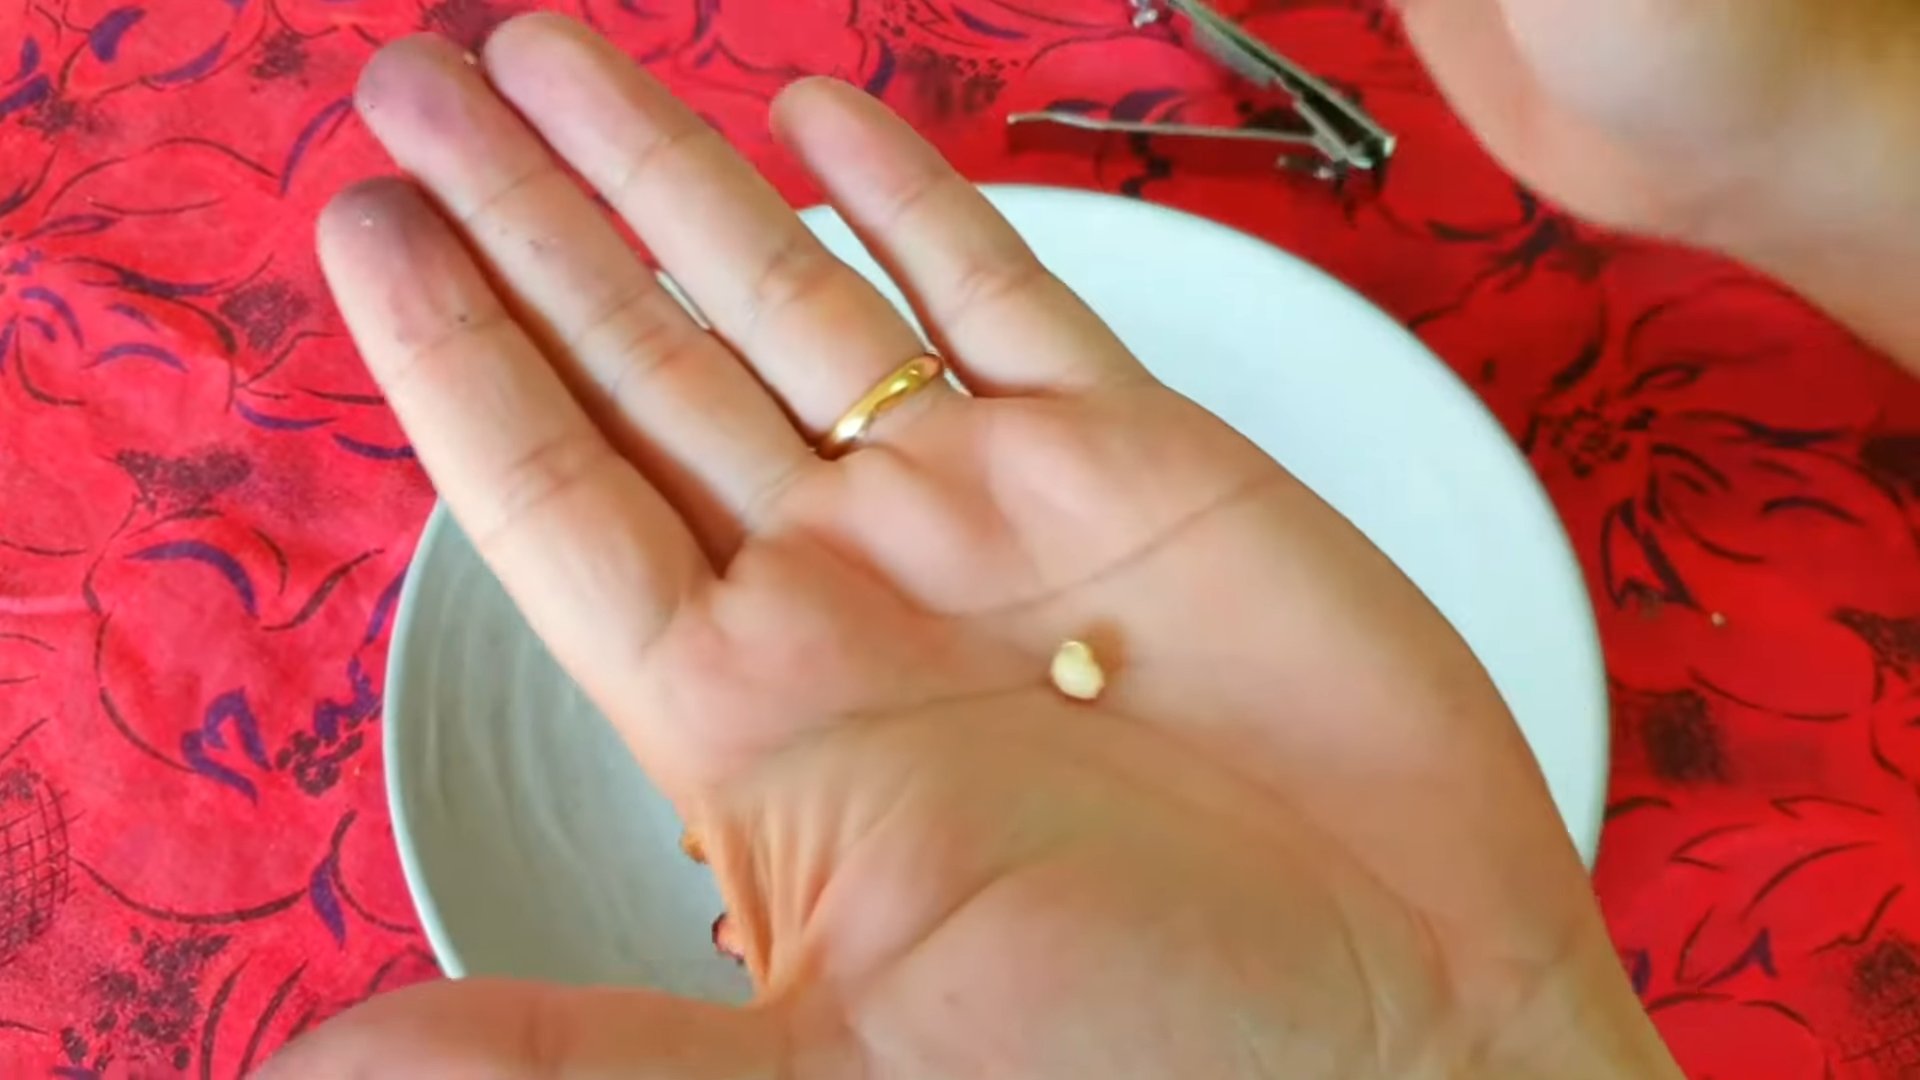
Propagating Cherry Trees (Advanced)
Okay, this is a bit more advanced, but if you’re feeling adventurous, you can try propagating your own cherry trees. The most common method is grafting.
1. Grafting: Grafting involves joining a piece of a desired cherry variety (the scion) onto the rootstock of another cherry tree. This allows you to propagate specific varieties and control the size and vigor of the tree.
2. Timing: The best time to graft cherry trees is in late winter or early spring, before the trees start to bud.
3. Materials: You’ll need a sharp grafting knife, grafting tape, and scion wood from a healthy cherry tree.
4. Technique: There are several different grafting techniques you can use, such as whip and tongue grafting or cleft grafting. Research these techniques and choose the one that you’re most comfortable with.
5. Aftercare: After grafting, wrap the graft union tightly with grafting tape to protect it and keep it moist. Keep the grafted tree in a sheltered location until the graft has taken.
Grafting can be tricky, so don’t be discouraged if your first attempt isn’t successful. Keep practicing, and you’ll eventually get the hang of it!
Growing cherries at home takes time and effort, but it’s a rewarding experience
Conclusion
So, there you have it! Growing cherries at home, while it might seem daunting at first, is entirely achievable with a little patience, the right knowledge, and a willingness to get your hands dirty. We’ve explored the key steps, from selecting the perfect cherry variety for your climate and space to nurturing your tree through its various stages of growth. The satisfaction of harvesting your own, sun-ripened cherries, bursting with flavor and free from any unwanted chemicals, is an experience that store-bought cherries simply can’t replicate.
This isn’t just about saving money; it’s about connecting with nature, understanding the process of food production, and enjoying the unparalleled taste of homegrown fruit. Imagine the delight of sharing your bounty with friends and family, knowing that you cultivated those delicious cherries yourself.
But the journey doesn’t end here! Feel free to experiment with different cherry varieties to discover your personal favorite. Consider planting multiple trees to extend your harvest season and ensure cross-pollination. You can also explore different training techniques, such as espaliering, to maximize fruit production in smaller spaces. Think about using organic pest control methods to keep your trees healthy and your cherries safe for consumption.
Don’t be afraid to adapt these guidelines to your specific circumstances. Every garden is unique, and what works for one person might not work for another. The key is to observe your trees closely, learn from your mistakes, and celebrate your successes.
We wholeheartedly encourage you to embark on this rewarding adventure of growing cherries at home. The initial investment of time and effort will be richly rewarded with years of delicious, homegrown fruit. And remember, even if you encounter challenges along the way, the learning process is part of the fun.
Now, it’s your turn! We’re eager to hear about your experiences with growing cherries at home. Share your tips, tricks, and triumphs in the comments section below. Let’s create a community of cherry-growing enthusiasts and learn from each other’s successes and failures. Let us know what variety you chose, what challenges you faced, and what delicious recipes you created with your homegrown cherries. Your insights could inspire others to take the plunge and experience the joy of growing their own fruit. So, grab your gardening gloves, choose your cherry tree, and get ready to enjoy the sweet taste of success!
Frequently Asked Questions (FAQs)
Q: What cherry variety is best for beginners?
A: For beginners, we highly recommend starting with self-pollinating varieties like ‘Stella’ or ‘Lapins’. These varieties don’t require a second cherry tree for pollination, making them easier to manage. ‘Stella’ is a sweet cherry, while ‘Lapins’ is known for its disease resistance and consistent fruit production. ‘Bing’ cherries are popular, but they require a pollinator tree. Consider your local climate and hardiness zones when making your selection. Local nurseries can provide valuable advice on varieties that thrive in your specific area.
Q: How much space does a cherry tree need?
A: The space required depends on the variety and rootstock. Standard-sized cherry trees can reach 30-40 feet in height and width, requiring ample space. However, dwarf and semi-dwarf varieties are available, reaching only 8-15 feet. These are ideal for smaller gardens or container growing. When planting, consider the mature size of the tree and ensure it has enough room to grow without crowding other plants or structures. Proper spacing also allows for good air circulation, which helps prevent diseases.
Q: How often should I water my cherry tree?
A: Watering frequency depends on the climate, soil type, and age of the tree. Young trees need more frequent watering than established trees. Generally, water deeply once or twice a week during the growing season, especially during dry spells. Avoid overwatering, which can lead to root rot. Check the soil moisture before watering; it should be moist but not soggy. Mulching around the base of the tree helps retain moisture and suppress weeds.
Q: What kind of fertilizer should I use for my cherry tree?
A: Use a balanced fertilizer specifically formulated for fruit trees. A 10-10-10 fertilizer is a good starting point. Apply fertilizer in early spring, before the tree begins to leaf out. Follow the instructions on the fertilizer package carefully, as over-fertilizing can damage the tree. You can also amend the soil with compost or other organic matter to improve its fertility and drainage. Soil testing can help determine specific nutrient deficiencies and guide your fertilization strategy.
Q: How do I protect my cherries from birds?
A: Birds are a common nuisance for cherry growers. Netting is the most effective way to protect your cherries. Drape netting over the entire tree, ensuring it is securely fastened to the ground to prevent birds from getting underneath. Reflective tape or shiny objects can also deter birds, but they are often less effective than netting. Bird feeders placed away from the cherry tree can also help divert birds’ attention.
Q: When is the best time to prune my cherry tree?
A: The best time to prune cherry trees is in late winter or early spring, before the buds begin to swell. Pruning during this time allows the tree to heal quickly and encourages new growth. Remove any dead, damaged, or diseased branches. Thin out crowded branches to improve air circulation and sunlight penetration. Proper pruning helps maintain the tree’s shape, promotes fruit production, and prevents disease.
Q: How long does it take for a cherry tree to produce fruit?
A: The time it takes for a cherry tree to produce fruit depends on the variety, rootstock, and growing conditions. Generally, it takes 3-5 years for a standard-sized cherry tree to begin producing fruit. Dwarf and semi-dwarf varieties may produce fruit sooner, sometimes within 2-3 years. Proper care, including adequate watering, fertilization, and pruning, can help accelerate fruit production.
Q: What are some common pests and diseases that affect cherry trees?
A: Common pests include aphids, cherry fruit flies, and spider mites. Common diseases include brown rot, cherry leaf spot, and powdery mildew. Regularly inspect your trees for signs of pests or diseases. Use appropriate insecticides or fungicides to control infestations or infections. Good sanitation practices, such as removing fallen leaves and fruit, can help prevent the spread of diseases. Consider using organic pest control methods whenever possible.
Q: Can I grow a cherry tree in a container?
A: Yes, you can grow a cherry tree in a container, but you’ll need to choose a dwarf or semi-dwarf variety and a large container (at least 20 gallons). Use a well-draining potting mix and water regularly. Container-grown cherry trees may need more frequent fertilization than those planted in the ground. Protect the container from extreme temperatures in winter. Container growing allows you to move the tree to different locations to optimize sunlight exposure or protect it from frost.
Q: How do I know when my cherries are ripe?
A: Cherries are ripe when they are fully colored and slightly soft to the touch. The color will vary depending on the variety, but generally, sweet cherries will be a deep red or black when ripe. Taste a few cherries to ensure they are sweet and flavorful. Ripe cherries should detach easily from the stem. Harvest cherries in the morning, when they are cool and dry.

Leave a Comment