

Growing Chard for Beginners might seem daunting, but trust me, it’s easier than you think! Have you ever dreamt of stepping outside your back door and harvesting vibrant, nutritious greens for your dinner table? Imagine the satisfaction of knowing exactly where your food comes from and that it’s free from harmful chemicals. That’s the magic of home gardening, and chard is the perfect gateway vegetable to unlock that magic.
Chard, with its colorful stalks and crinkled leaves, has a rich history, dating back to ancient Greece and Rome, where it was prized for its medicinal and culinary properties. For centuries, it’s been a staple in Mediterranean diets, celebrated for its hardiness and nutritional value. But you don’t need to be a seasoned gardener or live in a sunny climate to enjoy fresh, homegrown chard.
In today’s world, where we’re increasingly conscious of what we eat and where it comes from, growing chard for beginners offers a fantastic way to connect with nature and nourish our bodies. Plus, with rising grocery prices, cultivating your own food can be a budget-friendly and sustainable solution. This DIY guide will provide you with simple, step-by-step instructions and insider tips to successfully grow chard, even if you have limited space or experience. Get ready to embark on a rewarding gardening adventure!

Growing Chard: A Beginner’s Guide to Colorful Harvests
Hey there, fellow gardening enthusiasts! I’m so excited you’re thinking about growing chard. It’s one of my absolute favorite vegetables – not only is it packed with nutrients, but it’s also incredibly beautiful in the garden with its vibrant stems. Plus, it’s surprisingly easy to grow, even if you’re a complete beginner. Let’s dive in and get you started on your chard-growing journey!
Choosing Your Chard Variety
First things first, let’s talk about varieties. Chard comes in a rainbow of colors, and each one is just as delicious as the next. Here are a few popular choices:
* Bright Lights: This is probably the most well-known variety, and for good reason! It boasts a mix of red, yellow, orange, pink, and white stems. It’s a real showstopper in the garden.
* Ruby Red: As the name suggests, this variety has stunning deep red stems and dark green leaves. It adds a touch of drama to any dish.
* Fordhook Giant: If you’re looking for a more traditional chard, Fordhook Giant is a great option. It has dark green, heavily crumpled leaves and thick white stems. It’s known for its excellent flavor and productivity.
* Lucullus: This is another reliable variety with light green, crinkled leaves and pale green stems. It’s a good choice if you prefer a milder flavor.
I personally love growing a mix of Bright Lights and Ruby Red for a colorful and diverse harvest.
Preparing Your Garden Bed
Chard thrives in well-drained soil that’s rich in organic matter. Here’s how I prepare my garden bed for chard:
* Sunlight: Chard needs at least 6 hours of sunlight per day. Choose a spot in your garden that gets plenty of sunshine.
* Soil: Chard prefers a slightly acidic to neutral soil pH (around 6.0 to 7.0). You can test your soil pH with a simple soil testing kit from your local garden center.
* Amendments: Before planting, I like to amend my soil with plenty of compost or well-rotted manure. This will improve drainage, add nutrients, and help retain moisture. I usually dig in about 2-3 inches of compost.
* Drainage: Make sure your soil drains well. Chard doesn’t like to sit in soggy soil, as this can lead to root rot. If your soil is heavy clay, you can improve drainage by adding sand or perlite.
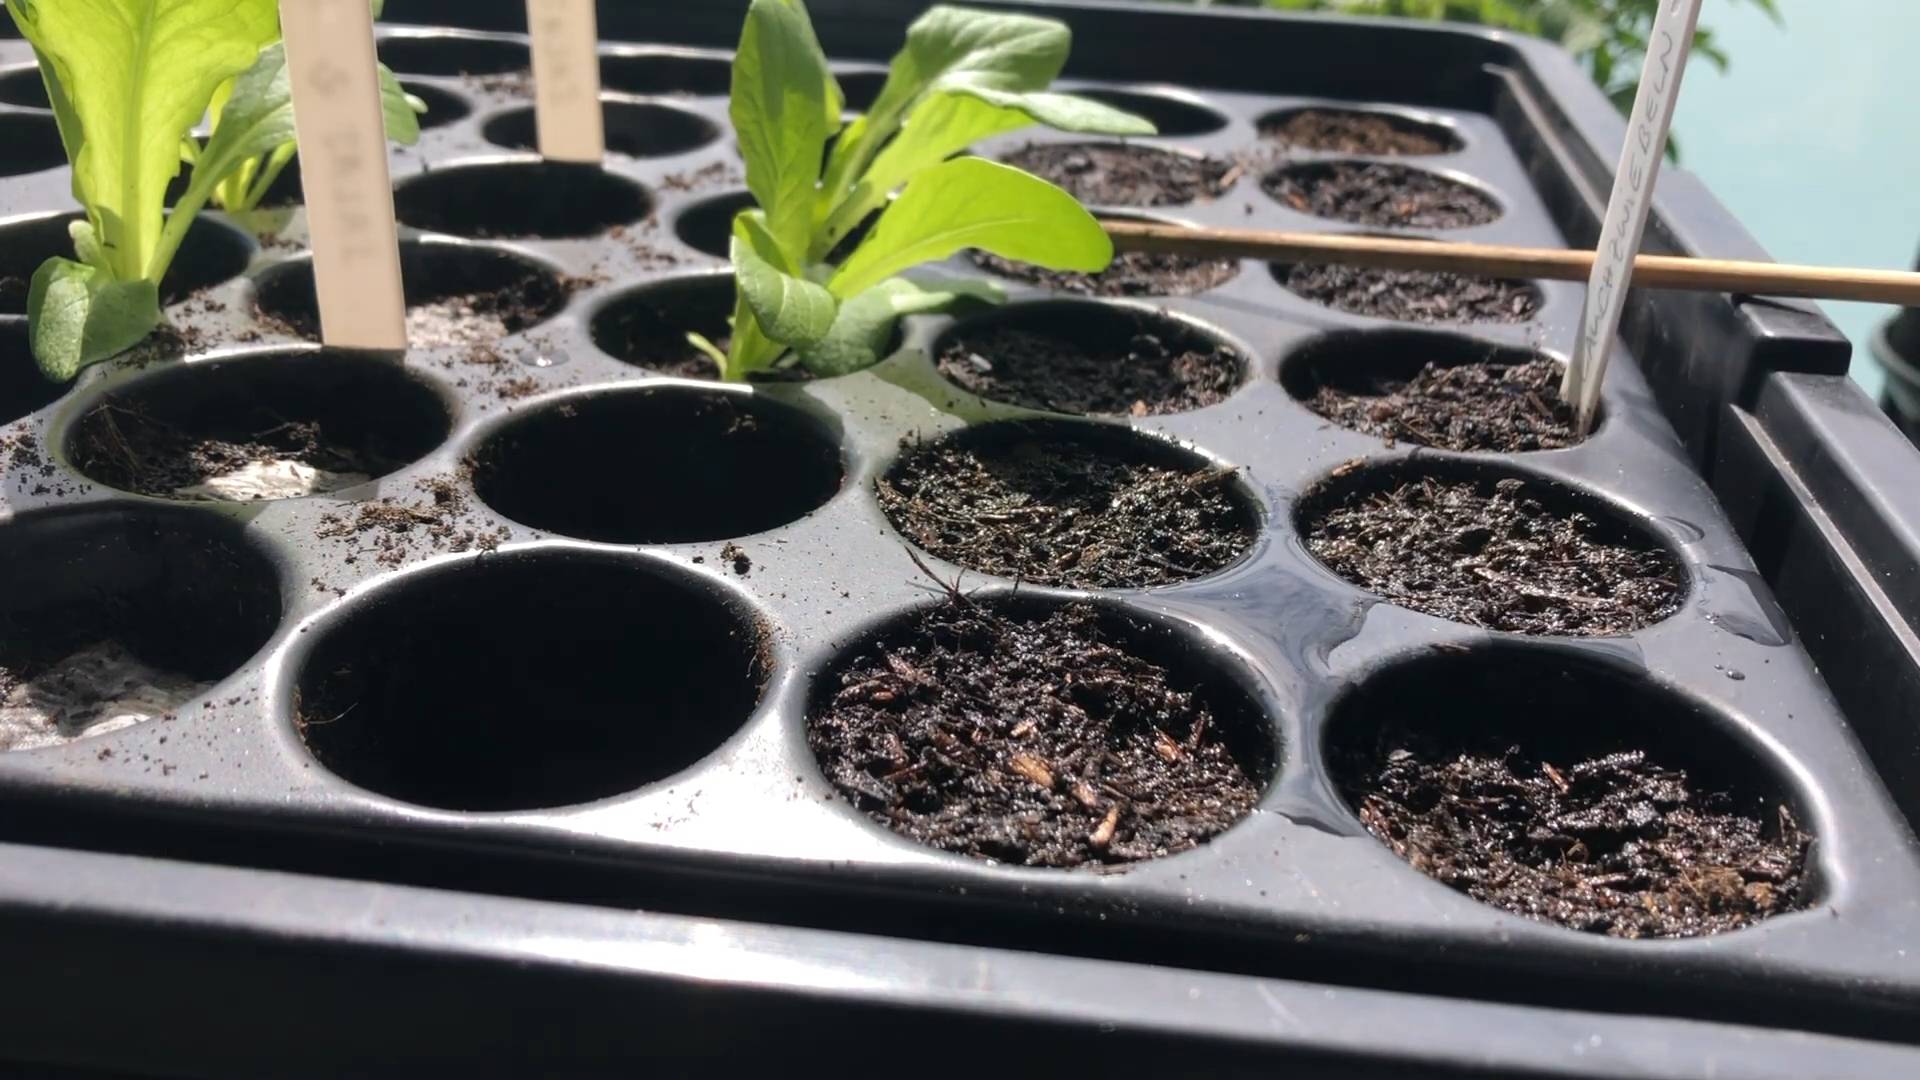
Sowing Your Chard Seeds
You can either start your chard seeds indoors or sow them directly into your garden bed. I usually prefer direct sowing, as it’s less work and the seedlings tend to be stronger.
* Timing: The best time to sow chard seeds is in early spring, about 2-3 weeks before the last expected frost. You can also sow seeds in late summer for a fall harvest.
* Sowing Depth: Sow the seeds about ½ inch deep and 1 inch apart.
* Spacing: Once the seedlings emerge, thin them to about 6-12 inches apart. This will give them enough room to grow and prevent overcrowding.
* Watering: Keep the soil consistently moist until the seeds germinate. Germination usually takes about 5-10 days.
Step-by-Step Instructions for Direct Sowing:
1. Prepare the soil: Rake the soil smooth and remove any rocks or debris.
2. Create furrows: Use a hoe or your finger to create shallow furrows about ½ inch deep.
3. Sow the seeds: Sprinkle the seeds evenly along the furrows, about 1 inch apart.
4. Cover the seeds: Gently cover the seeds with soil.
5. Water thoroughly: Water the soil gently but thoroughly.
6. Mark the rows: Label the rows with the date and variety of chard you planted.
7. Thin the seedlings: Once the seedlings emerge and have a few true leaves, thin them to about 6-12 inches apart.
Caring for Your Chard Plants
Chard is relatively low-maintenance, but here are a few things you can do to keep your plants healthy and productive:
* Watering: Water your chard plants regularly, especially during dry spells. Aim to keep the soil consistently moist, but not waterlogged.
* Fertilizing: Chard is a heavy feeder, so it benefits from regular fertilization. I like to use a balanced organic fertilizer every 2-3 weeks. You can also side-dress your plants with compost or well-rotted manure.
* Weeding: Keep your garden bed free of weeds, as they can compete with your chard plants for nutrients and water.
* Mulching: Mulch around your chard plants with straw, wood chips, or other organic material. This will help retain moisture, suppress weeds, and regulate soil temperature.
* Pest Control: Chard is generally pest-resistant, but it can sometimes be affected by aphids, slugs, or leaf miners. If you notice any pests, you can try spraying your plants with insecticidal soap or neem oil. For slugs, I like to use beer traps or diatomaceous earth.
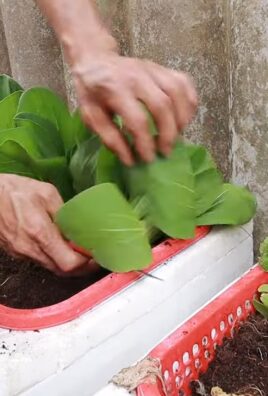
Harvesting Your Chard
One of the best things about chard is that you can start harvesting it as soon as the leaves are large enough to eat. I usually start harvesting when the leaves are about 6-8 inches long.
* Harvesting Technique: To harvest chard, simply cut the outer leaves near the base of the plant. Leave the inner leaves intact, and they will continue to grow.
* Continuous Harvest: You can harvest chard continuously throughout the growing season. The more you harvest, the more the plant will produce.
* Storage: Freshly harvested chard can be stored in the refrigerator for up to a week. Wrap the leaves in a damp paper towel and place them in a plastic bag.
Step-by-Step Instructions for Harvesting:
1. Choose the leaves: Select the outer leaves that are large enough to eat (about 6-8 inches long).
2. Cut the leaves: Use a sharp knife or scissors to cut the leaves near the base of the plant.
3. Leave the inner leaves: Be careful not to damage the inner leaves, as they will continue to grow.
4. Wash the leaves: Wash the harvested leaves thoroughly with water.
5. Store the leaves: Wrap the leaves in a damp paper towel and place them in a plastic bag. Store them in the refrigerator.
Dealing with Common Problems
Even with the best care, you might encounter a few problems while growing chard. Here are some common issues and how to deal with them:
* Bolting: Bolting is when the plant prematurely sends up a flower stalk. This can happen when the weather gets too hot or the plant is stressed. To prevent bolting, make sure to water your chard plants regularly and provide them with some shade during the hottest part of the day. If your chard does bolt, you can still eat the leaves, but they may be a bit more bitter.
* Leaf Miners: Leaf miners are small insects that tunnel through the leaves of chard plants, leaving behind unsightly trails. To control leaf miners, you can try covering your plants with row covers or spraying them with neem oil. You can also remove and destroy any affected leaves.
* Aphids: Aphids are small, sap-sucking insects that can weaken chard plants. To control aphids, you can try spraying your plants with insecticidal soap or blasting them with a strong stream of water. You can also introduce beneficial insects, such as ladybugs, to your garden.
* Slugs: Slugs can be a problem, especially in damp weather. They feed on the leaves of chard plants, leaving behind holes. To control slugs, you can try using beer traps, diatomaceous earth, or copper tape. You can also handpick them off your plants at night.
Enjoying Your Chard Harvest
Now for the best part – enjoying your delicious chard! Chard is incredibly versatile and can be used in a variety of dishes. Here are a few of my favorite ways to use chard:
* Sautéed: Sautéed chard is a simple and delicious side dish. Simply sauté the leaves with garlic, olive oil, and a pinch of salt and pepper.
* In Soups and Stews: Chard adds a nutritious and flavorful boost to soups and stews.
* In Salads: Young, tender chard leaves can be used in salads.
* In Frittatas and Quiches: Chard adds a pop of color and flavor to frittatas and quiches.
* Steamed: Steamed chard is a healthy and easy way
Conclusion
So, there you have it! Growing chard, even if you’re a complete beginner, is absolutely achievable and incredibly rewarding. We’ve walked through the entire process, from understanding the plant’s needs to harvesting its vibrant, nutritious leaves. But why should you take the plunge and dedicate a little space in your garden (or even a container on your balcony) to this leafy green?
Firstly, consider the sheer versatility of chard. It’s not just another spinach substitute; it boasts a unique, slightly earthy flavor that elevates everything from simple sautés to hearty soups and stews. Imagine adding freshly harvested chard to your morning smoothie for a nutrient boost, or using its sturdy leaves as a healthy wrap alternative. The possibilities are truly endless.
Secondly, think about the cost savings. Packets of chard at the grocery store can be surprisingly expensive, especially if you’re aiming for organic varieties. By growing your own, you’re not only saving money but also ensuring that you’re consuming a product free from harmful pesticides and herbicides. You control exactly what goes into your food, from the soil it grows in to the water it receives.
Thirdly, and perhaps most importantly, growing chard is incredibly satisfying. There’s something deeply fulfilling about nurturing a plant from seed to harvest, witnessing its growth, and then enjoying the fruits (or rather, leaves) of your labor. It’s a connection to nature that can be incredibly grounding and therapeutic.
But don’t just take my word for it! I encourage you to experiment with different varieties of chard. Rainbow chard, with its vibrant stems in shades of red, orange, yellow, and white, is a visual delight in the garden and on the plate. Fordhook Giant is a classic variety known for its large, dark green leaves and mild flavor. Lucullus is another excellent choice, prized for its productivity and heat tolerance.
Consider also experimenting with different growing methods. While we’ve focused on traditional garden beds, chard thrives in containers as well. This makes it an ideal choice for apartment dwellers or those with limited space. Just be sure to choose a pot that’s at least 12 inches deep to accommodate the plant’s root system.
And finally, don’t be afraid to get creative in the kitchen. Chard can be used in countless recipes, from simple side dishes to elaborate main courses. Try sautéing it with garlic and olive oil, adding it to quiches or frittatas, or using it as a filling for ravioli. The possibilities are truly endless.
So, what are you waiting for? Grab some seeds, prepare your soil, and get ready to embark on your chard-growing adventure. And once you’ve harvested your first crop, be sure to share your experiences with us in the comments below. We’d love to hear about your successes, your challenges, and your favorite ways to enjoy your homegrown chard. Happy growing! Remember, mastering the art of growing chard is easier than you think, and the rewards are well worth the effort.
Frequently Asked Questions (FAQ)
What are the most common problems when growing chard and how can I fix them?
One of the most common issues is leaf miners, which are small larvae that tunnel through the leaves, leaving unsightly trails. To combat leaf miners, inspect your plants regularly and remove any affected leaves. You can also use row covers to prevent the adult flies from laying their eggs on the plants. Another common problem is aphids, which are small, sap-sucking insects that can weaken the plants. You can control aphids by spraying them with a strong stream of water or by introducing beneficial insects like ladybugs to your garden. Slugs and snails can also be a problem, especially in damp conditions. You can deter them by using slug bait or by creating barriers around your plants using copper tape or diatomaceous earth. Finally, fungal diseases like powdery mildew can sometimes affect chard, especially in humid climates. To prevent powdery mildew, ensure good air circulation around your plants and avoid overhead watering. If you notice signs of powdery mildew, you can treat it with a fungicide.
How often should I water my chard plants?
Chard needs consistent moisture to thrive, but it doesn’t like to be waterlogged. As a general rule, water your chard plants deeply once or twice a week, depending on the weather conditions. Check the soil moisture regularly by sticking your finger into the soil about an inch deep. If the soil feels dry, it’s time to water. During hot, dry weather, you may need to water more frequently. When watering, aim to water the soil around the base of the plants, rather than wetting the leaves, to help prevent fungal diseases.
What kind of fertilizer should I use for chard?
Chard is a heavy feeder, so it benefits from regular fertilization. Before planting, amend your soil with compost or well-rotted manure to provide a slow-release source of nutrients. During the growing season, you can fertilize your chard plants every 2-3 weeks with a balanced fertilizer, such as a 10-10-10 or 5-5-5. Alternatively, you can use a liquid fertilizer, such as fish emulsion or seaweed extract, which is diluted in water and applied to the plants. Avoid over-fertilizing, as this can lead to excessive leaf growth at the expense of root development.
Can I grow chard in containers?
Yes, chard grows very well in containers, making it a great option for those with limited space. Choose a pot that’s at least 12 inches deep and wide to accommodate the plant’s root system. Use a well-draining potting mix and be sure to water regularly, as container-grown plants tend to dry out more quickly than those grown in the ground. You’ll also need to fertilize your container-grown chard plants more frequently, as the nutrients in the potting mix will be depleted over time.
How do I harvest chard?
You can begin harvesting chard leaves when they are about 6 inches long. Simply cut the outer leaves near the base of the plant, leaving the inner leaves to continue growing. This cut-and-come-again harvesting method allows you to enjoy a continuous supply of chard throughout the growing season. Avoid harvesting more than one-third of the plant’s leaves at any one time, as this can weaken the plant.
Is chard a perennial or an annual?
Chard is technically a biennial, meaning it has a two-year life cycle. However, it’s typically grown as an annual, as it tends to bolt (go to seed) in its second year, which can make the leaves bitter. In mild climates, chard may survive the winter and continue to produce leaves in the spring. However, in colder climates, it’s best to start fresh with new seeds each year.
What are some good companion plants for chard?
Chard benefits from being planted alongside certain other plants, which can help to deter pests, improve soil health, or provide shade. Some good companion plants for chard include:
* **Beans:** Beans fix nitrogen in the soil, which can benefit chard.
* **Onions and Garlic:** These plants repel many common pests, such as aphids and slugs.
* **Carrots:** Carrots help to break up the soil and improve drainage.
* **Lettuce:** Lettuce provides shade for chard, which can help to prevent bolting in hot weather.
* **Marigolds:** Marigolds repel nematodes and other soil pests.
How do I store harvested chard?
To store harvested chard, wash the leaves thoroughly and pat them dry. Wrap the leaves in a damp paper towel and store them in a plastic bag in the refrigerator. Chard can typically be stored for up to a week using this method. You can also freeze chard for longer storage. To freeze chard, blanch the leaves in boiling water for 2-3 minutes, then plunge them into ice water to stop the cooking process. Drain the leaves well and pack them into freezer bags or containers. Frozen chard can be stored for up to 12 months.
Leave a Comment