

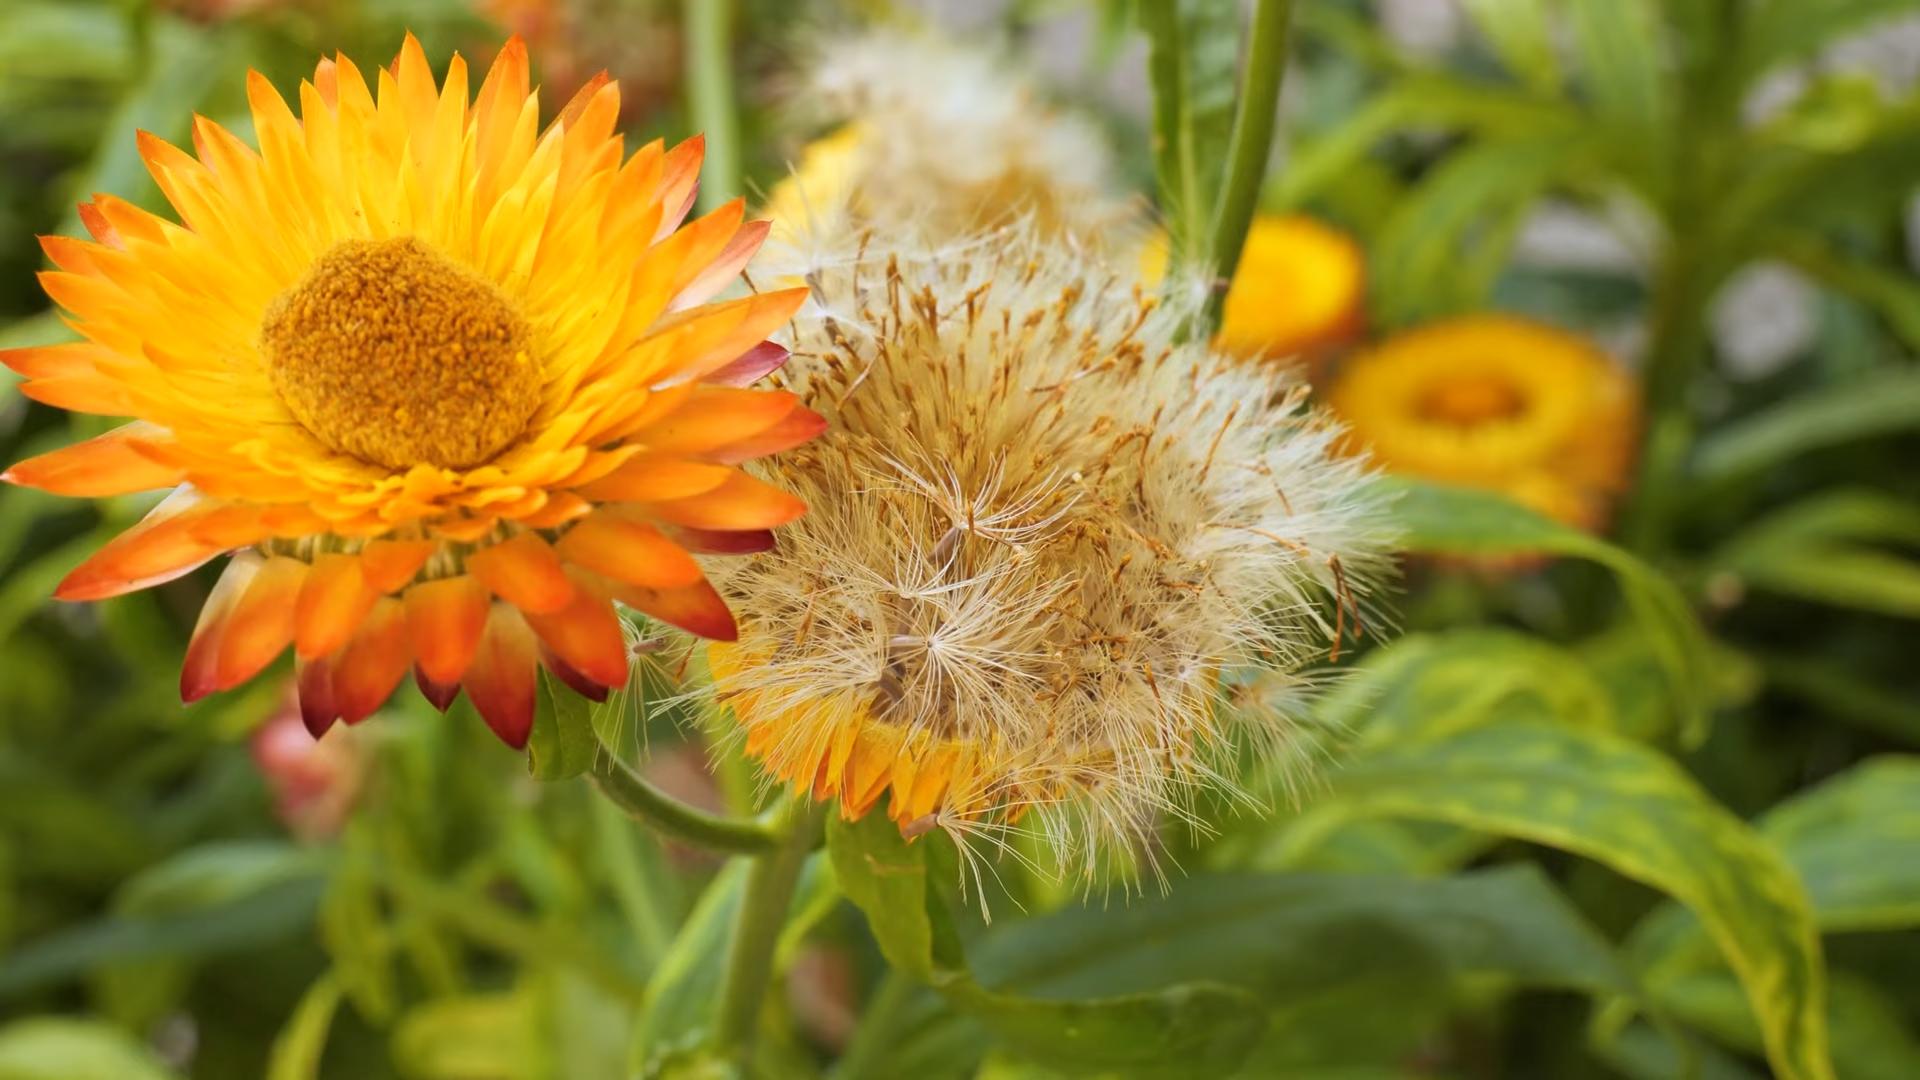
Grow Strawflowers From Seed and unlock a world of everlasting beauty right in your own backyard! Have you ever dreamed of having a garden that provides stunning, papery blooms that last far beyond the typical growing season? Well, dream no more! This DIY guide is your key to cultivating these unique and vibrant flowers, known for their incredible ability to retain their color and shape even when dried.
Strawflowers, also known as *Xerochrysum bracteatum*, have a rich history, originating in Australia and quickly becoming a favorite in gardens worldwide. Their popularity soared in the Victorian era, where they were often used in dried flower arrangements and crafts, symbolizing lasting affection and remembrance. I find it fascinating how these little seeds can connect us to such a beautiful past!
Why should you learn to grow strawflowers from seed? Because these aren’t just pretty faces; they’re incredibly versatile! Imagine creating your own stunning bouquets, wreaths, or potpourri with flowers you’ve nurtured from tiny seeds. Plus, growing them yourself is far more economical than buying dried flowers, and you get the satisfaction of watching your hard work bloom into something truly special. I’m excited to share all my tips and tricks to help you succeed, even if you’re a beginner gardener. Let’s get started and transform your garden into a haven of everlasting color!
Growing Strawflowers From Seed: A Complete DIY Guide
Hey there, fellow gardening enthusiasts! I’m so excited to share my experience with growing strawflowers from seed. These beauties are not only stunning in the garden but also make fantastic dried flowers for crafts and arrangements. Trust me, the vibrant colors and papery texture are simply irresistible! This guide will walk you through every step, from sowing the seeds to harvesting those gorgeous blooms.
Choosing Your Strawflower Varieties
Before we dive into the nitty-gritty, let’s talk about variety. Strawflowers come in a rainbow of colors – reds, oranges, yellows, pinks, whites, and even some bi-colors. Some popular varieties include:
* ‘Monstrosum’: These are your classic, large-flowered strawflowers, perfect for drying.
* ‘Bright Bikini’: A compact variety, ideal for containers and smaller gardens.
* ‘Salmon Rose’: Offers beautiful, soft salmon-pink blooms.
* ‘Apricot Twist’: A unique variety with a lovely apricot hue.
I personally love growing a mix of colors to create a vibrant display. Consider what colors you prefer and how you plan to use the dried flowers when making your selection.
Getting Started: Sowing Strawflower Seeds
Strawflowers are relatively easy to grow from seed, but they do need a bit of a head start, especially if you live in a cooler climate. Here’s how I do it:
Indoor Sowing (Recommended for Cooler Climates)
1. Gather Your Supplies: You’ll need seed starting trays or small pots, a good quality seed starting mix, a spray bottle, and your strawflower seeds. I prefer using seed starting trays with a humidity dome to help retain moisture.
2. Prepare the Seed Starting Mix: Moisten the seed starting mix with water. It should be damp but not soggy. I usually mix it in a bucket until it’s evenly moist.
3. Sow the Seeds: Fill your seed starting trays or pots with the moistened mix. Gently press the soil down. Sow the strawflower seeds thinly on the surface of the soil. They are quite small, so be careful not to overcrowd them.
4. Cover the Seeds Lightly: Sprinkle a very thin layer of seed starting mix over the seeds. Strawflower seeds need light to germinate, so don’t bury them too deep.
5. Water Gently: Use a spray bottle to mist the surface of the soil. Avoid pouring water directly onto the seeds, as this can dislodge them.
6. Provide Warmth and Light: Place the seed starting trays in a warm location, ideally between 70-75°F (21-24°C). A heat mat can be helpful if your home is cooler. They also need plenty of light. If you don’t have a sunny windowsill, consider using a grow light. I usually keep my grow lights on for about 14-16 hours a day.
7. Maintain Moisture: Keep the soil consistently moist, but not waterlogged. Check the trays daily and mist with water as needed. If you’re using a humidity dome, make sure to vent it occasionally to prevent fungal growth.
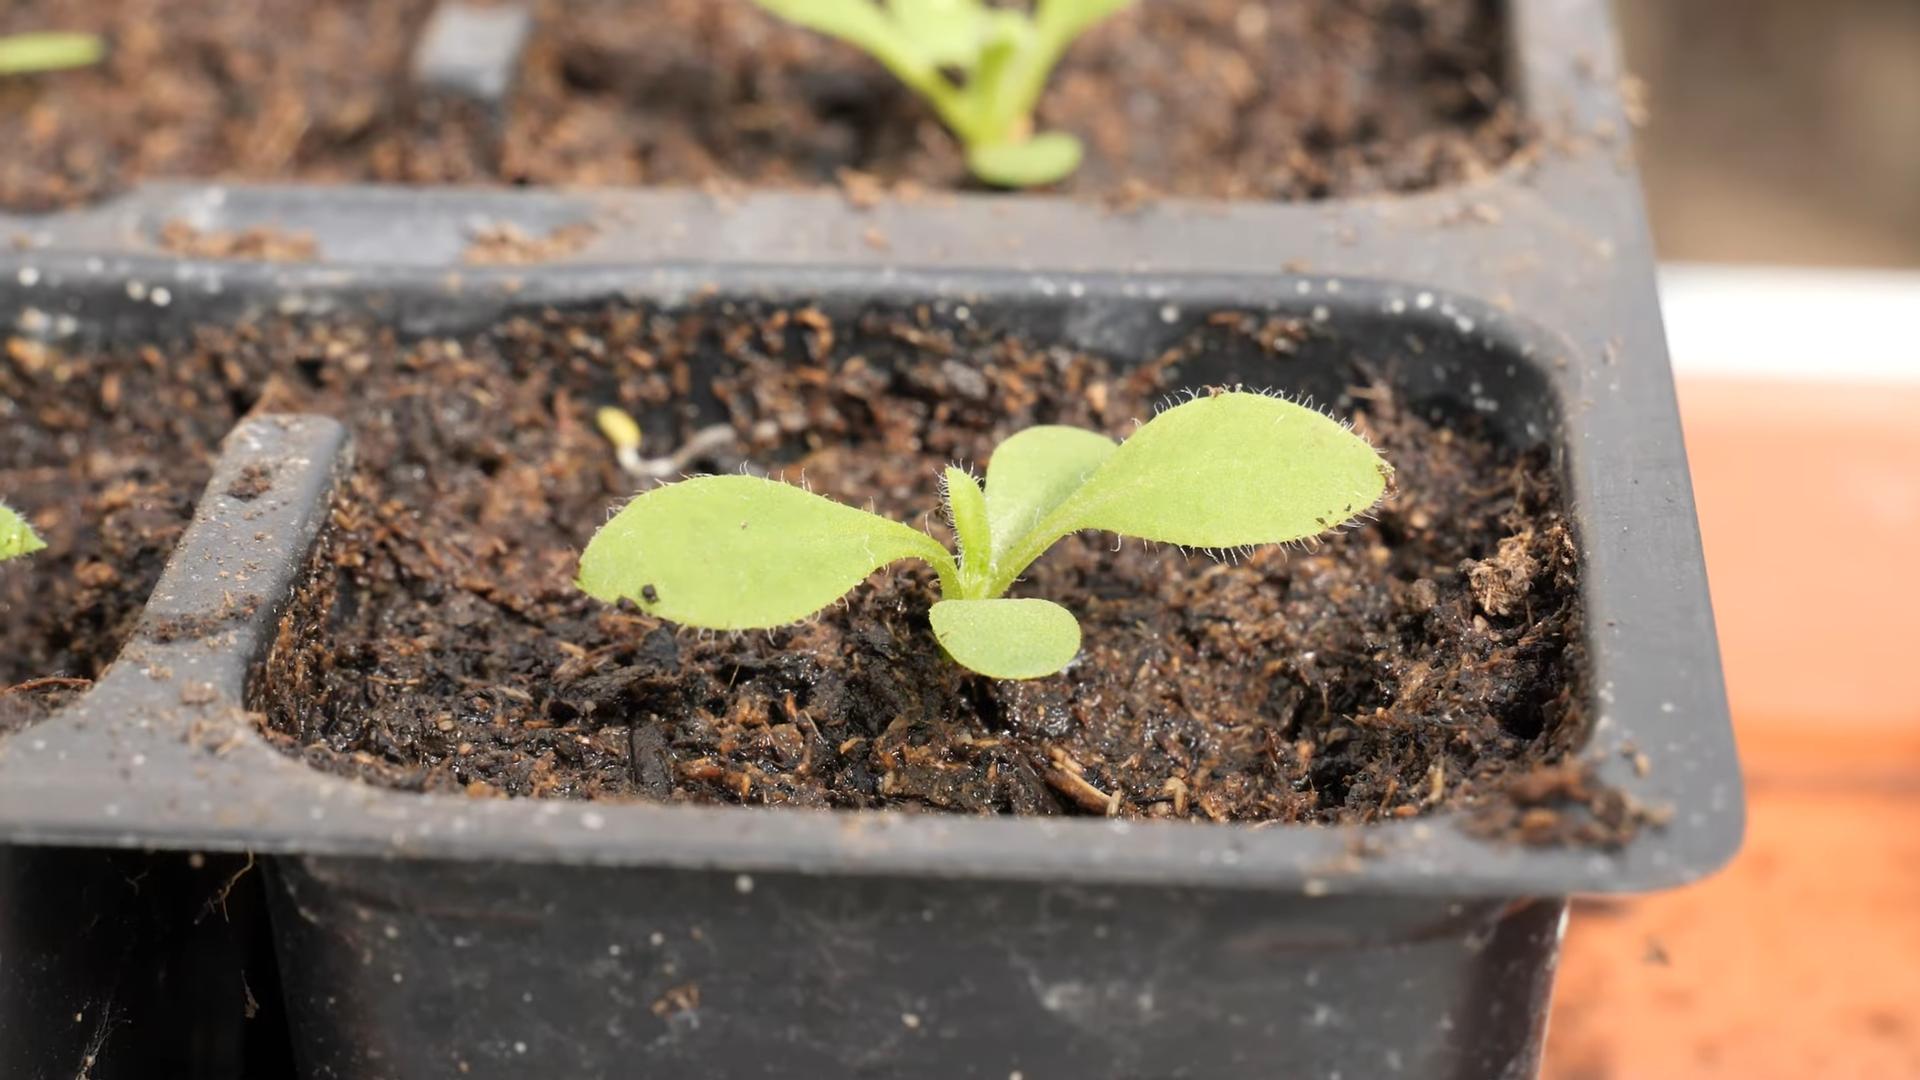
8. Germination: Strawflower seeds typically germinate in 7-14 days. Once the seedlings emerge, remove the humidity dome (if you’re using one) and continue to provide plenty of light.
Direct Sowing (Suitable for Warmer Climates)
If you live in a warmer climate with a long growing season, you can direct sow strawflower seeds into your garden.
1. Prepare the Soil: Choose a sunny location with well-drained soil. Amend the soil with compost or other organic matter to improve its fertility and drainage.
2. Sow the Seeds: Sow the seeds thinly on the surface of the soil.
3. Cover Lightly: Sprinkle a very thin layer of soil over the seeds.
4. Water Gently: Water the area gently with a watering can or hose with a gentle spray nozzle.
5. Keep Moist: Keep the soil consistently moist until the seedlings emerge.
6. Thin Seedlings: Once the seedlings are a few inches tall, thin them out to allow for proper spacing.
Transplanting Strawflower Seedlings
Once your seedlings have developed a few sets of true leaves (usually around 4-6 weeks after sowing), they’re ready to be transplanted into your garden.
1. Harden Off the Seedlings: Before transplanting, you’ll need to harden off the seedlings. This process gradually acclimates them to outdoor conditions. Start by placing the seedlings outdoors in a sheltered location for a few hours each day, gradually increasing the amount of time they spend outside over the course of a week.
2. Prepare the Planting Site: Choose a sunny location with well-drained soil. Strawflowers need at least 6 hours of sunlight per day.
3. Dig Holes: Dig holes that are slightly larger than the root balls of the seedlings. Space the holes about 12-18 inches apart.
4. Transplant the Seedlings: Gently remove the seedlings from their trays or pots. Be careful not to damage the roots. Place the seedlings in the holes and backfill with soil.
5. Water Thoroughly: Water the seedlings thoroughly after transplanting.
6. Mulch: Apply a layer of mulch around the plants to help retain moisture and suppress weeds. I like to use straw or wood chips.
Caring for Your Strawflowers
Strawflowers are relatively low-maintenance plants, but they do need some basic care to thrive.
* Watering: Water regularly, especially during dry periods. Avoid overwatering, as this can lead to root rot. I usually water deeply once or twice a week, depending on the weather.
* Fertilizing: Fertilize every few weeks with a balanced fertilizer. I like to use a liquid fertilizer diluted to half strength.
* Deadheading: Deadhead spent flowers regularly to encourage more blooms. Simply snip off the faded flowers just below the flower head.
* Support: Taller varieties may need staking to prevent them from flopping over. I use bamboo stakes and twine to support my strawflowers.
* Pest and Disease Control: Strawflowers are generally pest and disease resistant. However, they can occasionally be affected by aphids or powdery mildew. If you notice any pests or diseases, treat them promptly with an appropriate insecticide or fungicide. I prefer using organic solutions whenever possible.
Harvesting and Drying Strawflowers
The best part about growing strawflowers is harvesting and drying them! Here’s how I do it:
1. Harvest at the Right Time: Harvest the flowers when the petals are just starting to open. This will ensure that they retain their shape and color when dried. I usually harvest in the morning after the dew has dried.
2. Cut the Stems: Cut the stems as long as possible. This will make it easier to create arrangements.
3. Remove the Leaves: Remove the leaves from the stems. This will prevent them from rotting during the drying process.
4. Bundle the Flowers: Gather the flowers into small bundles of 5-10 stems. Secure the bundles with rubber bands or twine.
5. Hang Upside Down: Hang the bundles upside down in a dark, dry, and well-ventilated location. A closet or attic works well.
6. Drying Time: The flowers will typically take 2-4 weeks to dry completely. They are dry when the petals feel papery and crisp.
7. Storage: Once the flowers are dry, store them in a cool, dry place away from direct sunlight. I like to store mine in a cardboard box or paper bag.
Creative Uses for Dried Strawflowers
Now that you have a beautiful collection of dried strawflowers, it’s time to get creative! Here are some ideas:
* Floral Arrangements: Use them in dried flower arrangements. They add a pop of color and texture to any bouquet.
* Wreaths: Create a stunning strawflower wreath for your home.
* Craft Projects: Use them in various craft projects, such as greeting cards, scrapbooking, and jewelry making.
* Potpourri: Add them to potpourri blends for a fragrant and colorful touch.
* Gifts: Give them as gifts to friends and family. A bouquet of dried strawflowers is a thoughtful and long-lasting present.
Troubleshooting Tips
Even with the best care, you might encounter some challenges when growing strawflowers. Here are some common problems and how to address them:
* Poor Germination: If your seeds aren’t germinating, make sure they are getting enough warmth and light. Also, check the expiration date on the seed packet.
* Leggy Seedlings: Leggy seedlings are often caused by insufficient light. Provide more light or move the seedlings closer to the light source.
*
Conclusion
So, there you have it! Growing strawflowers from seed isn’t just a gardening project; it’s an investment in a vibrant, long-lasting display of color that will brighten your home and garden for months to come. We’ve walked you through the entire process, from selecting the right seeds and preparing your soil to nurturing your seedlings and harvesting those stunning, papery blooms.
Why is this DIY trick a must-try? Because it empowers you to cultivate a unique and beautiful element in your life, tailored to your specific tastes and environment. Forget relying solely on store-bought arrangements; with a little patience and effort, you can create a personalized tapestry of strawflower colors and forms. Imagine the satisfaction of gifting a bouquet of flowers you grew yourself, knowing that each bloom represents your dedication and care.
But the beauty of growing strawflowers from seed lies not only in the final product but also in the journey itself. It’s a chance to connect with nature, to learn about the life cycle of a plant, and to experience the simple joy of watching something grow from a tiny seed into a magnificent flower. It’s a therapeutic activity that can reduce stress, boost your mood, and provide a sense of accomplishment.
Don’t be afraid to experiment with different varieties of strawflowers. Try growing taller varieties for dramatic backdrops in your garden or shorter, bushier types for containers and borders. Explore the spectrum of colors available, from the classic yellows and oranges to the more unusual pinks, purples, and whites. You can even try creating your own unique color blends by saving seeds from your favorite flowers and planting them the following year.
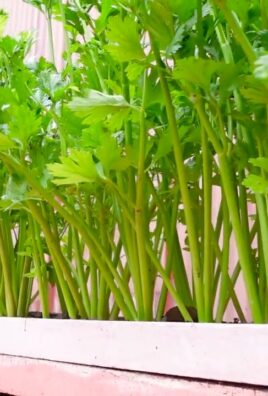
Consider companion planting your strawflowers with other flowers that attract pollinators, such as zinnias, cosmos, and sunflowers. This will not only enhance the beauty of your garden but also support the local ecosystem. You can also use strawflowers as a natural pest control method, as they attract beneficial insects that prey on harmful pests.
And speaking of variations, think beyond the traditional dried flower arrangements. Strawflowers can be used in a variety of creative projects, from wreaths and garlands to potpourri and even edible decorations for cakes and cupcakes (make sure they are organically grown and thoroughly cleaned first!). Let your imagination run wild and discover new and exciting ways to incorporate these versatile blooms into your life.
We wholeheartedly encourage you to give this DIY trick a try. It’s a rewarding experience that will bring beauty, joy, and a sense of accomplishment to your life. And most importantly, don’t forget to share your experience with us! We’d love to see photos of your strawflower gardens, hear about your successes and challenges, and learn any tips and tricks you’ve discovered along the way. Share your photos and stories on social media using #GrowStrawflowersFromSeed and tag us so we can celebrate your success! Let’s create a community of strawflower enthusiasts and inspire others to discover the magic of growing these amazing flowers from seed.
FAQ
What is the best time to start strawflower seeds indoors?
The ideal time to start strawflower seeds indoors is approximately 6-8 weeks before the last expected frost in your area. This allows the seedlings enough time to develop a strong root system before being transplanted outdoors. Check your local frost dates to determine the best timing for your region. Starting them too early can lead to leggy seedlings that are difficult to transplant.
How do I prevent damping off when starting strawflower seeds?
Damping off is a fungal disease that can kill young seedlings. To prevent it, use a sterile seed starting mix, ensure good air circulation around your seedlings, and avoid overwatering. Water from the bottom to keep the foliage dry. You can also sprinkle a thin layer of horticultural charcoal on the soil surface to help absorb excess moisture and inhibit fungal growth. If you notice any signs of damping off, such as wilting or browning stems, remove the affected seedlings immediately to prevent the disease from spreading.
What kind of soil is best for growing strawflowers?
Strawflowers thrive in well-drained soil that is moderately fertile. They are not particularly picky about soil type, but they do prefer a slightly acidic to neutral pH (around 6.0 to 7.0). Amend heavy clay soils with compost or other organic matter to improve drainage. Avoid soils that are excessively rich in nitrogen, as this can lead to excessive foliage growth at the expense of flower production.
How much sunlight do strawflowers need?
Strawflowers require at least 6-8 hours of direct sunlight per day to thrive. Insufficient sunlight can result in leggy plants with fewer flowers. Choose a sunny location in your garden or on your patio for planting your strawflowers. If you are growing them indoors, provide supplemental lighting if necessary.
When and how should I transplant my strawflower seedlings outdoors?
Transplant your strawflower seedlings outdoors after the last expected frost and when the soil has warmed up. Harden off the seedlings for a week or two before transplanting by gradually exposing them to outdoor conditions. Choose a sunny location with well-drained soil. Dig a hole slightly larger than the root ball of the seedling and gently place the seedling in the hole. Backfill with soil and water thoroughly. Space the seedlings about 12-18 inches apart to allow for adequate air circulation.
How often should I water my strawflowers?
Water strawflowers regularly, especially during dry periods. However, avoid overwatering, as this can lead to root rot. Allow the soil to dry out slightly between waterings. Water deeply and less frequently, rather than shallowly and more often. Mulching around the plants can help to retain moisture in the soil and suppress weed growth.
Do strawflowers need fertilizer?
Strawflowers are not heavy feeders, but they can benefit from occasional fertilization. Apply a balanced fertilizer (such as 10-10-10) every few weeks during the growing season. Avoid fertilizers that are high in nitrogen, as this can promote excessive foliage growth at the expense of flower production. You can also amend the soil with compost or other organic matter to provide a slow-release source of nutrients.
How do I harvest strawflowers for drying?
Harvest strawflowers for drying when the petals are just beginning to open. Cut the stems long, leaving several inches of stem below the flower head. Remove any leaves from the stems. Bundle the stems together with twine or rubber bands and hang them upside down in a cool, dark, and well-ventilated place to dry. The drying process typically takes 2-4 weeks. Once the flowers are completely dry, they can be used in a variety of crafts and arrangements.
Are strawflowers annuals or perennials?
Strawflowers are typically grown as annuals, meaning they complete their life cycle in one growing season. However, in warmer climates (zones 9-11), they may behave as short-lived perennials. Even in colder climates, they may self-seed and return the following year.
Are strawflowers deer resistant?
Strawflowers are generally considered to be deer resistant, although deer may occasionally browse on them, especially if other food sources are scarce.
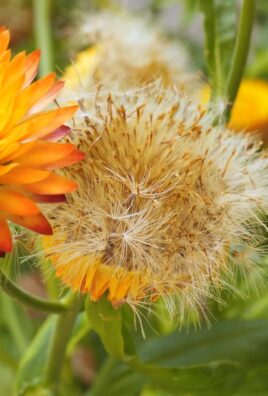
Can I save seeds from my strawflowers to plant next year?
Yes, you can save seeds from your strawflowers to plant next year. Allow the flower heads to dry completely on the plant. Once they are dry, gently rub the flower heads between your fingers to release the seeds. Store the seeds in a cool, dry place until planting time. Keep in mind that seeds saved from hybrid varieties may not produce plants that are true to type.
Leave a Comment