

Grow Rosemary at Home – and unlock a world of fragrant possibilities right outside your door! Have you ever dreamed of snipping fresh herbs for your culinary creations, or perhaps crafting your own aromatic bath products? Well, dream no longer! This DIY guide is your passport to cultivating your very own rosemary haven, no matter the size of your space or your gardening experience.
Rosemary, with its woody fragrance and needle-like leaves, boasts a rich history. Revered since ancient times, it was a symbol of remembrance, love, and fidelity. The ancient Greeks and Romans believed it enhanced memory and used it in rituals and celebrations. Even today, rosemary is a staple in Mediterranean cuisine and aromatherapy.
But why should you learn to grow rosemary at home? In today’s world, we’re all looking for ways to connect with nature, reduce our reliance on store-bought products, and add a touch of homemade goodness to our lives. Growing your own rosemary allows you to do just that! Plus, fresh rosemary is far more flavorful than the dried stuff, and it’s incredibly versatile. Imagine adding a sprig to your roasted chicken, infusing olive oil with its herbaceous notes, or even creating your own rosemary-infused skincare products. I’m here to show you how easy and rewarding it can be to grow rosemary at home, even if you think you have a “brown thumb.” Let’s get started!

Grow Your Own Rosemary: A Beginner’s Guide
Hey there, fellow plant enthusiasts! I’m so excited to share my experience with growing rosemary at home. It’s easier than you might think, and having fresh rosemary on hand for cooking is a total game-changer. Plus, the aroma is just divine! Let’s dive into how you can cultivate your own thriving rosemary plant.
Choosing Your Rosemary Variety
Before we get started, it’s good to know there are different types of rosemary. Some are upright, perfect for hedges, while others are trailing, ideal for hanging baskets. Here are a few popular varieties:
* ‘Arp’: This is a cold-hardy variety, great if you live in a colder climate. It has a lovely lemon scent.
* ‘Blue Boy’: A compact, dense variety with beautiful blue flowers.
* ‘Prostratus’: A trailing variety, perfect for cascading over walls or containers.
* ‘Tuscan Blue’: An upright variety with vibrant blue flowers and a strong rosemary scent.
I personally love ‘Tuscan Blue’ for its upright growth and intense fragrance, but feel free to choose whichever variety appeals to you most!
Getting Started: Propagation Methods
There are a few ways to get your rosemary journey started: from seeds, cuttings, or buying a starter plant. I’ve had the most success with cuttings and starter plants, so I’ll focus on those.
From Cuttings:
This is my preferred method because it’s relatively quick and easy.
* What you’ll need:
* Healthy rosemary plant (to take cuttings from)
* Sharp, clean pruning shears or scissors
* Rooting hormone (optional, but it helps!)
* Small pots or containers
* Well-draining potting mix (I like a mix of perlite, vermiculite, and peat moss)
* Spray bottle with water
* Plastic bag or humidity dome (optional)
Step-by-Step Instructions:
1. Take the Cuttings: In the spring or early summer, select healthy, non-flowering stems from your rosemary plant. Cut 4-6 inch sections from the tips of the stems, just below a leaf node (the point where leaves grow from the stem).
2. Prepare the Cuttings: Remove the leaves from the bottom inch or two of each cutting. This will prevent them from rotting when they’re in the soil. If you’re using rooting hormone, dip the cut end of each stem into the powder or liquid.
3. Plant the Cuttings: Fill your small pots with well-draining potting mix. Make a small hole in the center of each pot and gently insert the cutting, ensuring the bottom inch or two is buried.
4. Water and Cover: Water the cuttings gently until the soil is moist but not soggy. Cover the pots with a plastic bag or humidity dome to create a humid environment. This helps the cuttings retain moisture while they’re developing roots.
5. Provide Light and Wait: Place the pots in a bright location, but avoid direct sunlight, which can scorch the cuttings. Mist the cuttings with water every day or two to keep the humidity high.
6. Check for Roots: After a few weeks (usually 4-8), gently tug on the cuttings. If you feel resistance, it means they’ve developed roots! You can also gently dig around the base of the cutting to check for root growth.
7. Transplant (Optional): Once the cuttings have established a good root system, you can transplant them into larger pots or directly into your garden.
From Starter Plants:
This is the easiest way to get started, especially if you’re new to gardening.
* What you’ll need:
* Rosemary starter plant
* Pot or container (if you’re not planting directly in the ground)
* Well-draining potting mix (if using a pot)
* Trowel or small shovel
Step-by-Step Instructions:
1. Choose a Healthy Plant: When selecting a rosemary starter plant, look for one that is healthy and vibrant, with no signs of pests or diseases. The leaves should be green and fragrant.
2. Prepare the Planting Area: If you’re planting in a pot, choose one that is at least 12 inches in diameter to give the rosemary plant plenty of room to grow. Fill the pot with well-draining potting mix. If you’re planting directly in the ground, choose a sunny location with well-drained soil.
3. Plant the Rosemary: Gently remove the rosemary plant from its original container. Loosen the roots slightly with your fingers. Dig a hole in the potting mix or soil that is large enough to accommodate the root ball. Place the rosemary plant in the hole and backfill with soil, gently firming it around the base of the plant.
4. Water Thoroughly: Water the rosemary plant thoroughly after planting.
Caring for Your Rosemary Plant
Now that you have your rosemary plant, it’s important to provide it with the right care to ensure it thrives.
Sunlight:
Rosemary loves sunshine! It needs at least 6-8 hours of direct sunlight per day. If you’re growing it indoors, place it near a sunny window. If you don’t have enough natural light, you can supplement with a grow light.
Watering:
Rosemary is drought-tolerant, so it’s important not to overwater it. Allow the soil to dry out completely between waterings. When you do water, water deeply, until the water drains out of the bottom of the pot. Overwatering can lead to root rot, which is a common problem with rosemary. I usually water mine every 1-2 weeks, depending on the weather and how quickly the soil dries out.
Soil:
Rosemary prefers well-draining soil. Heavy, clay-based soil can retain too much moisture and lead to root rot. If you’re planting in the ground, amend the soil with compost or other organic matter to improve drainage. If you’re planting in a pot, use a well-draining potting mix specifically formulated for herbs.
Fertilizing:
Rosemary doesn’t need a lot of fertilizer. In fact, too much fertilizer can actually harm the plant. I usually fertilize mine once or twice a year with a balanced, slow-release fertilizer. You can also use a liquid fertilizer diluted to half strength.
Pruning:
Pruning is important for keeping your rosemary plant healthy and productive. Prune it regularly to encourage bushier growth and prevent it from becoming leggy. You can prune it anytime during the growing season, but avoid pruning it too late in the fall, as this can make it more susceptible to winter damage. When pruning, cut back the stems by about one-third, just above a leaf node.
Pests and Diseases:
Rosemary is generally pest-resistant, but it can occasionally be affected by aphids, spider mites, or whiteflies. If you notice any pests, you can try spraying the plant with insecticidal soap or neem oil. Root rot is the most common disease that affects rosemary. To prevent root rot, make sure the soil is well-draining and avoid overwatering.
Overwintering:
If you live in a cold climate, you’ll need to overwinter your rosemary plant indoors. Before the first frost, bring the plant indoors and place it near a sunny window. Water it sparingly during the winter months. You can also try propagating new rosemary plants from cuttings in the fall to ensure you have a supply of fresh rosemary even during the winter.
Harvesting Your Rosemary
One of the best parts of growing your own rosemary is being able to harvest it whenever you need it!
* When to Harvest: You can harvest rosemary at any time of the year, but the flavor is most intense during the growing season (spring and summer).
* How to Harvest: Use sharp scissors or pruning shears to cut off stems as needed. Avoid cutting off more than one-third of the plant at a time.
* Using Fresh Rosemary: Fresh rosemary can be used in a variety of dishes, including roasted meats, vegetables, soups, and sauces. You can also use it to make rosemary-infused oil or vinegar.
* Drying Rosemary: If you have more rosemary than you can use fresh, you can dry it for later use. To dry rosemary, tie the stems together in small bundles and hang them upside down in a cool, dry place. You can also dry rosemary in a dehydrator or oven. Once the rosemary is completely dry, store it in an airtight container.
Troubleshooting
Even with the best care, you might encounter some problems along the way. Here are a few common issues and how to address them:
* Yellowing Leaves: This can be caused by overwatering, underwatering, or nutrient deficiencies. Check the soil moisture and adjust your watering schedule accordingly. If the soil is dry, water deeply. If the soil is
Conclusion
So, there you have it! Growing rosemary at home isn’t just a whimsical dream for seasoned gardeners; it’s an achievable reality for anyone with a sunny windowsill and a little bit of patience. We’ve walked you through the simple steps, from choosing the right cutting or seeds to nurturing your rosemary plant into a fragrant, thriving herb.
Why is this DIY trick a must-try? Because fresh rosemary, bursting with flavor and aroma, is a game-changer in the kitchen. Forget those dried-up, flavorless flakes from the supermarket. Imagine snipping off a sprig of your own homegrown rosemary to infuse olive oil, season roasted vegetables, or add a touch of magic to your favorite meat dishes. The difference is truly remarkable. Beyond the culinary benefits, growing rosemary at home offers a therapeutic connection to nature. Tending to your plant, watching it grow, and inhaling its invigorating scent can be incredibly calming and rewarding.
But the possibilities don’t stop there! Feel free to experiment with different varieties of rosemary. ‘Blue Boy’ offers a compact growth habit, perfect for smaller spaces, while ‘Tuscan Blue’ boasts upright stems and vibrant blue flowers. You can also try propagating rosemary from cuttings taken from established plants, a cost-effective way to expand your rosemary collection. Consider planting your rosemary in decorative pots to add a touch of greenery to your home decor. Or, if you have a garden, transplant your rosemary outdoors in a sunny, well-drained location.
Don’t be intimidated if you’re new to gardening. Rosemary is a relatively low-maintenance herb, and with a little care and attention, you’ll be enjoying its bounty in no time. The key is to provide it with plenty of sunlight, well-draining soil, and consistent watering, allowing the soil to dry out slightly between waterings.
We wholeheartedly encourage you to give this DIY trick a try. It’s a simple, rewarding, and cost-effective way to elevate your cooking, enhance your home environment, and connect with nature. And most importantly, we want to hear about your experience! Share your rosemary-growing journey with us in the comments below. Tell us about your successes, your challenges, and any tips or tricks you’ve discovered along the way. Let’s create a community of rosemary enthusiasts, sharing our knowledge and inspiring each other to grow our own delicious herbs at home. Embrace the joy of growing rosemary at home and unlock a world of flavor and fragrance!
Frequently Asked Questions (FAQ)
What is the best way to start growing rosemary at home?
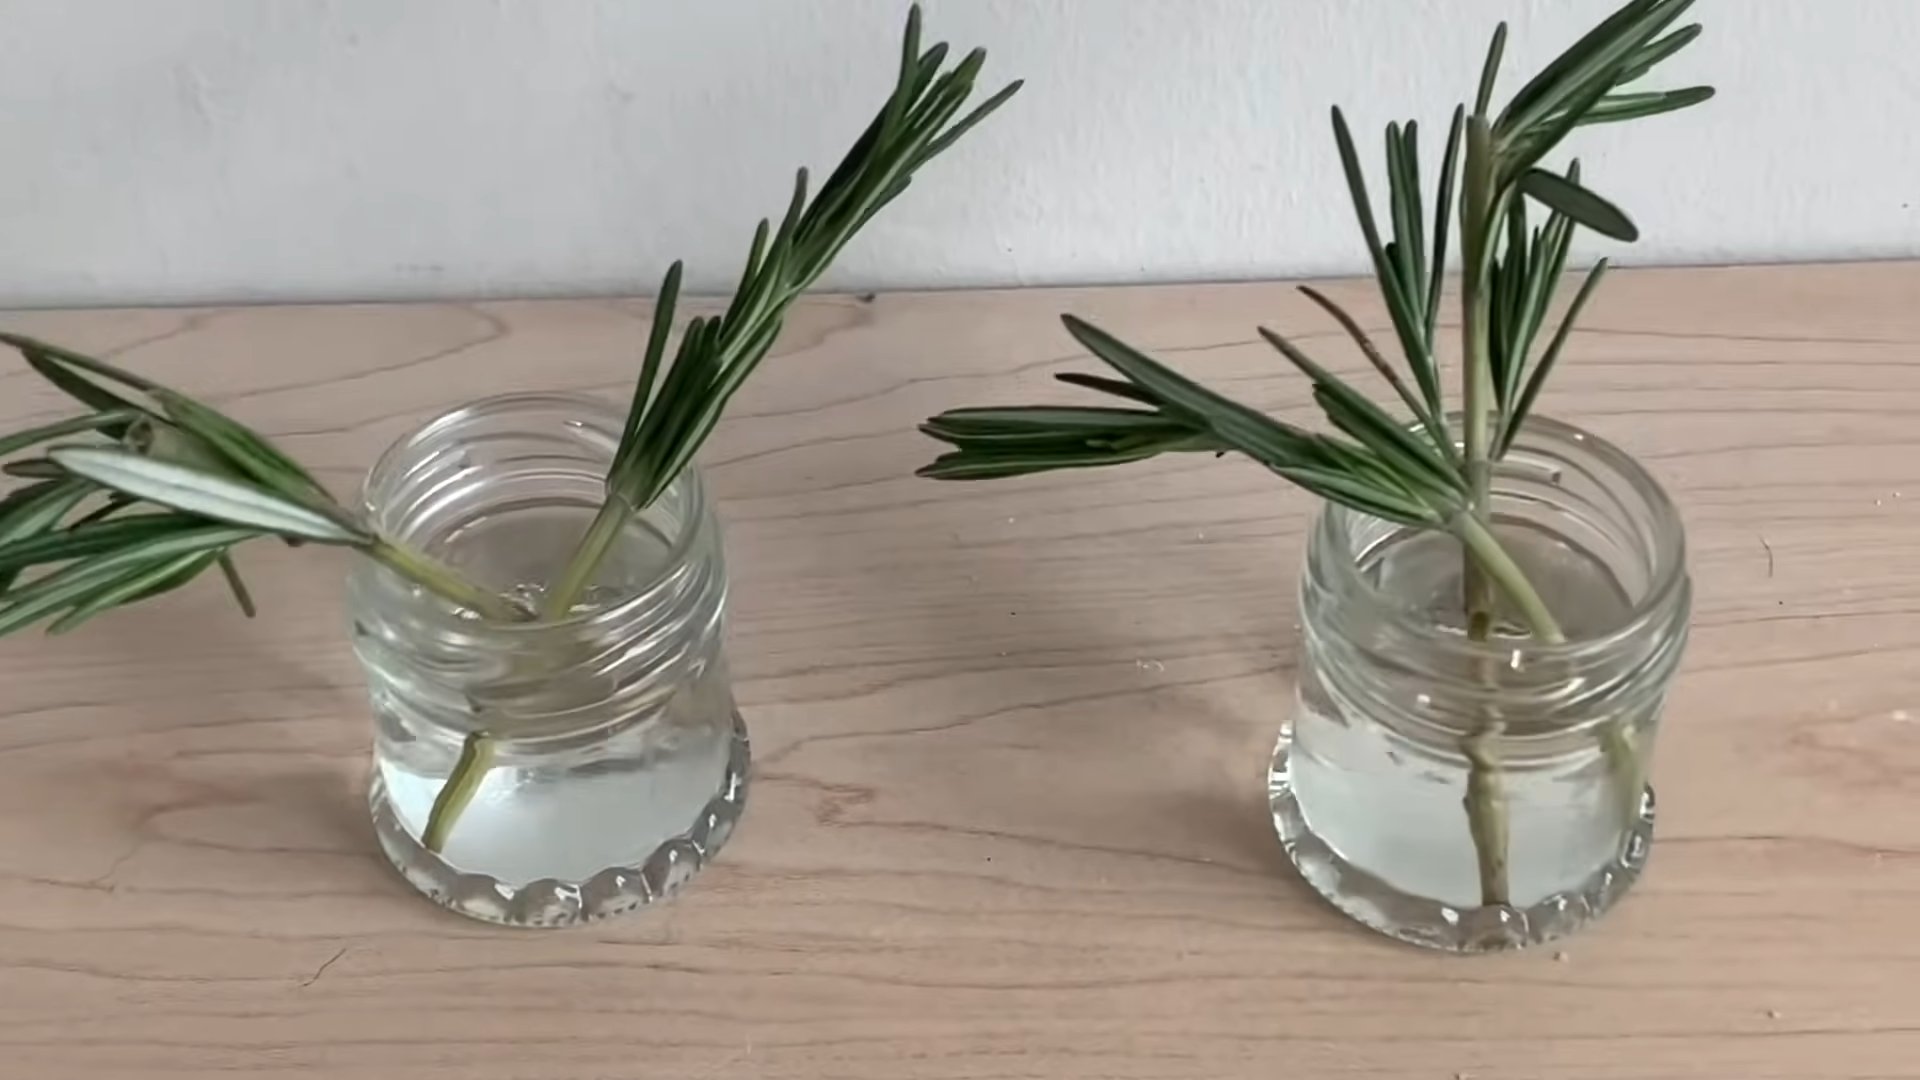
The best way depends on your preference and resources. You can start from seeds, but germination can be slow and somewhat unreliable. A more reliable method is to propagate from cuttings taken from an established rosemary plant. This involves taking a 4-6 inch cutting from a healthy stem, removing the lower leaves, and placing the cutting in water or directly into well-draining potting mix. Keep the soil moist and provide indirect sunlight until roots develop, which usually takes a few weeks. Once rooted, transplant the cutting into a larger pot. Buying a small rosemary plant from a nursery is also a convenient option, especially for beginners.
How much sunlight does rosemary need?
Rosemary thrives in full sun, meaning it needs at least 6-8 hours of direct sunlight per day. If you’re growing rosemary indoors, place it near a south-facing window where it can receive ample sunlight. If you don’t have enough natural light, consider using a grow light to supplement. Insufficient sunlight can lead to leggy growth and reduced flavor.
What type of soil is best for rosemary?
Rosemary prefers well-draining soil that is slightly acidic to neutral (pH 6.0-7.0). Avoid heavy clay soils that retain too much moisture, as this can lead to root rot. A good potting mix for rosemary should contain a blend of peat moss, perlite, and vermiculite to provide adequate drainage and aeration. You can also add some sand to improve drainage further.
How often should I water my rosemary plant?
Water rosemary thoroughly when the top inch of soil feels dry to the touch. Allow the soil to dry out slightly between waterings, as rosemary is susceptible to root rot if overwatered. During the growing season (spring and summer), you may need to water more frequently than during the dormant season (fall and winter). Always check the soil moisture before watering to avoid overwatering.
How do I fertilize my rosemary plant?
Rosemary is not a heavy feeder, so you don’t need to fertilize it frequently. During the growing season, you can fertilize your rosemary plant every 2-3 months with a balanced liquid fertilizer diluted to half strength. Avoid over-fertilizing, as this can lead to leggy growth and reduced flavor. Alternatively, you can amend the soil with compost or other organic matter to provide slow-release nutrients.
How do I prune my rosemary plant?
Pruning rosemary is essential for maintaining its shape, promoting bushier growth, and preventing it from becoming leggy. Prune your rosemary plant in the spring after it has finished flowering. Use sharp, clean pruning shears to trim back the stems by about one-third. Avoid cutting into the woody parts of the plant, as this can hinder new growth. You can also prune your rosemary plant lightly throughout the growing season to harvest sprigs for cooking.
What are some common problems with rosemary plants?
Some common problems with rosemary plants include root rot, powdery mildew, and pests such as aphids and spider mites. Root rot is caused by overwatering and poor drainage. To prevent root rot, ensure your rosemary plant is planted in well-draining soil and avoid overwatering. Powdery mildew is a fungal disease that can occur in humid conditions. To prevent powdery mildew, provide good air circulation around your rosemary plant and avoid overhead watering. Aphids and spider mites can be controlled with insecticidal soap or neem oil.
Can I grow rosemary indoors year-round?
Yes, you can grow rosemary indoors year-round, provided you give it the right conditions. Ensure your rosemary plant receives plenty of sunlight, well-draining soil, and consistent watering. You may also need to provide supplemental humidity, especially during the winter months when indoor air can be dry. Consider using a humidifier or placing your rosemary plant on a pebble tray filled with water.
How do I harvest rosemary?
To harvest rosemary, simply snip off sprigs from the plant using sharp scissors or pruning shears. The best time to harvest rosemary is in the morning after the dew has dried. You can use fresh rosemary immediately or dry it for later use. To dry rosemary, hang sprigs upside down in a cool, dry, and well-ventilated place until they are brittle. Once dried, store the rosemary in an airtight container.
Is rosemary safe for pets?
Rosemary is generally considered safe for pets in small amounts. However, consuming large quantities of rosemary can cause gastrointestinal upset in some animals. If you have pets, it’s best to keep your rosemary plant out of their reach. If you suspect your pet has ingested a large amount of rosemary, contact your veterinarian.


Leave a Comment