

Grow Plums Kitchen Garden: Imagine stepping outside your back door and plucking a juicy, sun-ripened plum straight from your own tree! Sounds like a dream, right? Well, it doesn’t have to be! This DIY guide is your passport to transforming your kitchen garden into a plum-producing paradise, even if you think you don’t have a green thumb.
For centuries, plums have been cherished not only for their delicious flavor but also for their ornamental beauty. From ancient China, where they symbolize longevity and good fortune, to the Roman Empire, where they were cultivated and enjoyed in various culinary delights, plums have a rich and fascinating history. Now, you can be a part of that history by bringing this delightful fruit into your own home.
Why should you embark on this plum-growing adventure? Because fresh, homegrown plums are simply unbeatable! Forget the bland, often-traveled plums you find at the grocery store. Growing your own allows you to savor the intense sweetness and unique flavors of different plum varieties, picked at their peak ripeness. Plus, it’s incredibly rewarding to nurture a tree from a sapling to a fruit-bearing beauty. I’m here to show you that with a few simple tricks and DIY hacks, you can successfully grow plums kitchen garden, regardless of your experience level. Let’s get started and turn your garden dreams into a delicious reality!
Growing Plums in Your Own Garden: A DIY Guide
Hello, garden friends! Have you ever imagined picking fresh, juicy plums directly from your own garden? I can tell you, it’s an incredibly satisfying feeling! And the best part: it’s not as hard as you might think. In this article, I’ll show you how to successfully grow your own plum trees with a little patience and the right steps. Let’s get started!
Choosing the Right Plum Variety
Before we begin, it’s important to choose the right plum variety for your garden. Not all plums are the same, and some varieties are better suited for certain climate zones or soil types than others.
- Climate Zone: Check your climate zone to ensure that the variety you choose can thrive in your region. Some varieties are more cold-hardy than others.
- Self-Fertility: Some plum varieties are self-fertile, which means they don’t need another plum tree for pollination. Other varieties require a pollinator tree to bear fruit. If you only have space for one tree, choose a self-fertile variety.
- Taste and Use: Think about how you want to use the plums. Some varieties are better for eating fresh, while others are better for cooking or canning.
- Tree Size: Plum trees can grow to different sizes. Be sure to choose a variety that fits in your garden. There are also dwarf varieties that are well-suited for smaller gardens.
Some popular plum varieties include:
- ‘Stanley’: A self-fertile variety with dark blue fruits that are great for canning.
- ‘Italian Prune’: Another self-fertile variety with sweet, aromatic fruits.
- ‘Santa Rosa’: A non-self-fertile variety with red fruits that requires a pollinator tree.
- ‘Methley’: A self-fertile variety with red fruits that ripen early.
Finding the Perfect Location
Plum trees love the sun! Choose a location in your garden that receives at least 6-8 hours of sunlight per day. Additionally, the soil should be well-draining to prevent waterlogging.
- Sunlight: As mentioned, plums need a lot of sun. The more sun they get, the better they will fruit.
- Soil: Plums prefer slightly acidic to neutral soil (pH between 6.0 and 7.0). The soil should be well-draining to prevent waterlogging. If your soil is heavy and clay-like, you can improve it with compost or other organic material.
- Wind Protection: Plum trees can be damaged by strong winds. Choose a location that is somewhat protected from the wind, such as near a wall or a fence.
- Space: Plum trees need space to grow. Be sure to plan enough space for the tree when it is fully grown.
Planting a Plum Tree: A Step-by-Step Guide
Now for the exciting part: planting your plum tree! Here is a detailed guide to walk you through the process:
- Prepare the soil: Before you plant the tree, you should prepare the soil. Remove grass and weeds in a radius of about one meter (3 feet) around the planting site. Loosen the soil with a digging fork and mix in compost or other organic fertilizer.
- Dig the planting hole: Dig a hole that is twice as wide and as deep as the tree’s root ball.
- Prepare the tree: Carefully remove the tree from the pot or packaging. Gently loosen the roots if they are matted.
- Plant the tree: Place the tree in the hole, making sure the top of the root ball is level with the surrounding ground. Fill the hole with soil and press it down lightly.
- Water: Water the tree thoroughly to settle the soil and moisten the roots.
- Mulch: Apply a layer of mulch (e.g., wood chips or straw) around the tree to retain moisture and suppress weeds. Make sure the mulch does not touch the trunk of the tree directly.
- Staking: Young plum trees can be damaged by wind. Support the tree with a stake until it is strong enough to stand on its own.
Caring for a Plum Tree: Tips and Tricks
After you’ve planted your plum tree, it’s important to care for it properly so that it grows healthy and bears fruit.
- Watering: Water the tree regularly, especially during dry periods. Young trees need more water than older trees. Make sure to keep the soil moist but not waterlogged.
- Fertilizing: Fertilize the tree in the spring with a balanced fertilizer. Follow the instructions on the packaging.
- Pruning: Prune the tree regularly to maintain its shape and encourage fruit production. Remove dead, damaged, or diseased branches. The best time to prune is in late winter or early spring, before the tree begins to grow.
- Pests and Diseases: Watch out for pests and diseases. Plum trees can be infested by aphids, plum moths, and other pests. There are also various diseases that can affect plum trees, such as shot hole disease and brown rot. If you notice signs of pests or diseases, treat the tree as quickly as possible with a suitable insecticide or fungicide.
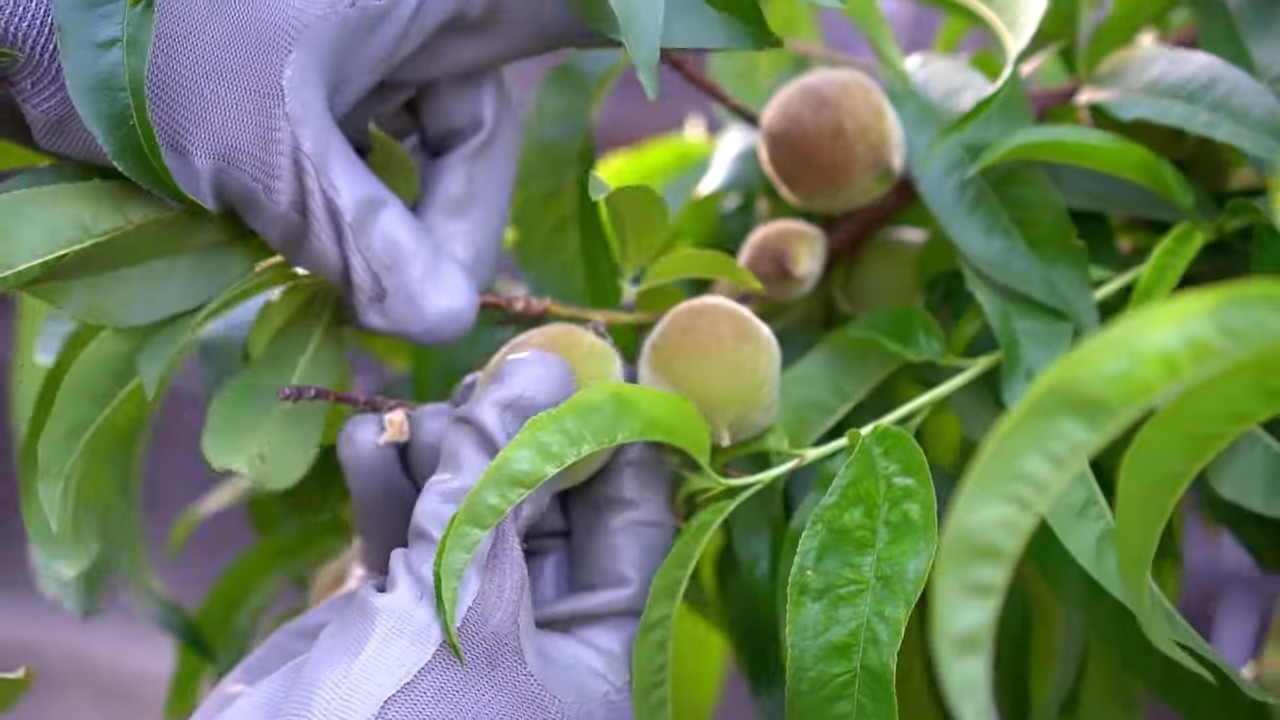
- Thinning: If the tree bears too much fruit, you should thin some of it out. This helps to improve the size and quality of the remaining fruit and prevents the tree from becoming overloaded.
Harvest Time: Enjoying the Fruits of Your Labor
After a few years of hard work and care, it’s finally time to harvest the fruits of your labor! Plums are ripe when they fall easily from the tree when touched. They should also have a deep, rich color and be slightly soft.
- Harvest Time: The harvest time for plums varies depending on the variety and climate. As a rule, plums ripen in late summer or early fall.
- Harvesting Method: Gently pick the plums from the tree. Avoid pulling on the branches, as this can damage the tree.
- Storage: Plums can be stored in the refrigerator for a few days. They can also be frozen, canned, or made into jam.
Additional Tips for Successful Plum Cultivation
Here are a few more tips that can help you successfully grow plums:
- Soil Test: Have your soil tested to determine if it contains the right nutrients for plum trees.
- Irrigation System: Install an irrigation system to ensure your trees receive sufficient water.
- Frost Protection: Protect your trees from frost, especially in the spring when the blossoms are sensitive.
- Patience: Plum trees take time to bear fruit. Be patient and don’t give up!
I hope this guide has helped you learn more about growing plum trees. With a little planning and care, you can soon enjoy your own delicious plums.
Conclusion
So, there you have it! Mastering the art of growing plums in your kitchen garden is not only achievable but also incredibly rewarding. We’ve explored the key steps, from selecting the right plum variety to providing the ideal growing conditions, and even tackling common challenges. But why is this DIY approach a must-try?
Firstly, the taste. Commercially grown plums often prioritize shelf life and appearance over flavor. When you grow your own, you get to savor the true, unadulterated taste of a perfectly ripe plum, bursting with sweetness and juiciness that you simply can’t find in stores. Imagine biting into a plum warmed by the sun, its flavor a testament to your own hard work and dedication.
Secondly, control. You have complete control over the growing process. You can choose organic methods, avoiding harmful pesticides and herbicides, ensuring that your plums are not only delicious but also healthy and safe for your family. You know exactly what goes into your food, from the soil it grows in to the water it receives. This peace of mind is invaluable.
Thirdly, sustainability. Growing your own plums reduces your carbon footprint. You’re eliminating the transportation costs associated with commercially grown fruit, contributing to a more sustainable food system. Plus, you’re connecting with nature, fostering a deeper appreciation for the environment.
But the benefits don’t stop there. Growing plums in your kitchen garden can be a therapeutic and educational experience. It’s a chance to get your hands dirty, learn about the natural world, and connect with the rhythms of the seasons. It’s also a fantastic way to teach children about where their food comes from and the importance of healthy eating.
Variations and Suggestions:
Don’t be afraid to experiment! Try different plum varieties to find your favorites. Consider espaliering your plum tree against a wall or fence to save space and create a beautiful focal point in your garden. You can also try growing plums in containers, which is ideal for smaller spaces or for those who want to move their trees indoors during the winter months in colder climates.
For those with limited space, consider dwarf plum varieties. These smaller trees are perfect for container gardening or small gardens, and they still produce a bountiful harvest of delicious plums. You can also explore different pruning techniques to maximize fruit production and maintain the shape of your tree.
Another exciting variation is to graft different plum varieties onto a single tree. This allows you to enjoy a wider range of flavors and textures from a single plant. It’s a more advanced technique, but it can be incredibly rewarding.
Finally, don’t forget about companion planting. Planting certain herbs and flowers near your plum tree can help to attract pollinators, repel pests, and improve the overall health of your tree. Consider planting basil, lavender, or marigolds near your plum tree to create a thriving ecosystem.
We encourage you to take the plunge and embark on your own plum-growing adventure. It’s a journey that will reward you with delicious fruit, a deeper connection to nature, and a sense of accomplishment. Remember to document your progress, share your successes (and challenges!), and learn from your experiences.
Share Your Experience!
We’d love to hear about your experiences growing plums in your kitchen garden. Share your tips, tricks, and photos with us in the comments below. Let’s create a community of plum enthusiasts and learn from each other. Together, we can unlock the secrets to growing the most delicious and rewarding plums imaginable. So, get out there, get your hands dirty, and start growing your own plums today! You’ll be amazed at what you can achieve. Growing plums is easier than you think!
FAQ
What is the best time of year to plant a plum tree?
The best time to plant a plum tree is typically in the early spring or late fall, when the tree is dormant. This allows the tree to establish its roots before the heat of summer or the cold of winter sets in. If you live in a region with mild winters, fall planting is often preferred, as it gives the tree more time to develop its root system before the growing season begins. However, if you live in a region with harsh winters, spring planting is generally recommended to avoid the risk of frost damage to the newly planted tree.
How much sunlight do plum trees need?
Plum trees need at least 6-8 hours of direct sunlight per day to thrive and produce a good crop of fruit. Choose a planting location that receives full sun throughout the day. If your plum tree doesn’t get enough sunlight, it may produce fewer plums, and the fruit may be smaller and less flavorful.
What type of soil is best for plum trees?
Plum trees prefer well-drained soil that is rich in organic matter. The ideal soil pH for plum trees is between 6.0 and 7.0. Before planting, amend the soil with compost or other organic matter to improve drainage and fertility. Avoid planting plum trees in heavy clay soil, as this can lead to root rot.
How often should I water my plum tree?
Water your plum tree regularly, especially during dry periods. Young trees need more frequent watering than established trees. Water deeply and thoroughly, allowing the water to soak into the soil. Avoid overwatering, as this can lead to root rot. A good rule of thumb is to water your plum tree when the top inch of soil feels dry to the touch.
Do I need to fertilize my plum tree?
Yes, plum trees benefit from regular fertilization. Fertilize your plum tree in the early spring, before the tree begins to leaf out. Use a balanced fertilizer that is specifically formulated for fruit trees. Follow the instructions on the fertilizer package carefully. Avoid over-fertilizing, as this can damage the tree.
How do I prune my plum tree?
Pruning is essential for maintaining the health and productivity of your plum tree. Prune your plum tree in the late winter or early spring, before the tree begins to grow. Remove any dead, damaged, or diseased branches. Also, prune to shape the tree and improve air circulation. Consult a pruning guide or video for specific instructions on how to prune your plum tree.
What are some common pests and diseases that affect plum trees?
Plum trees are susceptible to a variety of pests and diseases, including aphids, plum curculio, brown rot, and black knot. Monitor your tree regularly for signs of pests or diseases. If you detect any problems, take action immediately to control the infestation or disease. Use organic pest control methods whenever possible.
How long does it take for a plum tree to produce fruit?
Most plum trees will begin to produce fruit within 3-5 years of planting. However, some varieties may take longer to bear fruit. The amount of fruit that your tree produces will depend on a variety of factors, including the variety of plum, the age of the tree, the growing conditions, and the pollination.
Do I need to pollinate my plum tree?
Some plum varieties are self-pollinating, while others require cross-pollination from another plum variety. If you are planting a plum variety that requires cross-pollination, be sure to plant a compatible pollinator nearby. Consult a nursery or online resource to determine which plum varieties are compatible pollinators.
How do I know when my plums are ripe?
Plums are typically ripe when they are slightly soft to the touch and have a deep, rich color. The fruit should also easily detach from the tree when gently pulled. Taste a plum to make sure it is ripe before harvesting the entire crop. The sweetness and juiciness of the plum will be a good indicator of ripeness.
Leave a Comment