

Grow Pineapples at Home? Absolutely! Imagine plucking a juicy, sun-ripened pineapple straight from your own backyard. Sounds like a tropical dream, right? Well, it’s more attainable than you might think! For centuries, pineapples have symbolized hospitality and luxury, gracing tables from royal feasts to humble gatherings. Their exotic allure has captivated cultures worldwide, and now, you can bring a piece of that tropical magic to your own home.
But why should you bother with this DIY project? In today’s world, where we’re increasingly conscious of where our food comes from, growing your own pineapple offers a fantastic way to connect with nature and enjoy fresh, organic produce. Plus, let’s be honest, store-bought pineapples can be expensive and sometimes lack that intense, sweet flavor. With a few simple tricks and a little patience, you can cultivate your own delicious pineapples, bursting with flavor and free from harmful chemicals. I’m here to guide you through the process, sharing easy-to-follow steps and insider tips to ensure your success. Get ready to embark on a rewarding journey and discover the joy of growing your own tropical treasure!
Growing Pineapples Yourself: Your Tropical Dream Comes True!
Hey everyone! Have you ever wondered what it would be like to grow your own pineapples? I’ve tried it, and it’s easier than you think! It does take some patience, but the result – a juicy, homegrown pineapple – is simply unbeatable. In this article, I’ll show you step-by-step how you can start your own tropical garden. Let’s get started!
What You’ll Need: The Ingredients for Your Pineapple Success
Before we begin, here is a list of everything you’ll need:
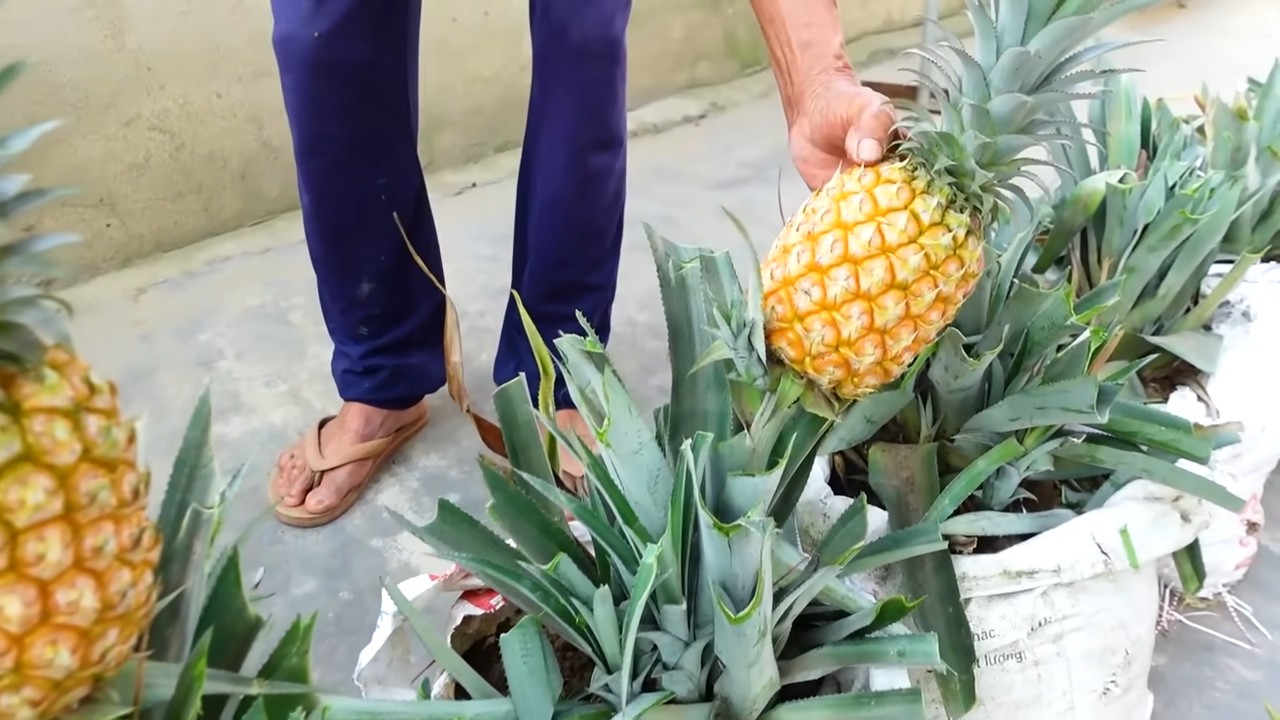
- A ripe pineapple: Choose a pineapple with healthy, green leaves. Make sure the leaves are firm and have no brown or rotten spots.
- A sharp knife: A kitchen knife or a sharp pocketknife will do.
- A glass or a vase: Large enough to hold the pineapple crown.
- Toothpicks: To stabilize the crown in the water (optional).
- A planter: A pot with a diameter of at least 20 cm (8 inches) is ideal.
- Potting soil: Well-draining potting soil is important. I recommend a mixture of potting soil, sand, and perlite.
- Water: For watering, of course!
- Patience: Pineapples take time to grow. Be patient and don’t give up!
Step-by-Step Guide: How to Grow Your Own Pineapple
Okay, now let’s get down to it! Here is a detailed guide on how you can grow your own pineapple:
1. Preparing the Pineapple Crown:
- Take your pineapple and cut off the leafy crown with a sharp knife. Be sure to leave about 2-3 cm (1 inch) of fruit on the crown.
- Carefully remove the remaining fruit flesh from the base of the crown. This is important because the flesh can rot and hinder root formation.
- Remove the bottom leaves of the crown, about 2-3 rows. This will expose the root nodes.
- Let the crown dry for 2-3 days in a dry, well-ventilated place. This helps prevent rot.
2. Rooting the Crown:
- Fill a glass or vase with water.
- Place the pineapple crown in the water so that only the bottom part, where the leaves were removed, is submerged. The leaves should not be in the water.
- Optional: Insert toothpicks into the crown to stabilize it in the glass. Make sure the toothpicks do not penetrate too deeply.
- Place the glass in a bright, warm spot, but not in direct sunlight.
- Change the water every 2-3 days to prevent rot.
- After a few weeks (approx. 4-8 weeks), roots should begin to form.
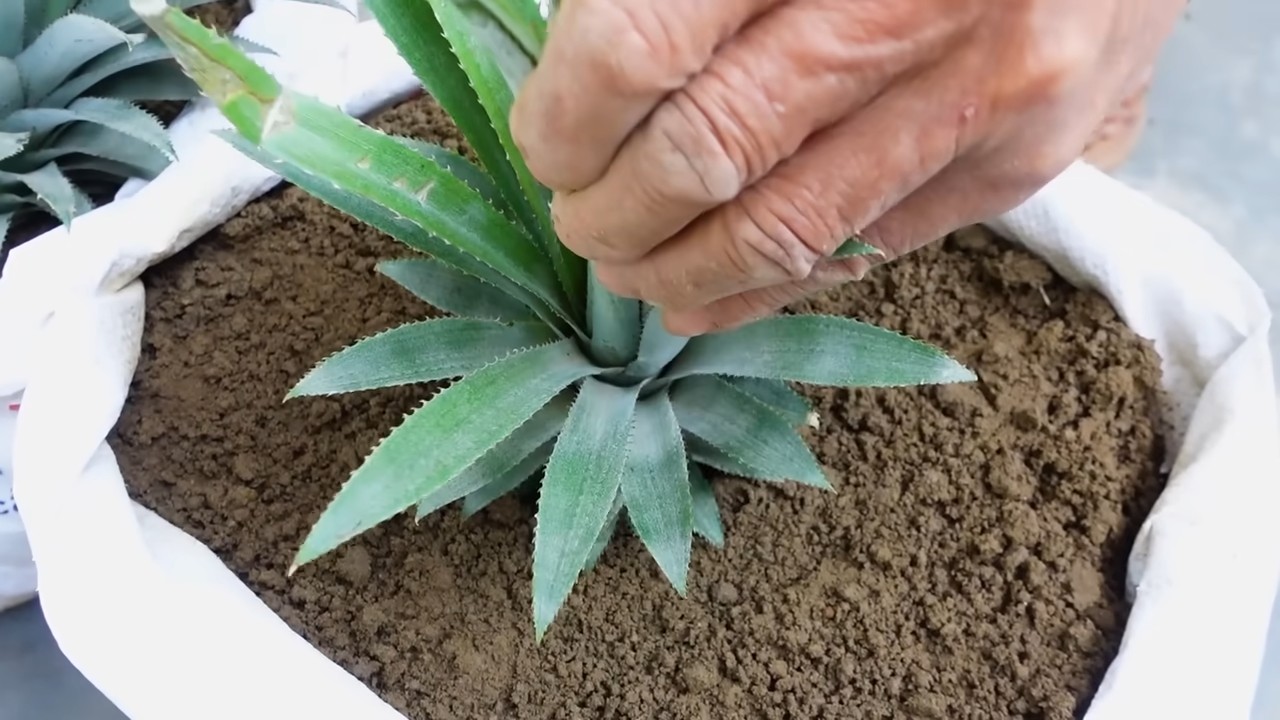
3. Planting the Pineapple:
- Once the roots are about 2-3 cm (1 inch) long, you can plant the pineapple.
- Fill the pot with well-draining potting soil.
- Make a hole in the soil large enough to accommodate the pineapple crown.
- Carefully place the crown in the hole and fill it with soil.
- Gently press the soil down.
- Water the pineapple thoroughly.
4. Caring for the Pineapple:
- Place the pot in a bright, warm location with plenty of sunlight. Pineapples love the sun!
- Water the pineapple regularly, but avoid waterlogging. The soil should always be slightly moist.
- Fertilize the pineapple every 2-3 months with a liquid fertilizer for fruit plants.
- Rotate the pot regularly so the pineapple grows evenly.
- Protect the pineapple from frost.
Patience is Required: Getting the Pineapple to Flower
Now comes the hardest part: waiting! It can take up to 2-3 years for your pineapple to flower and bear fruit. But don’t worry, it’s worth it!
How you can encourage flowering:
Sometimes pineapples need a little nudge to flower. Here are a few tricks you can try:
- The Ethylene Trick: Place an apple next to the pineapple. Apples produce ethylene, a gas that can encourage flowering. Cover both with a plastic bag to trap the gas. Leave the bag on for a few days and repeat the process every few weeks.
- Magnesium Sulfate (Epsom Salt): Magnesium sulfate can help promote flowering. Dissolve one teaspoon of magnesium sulfate in a liter of water and water the pineapple with it.
The Harvest: Your Homegrown Pineapple Dream Comes True!
When your pineapple finally flowers and forms a fruit, it will still take several months for it to ripen. The pineapple is ripe when it has a golden-yellow color and emits a sweet fragrance.
How to harvest your pineapple:
- Cut the pineapple from the stalk with a sharp knife.
- Let the pineapple ripen for a few more days at room temperature.
- Enjoy your homegrown pineapple!
Common Problems and Solutions: What to Do When Something Goes Wrong?
Problems can also arise when growing pineapples. Here are some common problems and how you can solve them:
- Leaves turning brown: This can have various causes, such as too little water, too much sun, or a nutrient deficiency. Check your care routine and adjust it accordingly.
- No root formation: This can be because the fruit flesh was not completely removed or the water was not changed regularly. Clean the crown thoroughly and change the water regularly.
- No flowering: Patience! It can take a long time for a pineapple to flower. Try the tricks mentioned above to encourage flowering.
Additional Tips and Tricks: How to Make It Even Better!
- Use rainwater: Rainwater is softer than tap water and contains no harmful chemicals.
- Ensure good ventilation: Pineapples need good ventilation to stay healthy.
- Observe your pineapple closely: The better you know your pineapple, the better you can respond to its needs.
I hope this guide helps you grow your own pineapples! It’s a rewarding project that will bring you not only a delicious fruit but also a lot of joy. Good luck
Conclusion
So, there you have it! Growing pineapples at home might seem like a tropical dream reserved for expert gardeners, but as you’ve discovered, it’s surprisingly achievable with a little patience and the right approach. This DIY trick isn’t just about saving money on store-bought fruit; it’s about experiencing the unique satisfaction of nurturing a plant from a simple pineapple top to a thriving, fruit-bearing specimen. Imagine the bragging rights when you serve a dish featuring a pineapple you grew yourself!
But beyond the novelty, growing your own pineapple offers a connection to nature that’s often missing in our modern lives. It’s a slow, rewarding process that teaches patience and appreciation for the natural world. Plus, you’ll be reducing your carbon footprint by cutting down on transportation emissions associated with commercially grown pineapples.
This method of propagation, using the crown of a store-bought pineapple, is a fantastic way to recycle and reduce waste. Instead of tossing the top into the compost bin, you’re giving it a new life and a chance to produce delicious fruit. It’s a sustainable and eco-friendly gardening practice that aligns with a growing desire for more conscious consumption.
Don’t be afraid to experiment with variations! Try different soil mixes to see what works best in your climate. Some gardeners swear by adding a bit of bone meal to the soil to encourage root growth, while others prefer a slightly acidic mix. You can also explore different container sizes as your pineapple grows. Consider using terracotta pots, which allow for better drainage and aeration.
For those living in colder climates, consider growing your pineapple in a pot that can be easily moved indoors during the winter months. A sunny windowsill or a grow light can provide the necessary warmth and light to keep your pineapple thriving even when the weather outside is less than ideal.
Remember, patience is key. It can take several months for your pineapple to root and even longer for it to produce fruit. But the wait is well worth it. The sweet, juicy flavor of a homegrown pineapple is unlike anything you’ll find in a store.
We wholeheartedly encourage you to give this DIY trick a try. It’s a fun, educational, and ultimately rewarding experience. And most importantly, don’t forget to share your journey with us! We’d love to see your pineapple progress, hear about your successes (and even your challenges), and learn from your experiences. Post pictures of your growing pineapples on social media using #HomegrownPineapple or tag us in your posts. Let’s create a community of home pineapple growers and inspire others to connect with nature in a delicious way. Embrace the joy of growing your own food and discover the magic of growing pineapples at home. You might just surprise yourself with what you can achieve!
Frequently Asked Questions (FAQ)
How long does it take to grow a pineapple from a top?
The time it takes to grow a pineapple from a top can vary depending on several factors, including climate, sunlight, and soil conditions. Generally, it takes anywhere from 2 to 3 years for a pineapple plant grown from a top to produce fruit. The initial rooting process can take several weeks to a few months. After that, the plant needs time to mature and develop a strong root system before it can start producing a flower stalk, which eventually leads to a pineapple. Be patient and consistent with your care, and you’ll eventually be rewarded with a delicious homegrown pineapple.
What kind of soil is best for growing pineapples?
Pineapples thrive in well-draining, slightly acidic soil. A mix of equal parts potting soil, perlite, and peat moss is a good starting point. The perlite helps with drainage, while the peat moss provides acidity. You can also add some compost to the mix for added nutrients. Avoid heavy clay soils, as they can retain too much water and lead to root rot. If you’re unsure about the pH of your soil, you can purchase a soil testing kit from your local garden center. Aim for a pH between 5.5 and 6.5 for optimal pineapple growth.
How much sunlight does a pineapple plant need?
Pineapples need plenty of sunlight to thrive. Aim for at least 6 hours of direct sunlight per day. If you’re growing your pineapple indoors, place it near a sunny window or supplement with a grow light. Insufficient sunlight can lead to slow growth and reduced fruit production. If you notice your pineapple plant becoming leggy or pale, it’s likely not getting enough light.
How often should I water my pineapple plant?
Water your pineapple plant when the top inch of soil feels dry to the touch. Avoid overwatering, as this can lead to root rot. During the growing season (spring and summer), you may need to water more frequently than during the dormant season (fall and winter). When watering, make sure to thoroughly saturate the soil until water drains out of the bottom of the pot. You can also water the central cup of the plant, as pineapples can absorb water through their leaves.
Do I need to fertilize my pineapple plant?
Yes, fertilizing your pineapple plant is important for healthy growth and fruit production. Use a balanced fertilizer (e.g., 10-10-10) diluted to half strength. Fertilize every 2-3 months during the growing season. Avoid fertilizing during the dormant season. You can also use organic fertilizers, such as compost tea or fish emulsion. Be careful not to over-fertilize, as this can burn the roots.
How do I encourage my pineapple plant to fruit?
Getting a pineapple plant to fruit can sometimes be a challenge. One trick is to expose the plant to ethylene gas, which can stimulate flowering. You can do this by placing a ripe apple or banana near the plant and covering it with a plastic bag for a few days. The ripening fruit will release ethylene gas, which can trigger flowering. Another method is to use a small amount of calcium carbide dissolved in water and pour it into the central cup of the plant. However, be very careful when handling calcium carbide, as it can be corrosive.
What are some common problems with growing pineapples?
Some common problems with growing pineapples include root rot, mealybugs, and scale. Root rot is usually caused by overwatering. Mealybugs and scale are sap-sucking insects that can weaken the plant. To prevent root rot, make sure your soil is well-draining and avoid overwatering. To control mealybugs and scale, you can use insecticidal soap or neem oil. Regularly inspect your plant for signs of pests or diseases and take action promptly.
Can I grow a pineapple indoors?
Yes, you can grow a pineapple indoors, especially if you live in a climate with cold winters. Choose a pot that is large enough to accommodate the plant’s root system and provide plenty of sunlight. A south-facing window is ideal. You may also need to supplement with a grow light. Make sure to water regularly and fertilize during the growing season. With proper care, you can successfully grow a pineapple indoors.
What do I do with the pineapple after I harvest it?
Once your pineapple is ripe and ready to harvest, cut it off the plant with a sharp knife. You can then enjoy the delicious fruit! Don’t forget to save the top of the pineapple to start a new plant. You can also use the pineapple leaves to make a decorative arrangement or add them to your compost pile. The possibilities are endless!


Leave a Comment