

Grow Cape Gooseberry Home and unlock a world of tangy-sweet delights right in your backyard! Have you ever dreamt of plucking golden, lantern-like fruits straight from the vine? Well, dream no more! This DIY guide is your passport to cultivating these unique and delicious berries, also known as Physalis peruviana, with ease.
Cape Gooseberries, with their intriguing papery husks, boast a rich history, originating in the Andean regions of South America. For centuries, they’ve been cherished for their medicinal properties and culinary versatility. From jams and desserts to savory sauces, these little gems add a burst of sunshine to any dish.
But why should you bother growing them yourself? In today’s world, where access to fresh, unique produce can be limited, grow Cape Gooseberry home offers a fantastic solution. Not only will you enjoy the satisfaction of nurturing your own food, but you’ll also have a constant supply of these vitamin-packed berries, free from harmful pesticides and bursting with flavor. Plus, it’s a fun and rewarding project for the whole family! Let’s dive into the simple steps that will transform your garden into a Cape Gooseberry haven.
Growing Cape Gooseberries at Home: A DIY Guide
Hey there, fellow gardening enthusiasts! Ever wanted to grow something a little different, something that bursts with sweet-tart flavor and looks absolutely adorable? Then you’ve come to the right place! Today, I’m going to walk you through the process of growing Cape Gooseberries (also known as Golden Berries or Physalis peruviana) right in your own backyard or even in containers. Trust me, it’s easier than you think, and the rewards are oh-so-delicious!
Why Grow Cape Gooseberries?
Before we dive in, let’s talk about why these little gems are worth the effort. Cape Gooseberries are not only tasty but also packed with vitamins and antioxidants. They’re great eaten fresh, made into jams, or even used in desserts. Plus, the papery husks that encase the fruit add a unique touch to your garden.
Getting Started: What You’ll Need
To embark on this Cape Gooseberry adventure, you’ll need a few essential items. Don’t worry, most of them are readily available at your local garden center or online.
* Cape Gooseberry Seeds or Seedlings: You can start from seeds or buy seedlings. Seeds will take longer, but it’s a more budget-friendly option. Seedlings will give you a head start.
* Potting Mix: A well-draining potting mix is crucial, especially if you’re growing in containers.
* Garden Soil: If you’re planting directly in the ground, make sure your soil is well-draining and amended with compost.
* Compost or Organic Matter: This will enrich the soil and provide essential nutrients.
* Pots or Containers (if applicable): Choose pots that are at least 12 inches in diameter.
* Watering Can or Hose: For regular watering.
* Fertilizer: A balanced fertilizer will help your plants thrive.
* Trowel or Garden Shovel: For planting.
* Stakes or Cages (optional): Cape Gooseberry plants can get a bit leggy, so support might be needed.
* Pruning Shears: For trimming and shaping the plants.
Starting from Seeds: A Step-by-Step Guide
If you’re feeling adventurous, starting from seeds is a rewarding experience. Here’s how I do it:
1. Sowing the Seeds:
* Fill a seed tray or small pots with seed-starting mix.
* Moisten the mix thoroughly.
* Sow the seeds thinly on the surface of the mix.
* Lightly cover the seeds with a thin layer of vermiculite or seed-starting mix.
* Gently water the seeds using a spray bottle.
* Cover the tray or pots with a plastic lid or plastic wrap to create a humid environment.
2. Germination:
* Place the tray or pots in a warm location (around 70-75°F or 21-24°C).
* Keep the soil consistently moist but not waterlogged.
* The seeds should germinate in about 1-3 weeks.
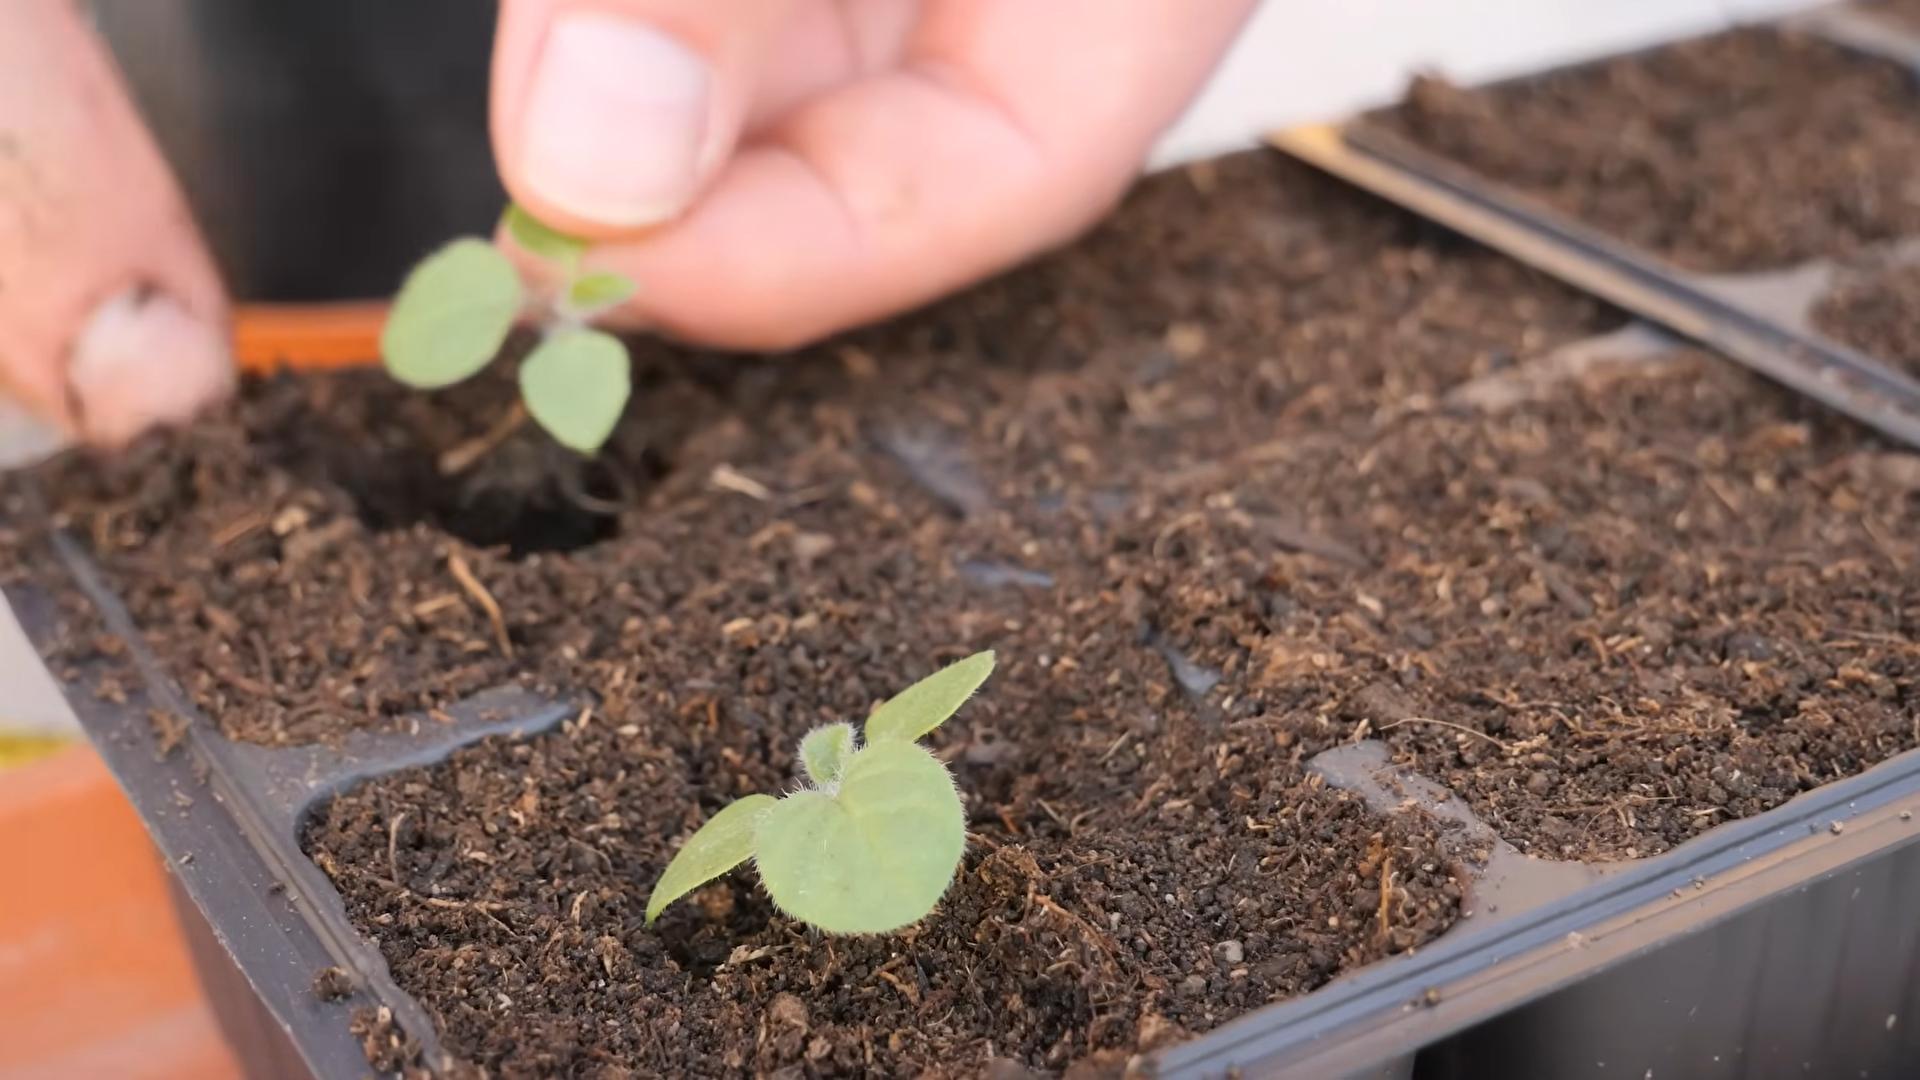
3. Transplanting Seedlings:
* Once the seedlings have developed a few sets of true leaves (the leaves that look like miniature versions of the adult leaves), it’s time to transplant them into individual pots.
* Gently remove the seedlings from the seed tray or pots, being careful not to damage the roots.
* Plant each seedling in a small pot filled with potting mix.
* Water the seedlings thoroughly.
* Place the pots in a sunny location.
4. Hardening Off:
* Before planting the seedlings outdoors, you’ll need to “harden them off.” This means gradually exposing them to outdoor conditions to help them adjust.
* Start by placing the seedlings outdoors in a sheltered location for a few hours each day, gradually increasing the amount of time they spend outdoors over the course of a week or two.
* Protect the seedlings from strong winds and direct sunlight during the hardening-off process.
Planting Cape Gooseberries: In the Ground or in Containers
Now that you have your seedlings (either grown from seed or purchased), it’s time to get them into their permanent homes.
1. Choosing a Location:
* Cape Gooseberries thrive in full sun (at least 6-8 hours of sunlight per day).
* They also need well-draining soil.
* If you’re planting in the ground, choose a location that is protected from strong winds.
2. Preparing the Soil:
* If you’re planting in the ground, amend the soil with compost or other organic matter to improve drainage and fertility.
* If you’re planting in containers, use a high-quality potting mix.
3. Planting:
* Dig a hole that is slightly larger than the root ball of the seedling.
* Gently remove the seedling from its pot.
* Place the seedling in the hole, making sure that the top of the root ball is level with the surrounding soil.
* Fill in the hole with soil, gently firming it around the base of the plant.
* Water the plant thoroughly.
4. Spacing:
* If you’re planting multiple Cape Gooseberry plants, space them about 2-3 feet apart.
Caring for Your Cape Gooseberry Plants: Watering, Fertilizing, and Pruning
Once your Cape Gooseberry plants are in the ground or in containers, it’s important to provide them with the care they need to thrive.
1. Watering:
* Water your Cape Gooseberry plants regularly, especially during dry periods.
* Keep the soil consistently moist but not waterlogged.
* Water deeply, allowing the water to soak into the soil.
* Avoid watering the foliage, as this can lead to fungal diseases.
2. Fertilizing:
* Fertilize your Cape Gooseberry plants every few weeks with a balanced fertilizer.
* Follow the instructions on the fertilizer label.
* Avoid over-fertilizing, as this can lead to excessive foliage growth and reduced fruit production.
3. Pruning:
* Prune your Cape Gooseberry plants regularly to encourage bushier growth and better fruit production.
* Remove any dead, damaged, or diseased branches.
* Pinch back the tips of the branches to encourage branching.
* You can also prune the plants to shape them as desired.
4. Support:
* Cape Gooseberry plants can get a bit leggy, especially when they’re loaded with fruit.
* Provide support for the plants by staking them or using cages.
* This will help prevent the branches from breaking under the weight of the fruit.
Dealing with Pests and Diseases
Cape Gooseberries are generally relatively pest and disease-resistant, but they can occasionally be affected by certain problems.
1. Common Pests:
* Aphids: These small, sap-sucking insects can cause distorted growth. Control them with insecticidal soap or neem oil.
* Whiteflies: These tiny, white, flying insects can also suck sap from the plants. Control them with insecticidal soap or neem oil.
* Spider Mites: These tiny mites can cause stippling on the leaves. Control them with insecticidal soap or neem oil.
2. Common Diseases:
* Powdery Mildew: This fungal disease causes a white, powdery coating on the leaves. Control it with a fungicide.
* Root Rot: This fungal disease can occur in poorly drained soil. Prevent it by planting in well-draining soil and avoiding overwatering.
Harvesting and Storing Cape Gooseberries
The best part of growing Cape Gooseberries is, of course, harvesting and enjoying the fruits of your labor!
1. Harvesting:
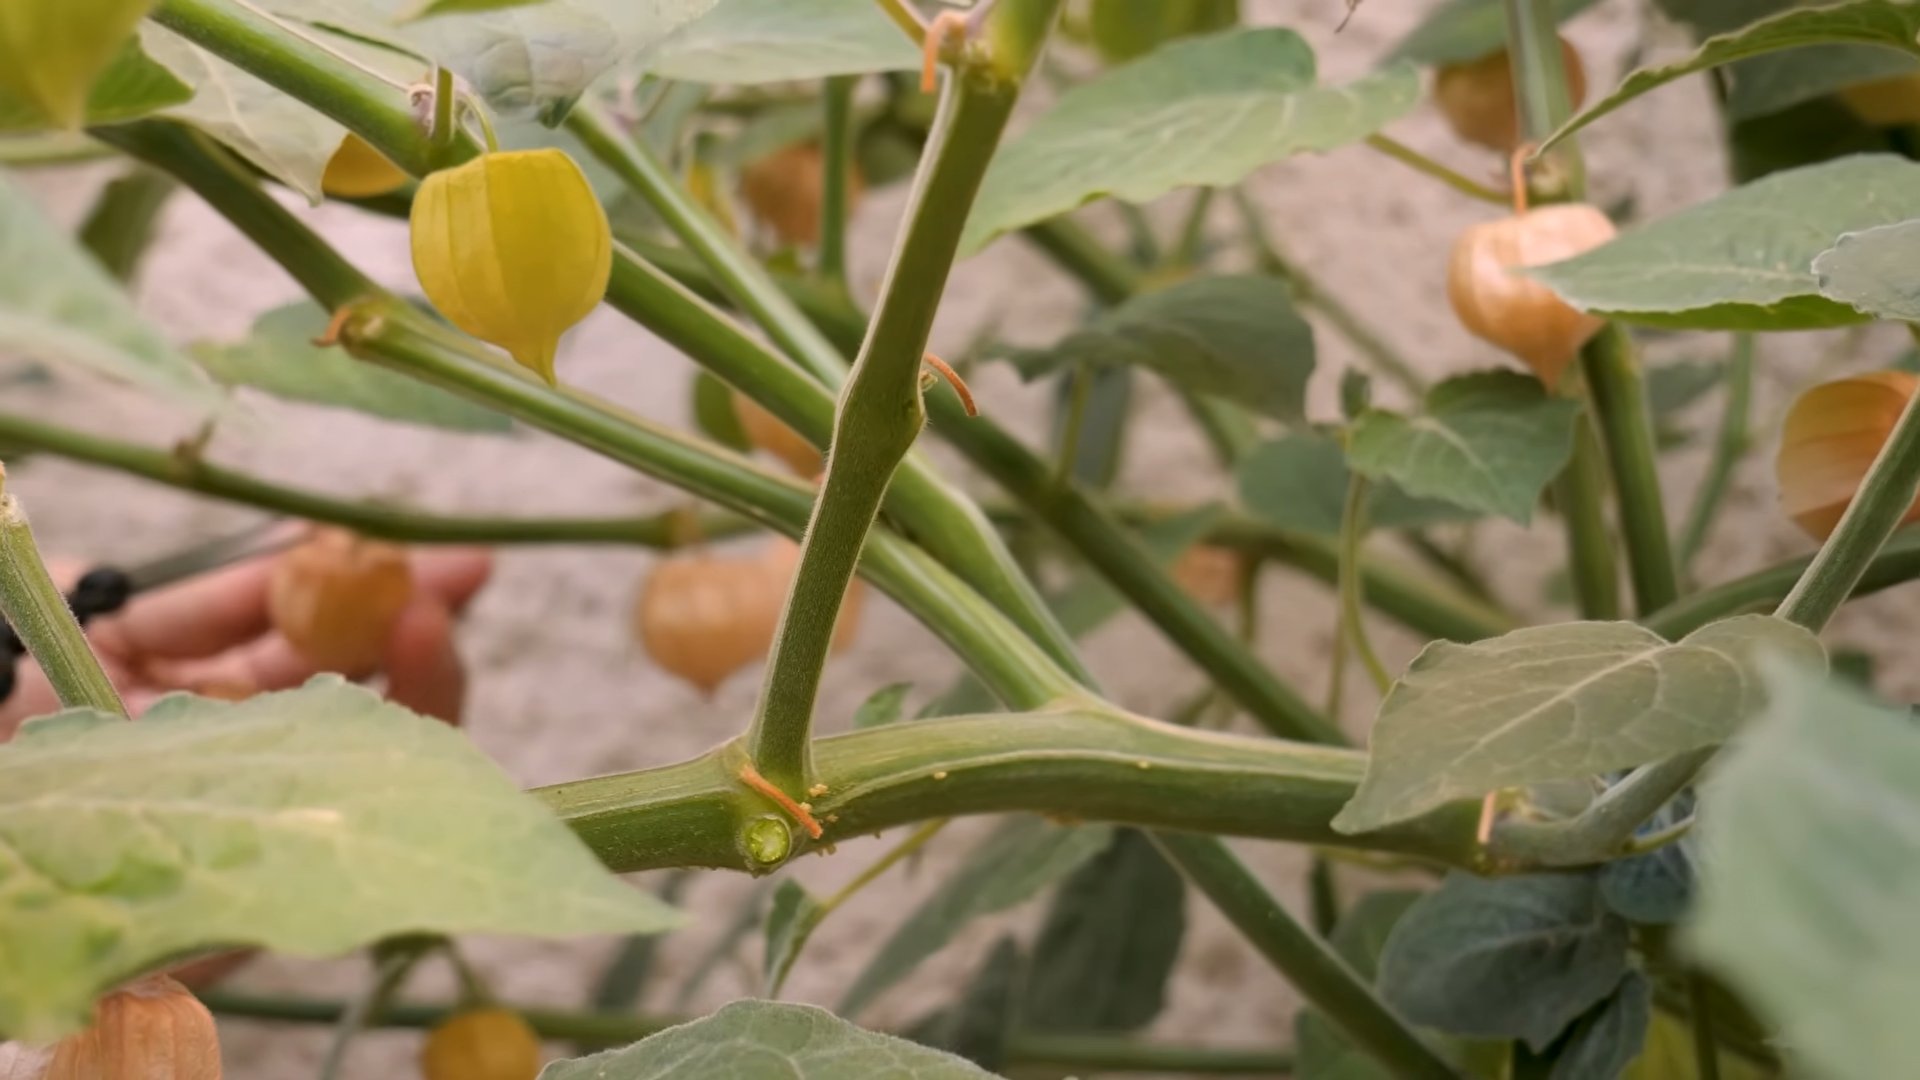
* Cape Gooseberries are ready to harvest when the papery husks turn brown and papery and the fruit inside is golden yellow.
* The fruit should easily detach from the plant when it’s ripe.
* You can also harvest the fruit that has fallen to the ground.
2. Storing:
* Cape Gooseberries can be stored in their husks at room temperature for several weeks.
* You can also store them in the refrigerator for longer storage.
* To freeze Cape Gooseberries, remove the husks and spread the berries on a baking sheet. Freeze them until solid, then transfer them to a freezer bag or container.
Enjoying Your Cape Gooseberries
Now that you’ve harvested your Cape Gooseberries, it’s time to enjoy them!
* Eat them fresh: Cape Gooseberries are
Conclusion
So, there you have it! Growing Cape Gooseberry at home is not only achievable but also incredibly rewarding. Forget those expensive, often lackluster, store-bought berries. With a little patience and these simple steps, you can cultivate your own supply of these tangy-sweet delights, bursting with flavor and packed with nutrients. This DIY approach allows you to control every aspect of the growing process, ensuring you have the freshest, most organic Cape Gooseberries possible.
But why is this DIY trick a must-try? Beyond the obvious cost savings, growing your own Cape Gooseberries offers a unique connection to your food. You’ll witness the entire life cycle of the plant, from tiny seed to bountiful harvest. It’s a fantastic learning experience, especially for children, and a deeply satisfying way to engage with nature. Plus, the taste of a homegrown Cape Gooseberry, ripened to perfection on the vine, is simply unparalleled.
Ready to take your Cape Gooseberry game to the next level? Consider these variations and suggestions:
* Vertical Gardening: If you’re short on space, try growing your Cape Gooseberries in hanging baskets or vertical planters. This not only saves space but also adds a beautiful touch to your balcony or patio.
* Companion Planting: Plant basil or marigolds near your Cape Gooseberries to deter pests and attract beneficial insects.
* Different Varieties: Explore different varieties of Cape Gooseberries, such as ‘Goldie’ or ‘Giant’, to discover your favorite flavor profile.
* Preserving Your Harvest: When you have a bumper crop, consider making Cape Gooseberry jam, chutney, or even drying them for a healthy snack.
* Seed Saving: Save seeds from your best-performing plants to ensure a continuous supply of high-quality Cape Gooseberries year after year.
Growing Cape Gooseberry at home is more than just a gardening project; it’s an investment in your health, your taste buds, and your connection to the natural world. It’s a chance to experience the joy of harvesting your own food and sharing it with loved ones.
Don’t be intimidated if you’re a beginner gardener. Cape Gooseberries are relatively easy to grow, and the rewards are well worth the effort. So, grab some seeds, prepare your soil, and get ready to embark on a delicious and fulfilling gardening adventure.
We’re confident that you’ll be amazed by the results. We encourage you to try this DIY trick and share your experience with us! Post photos of your Cape Gooseberry plants, share your tips and tricks, and let us know how your harvest turns out. We can’t wait to see your success! Happy growing!
Frequently Asked Questions (FAQ)
What is the best time to start growing Cape Gooseberries from seed?
The best time to start growing Cape Gooseberries from seed is typically in early spring, about 6-8 weeks before the last expected frost. This allows the seedlings to develop a strong root system before being transplanted outdoors. You can start them indoors in a warm, sunny location or under grow lights. If you live in a warmer climate with mild winters, you can start them earlier, even in late winter.
How much sunlight do Cape Gooseberries need?
Cape Gooseberries thrive in full sun, requiring at least 6-8 hours of direct sunlight per day. Adequate sunlight is crucial for healthy growth, abundant flowering, and optimal fruit production. If you’re growing them indoors, supplement with grow lights if necessary. Insufficient sunlight can lead to leggy growth, reduced flowering, and smaller, less flavorful fruit.
What type of soil is best for growing Cape Gooseberries?
Cape Gooseberries prefer well-draining soil that is rich in organic matter. A slightly acidic to neutral pH (around 6.0-7.0) is ideal. Amend your soil with compost, aged manure, or other organic materials to improve drainage, fertility, and water retention. Avoid heavy clay soils, as they can become waterlogged and lead to root rot.
How often should I water my Cape Gooseberry plants?
Water your Cape Gooseberry plants regularly, especially during dry periods. Keep the soil consistently moist but not waterlogged. Water deeply at the base of the plant, avoiding wetting the foliage, which can increase the risk of fungal diseases. The frequency of watering will depend on the weather, soil type, and the size of your plants. Check the soil moisture regularly and adjust your watering schedule accordingly.
How do I fertilize my Cape Gooseberry plants?
Fertilize your Cape Gooseberry plants every 4-6 weeks during the growing season with a balanced fertilizer. Look for a fertilizer with an NPK ratio (nitrogen, phosphorus, potassium) of around 10-10-10 or 14-14-14. Avoid over-fertilizing, as this can lead to excessive vegetative growth at the expense of fruit production. You can also use organic fertilizers, such as compost tea or fish emulsion.
When do Cape Gooseberries typically ripen?
Cape Gooseberries typically ripen in late summer or early fall, about 70-80 days after transplanting. The papery husks surrounding the berries will turn from green to a light tan or brown color, and the berries inside will turn a golden yellow or orange. The berries are ripe when they fall off the plant easily with a gentle touch.
How do I protect my Cape Gooseberry plants from pests and diseases?
Cape Gooseberries are generally resistant to pests and diseases, but they can be susceptible to aphids, whiteflies, and fungal diseases like powdery mildew. Inspect your plants regularly for signs of infestation or disease. Control aphids and whiteflies with insecticidal soap or neem oil. Prevent powdery mildew by ensuring good air circulation, avoiding overhead watering, and applying a fungicide if necessary.
Can I grow Cape Gooseberries in containers?
Yes, Cape Gooseberries can be successfully grown in containers. Choose a large container (at least 12 inches in diameter) with good drainage. Use a high-quality potting mix and provide regular watering and fertilization. Container-grown plants may need more frequent watering than those grown in the ground.
Are Cape Gooseberries perennial or annual?
Cape Gooseberries are technically perennials, but they are often grown as annuals in colder climates because they are not frost-hardy. In warmer climates, they can survive for several years. If you live in a colder climate, you can try overwintering your plants indoors by bringing them inside before the first frost and providing them with adequate light and water.
How do I store Cape Gooseberries?
Cape Gooseberries can be stored in their husks in the refrigerator for several weeks. They can also be frozen for longer storage. To freeze them, spread them out on a baking sheet and freeze them until solid, then transfer them to a freezer bag or container. You can also make jam, chutney, or other preserves to extend their shelf life.
Leave a Comment