

Grow Arugula Indoors? Absolutely! Imagine fresh, peppery arugula gracing your salads and sandwiches, even when the snow is falling outside. No more sad, wilted greens from the grocery store – just vibrant, flavorful arugula harvested right from your windowsill. For centuries, cultivating herbs and vegetables indoors has been a way for people to connect with nature and ensure a fresh food supply, regardless of the season. Think of the ancient Romans with their rooftop gardens, or the medieval monks tending their medicinal herbs within cloistered walls.
Today, with busy lives and limited outdoor space, the need for accessible gardening solutions is greater than ever. That’s where this DIY guide comes in! I’m going to show you simple, effective tricks to grow arugula indoors successfully. Whether you’re a seasoned gardener or a complete beginner, these tips will empower you to enjoy a continuous supply of this delicious and nutritious green. Say goodbye to expensive store-bought arugula and hello to a thriving indoor garden that will elevate your meals and bring a touch of green to your home. Let’s get started!
Grow Your Own Arugula Indoors: A Peppery Delight!
Hey there, fellow plant enthusiasts! Are you craving the zesty, peppery bite of fresh arugula but don’t have a garden or the weather isn’t cooperating? No problem! I’m going to show you how to easily grow your own arugula indoors, right on your windowsill or under a grow light. It’s surprisingly simple, and you’ll be enjoying delicious, homegrown arugula in just a few weeks.
What You’ll Need
Before we dive in, let’s gather our supplies. Here’s a list of everything you’ll need to get started:
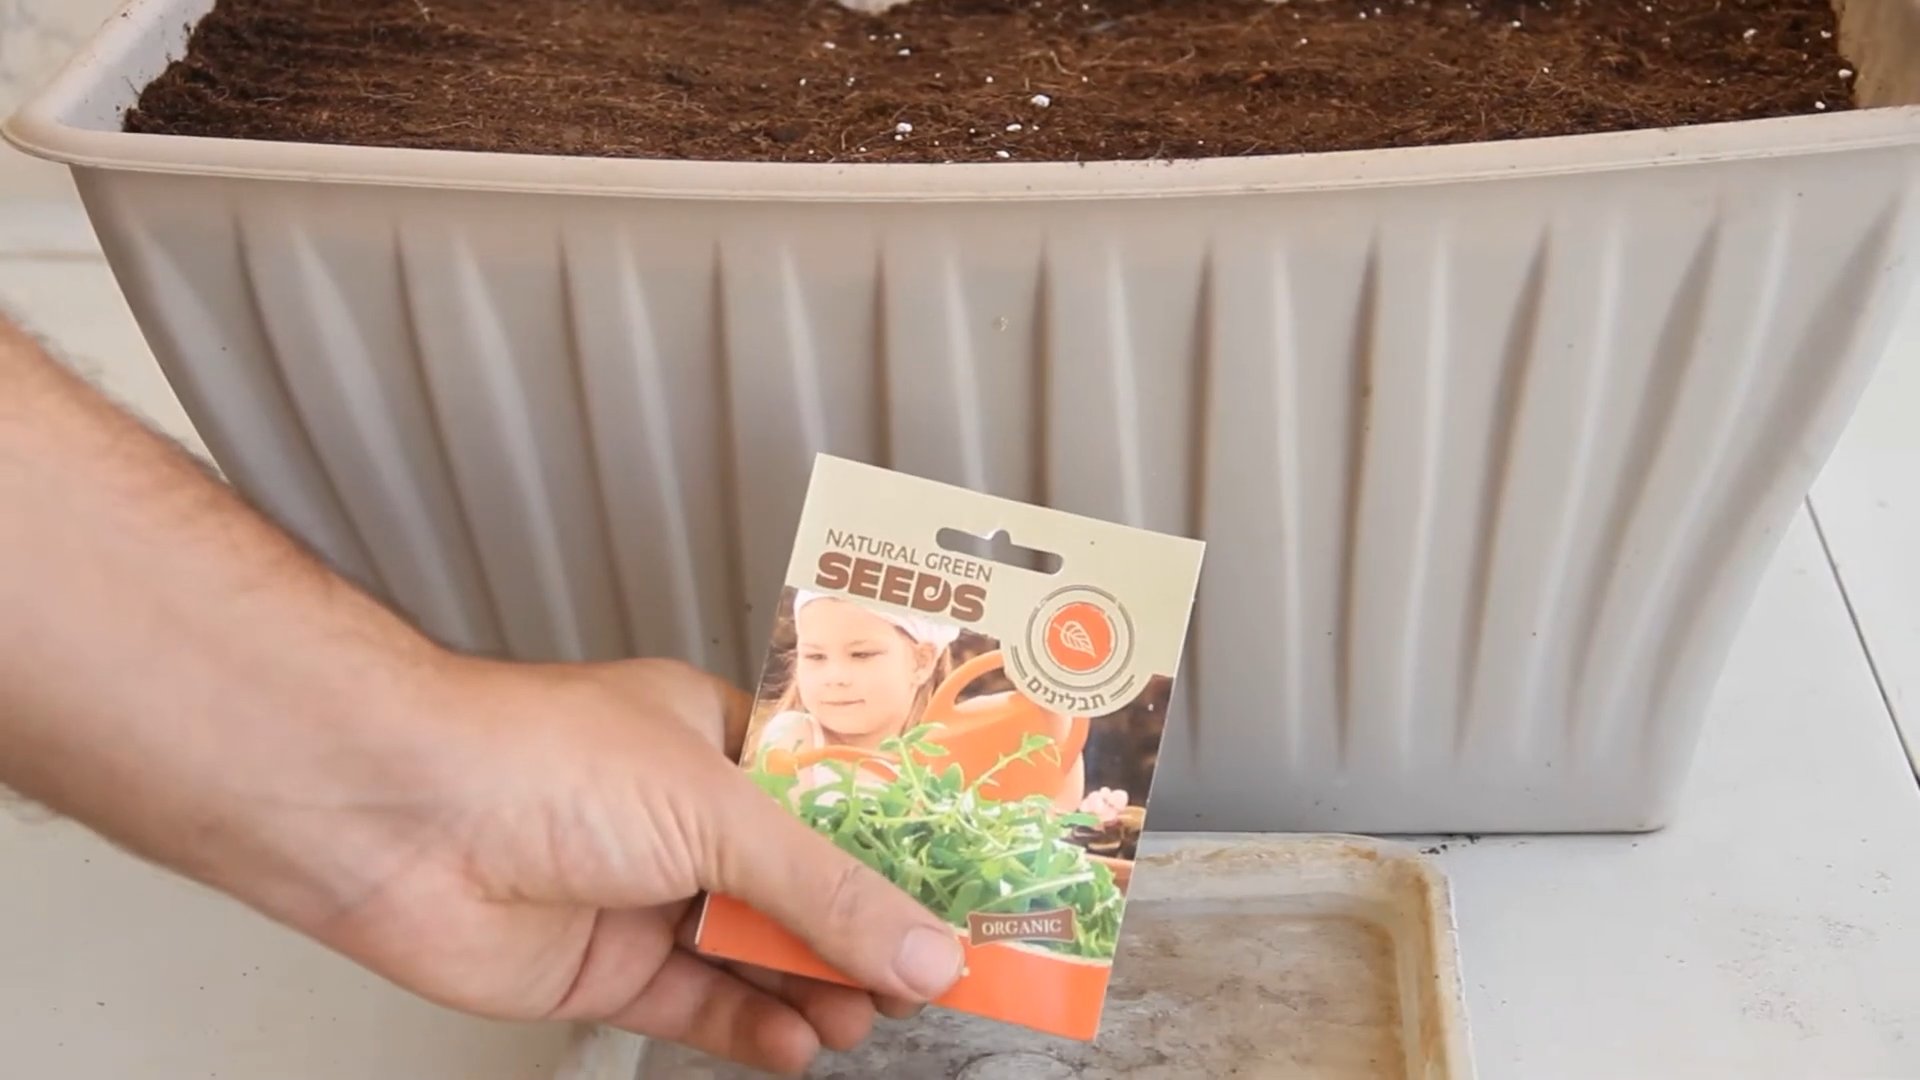
* Arugula Seeds: You can find these at most garden centers or online. Look for varieties specifically suited for container gardening if possible, but honestly, most arugula seeds will work just fine.
* Containers: Choose containers that are at least 6 inches deep. I like using rectangular planters, but individual pots work great too. Make sure they have drainage holes!
* Potting Mix: Use a high-quality potting mix that’s well-draining. Avoid using garden soil, as it can compact and not provide adequate drainage for container gardening.
* Watering Can or Spray Bottle: For gentle watering.
* Grow Light (Optional): If you don’t have a sunny windowsill, a grow light will be essential.
* Small Shovel or Trowel: For handling the potting mix.
* Plant Labels (Optional): To keep track of what you’ve planted, especially if you’re growing multiple herbs or greens.
Getting Started: Planting Your Arugula Seeds
Okay, let’s get our hands dirty! This is the fun part.
1. Prepare Your Containers: Fill your chosen containers with potting mix, leaving about an inch of space at the top. Gently pat down the soil to remove any large air pockets, but don’t compact it too much. You want it to be loose and airy.
2. Sow the Seeds: Arugula seeds are tiny, so be careful not to plant them too densely. Sprinkle the seeds evenly over the surface of the soil. I usually aim for about 1/4 inch spacing between seeds. You can also sow them in rows if you prefer.
3. Cover the Seeds: Lightly cover the seeds with a thin layer of potting mix, about 1/4 inch deep. Arugula seeds need light to germinate, so don’t bury them too deeply.
4. Water Gently: Use a watering can or spray bottle to gently moisten the soil. Be careful not to dislodge the seeds. You want the soil to be consistently moist, but not soggy.
5. Provide Light: Place your containers in a sunny windowsill that receives at least 6 hours of direct sunlight per day. If you don’t have a sunny windowsill, use a grow light. Position the grow light a few inches above the soil surface and keep it on for 12-14 hours per day.
Caring for Your Arugula Plants
Now that your arugula seeds are planted, it’s time to nurture them and watch them grow!
1. Watering: Keep the soil consistently moist, but not soggy. Water when the top inch of soil feels dry to the touch. Avoid overwatering, as this can lead to root rot. I usually check the soil moisture every day and water as needed.
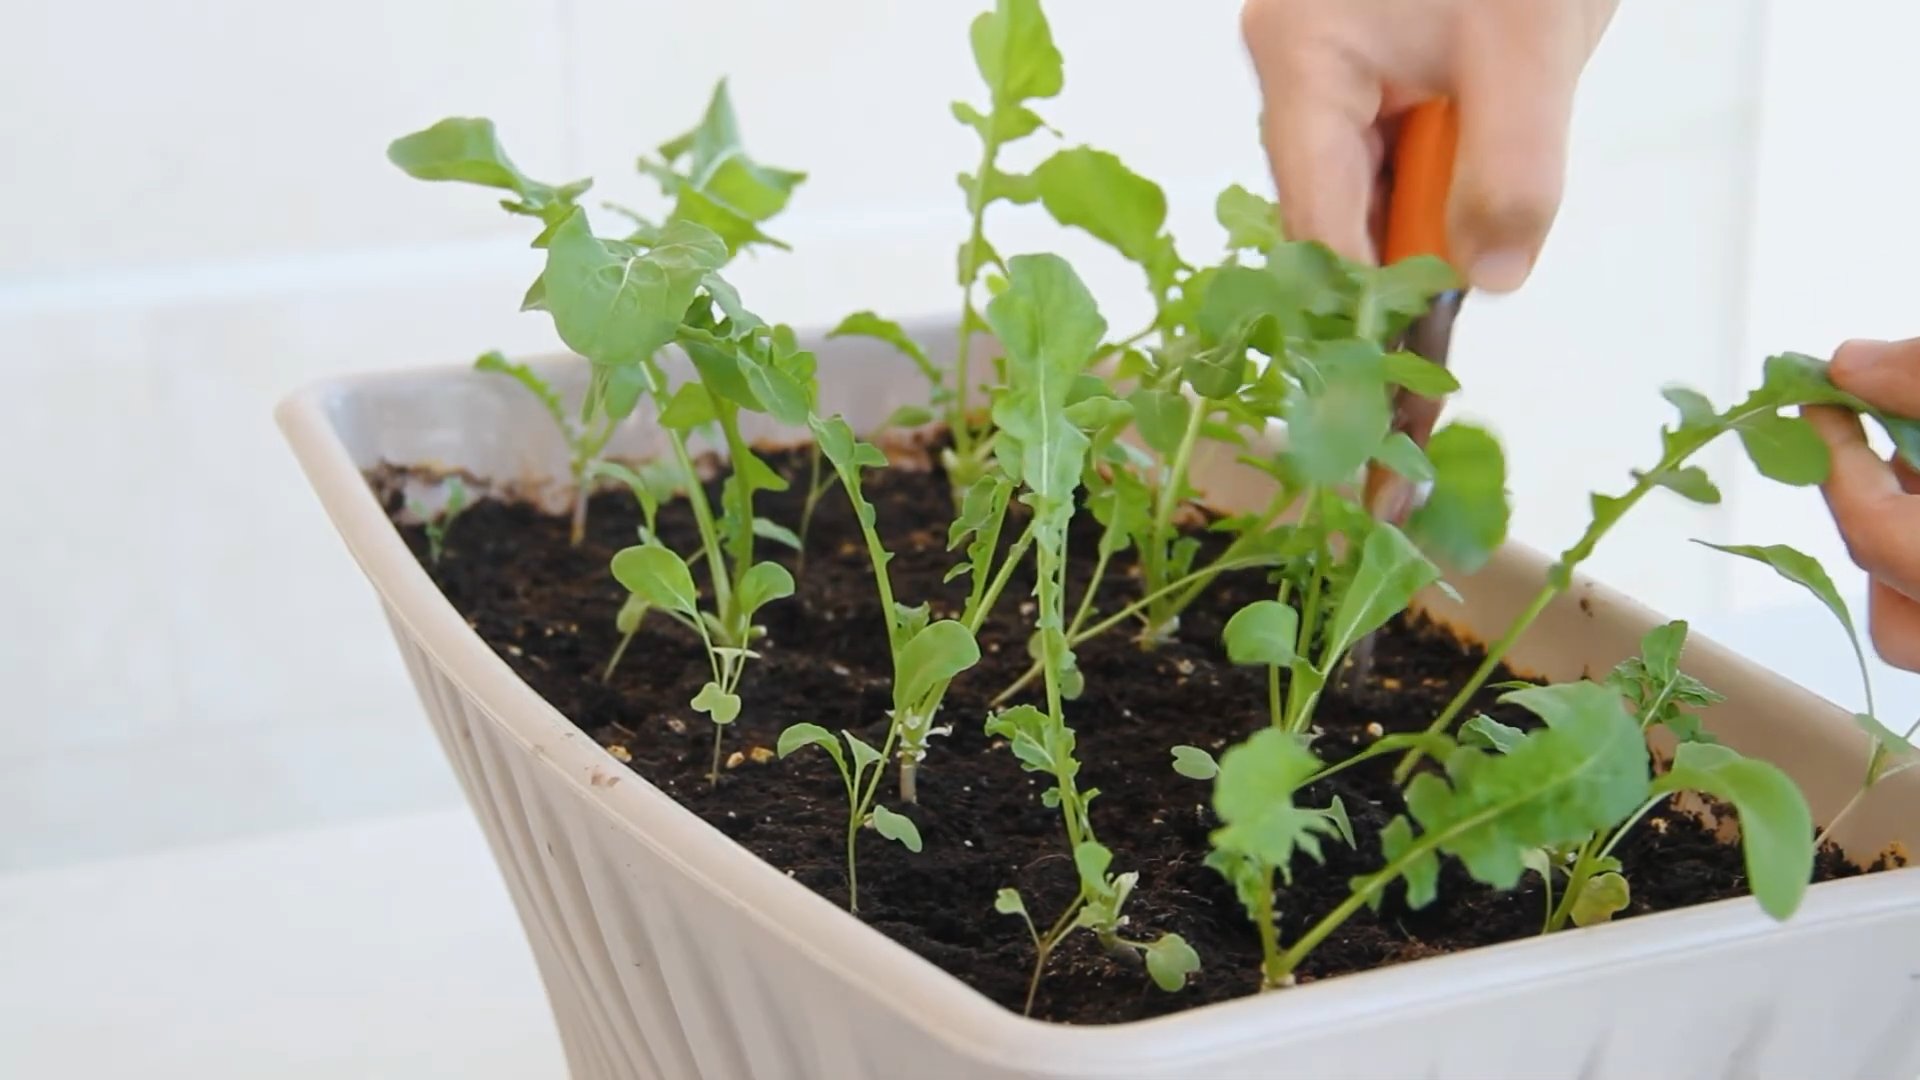
2. Thinning (Optional): Once your arugula seedlings have sprouted and have a few true leaves (the second set of leaves that appear after the initial seed leaves), you may need to thin them out if they’re too crowded. This will give the remaining plants more room to grow. To thin, gently snip off the weaker seedlings at the soil line with scissors. Aim for about 2-3 inches of space between plants.
3. Fertilizing (Optional): Arugula doesn’t require a lot of fertilizer, but you can give it a boost with a diluted liquid fertilizer every few weeks. Look for a balanced fertilizer or one specifically formulated for leafy greens. Follow the instructions on the fertilizer label. I personally don’t fertilize unless I see signs of nutrient deficiency, like yellowing leaves.
4. Temperature: Arugula prefers cooler temperatures, ideally between 60-70°F (15-21°C). Avoid placing your plants near heat sources, such as radiators or vents.
5. Air Circulation: Good air circulation is important to prevent fungal diseases. Make sure your plants have adequate space between them and avoid overcrowding. You can also use a small fan to gently circulate the air around your plants.
Harvesting Your Arugula
The best part! You’ll be enjoying fresh arugula in no time.
1. When to Harvest: You can start harvesting arugula leaves when they are about 2-3 inches long. The younger leaves will have a milder flavor, while the older leaves will be more peppery.
2. How to Harvest: Use scissors or your fingers to gently snip off the outer leaves, leaving the inner leaves to continue growing. This is called “cut and come again” harvesting, and it allows you to harvest arugula multiple times from the same plant.
3. Harvesting Tips: Harvest arugula in the morning, when the leaves are crisp and fresh. Avoid harvesting during the hottest part of the day, as the leaves may be wilted.
4. Storage: Store harvested arugula leaves in a plastic bag in the refrigerator. They will stay fresh for several days.
Troubleshooting
Even with the best care, you might encounter a few challenges along the way. Here are some common problems and how to address them:
* Leggy Seedlings: If your seedlings are tall and spindly, they’re likely not getting enough light. Move them to a sunnier location or provide supplemental light with a grow light.
* Yellowing Leaves: Yellowing leaves can be a sign of nutrient deficiency. Try fertilizing your plants with a diluted liquid fertilizer. It can also be a sign of overwatering, so make sure the soil is draining well.
* Pests: Arugula is generally pest-resistant, but you may occasionally encounter aphids or other small insects. You can usually control these pests by spraying your plants with a strong stream of water or by using an insecticidal soap.
* Fungal Diseases: Fungal diseases can be a problem in humid environments. Make sure your plants have good air circulation and avoid overwatering. If you notice any signs of fungal disease, such as powdery mildew, remove the affected leaves and treat your plants with a fungicide.
Enjoying Your Homegrown Arugula
Now that you’ve successfully grown your own arugula indoors, it’s time to enjoy the fruits (or rather, leaves!) of your labor. Arugula is incredibly versatile and can be used in a variety of dishes.
Here are a few ideas:
* Salads: Add arugula to your favorite salads for a peppery kick. It pairs well with other greens, tomatoes, cucumbers, and vinaigrette dressings.
* Pesto: Make a delicious arugula pesto by blending arugula with garlic, Parmesan cheese, pine nuts, and olive oil.
* Pizza: Top your pizza with fresh arugula after it comes out of the oven.
* Sandwiches: Add arugula to your sandwiches for a flavorful and nutritious boost.
* Soups: Stir arugula into soups just before serving for a peppery garnish.
Extending Your Harvest
To ensure a continuous supply of fresh arugula, you can succession sow seeds every few weeks. This means planting a new batch of seeds every 2-3 weeks. This way, you’ll always have a fresh crop of arugula ready to harvest.
I hope this guide has inspired you to grow your own arugula indoors. It’s a rewarding and delicious experience that anyone can enjoy. Happy gardening!
Conclusion
So, there you have it! Growing arugula indoors is not only achievable but also incredibly rewarding. Imagine fresh, peppery arugula leaves just steps away, ready to elevate your salads, sandwiches, and pizzas any time of year. Forget those wilted, expensive greens from the grocery store. With a little effort and the right setup, you can enjoy a constant supply of this nutritious and flavorful leafy green.
This DIY trick is a must-try for several reasons. First, it offers unparalleled freshness. You harvest only what you need, ensuring peak flavor and nutrient content. Second, it’s incredibly cost-effective. The initial investment in seeds, soil, and a container is minimal compared to the ongoing expense of buying arugula regularly. Third, it’s a sustainable practice. You’re reducing your carbon footprint by eliminating transportation and packaging waste. Finally, it’s simply a fun and fulfilling project that connects you to the food you eat.
But the best part? You can customize your indoor arugula garden to suit your preferences. Want a spicier kick? Try different arugula varieties like ‘Wasabi’ or ‘Rocket’. Experiment with adding companion plants like basil or chives to your container for a more diverse flavor profile. You can even use different types of grow lights to optimize growth and yield. Consider using a hydroponic system for even faster growth and less mess. If you’re short on space, vertical planters or hanging baskets are excellent options.
Don’t be intimidated if you’re a beginner gardener. Growing arugula indoors is surprisingly easy, and the rewards are well worth the effort. Start small, follow the simple steps outlined above, and don’t be afraid to experiment. You’ll be amazed at how quickly you can harvest your own fresh, flavorful arugula.
We wholeheartedly encourage you to give this DIY trick a try. It’s a simple, sustainable, and satisfying way to enjoy fresh, healthy greens year-round. Once you’ve experienced the joy of harvesting your own homegrown arugula, you’ll never go back to store-bought again.
And most importantly, we want to hear about your experience! Share your tips, tricks, and photos in the comments below. Let us know what worked for you, what challenges you faced, and any creative variations you tried. Together, we can build a community of indoor arugula growers and inspire others to embrace the joys of homegrown food. So, grab your seeds, soil, and container, and get ready to enjoy the delicious taste of fresh, homegrown arugula!
Frequently Asked Questions (FAQ)
What is the best time of year to grow arugula indoors?
The beauty of growing arugula indoors is that you can do it year-round! Unlike outdoor gardening, you’re not limited by seasonal weather conditions. As long as you provide adequate light, temperature, and moisture, you can enjoy a continuous harvest of fresh arugula, even in the dead of winter. This makes it a fantastic option for those who live in climates with short growing seasons or harsh weather.
How much light does arugula need when grown indoors?
Arugula thrives in bright light. Ideally, it needs at least 6 hours of direct sunlight per day. If you don’t have a sunny windowsill, you can supplement with grow lights. Fluorescent or LED grow lights are excellent options. Place the lights a few inches above the plants and keep them on for 12-16 hours per day. Insufficient light can lead to leggy, weak growth and a less flavorful harvest.
What type of soil is best for growing arugula indoors?
Arugula prefers well-draining soil that is rich in organic matter. A good potting mix specifically formulated for vegetables is ideal. You can also create your own mix by combining equal parts of potting soil, compost, and perlite or vermiculite. Avoid using garden soil, as it can be too heavy and may contain pests or diseases.
How often should I water my indoor arugula plants?
Water your arugula plants regularly, keeping the soil consistently moist but not waterlogged. Check the soil moisture by sticking your finger about an inch deep. If it feels dry, it’s time to water. Avoid overwatering, as this can lead to root rot. A good rule of thumb is to water deeply when the top inch of soil feels dry.
How long does it take for arugula to germinate and grow indoors?
Arugula seeds typically germinate within 5-7 days. You can start harvesting leaves as soon as they are large enough to eat, usually about 3-4 weeks after planting. For a continuous harvest, sow new seeds every 2-3 weeks. This will ensure a steady supply of fresh arugula throughout the year.
What are some common pests and diseases that affect indoor arugula?
While indoor arugula is generally less susceptible to pests and diseases than outdoor plants, it’s still important to be vigilant. Common pests include aphids, spider mites, and whiteflies. You can control these pests by spraying the plants with insecticidal soap or neem oil. Overwatering can lead to fungal diseases like damping-off. Ensure good air circulation and avoid overwatering to prevent these problems.
Can I grow arugula in a container? What size container is best?
Yes, arugula is very well-suited to container gardening. Choose a container that is at least 6 inches deep and wide. Make sure the container has drainage holes to prevent waterlogging. You can grow several arugula plants in a single container, spacing them about 2-3 inches apart.
How do I harvest arugula leaves?
Harvest arugula leaves by snipping them off with scissors or pinching them off with your fingers. Start with the outer leaves, leaving the inner leaves to continue growing. You can harvest arugula multiple times from the same plant. For the best flavor, harvest in the morning before the sun gets too hot.
Does arugula regrow after harvesting?
Yes, arugula is a cut-and-come-again crop, meaning it will regrow after harvesting. As long as you leave the central growing point intact, the plant will continue to produce new leaves. This allows you to enjoy multiple harvests from a single planting.
Can I grow different varieties of arugula indoors?
Absolutely! Experimenting with different varieties is a great way to discover your favorite flavors and textures. Some popular arugula varieties include ‘Rocket’, ‘Sylvetta’, ‘Wasabi’, and ‘Astro’. Each variety has its own unique characteristics, so try a few different ones to see which you prefer.
Is it necessary to fertilize indoor arugula plants?
While arugula doesn’t require heavy fertilization, providing a light feeding can help promote healthy growth. Use a balanced liquid fertilizer diluted to half strength every 2-3 weeks. Avoid over-fertilizing, as this can lead to excessive leaf growth and a less flavorful harvest.
How can I make my arugula taste less bitter?
The bitterness of arugula can vary depending on the growing conditions and the variety. To reduce bitterness, ensure that your plants receive adequate water and light. Harvesting leaves when they are young and tender can also help. Some varieties are naturally less bitter than others, so experiment to find one that suits your taste.
Can I save seeds from my indoor arugula plants?
Yes, you can save seeds from your indoor arugula plants, but it requires allowing the plants to bolt (flower and produce seeds). This will stop leaf production. Allow the seed pods to dry on the plant before harvesting them. Store the seeds in a cool, dry place for future planting. Be aware that if you grew a hybrid variety, the seeds may not produce plants that are true to type.
What are some creative ways to use homegrown arugula?
The possibilities are endless! Arugula is a versatile ingredient that can be used in a variety of dishes. Add it to salads, sandwiches, pizzas, pasta dishes, and soups. Use it as a topping for grilled meats or fish. Blend it into pesto or smoothies. The peppery flavor of arugula adds a delicious kick to any meal.


Leave a Comment