

Fresh smelling kitchen sink – isn’t that something we all dream of? Let’s be honest, the kitchen sink can quickly become a breeding ground for unpleasant odors. From food scraps to grease buildup, it’s a constant battle to keep that drain smelling, well, not-awful. But fear not, fellow home enthusiasts! I’m here to share some incredibly easy and effective DIY tricks to transform your kitchen sink from a smelly swamp into a fragrant oasis.
For centuries, people have been devising clever ways to combat household odors. Think about it – our grandmothers used lemon peels and vinegar long before fancy drain cleaners were even a thing! This resourcefulness stems from a deep connection to our homes and a desire to create a pleasant and healthy living environment. And that’s exactly what we’re aiming for here.
Why is a fresh smelling kitchen sink so important? Beyond just the obvious pleasantness, it’s a sign of a clean and well-maintained home. Lingering odors can indicate bacterial growth or even plumbing issues. By tackling the problem head-on with these simple DIY hacks, you’re not only improving the smell but also potentially preventing bigger problems down the line. Plus, who doesn’t love the feeling of accomplishment that comes with a successful DIY project? So, let’s dive in and discover how to banish those funky sink smells for good!
DIY Kitchen Sink Refresh: Banishing Odors and Maintaining Sparkle
Hey everyone! Is your kitchen sink starting to smell a little… funky? Don’t worry, you’re not alone! Kitchen sinks are breeding grounds for all sorts of gunk and grime, leading to unpleasant odors. But fear not! I’m going to show you a super easy and effective DIY method to not only eliminate those smells but also keep your sink sparkling clean. This isn’t just a quick fix; it’s a routine you can easily incorporate to maintain a fresh and happy kitchen.
What You’ll Need: Your Arsenal Against Sink Stink
Before we dive in, let’s gather our supplies. The best part? You probably already have most of these lying around!
* Baking Soda: This is our odor-absorbing superstar.
* White Vinegar: The acidic power player that cuts through grease and grime.
* Boiling Water: Essential for flushing out the drain.
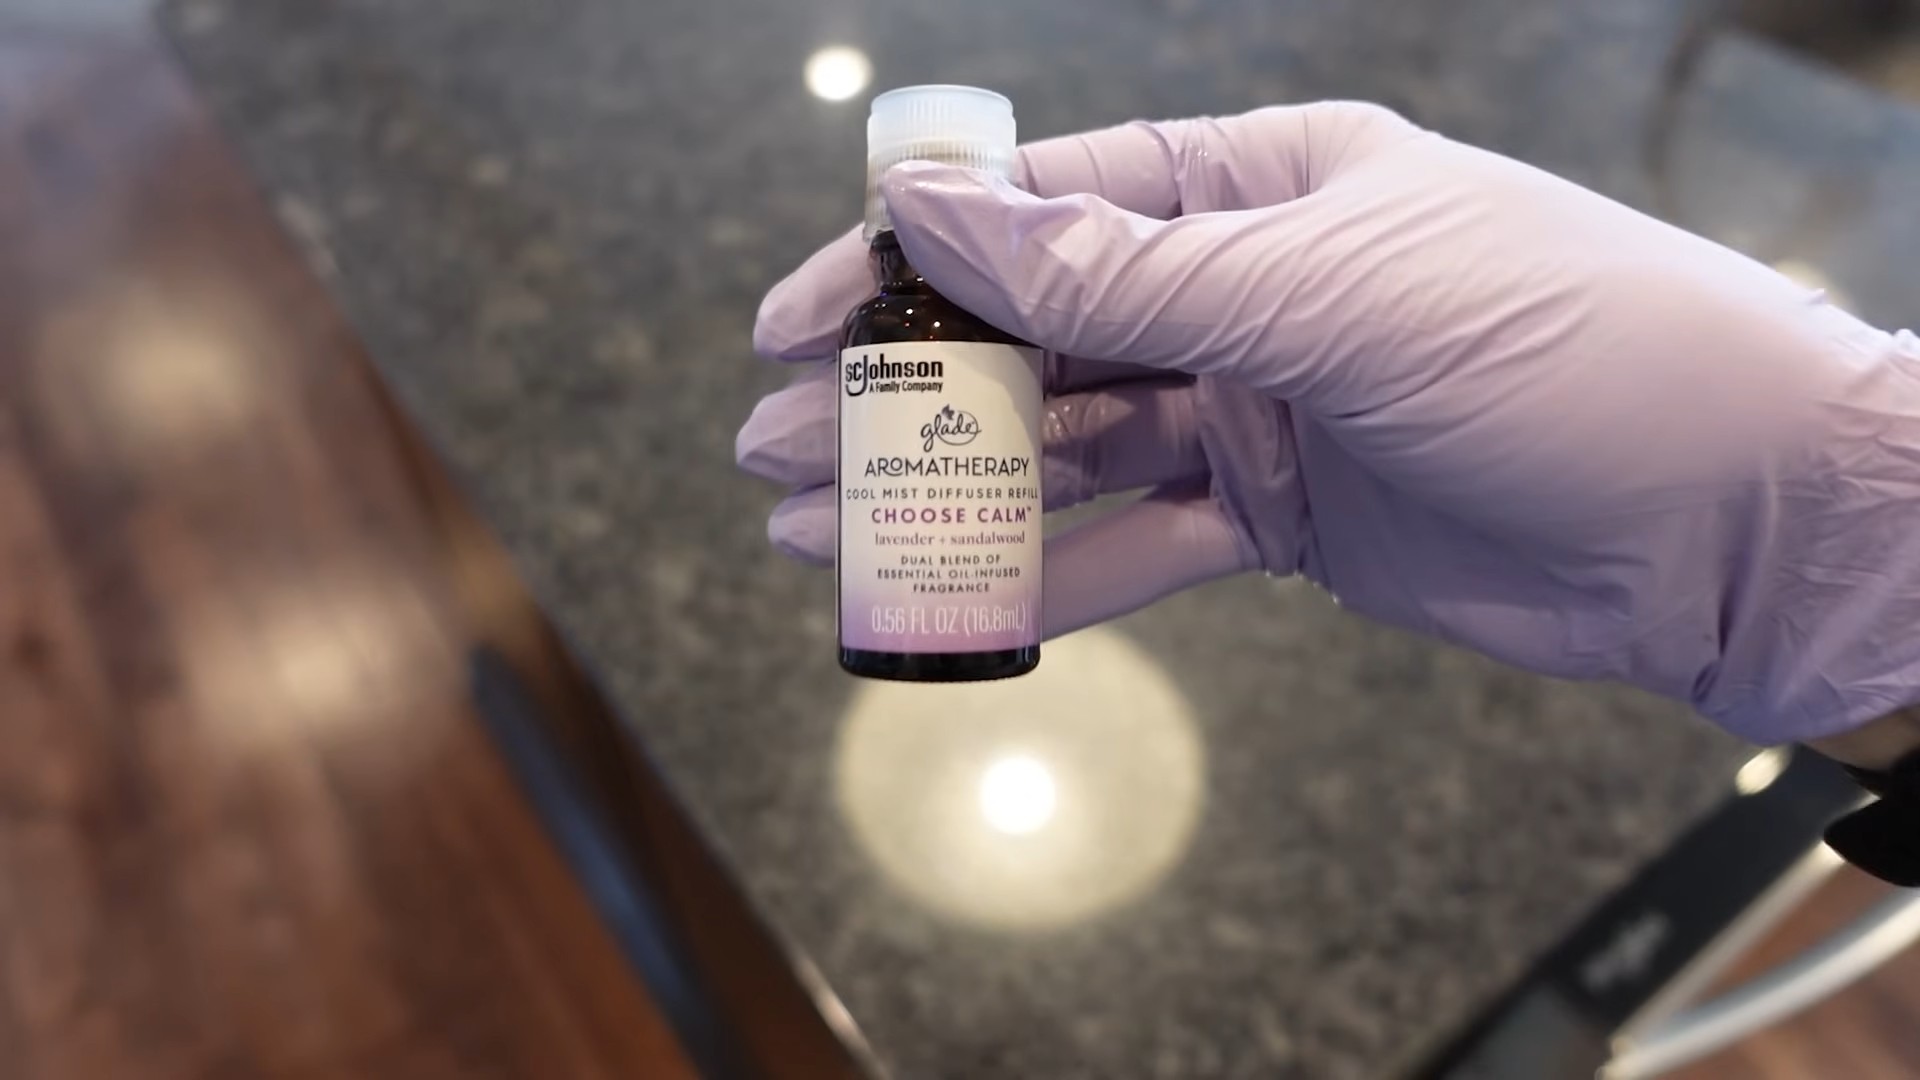
* Lemon or Lime (Optional): For an extra burst of freshness and natural cleaning power.
* Dish Soap: Your everyday cleaning companion.
* Old Toothbrush: Perfect for scrubbing those hard-to-reach areas.
* Microfiber Cloth or Sponge: For wiping down the sink.
* Rubber Gloves (Optional): To protect your hands.
* Plunger (Just in case!): A good tool to have on hand if you encounter a clog.
Step-by-Step Guide: From Stinky to Sparkling
Alright, let’s get started! Follow these steps, and you’ll have a fresh-smelling sink in no time.
1. Clear the Decks: Remove any dishes, sponges, or other items from the sink. We need a clean slate to work with.
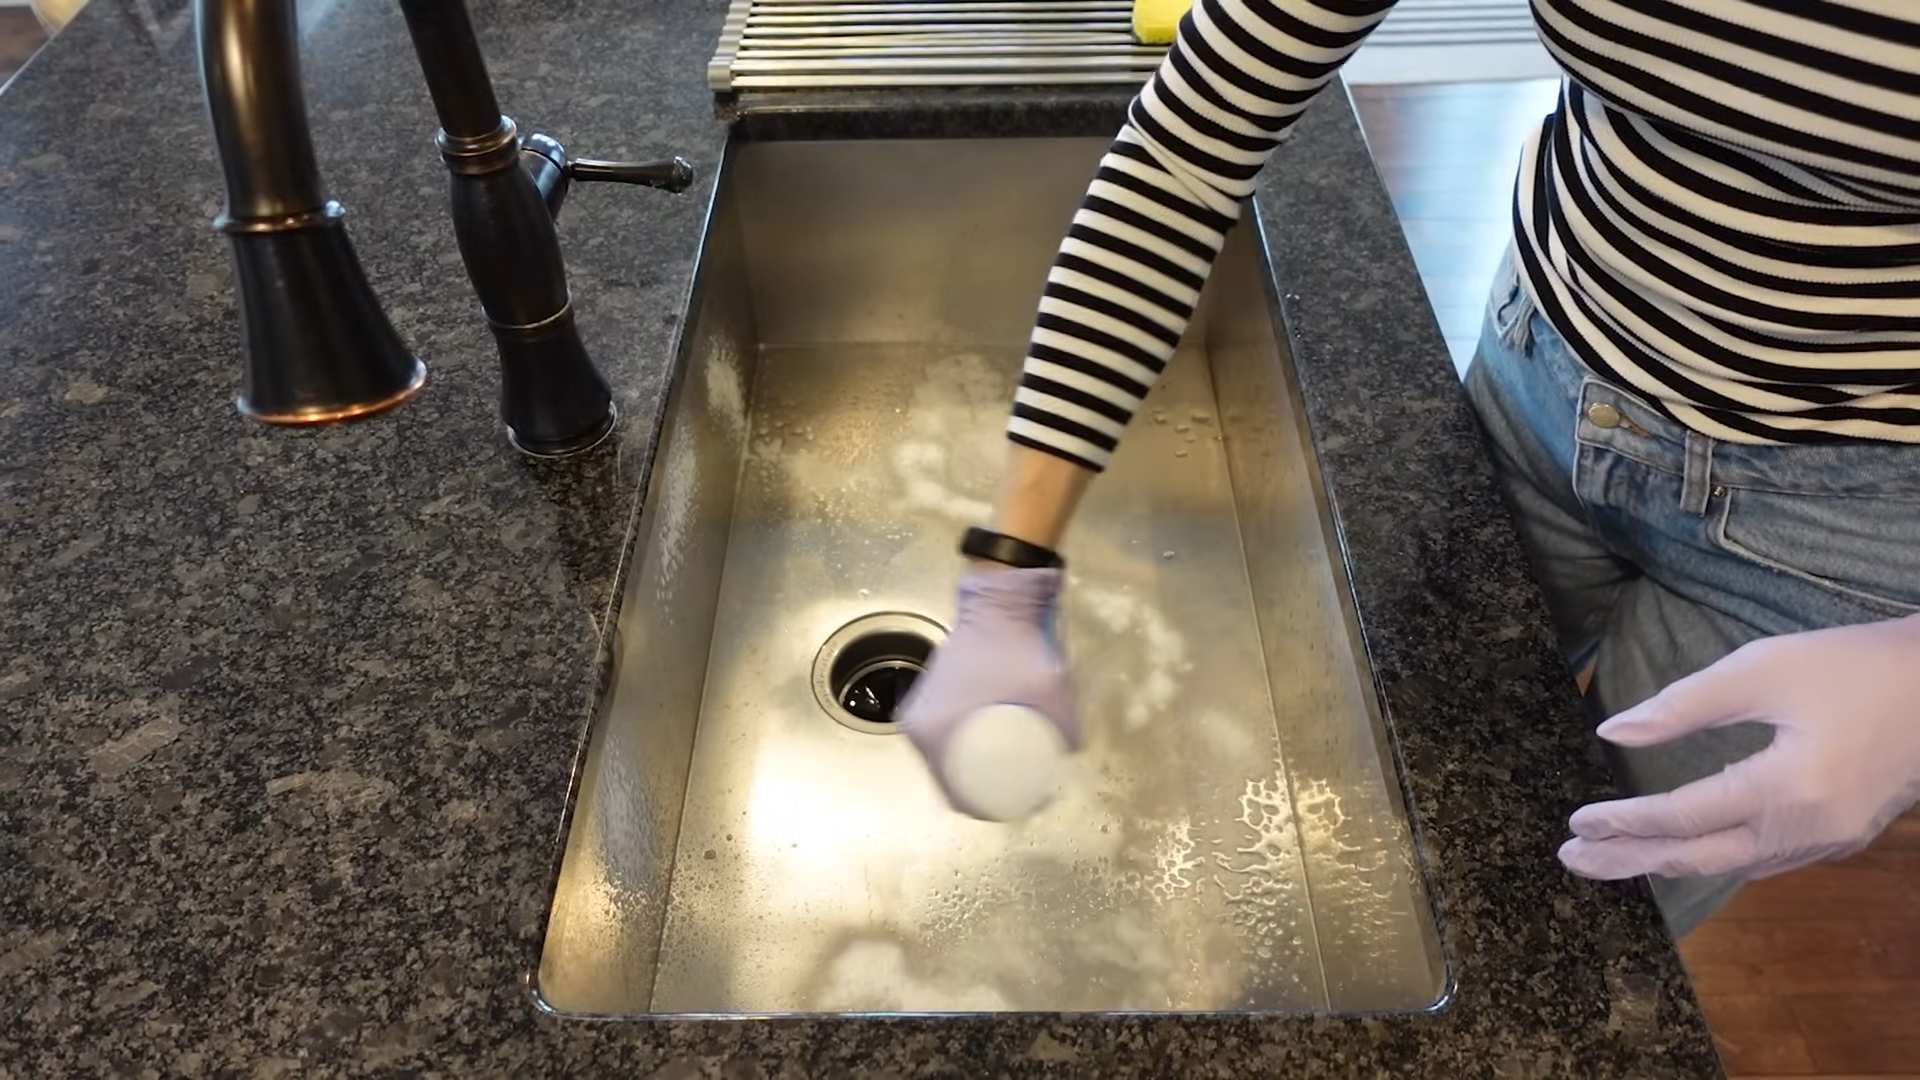
2. The Baking Soda Blitz: Pour about 1 cup of baking soda down the drain. Try to get it as far down as possible. Baking soda is amazing at neutralizing odors, and it’s the first step in our deep clean.
3. Vinegar Volcano: Now, slowly pour 1 cup of white vinegar down the drain, right after the baking soda. You’ll notice a fizzing reaction – that’s exactly what we want! This chemical reaction helps to loosen up any built-up gunk and grime in the drain.
4. The Waiting Game: Let the baking soda and vinegar mixture work its magic for at least 30 minutes. For really stubborn odors, you can even let it sit overnight. The longer it sits, the more effective it will be. I usually do this before I go to bed so it can work its magic while I sleep.
5. Boiling Water Flush: After the waiting period, carefully pour a kettle full of boiling water down the drain. This will flush away the baking soda, vinegar, and all the loosened debris. Be careful when handling boiling water to avoid burns!
6. Lemon/Lime Power-Up (Optional): If you want an extra boost of freshness, cut a lemon or lime in half and squeeze the juice down the drain. Then, toss the rinds down the drain as well. The citrus oils will help to deodorize and leave a pleasant scent.
7. Dish Soap Scrub-Down: Now, it’s time to clean the sink itself. Squirt some dish soap onto your sponge or microfiber cloth and scrub the entire sink, paying special attention to the corners, edges, and around the drain.
8. Toothbrush Detail Work: Use your old toothbrush to scrub around the drain, faucet base, and any other hard-to-reach areas. This will help to remove any stubborn grime or mildew.
9. Rinse and Shine: Rinse the sink thoroughly with clean water, making sure to remove all traces of soap.
10. Dry and Admire: Finally, dry the sink with a clean microfiber cloth. This will prevent water spots and leave your sink looking sparkling clean.
Tackling Stubborn Clogs: When the Drain Refuses to Cooperate
Sometimes, despite our best efforts, a clog can form in the drain. Don’t panic! Here’s how to handle it:
1. The Plunger Power Play: Make sure there’s enough water in the sink to cover the cup of the plunger. Place the plunger over the drain opening, creating a tight seal. Push and pull the plunger up and down vigorously for several minutes. Remove the plunger and see if the water drains. Repeat as needed.
2. Baking Soda and Vinegar Redux: If the plunger doesn’t work, try repeating the baking soda and vinegar treatment. Sometimes, a second dose is all it takes to break up the clog.
3. Check the P-Trap: The P-trap is the curved pipe under your sink. It’s designed to trap debris and prevent sewer gases from entering your home. Sometimes, the P-trap can become clogged. Place a bucket under the P-trap to catch any water. Loosen the slip nuts that connect the P-trap to the drain pipes. Carefully remove the P-trap and clean out any debris. Reassemble the P-trap and tighten the slip nuts. Run water to check for leaks.
4. Call a Professional: If you’ve tried all of these methods and the drain is still clogged, it’s time to call a plumber. There may be a more serious blockage that requires professional attention.
Maintaining a Fresh Sink: Prevention is Key
The best way to keep your sink smelling fresh is to prevent odors from forming in the first place. Here are a few tips:
* Rinse Food Scraps: Always rinse food scraps off dishes before placing them in the sink. This will prevent food particles from accumulating in the drain.
* Use a Drain Strainer: A drain strainer will catch food scraps and other debris before they enter the drain. Empty the strainer regularly.
* Flush with Hot Water: Once a week, flush the drain with hot water to help prevent grease and grime from building up.
* Baking Soda Maintenance: Sprinkle a little baking soda down the drain every few days to help absorb odors.
* Avoid Pouring Grease Down the Drain: Grease can solidify in the drain and cause clogs. Dispose of grease in a separate container.
* Clean Regularly: Make it a habit to clean your sink regularly, even if it doesn’t smell bad. A quick wipe-down with dish soap and water can go a long way.
Deep Cleaning the Faucet: Don’t Forget the Details!
The faucet is another area that can accumulate grime and mineral deposits. Here’s how to give it a good cleaning:
1. Vinegar Soak: Soak a cloth in white vinegar and wrap it around the faucet. Let it sit for at least 30 minutes to dissolve mineral deposits.
2. Scrub with Toothbrush: Use an old toothbrush to scrub around the base of the faucet, the handle, and any other hard-to-reach areas.
3. Rinse and Dry: Rinse the faucet thoroughly with clean water and dry it with a clean microfiber cloth.
4. Remove Aerator (If Possible): The aerator is the small screen at the end of the faucet. It can become clogged with mineral deposits. Remove the aerator and soak it in vinegar for a few hours. Rinse it thoroughly and reattach it to the faucet.
Dealing with Hard Water Stains: A Vinegar Solution
If you have hard water, you may notice white, chalky stains on your sink and faucet. These stains are caused by mineral deposits. Here’s how to remove them:
1. Vinegar Power: Spray the affected areas with white vinegar. Let it sit for at least 15 minutes to dissolve the mineral deposits.
2. Scrub Gently: Scrub the stains gently with a non-abrasive sponge or cloth.
3. Rinse and Dry: Rinse the sink and faucet thoroughly with clean water and dry them with a clean microfiber cloth.
4. Repeat if Necessary: For stubborn stains, you may need to repeat the process.
Choosing the Right Sink Material: A Quick Guide
The material of your sink can affect how easily it stains and how often it needs to be cleaned. Here’s a quick overview of common sink materials:
* Stainless Steel: Durable, easy to clean, and resistant to stains. However, it can scratch easily.
* Porcelain: Classic and elegant, but it can chip and stain easily.
* Granite Composite: Durable, heat-resistant, and stain-resistant. However, it can be expensive.
* Cast Iron: Durable and heat-resistant, but it can be heavy and prone to rust.
Final Thoughts: A Fresh Sink, A Happy Kitchen
And there you have it! A comprehensive guide to keeping your kitchen sink fresh and clean. By following these simple steps and incorporating them into your routine, you can say goodbye to sink odors and hello to a sparkling, happy kitchen. Remember,
Conclusion
So, there you have it! Transforming your kitchen sink from a source of unpleasant odors to a beacon of freshness is not only achievable but surprisingly simple and cost-effective. This DIY trick isn’t just about masking smells; it’s about tackling the root cause of the problem, leaving you with a truly clean and fresh-smelling kitchen sink. We’ve walked you through a straightforward process using readily available ingredients, proving that you don’t need harsh chemicals or expensive gadgets to achieve a sparkling and odor-free sink.
Why is this DIY approach a must-try? Because it’s effective, eco-friendly, and economical. Commercial drain cleaners often contain harsh chemicals that can damage your pipes and harm the environment. This DIY solution utilizes natural ingredients like baking soda and vinegar, which are gentle yet powerful cleaning agents. Plus, you’ll save money by avoiding those pricey store-bought alternatives. It’s a win-win for your sink, your wallet, and the planet!
But the benefits extend beyond just practicality. A fresh-smelling kitchen sink contributes to a more pleasant and inviting home environment. Think about it: the kitchen is often the heart of the home, and a lingering bad odor can detract from the overall atmosphere. By implementing this simple DIY trick, you’re not just cleaning your sink; you’re enhancing the overall ambiance of your kitchen and creating a more enjoyable space for cooking, gathering, and spending time with loved ones.
Looking for variations? Absolutely! For an extra boost of freshness, consider adding a few drops of your favorite essential oil to the baking soda mixture before pouring it down the drain. Lemon, tea tree, and eucalyptus oils are all excellent choices for their antibacterial and deodorizing properties. You could also experiment with different ratios of baking soda and vinegar to find what works best for your specific sink and drainage system. If you have a particularly stubborn clog, you might need to repeat the process a few times or let the baking soda and vinegar mixture sit for a longer period before flushing with hot water. Another variation is to use lemon or orange peels instead of essential oils. Simply grind them up in your garbage disposal (if you have one) after the baking soda and vinegar treatment for an extra citrusy scent.
We are confident that this DIY trick will leave your kitchen sink smelling fresh and clean. But don’t just take our word for it – try it out for yourself! We encourage you to give this simple yet effective method a try and experience the difference it can make. Once you’ve transformed your sink, we’d love to hear about your experience. Share your results, tips, and variations in the comments below. Let’s build a community of fresh-smelling kitchen enthusiasts! Your insights could help others discover the joy of a clean and odor-free kitchen sink. So go ahead, give it a try, and let us know what you think! We are excited to hear about your success in achieving a fresh smelling kitchen sink.
Frequently Asked Questions (FAQ)
Why does my kitchen sink smell bad in the first place?
The most common reason for a smelly kitchen sink is the buildup of food particles, grease, and other organic matter in the drain. Over time, these materials decompose and create foul odors. Bacteria thrive in this environment, further contributing to the problem. Additionally, a dry P-trap (the curved pipe under your sink) can allow sewer gases to escape into your kitchen.
How often should I use this DIY cleaning method?
The frequency depends on how often you use your sink and how prone it is to developing odors. As a general guideline, we recommend using this DIY cleaning method once a week to maintain a fresh-smelling kitchen sink. If you notice odors returning more quickly, you may need to increase the frequency to two or three times per week. Conversely, if your sink stays fresh for longer periods, you can reduce the frequency accordingly.
Is baking soda and vinegar safe for all types of pipes?
Generally, baking soda and vinegar are safe for most types of pipes, including PVC, copper, and cast iron. However, it’s always a good idea to exercise caution. Avoid using excessive amounts of vinegar, as the acidity could potentially corrode older or weakened pipes over time. If you have any concerns about your specific plumbing system, consult a professional plumber before using this DIY cleaning method.
What if the baking soda and vinegar mixture doesn’t work?
If the baking soda and vinegar mixture doesn’t completely eliminate the odor, there are a few things you can try. First, make sure you’re using enough baking soda and vinegar. You may need to increase the amounts slightly, especially if you have a particularly stubborn clog. Second, let the mixture sit for a longer period before flushing with hot water. Try letting it sit for at least 30 minutes, or even overnight for severe odors. Finally, if the problem persists, you may need to consider other potential causes, such as a clogged garbage disposal or a problem with your plumbing vent.
Can I use this method to clean my garbage disposal?
Yes, this DIY cleaning method is also effective for cleaning your garbage disposal. Simply follow the same steps as outlined in the article, pouring the baking soda and vinegar mixture down the garbage disposal instead of the drain. After flushing with hot water, run the garbage disposal for a few seconds to clear out any remaining debris. For an extra boost of freshness, you can also grind up lemon or orange peels in the garbage disposal after cleaning.
What are some other ways to prevent my kitchen sink from smelling bad?
In addition to regular cleaning with baking soda and vinegar, there are several other things you can do to prevent your kitchen sink from smelling bad. Avoid pouring grease down the drain, as it can solidify and create clogs. Scrape food scraps into the trash or compost bin before washing dishes. Run hot water down the drain after each use to flush away any remaining debris. Periodically clean your sink strainer to remove trapped food particles. And finally, make sure your P-trap is properly filled with water to prevent sewer gases from escaping.
Can I use this method on other drains in my house?
Yes, this DIY cleaning method can be used on other drains in your house, such as bathroom sinks, showers, and bathtubs. The process is the same: pour baking soda down the drain, followed by vinegar, let it fizz, and then flush with hot water. However, be mindful of the type of pipes you have in each drain and adjust the amount of vinegar accordingly.
What if I don’t have baking soda or vinegar? Are there any alternatives?
While baking soda and vinegar are the most effective and readily available ingredients for this DIY cleaning method, there are a few alternatives you can try. For example, you can use a mixture of salt and boiling water to flush out the drain. Alternatively, you can try using a commercial drain cleaner, but be sure to follow the instructions carefully and wear protective gloves and eyewear. However, we still recommend using baking soda and vinegar for a fresh smelling kitchen sink, as they are the most environmentally friendly and cost-effective options.

Leave a Comment