

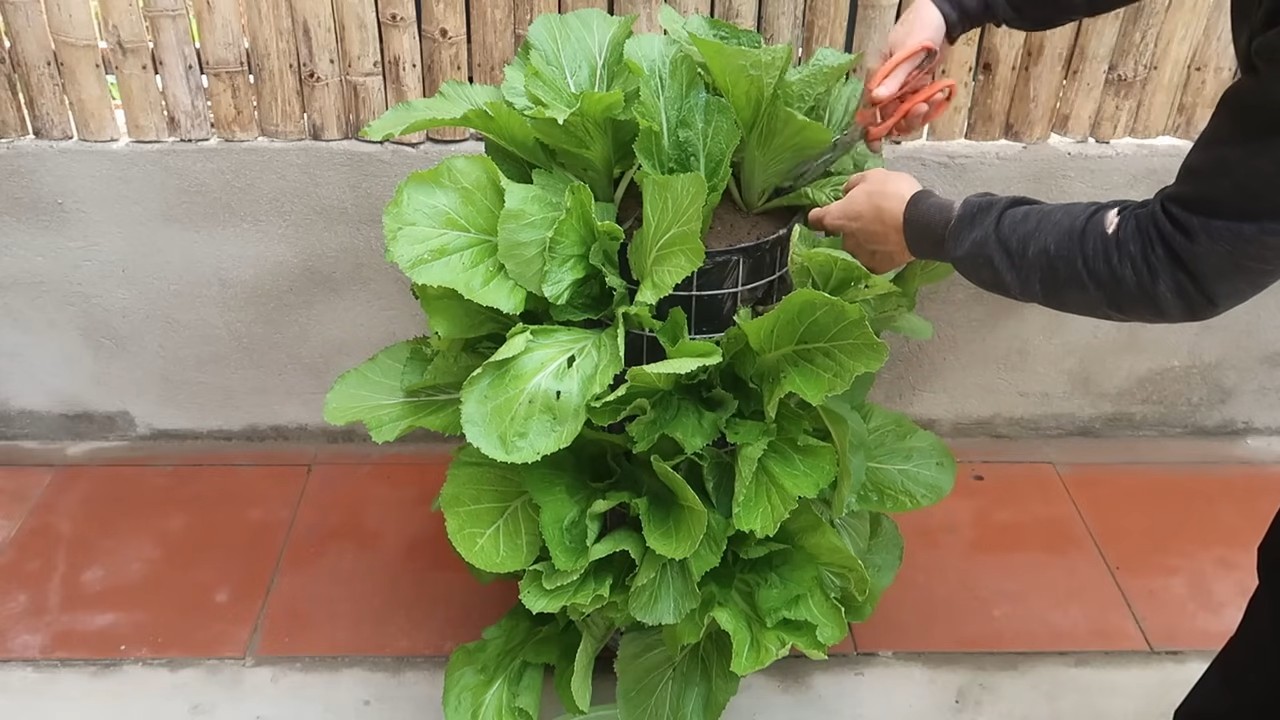
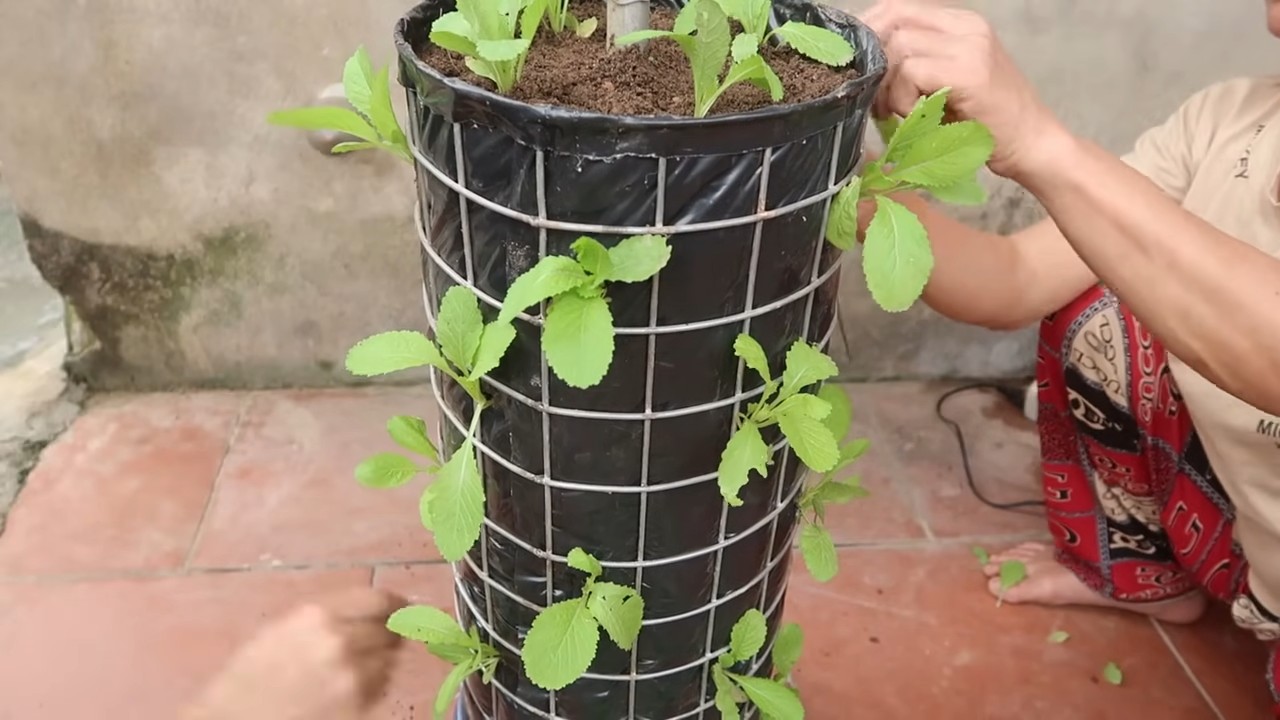
DIY Vertical Garden Drip System: the secret weapon to lush, thriving greenery even in the smallest of spaces! Have you ever dreamed of a cascading wall of vibrant plants, but felt limited by a tiny balcony or a lack of garden space? I know I have! Well, get ready to turn that dream into reality. This isn’t just another gardening article; it’s your step-by-step guide to creating a self-watering oasis that will have your neighbors green with envy.
Vertical gardening, while seemingly modern, has roots stretching back centuries. Think of the Hanging Gardens of Babylon, one of the Seven Wonders of the Ancient World! While we might not be building wonders on that scale, the principle remains the same: maximizing space and bringing nature closer. But let’s face it, watering a vertical garden can be a real chore. That’s where our DIY Vertical Garden Drip System comes in.
In today’s busy world, who has time to meticulously water each individual plant every day? This DIY project not only saves you precious time and effort but also ensures your plants receive consistent hydration, leading to healthier growth and fewer headaches. Plus, you’ll be reducing water waste, making it a win-win for you and the environment. So, grab your tools, and let’s dive into creating a beautiful and efficient vertical garden drip system that will transform your space and simplify your gardening routine!
DIY Vertikaler Garten mit Tropfbewässerung: Eine Schritt-für-Schritt Anleitung
Hallo liebe Gartenfreunde! Ich zeige euch heute, wie ihr ein automatisches Tropfbewässerungssystem für euren vertikalen Garten selber bauen könnt. Das ist nicht nur super praktisch, sondern spart auch Wasser und Zeit. Keine Sorge, es ist einfacher als es klingt!
Was du brauchst: Die Materialliste
Bevor wir loslegen, hier eine Liste aller Materialien, die du benötigst. Du findest die meisten davon im Baumarkt oder online.
* Wasserbehälter: Ein großer Eimer, eine Regentonne oder ein anderer Behälter deiner Wahl (mindestens 20 Liter).
* Wasserpumpe: Eine kleine Tauchpumpe mit geringem Stromverbrauch (Achte auf die Förderhöhe, sie muss höher sein als dein höchster Pflanztopf).
* Zeitschaltuhr: Eine Zeitschaltuhr, um die Bewässerung automatisch zu steuern.
* Schlauch: Ein flexibler Schlauch (ca. 1/2 Zoll Durchmesser), der lang genug ist, um vom Wasserbehälter zu den obersten Pflanzen zu reichen.
* Tropfschläuche: Dünnere Tropfschläuche (ca. 4 mm Durchmesser) für die einzelnen Pflanzen.
* T-Stücke und Verbinder: Passende T-Stücke und Verbinder, um die Tropfschläuche an den Hauptschlauch anzuschließen.
* Endstopfen: Endstopfen, um die Tropfschläuche am Ende zu verschließen.
* Bohrmaschine: Eine Bohrmaschine mit einem kleinen Bohrer (passend für die Tropfschläuche).
* Kabelbinder oder Schlauchschellen: Um die Schläuche zu befestigen.
* Schere oder Messer: Zum Zuschneiden der Schläuche.
* Optional: Filter: Ein kleiner Filter für die Pumpe, um Verstopfungen zu vermeiden.
* Optional: Dünger: Flüssigdünger, der dem Wasser zugegeben werden kann.
Schritt-für-Schritt Anleitung: So baust du dein Tropfbewässerungssystem
Jetzt geht’s ans Eingemachte! Folge diesen Schritten, um dein eigenes Tropfbewässerungssystem zu bauen:
1. Den Wasserbehälter vorbereiten:
* Stelle den Wasserbehälter an einem geeigneten Ort auf. Achte darauf, dass er stabil steht und leicht zugänglich ist.
* Reinige den Behälter gründlich, um Algenbildung zu vermeiden.
* Wenn du eine Regentonne verwendest, sorge für einen Deckel, um das Wasser sauber zu halten.
2. Die Pumpe installieren:
* Platziere die Tauchpumpe im Wasserbehälter.
* Befestige den Hauptschlauch an der Pumpe. Achte darauf, dass die Verbindung dicht ist.
* Wenn du einen Filter verwendest, installiere ihn zwischen Pumpe und Schlauch.
3. Den Hauptschlauch verlegen:
* Verlege den Hauptschlauch entlang deines vertikalen Gartens.
* Befestige den Schlauch mit Kabelbindern oder Schlauchschellen an der Wand oder am Gestell des Gartens.
* Achte darauf, dass der Schlauch nicht geknickt wird, da dies den Wasserdurchfluss behindern kann.
4. Die Tropfschläuche anbringen:
* Messe die Länge der Tropfschläuche für jede Pflanze ab. Sie sollten lang genug sein, um bis zum Wurzelbereich zu reichen.
* Schneide die Tropfschläuche mit einer Schere oder einem Messer zu.
* Bohre mit der Bohrmaschine kleine Löcher in den Hauptschlauch, an den Stellen, wo die Tropfschläuche angeschlossen werden sollen. Die Größe des Bohrers sollte dem Durchmesser der Tropfschläuche entsprechen.
* Verbinde die Tropfschläuche mit T-Stücken und Verbindern mit dem Hauptschlauch.
* Führe die Tropfschläuche zu den einzelnen Pflanzen und platziere sie im Wurzelbereich.
5. Die Tropfschläuche verschließen:
* Verschließe das Ende jedes Tropfschlauchs mit einem Endstopfen. Dies verhindert, dass das Wasser ungehindert ausläuft.
6. Die Zeitschaltuhr einstellen:
* Schließe die Pumpe an die Zeitschaltuhr an.
* Stelle die Zeitschaltuhr so ein, dass die Bewässerung regelmäßig erfolgt. Die Bewässerungsdauer und -häufigkeit hängt von den Bedürfnissen deiner Pflanzen ab. Beginne mit kurzen Bewässerungszeiten (z.B. 5-10 Minuten) und beobachte, wie die Pflanzen reagieren.
* Ich empfehle, die Bewässerung am frühen Morgen oder späten Abend durchzuführen, um die Verdunstung zu minimieren.
7. Testlauf und Anpassung:
* Schalte die Pumpe ein und überprüfe, ob alle Tropfschläuche Wasser abgeben.
* Passe die Position der Tropfschläuche an, um sicherzustellen, dass alle Pflanzen ausreichend bewässert werden.
* Überprüfe regelmäßig den Wasserstand im Behälter und fülle ihn bei Bedarf nach.
Zusätzliche Tipps und Tricks für dein Tropfbewässerungssystem
Hier sind noch ein paar Tipps, die dir helfen können, dein Tropfbewässerungssystem zu optimieren:
* Verwende einen Filter: Ein Filter verhindert, dass Schmutzpartikel die Tropfschläuche verstopfen. Reinige den Filter regelmäßig, um eine optimale Funktion zu gewährleisten.
* Dünge dein Wasser: Füge dem Wasser Flüssigdünger hinzu, um deine Pflanzen mit Nährstoffen zu versorgen. Achte darauf, die Dosierungsanleitung des Herstellers zu befolgen.
* Passe die Bewässerung an: Die Bewässerungsbedürfnisse deiner Pflanzen können sich je nach Wetterlage und Jahreszeit ändern. Überprüfe regelmäßig den Feuchtigkeitsgehalt des Bodens und passe die Bewässerungsdauer und -häufigkeit entsprechend an.
* Reinige die Tropfschläuche: Wenn die Tropfschläuche verstopfen, kannst du sie mit einer Nadel oder einem dünnen Draht reinigen.
* Verwende verschiedene Tropfer: Es gibt verschiedene Arten von Tropfern mit unterschiedlichen Durchflussraten. Wähle die passenden Tropfer für die Bedürfnisse deiner Pflanzen. Pflanzen mit höherem Wasserbedarf benötigen Tropfer mit höherer Durchflussrate.
* Achte auf die Höhe: Wenn dein vertikaler Garten sehr hoch ist, kann der Wasserdruck in den unteren Tropfschläuchen höher sein als in den oberen. Verwende Druckminderer, um den Wasserdruck auszugleichen.
* Überwinterung: Im Winter solltest du das Bewässerungssystem entleeren und frostfrei lagern, um Schäden zu vermeiden.
Häufige Probleme und Lösungen
Auch beim besten DIY-Projekt können Probleme auftreten. Hier sind einige häufige Probleme und wie du sie beheben kannst:
* Kein Wasser kommt aus den Tropfschläuchen:
* Überprüfe, ob die Pumpe eingeschaltet ist und ob der Wasserbehälter gefüllt ist.
* Überprüfe, ob der Filter verstopft ist.
* Überprüfe, ob die Tropfschläuche verstopft sind.
* Überprüfe, ob der Hauptschlauch geknickt ist.
* Zu viel Wasser kommt aus den Tropfschläuchen:
* Reduziere die Bewässerungsdauer.
* Verwende Tropfer mit geringerer Durchflussrate.
* Installiere einen Druckminderer.
* Die Pumpe ist zu laut:
* Platziere die Pumpe auf einer weichen Unterlage, um Vibrationen zu reduzieren.
* Verwende eine leisere Pumpe.
* Algenbildung im Wasserbehälter:
* Reinige den Wasserbehälter regelmäßig.
* Verwende einen dunklen Behälter, um die Algenbildung zu reduzieren.
* Füge dem Wasser ein Algenmittel hinzu.
Fazit: Dein grünes Paradies mit minimalem Aufwand
Mit diesem DIY-Tropfbewässerungssystem kannst du deinen vertikalen Garten ganz einfach und effizient bewässern. Du sparst Zeit, Wasser und schonst die Umwelt. Ich hoffe, diese Anleitung hat dir geholfen und
Conclusion
Creating your own DIY vertical garden drip system isn’t just a fun weekend project; it’s a game-changer for anyone serious about gardening, especially in limited spaces. We’ve walked you through the steps, highlighting the cost-effectiveness, customization options, and environmental benefits. But the real magic lies in the results: thriving plants, reduced water waste, and the satisfaction of building something yourself.
Think about it: no more lugging watering cans up and down, no more guessing if your plants are getting enough water, and no more worrying about uneven watering leading to some plants flourishing while others struggle. A well-designed drip system delivers water precisely where it’s needed, promoting healthy growth and vibrant blooms.
This DIY vertical garden drip system is a must-try because it empowers you to take control of your garden’s hydration. You can tailor the system to the specific needs of your plants, adjusting the flow rate and frequency to match their individual requirements. This level of control is simply unmatched by traditional watering methods.
Beyond the basic design, there’s plenty of room for personalization. Consider adding a timer to automate the watering process, freeing up even more of your time. Experiment with different emitter types to find the perfect flow rate for each plant. You could even integrate a rainwater harvesting system to make your garden even more sustainable. For those with larger vertical gardens, explore using a small submersible pump in a reservoir to provide consistent water pressure.
Don’t be intimidated by the thought of building your own system. The steps are straightforward, and the materials are readily available at most hardware stores. The initial investment is minimal compared to the long-term benefits you’ll reap. Plus, the sense of accomplishment you’ll feel after completing the project is priceless.
We wholeheartedly encourage you to give this DIY vertical garden drip system a try. It’s a rewarding project that will transform your gardening experience. And most importantly, we want to hear about your experiences! Share your photos, tips, and modifications in the comments below. Let’s build a community of DIY gardeners who are passionate about sustainable and efficient watering practices. Your insights could inspire others to embark on their own vertical gardening adventures. So, grab your tools, gather your materials, and get ready to create a thriving vertical oasis with your very own DIY drip system. Let’s cultivate a greener future, one drop at a time!
Frequently Asked Questions (FAQ)
What are the benefits of using a DIY vertical garden drip system compared to traditional watering methods?
A DIY vertical garden drip system offers several advantages over traditional watering methods like using a watering can or hose. First and foremost, it’s far more efficient. Drip irrigation delivers water directly to the plant’s roots, minimizing water loss through evaporation and runoff. This not only conserves water but also reduces the risk of fungal diseases that can thrive in overly moist foliage. Secondly, it provides consistent and even watering, ensuring that all plants receive the optimal amount of moisture. This promotes healthy growth and prevents the uneven development that can occur with manual watering. Finally, it saves you time and effort. Once the system is set up, you can automate the watering process with a timer, freeing you from the daily chore of watering your plants.
What materials do I need to build a basic DIY vertical garden drip system?
The essential materials include:
* **Drip tubing:** This is the main line that carries water to your plants. Choose a size appropriate for your system’s scale.
* **Emitters:** These are small devices that regulate the flow of water to each plant. Select emitters with a flow rate that matches the water needs of your plants.
* **Connectors:** You’ll need various connectors, such as T-connectors, elbow connectors, and end caps, to assemble the system.
* **Water source adapter:** This connects your drip tubing to your water source, such as a garden hose or faucet.
* **Hole punch:** This tool is used to create holes in the drip tubing for inserting the emitters.
* **Timer (optional):** A timer allows you to automate the watering process.
* **Pressure regulator (optional):** If your water pressure is high, a pressure regulator can prevent damage to the drip tubing and emitters.
* **Filter (optional):** A filter can prevent debris from clogging the emitters.
How do I determine the appropriate flow rate for the emitters in my DIY vertical garden drip system?
The appropriate flow rate depends on several factors, including the type of plants you’re growing, the size of the containers, and the climate. As a general rule, plants with higher water needs, such as vegetables and flowering plants, will require emitters with a higher flow rate than drought-tolerant plants like succulents. Observe your plants closely and adjust the flow rate accordingly. If the soil is consistently dry, increase the flow rate. If the soil is consistently waterlogged, decrease the flow rate. You can also consult online resources or gardening experts for specific recommendations for your plants.
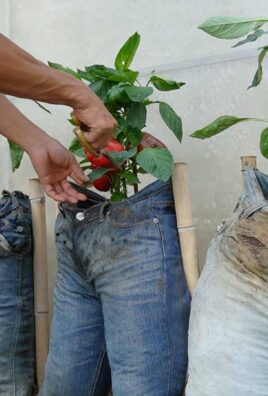
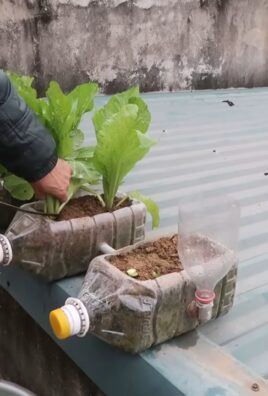
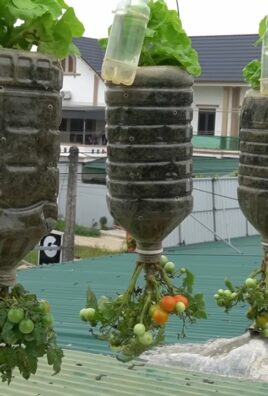
Can I use recycled materials to build my DIY vertical garden drip system?
Absolutely! Using recycled materials is a great way to make your drip system even more sustainable. You can repurpose plastic bottles as reservoirs, use old garden hoses for drip tubing, and even create emitters from discarded plastic containers. Get creative and see what materials you can find around your home or community. Just be sure to clean and sanitize any recycled materials before using them in your garden.
How do I prevent clogging in my DIY vertical garden drip system?
Clogging is a common problem in drip irrigation systems, but there are several steps you can take to prevent it. First, use a filter to remove debris from the water source. Second, flush the drip tubing regularly to remove any sediment that may have accumulated. Third, use high-quality emitters that are less prone to clogging. Finally, avoid using fertilizers or other additives that can clog the emitters. If you do experience clogging, you can try cleaning the emitters with a small brush or needle. In severe cases, you may need to replace the clogged emitters.
What if my water pressure is too high or too low for my DIY vertical garden drip system?
If your water pressure is too high, it can damage the drip tubing and emitters. To prevent this, install a pressure regulator between the water source and the drip tubing. A pressure regulator will reduce the water pressure to a safe level. If your water pressure is too low, the emitters may not function properly. In this case, you can try using a small submersible pump to increase the water pressure. You can also try using emitters with a lower flow rate, which require less pressure to operate.
How do I winterize my DIY vertical garden drip system?
Winterizing your drip system is essential to prevent damage from freezing temperatures. Before the first frost, disconnect the drip tubing from the water source and drain all the water from the system. Remove the emitters and store them in a safe place. If you live in an area with severe winters, you may also want to disconnect the drip tubing and store it indoors. This will prevent the tubing from cracking or becoming brittle in the cold.
Can I automate my DIY vertical garden drip system?
Yes, automating your drip system is a great way to save time and ensure that your plants receive consistent watering. You can use a timer to control the watering schedule. Timers are available in a variety of styles, from simple mechanical timers to sophisticated digital timers that can be programmed to water your plants at specific times and for specific durations. You can also use a soil moisture sensor to automatically adjust the watering schedule based on the moisture content of the soil.
How do I adjust the system for different types of plants in my vertical garden?
Adjusting your DIY vertical garden drip system for different types of plants is crucial for optimal growth. Plants have varying water needs, so a one-size-fits-all approach won’t work. Here’s how to customize your system:
* **Emitter Placement:** Position emitters closer to plants with higher water requirements and further away from drought-tolerant species.
* **Emitter Flow Rate:** Use emitters with different flow rates to match the water needs of each plant. Higher flow rates for thirsty plants, lower flow rates for those that prefer drier conditions.
* **Zoning:** If possible, divide your vertical garden into zones based on water needs. Connect each zone to a separate valve controlled by a timer, allowing you to water different sections independently.
* **Observation:** Regularly monitor your plants for signs of overwatering or underwatering. Adjust the emitter placement, flow rates, or watering schedule as needed.
Where can I find more information and inspiration for DIY vertical garden drip systems?
There are numerous online resources available to help you learn more about DIY vertical garden drip systems. Websites like YouTube, Pinterest, and gardening blogs offer a wealth of information, including tutorials, project ideas, and troubleshooting tips. You can also consult with local gardening experts or visit your local hardware store for advice and guidance. Don’t be afraid to experiment and adapt the system to your specific needs and preferences. The most important thing is to have fun and enjoy the process of creating a thriving vertical garden.
Leave a Comment