

DIY Fridge Cleaner: Let’s face it, cleaning the fridge is nobody’s favorite chore. But what if I told you there’s a super simple, all-natural way to banish those funky odors and sticky spills without harsh chemicals? Imagine opening your fridge to a fresh, clean scent instead of that lingering mystery smell! This DIY fridge cleaner trick is a game-changer, and I’m so excited to share it with you.
For generations, resourceful homemakers have relied on natural ingredients to keep their homes sparkling. Think about it – before the age of mass-produced cleaning products, things like vinegar, baking soda, and lemon were the go-to solutions for everything from scrubbing floors to freshening the air. This tradition of using what nature provides is not only cost-effective but also much kinder to our planet and our health.
In today’s busy world, we’re all looking for ways to simplify our lives and reduce our exposure to potentially harmful chemicals. That’s where this DIY fridge cleaner comes in. It’s quick, easy, and uses ingredients you probably already have in your pantry. Plus, a clean fridge isn’t just about aesthetics; it’s about food safety! By keeping your fridge clean and organized, you’ll prevent cross-contamination, extend the shelf life of your food, and ultimately save money. So, are you ready to ditch the harsh chemicals and embrace a natural, effective way to keep your fridge fresh and clean? Let’s get started!
DIY Fridge Cleaner: A Sparkling Fridge in Minutes!
Okay, let’s face it, cleaning the fridge is nobody’s favorite chore. But a clean fridge isn’t just about aesthetics; it’s about food safety and preventing those mystery smells that can plague your kitchen. Store-bought cleaners can be harsh and full of chemicals, so I’m going to show you how to make a super effective, all-natural fridge cleaner using ingredients you probably already have in your pantry! This DIY fridge cleaner is not only safe for your food but also incredibly budget-friendly.
Why DIY Fridge Cleaner?
Before we dive into the how-to, let’s quickly cover why making your own fridge cleaner is a fantastic idea:
* It’s Safe: No harsh chemicals near your food! This is especially important if you have kids or pets.
* It’s Eco-Friendly: Reduce your plastic waste by reusing spray bottles and using natural ingredients.
* It’s Cost-Effective: Save money by using ingredients you likely already have.
* It’s Customizable: You can adjust the scent and strength to your liking.
What You’ll Need
Here’s a list of the supplies you’ll need to create your own amazing fridge cleaner:
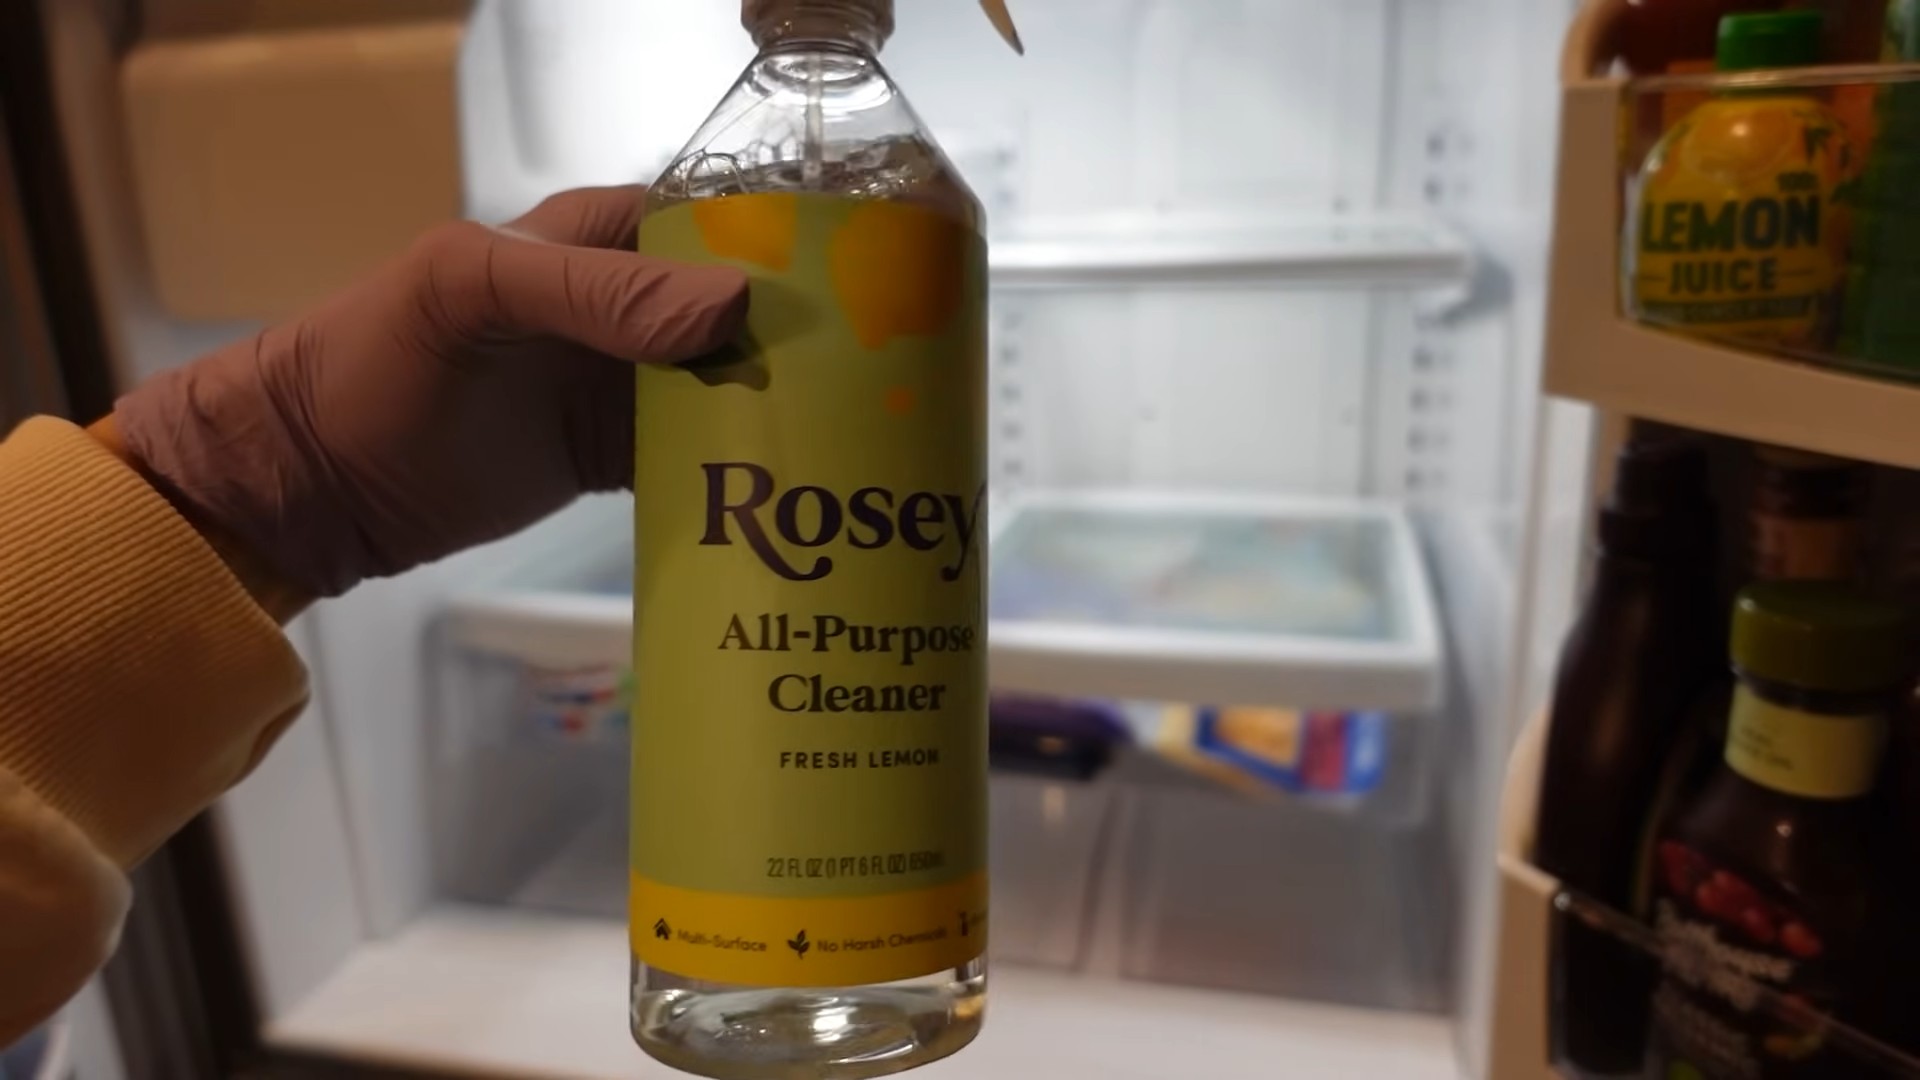
* Empty spray bottle (a clean, recycled one is perfect!)
* White vinegar
* Water (distilled water is best, but tap water works too)
* Baking soda
* Lemon essential oil (optional, for a fresh scent)
* Clean cloths or paper towels
* Small bowl or container
* Sponge or scrub brush (for stubborn spots)
Making Your DIY Fridge Cleaner: The Recipe
This recipe is super simple and easy to adjust based on your needs.
1. Prepare the Vinegar Solution: In your empty spray bottle, combine equal parts white vinegar and water. I usually start with 1 cup of each, but you can adjust the amount depending on the size of your spray bottle. The vinegar is a natural disinfectant and deodorizer, making it perfect for tackling fridge grime.
2. Add Essential Oil (Optional): If you want to add a fresh scent, add 10-15 drops of lemon essential oil to the spray bottle. Lemon is a great choice because it also has antibacterial properties. Other good options include orange, grapefruit, or tea tree oil.
3. Shake Well: Secure the spray nozzle and shake the bottle vigorously to combine the ingredients.
Cleaning Your Fridge: Step-by-Step Guide
Now that you have your DIY fridge cleaner ready, let’s get that fridge sparkling!
Phase 1: Emptying and Prepping
1. Unplug the Fridge: This is a crucial safety step! Unplugging the fridge prevents any electrical accidents while you’re cleaning.
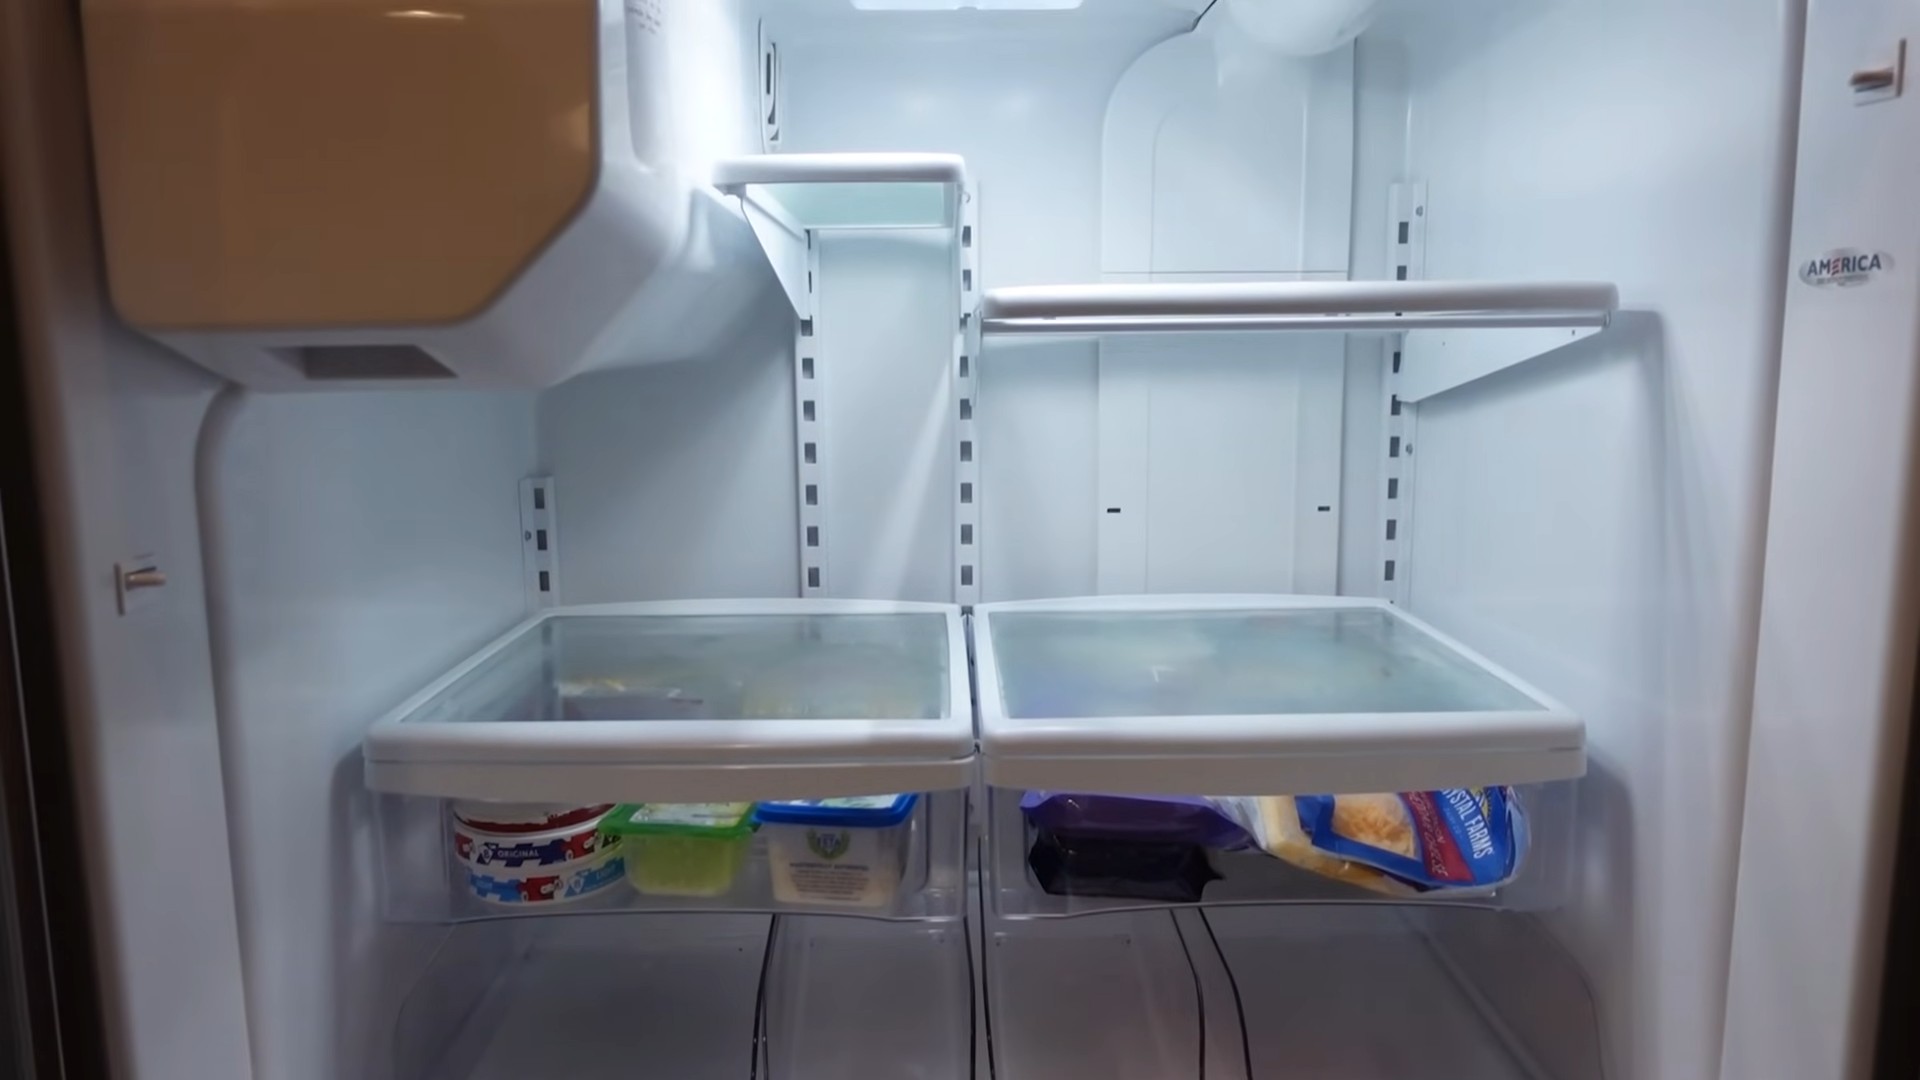
2. Remove All Food: Take everything out of the fridge, including shelves, drawers, and door compartments. This is the most time-consuming part, but it’s essential for a thorough cleaning.
3. Check Expiration Dates: As you’re removing food, take the opportunity to check expiration dates and toss out anything that’s past its prime. This will help prevent future messes and odors.
4. Prepare a Workspace: Find a clean surface (like your kitchen counter or table) to place the food while you’re cleaning. You might want to cover it with a clean cloth or paper towels.
5. Remove Shelves and Drawers: Take out all removable shelves, drawers, and door compartments. These will need to be washed separately.
Phase 2: Cleaning the Interior
1. Spray the Interior: Generously spray the interior of the fridge with your DIY vinegar solution. Make sure to get into all the corners, crevices, and along the door seals.
2. Let it Sit: Allow the solution to sit for 5-10 minutes. This will give the vinegar time to loosen any stuck-on food or grime.
3. Wipe Down: Using a clean cloth or paper towel, wipe down all the interior surfaces of the fridge. Pay special attention to areas with spills or stains.
4. Tackle Stubborn Spots: For stubborn spots, make a paste of baking soda and water. Apply the paste to the affected area, let it sit for a few minutes, and then scrub gently with a sponge or scrub brush. Baking soda is a mild abrasive that can help remove tough stains without scratching the fridge’s surface.
5. Rinse (If Necessary): If you used a lot of baking soda paste, you might want to rinse the interior of the fridge with a clean, damp cloth to remove any residue.
6. Dry Thoroughly: Use a clean, dry cloth to dry all the interior surfaces of the fridge. This will help prevent mold and mildew growth.
Phase 3: Cleaning Shelves and Drawers
1. Wash with Warm, Soapy Water: Wash the shelves, drawers, and door compartments in warm, soapy water. You can use dish soap or a natural cleaning solution.
2. Rinse Well: Rinse all the items thoroughly with clean water to remove any soap residue.
3. Dry Completely: Dry all the items completely with a clean cloth before putting them back in the fridge.
Phase 4: Reassembling and Restocking
1. Replace Shelves and Drawers: Once everything is dry, replace the shelves, drawers, and door compartments in the fridge.
2. Restock the Fridge: Carefully put the food back into the fridge, organizing it in a way that makes sense for you. Consider using clear containers to store leftovers and produce, which will help you see what you have and prevent food waste.
3. Plug the Fridge Back In: Plug the fridge back in and allow it to cool down to the proper temperature before storing perishable items.
Tips for Keeping Your Fridge Clean
* Wipe Up Spills Immediately: The best way to prevent a messy fridge is to wipe up spills as soon as they happen.
* Regularly Check Expiration Dates: Make it a habit to check expiration dates at least once a week and toss out anything that’s expired.
* Store Food Properly: Store food in airtight containers to prevent leaks and spills.
* Use Fridge Liners: Consider using fridge liners on the shelves and in the drawers. These can be easily removed and washed, making cleanup a breeze.
* Keep a Box of Baking Soda in the Fridge: Place an open box of baking soda in the fridge to absorb odors. Replace it every 3 months.
* Clean Regularly: Aim to give your fridge a thorough cleaning at least once a month.
Troubleshooting
* Strong Vinegar Smell: If the vinegar smell is too strong, you can add more water to the solution or use a stronger-scented essential oil. The smell will dissipate quickly.
* Stubborn Stains: For really stubborn stains, you can try using a paste of baking soda and hydrogen peroxide. Apply the paste to the stain, let it sit for a few minutes, and then scrub gently.
* Mold or Mildew: If you find mold or mildew in your fridge, clean the affected area with a solution of bleach and water (1 part bleach to 10 parts water). Be sure to wear gloves and ventilate the area well. Rinse thoroughly after cleaning.
Variations and Additions
* Tea Tree Oil: Add a few drops of tea tree oil for its powerful antibacterial and antifungal properties.
* Grapefruit Essential Oil: Grapefruit essential oil adds a refreshing citrus scent and also has antibacterial properties.
* Castile Soap: For extra cleaning power, add a tablespoon of liquid castile soap to the vinegar solution.
I hope this guide helps you keep your fridge clean and fresh! It’s a simple DIY project that can make a big difference in your kitchen. Happy cleaning!
Conclusion
So, there you have it! Ditching those harsh chemical cleaners and embracing this simple, effective, and budget-friendly DIY fridge cleaner is more than just a cleaning hack; it’s a step towards a healthier home and a happier planet. We’ve walked you through the process, highlighting how easy it is to whip up a batch of this natural solution using ingredients you likely already have in your pantry.
But why is this DIY approach a must-try? Beyond the obvious cost savings, you’re eliminating the risk of exposing your food and family to potentially harmful chemicals found in commercial cleaners. Think about it: your fridge is where you store the very sustenance that fuels your body. Do you really want to spray it down with something that requires gloves and ventilation? Our DIY solution offers a gentle yet powerful cleaning action, effectively tackling spills, odors, and grime without leaving behind any toxic residue.
Furthermore, this isn’t a one-size-fits-all recipe. Feel free to experiment and personalize it to suit your preferences. For a boost of disinfecting power, consider adding a few drops of tea tree oil or eucalyptus oil. If you’re dealing with particularly stubborn stains, a paste of baking soda and water can work wonders as a pre-treatment. And for a refreshing citrus scent, infuse your vinegar with lemon or orange peels for a few days before using it in the cleaner.
The possibilities are endless! You can even adjust the ratios of ingredients to find the perfect balance for your fridge’s specific needs. Maybe you prefer a stronger vinegar scent, or perhaps you want to dial up the lemon for extra freshness. The beauty of DIY is that you’re in control.
We’re confident that once you try this DIY fridge cleaner, you’ll never go back to store-bought alternatives. It’s effective, eco-friendly, and incredibly satisfying to know you’re creating a healthier environment for yourself and your loved ones.
Now, it’s your turn! We wholeheartedly encourage you to give this recipe a try. Don’t be afraid to get creative with the variations and find what works best for you. And most importantly, we want to hear about your experience! Share your tips, tricks, and any modifications you make in the comments below. Let’s build a community of eco-conscious cleaners and inspire others to embrace the power of DIY. Your feedback is invaluable and will help us refine and improve this recipe for everyone. So, grab your ingredients, roll up your sleeves, and get ready to experience the joy of a sparkling clean and chemical-free fridge! We can’t wait to hear your success stories!
Frequently Asked Questions (FAQ)
What exactly are the benefits of using a DIY fridge cleaner compared to commercial cleaners?
The benefits are numerous! Firstly, you avoid harsh chemicals that can potentially contaminate your food and harm your health. Commercial cleaners often contain ingredients like ammonia, bleach, and artificial fragrances, which can leave behind toxic residues. Secondly, DIY cleaners are significantly more cost-effective. You’re using ingredients you likely already have on hand, saving you money in the long run. Thirdly, it’s environmentally friendly. You’re reducing your reliance on plastic bottles and minimizing your exposure to harmful chemicals that can pollute the environment. Finally, you have complete control over the ingredients, allowing you to customize the cleaner to your specific needs and preferences.
Is vinegar safe to use on all fridge surfaces?
Generally, yes, vinegar is safe to use on most fridge surfaces, including plastic, glass, and stainless steel. However, it’s always a good idea to test a small, inconspicuous area first, especially if you have an older fridge with potentially delicate surfaces. Avoid using vinegar on porous materials like unsealed stone or marble, as it can etch or damage them. If you’re unsure about a particular surface, consult your fridge’s manufacturer’s instructions.
How often should I clean my fridge with this DIY solution?
The frequency of cleaning depends on your usage and how quickly spills and messes accumulate. As a general guideline, aim to give your fridge a thorough cleaning at least once a month. However, spot cleaning spills and wiping down shelves as needed is crucial to prevent odors and maintain hygiene. If you notice any unpleasant smells or visible grime, it’s time for a cleaning session.
Can I use essential oils other than tea tree or eucalyptus oil?
Absolutely! Essential oils can add a pleasant scent and offer additional antibacterial properties. Lavender, lemon, orange, grapefruit, and peppermint essential oils are all excellent choices for a fridge cleaner. Just be sure to use pure, therapeutic-grade essential oils and add them sparingly, typically a few drops per batch of cleaner. Avoid using essential oils that are not safe for ingestion, as there’s a chance they could come into contact with your food.
How long does the DIY fridge cleaner last?
This DIY fridge cleaner typically lasts for several weeks when stored in a cool, dark place. However, it’s best to use it within a month for optimal effectiveness. If you notice any changes in color, odor, or consistency, discard the cleaner and make a fresh batch. To prolong its shelf life, store it in an airtight container, such as a glass spray bottle.
What if my fridge has a really strong odor? Will this DIY cleaner be effective?
While this DIY cleaner is effective for general cleaning and odor removal, particularly stubborn odors may require additional treatment. Before cleaning, remove all food items and discard any expired or spoiled products. Then, try placing an open box of baking soda or a bowl of activated charcoal in the fridge for a few days to absorb lingering odors. You can also try wiping down the interior with a solution of equal parts water and white vinegar. For extremely persistent odors, consider using a commercial odor eliminator specifically designed for refrigerators.
Can I use this DIY cleaner on other appliances besides my fridge?
Yes, this DIY cleaner can be used on other appliances, such as microwaves, ovens (after they’ve cooled down), and dishwashers (as a rinse aid). However, always test a small, inconspicuous area first to ensure it doesn’t damage the surface. Avoid using it on appliances with sensitive electronic components or surfaces that are not compatible with vinegar.
What if I don’t have vinegar? Can I substitute it with something else?
While vinegar is a key ingredient in this DIY cleaner due to its acidity and cleaning properties, you can try substituting it with lemon juice in a pinch. Lemon juice also has antibacterial and deodorizing properties, but it may not be as effective as vinegar for removing stubborn grime. Use equal parts lemon juice and water in place of the vinegar and water mixture.
My fridge is stainless steel. Will this cleaner leave streaks?
Vinegar can sometimes leave streaks on stainless steel. To prevent this, use a microfiber cloth to wipe down the surface after cleaning. You can also dilute the vinegar solution further or add a few drops of dish soap to help prevent streaking. Always wipe in the direction of the grain of the stainless steel for best results.
Is it necessary to unplug my fridge before cleaning it?
While it’s not always necessary to unplug your fridge before cleaning, it’s a good safety precaution, especially if you’re using a wet cloth or spray bottle. Unplugging the fridge eliminates the risk of electric shock and prevents any accidental activation of the appliance while you’re cleaning. If you choose not to unplug it, be extra careful to avoid getting water or cleaner near any electrical components.

Leave a Comment