

Bush beans in pots: who knew growing your own delicious, crisp beans could be so easy, even without a sprawling garden? For centuries, humans have cultivated beans, tracing back to ancient civilizations in the Americas. They were a staple food, providing essential protein and nutrients. Now, you can bring that tradition to your own balcony, patio, or even a sunny windowsill!
I’m so excited to share these simple, yet effective, DIY tricks that will have you harvesting your own bounty of bush beans in pots in no time. Forget expensive store-bought beans that lack that fresh, homegrown flavor. Imagine stepping outside and picking exactly what you need for dinner – it’s a rewarding experience that connects you to nature and provides healthy, organic food for you and your family.
This article is packed with practical tips and hacks, from choosing the right pot size and soil to mastering watering and fertilization. I’ll guide you through every step of the process, ensuring you avoid common pitfalls and maximize your yield. Whether you’re a seasoned gardener or a complete beginner, these DIY tricks will empower you to grow thriving bush beans in pots and enjoy the satisfaction of a successful harvest. Let’s get started!
Growing Bush Beans in Pots: A Complete DIY Guide
Hey there, fellow gardening enthusiasts! I’m so excited to share my experience growing bush beans in pots. It’s a fantastic way to enjoy fresh, homegrown beans even if you don’t have a sprawling garden. Plus, it’s incredibly rewarding to watch those little seeds sprout and transform into a bountiful harvest. Let’s dive into the nitty-gritty of growing bush beans in containers!
Choosing the Right Bush Bean Variety
First things first, you need to pick the right bush bean variety. Not all beans are created equal, especially when it comes to container gardening. You want to choose varieties that are compact and productive. Here are a few of my favorites:
* Blue Lake Bush: These are classic, reliable, and produce a heavy yield of delicious green beans.
* Contender: As the name suggests, these beans are tough and adaptable, perfect for beginners. They also mature early, so you’ll be harvesting sooner.
* Provider: Another early-maturing variety, Provider beans are known for their excellent flavor and disease resistance.
* Derby: These beans are stringless and have a great, crisp texture. They’re also very productive.
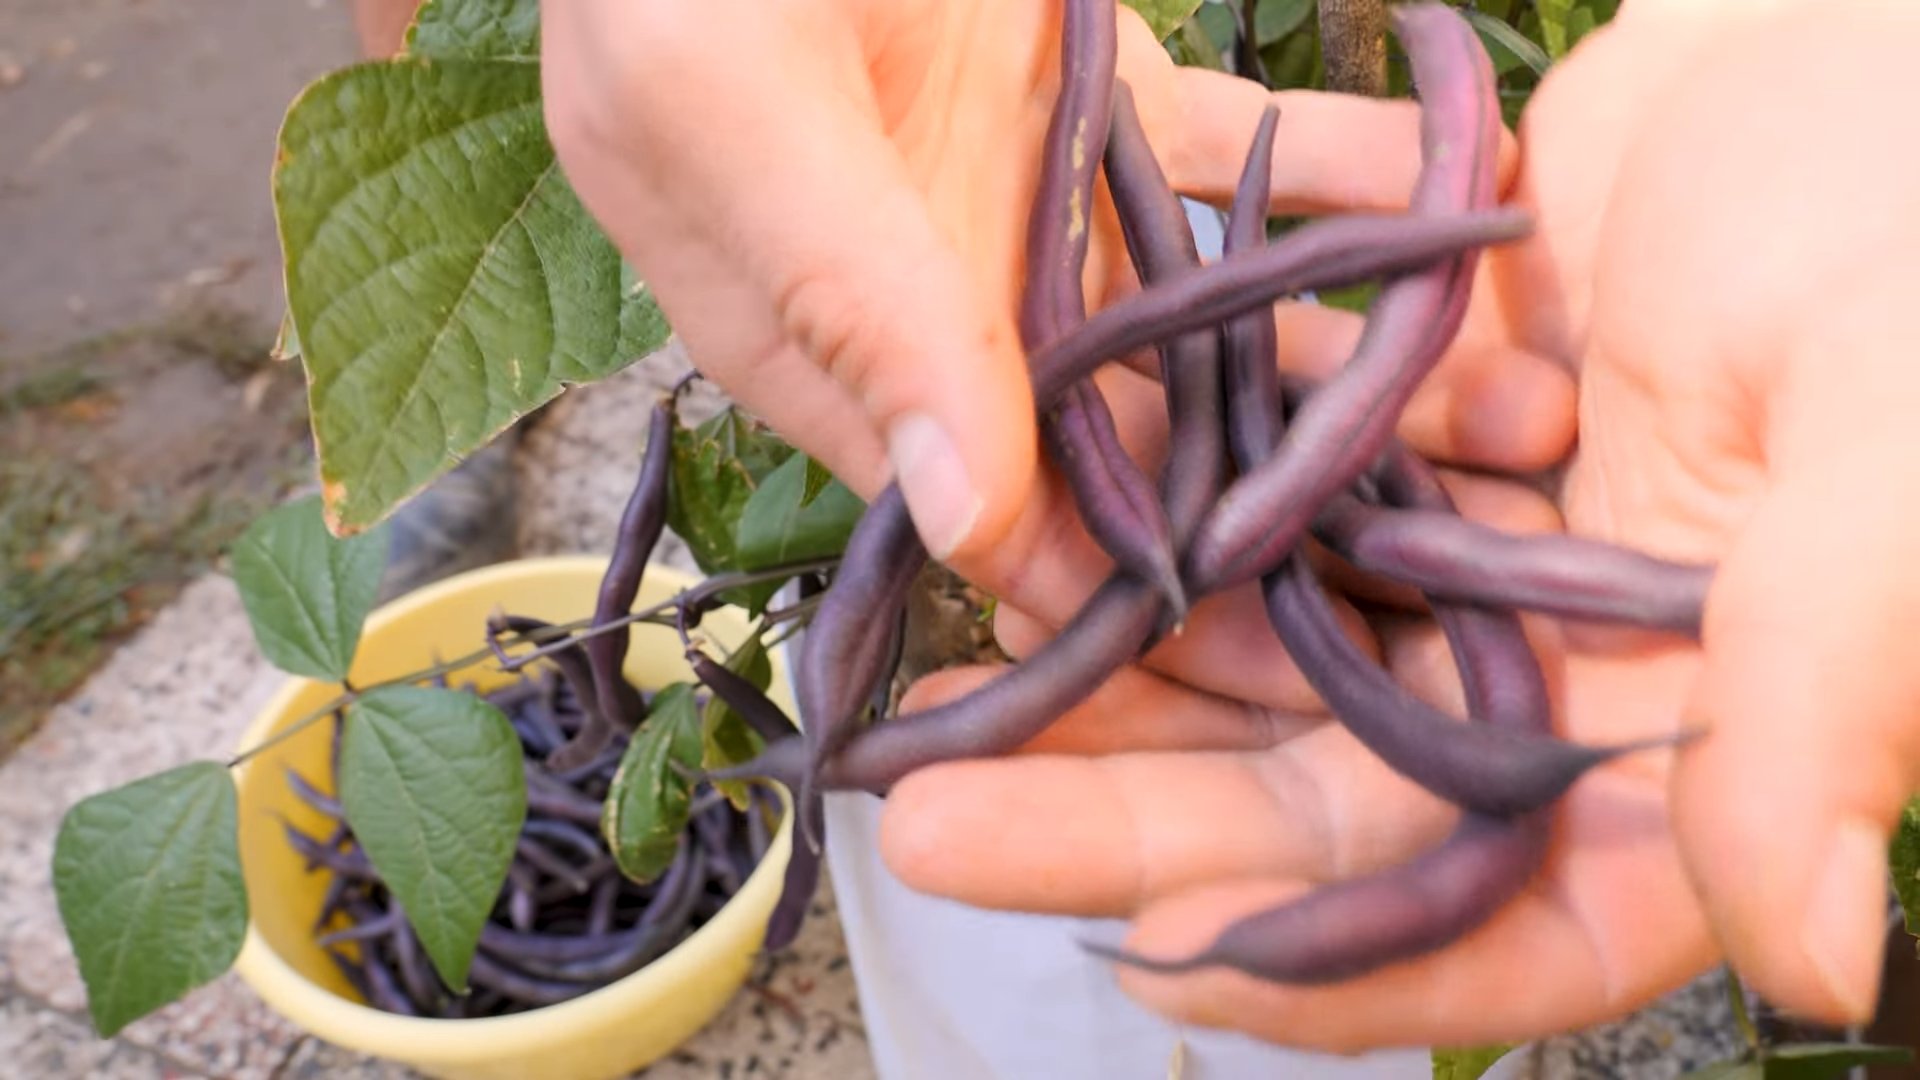
* Royal Burgundy: If you want something a little different, try Royal Burgundy beans. They have beautiful purple pods that turn green when cooked.
Gathering Your Supplies
Before you start planting, you’ll need to gather all your supplies. This will make the whole process smoother and more enjoyable. Here’s what you’ll need:
* Pots: Choose pots that are at least 12 inches in diameter and 12 inches deep. Bush beans need room for their roots to grow. I prefer using fabric pots because they allow for better drainage and aeration.
* Potting Mix: Don’t use garden soil in your pots! It’s too heavy and doesn’t drain well. Instead, use a high-quality potting mix that’s specifically designed for containers.
* Bush Bean Seeds: Of course, you’ll need seeds! Make sure they’re fresh and from a reputable source.
* Watering Can or Hose: You’ll need a way to water your beans regularly.
* Fertilizer: A balanced fertilizer will help your beans grow strong and healthy. I like to use a slow-release fertilizer or a liquid fertilizer diluted to half strength.
* Optional:
* Trellis or Stakes: While bush beans don’t typically need support, some varieties can get a bit leggy. A small trellis or a few stakes can help keep them upright.
* Mulch: A layer of mulch will help retain moisture and suppress weeds.
Planting Your Bush Beans
Now for the fun part – planting! Here’s a step-by-step guide to planting your bush beans in pots:
1. Prepare Your Pots: Fill your pots with potting mix, leaving about an inch or two of space at the top.
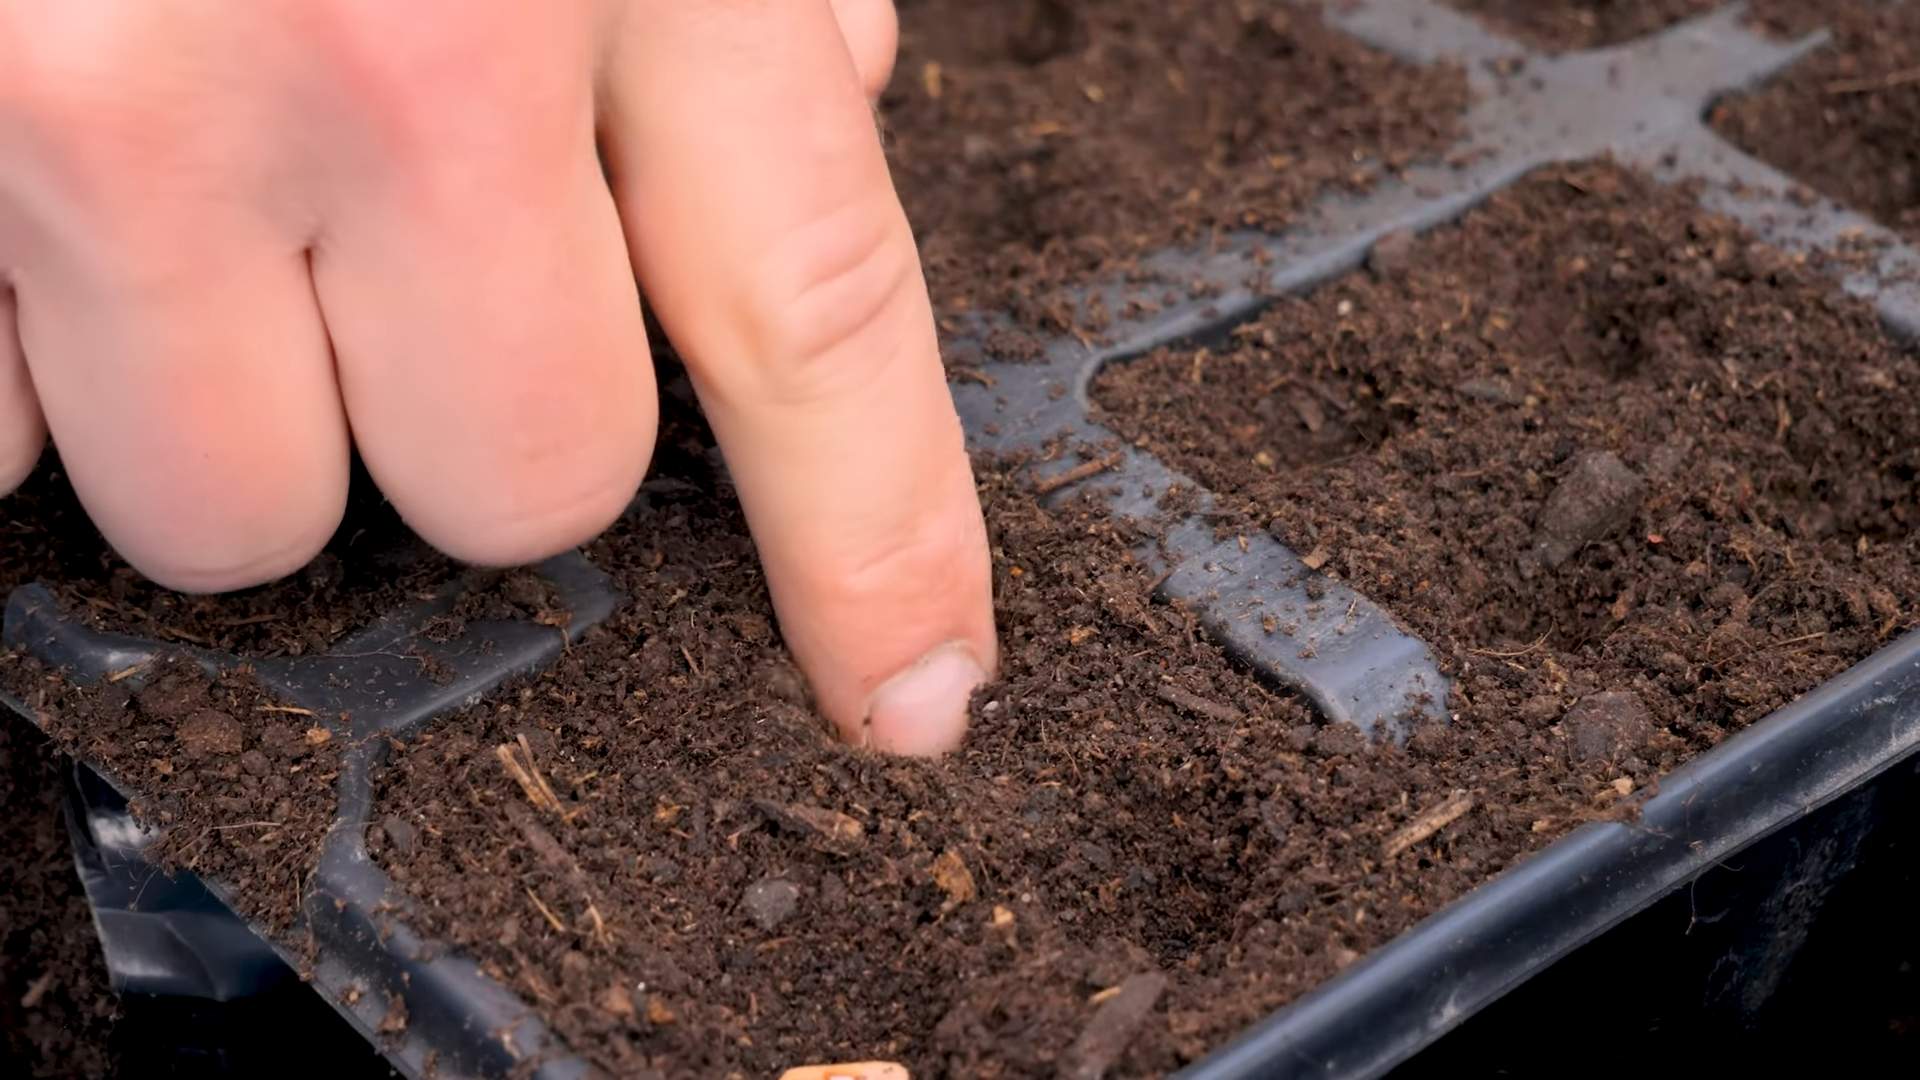
2. Sow the Seeds: Plant the bean seeds about 1 inch deep and 2-3 inches apart. I usually plant 3-4 seeds per pot to ensure good germination.
3. Water Gently: Water the soil gently until it’s evenly moist. Be careful not to overwater, as this can cause the seeds to rot.
4. Find a Sunny Spot: Place your pots in a location that receives at least 6-8 hours of sunlight per day. Bush beans need plenty of sun to thrive.
5. Wait Patiently: Germination usually takes about 7-14 days, depending on the temperature and moisture levels. Keep the soil consistently moist during this time.
Caring for Your Bush Beans
Once your beans have sprouted, it’s important to provide them with the care they need to grow and produce a bountiful harvest.
1. Watering: Water your beans regularly, especially during hot, dry weather. The soil should be consistently moist, but not soggy. Check the soil moisture by sticking your finger about an inch into the soil. If it feels dry, it’s time to water.
2. Fertilizing: Fertilize your beans every 2-3 weeks with a balanced fertilizer. Follow the instructions on the fertilizer package. Avoid over-fertilizing, as this can lead to excessive foliage growth and fewer beans.
3. Weeding: Keep your pots free of weeds. Weeds compete with your beans for nutrients and water.
4. Pest Control: Keep an eye out for pests, such as aphids, bean beetles, and spider mites. If you notice any pests, treat them with an appropriate insecticide or insecticidal soap. I prefer using organic pest control methods whenever possible.
5. Support (Optional): If your bean plants start to get leggy, provide them with some support. You can use a small trellis, stakes, or even just tie them to a nearby object.
Harvesting Your Bush Beans
Harvesting is the most rewarding part of growing bush beans! Here’s how to know when your beans are ready to pick:
1. Timing: Bush beans are typically ready to harvest about 50-60 days after planting.
2. Appearance: The bean pods should be firm, plump, and brightly colored. They should also snap easily when bent.
3. Size: The size of the bean pods will vary depending on the variety. Check the seed packet for specific information.
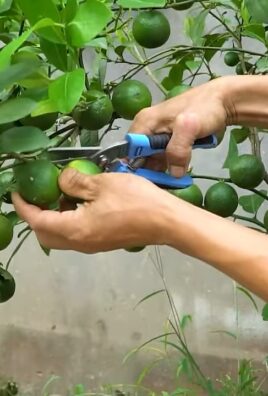
4. Harvesting Technique: Gently snap the bean pods off the plant, being careful not to damage the stems.
5. Regular Harvesting: Harvest your beans regularly, every few days, to encourage continued production. The more you harvest, the more beans your plants will produce.
Troubleshooting Common Problems
Even with the best care, you may encounter some problems when growing bush beans in pots. Here are a few common issues and how to address them:
* Yellowing Leaves: This can be caused by overwatering, underwatering, nutrient deficiencies, or pests. Check the soil moisture and adjust your watering accordingly. Fertilize your beans with a balanced fertilizer. Inspect your plants for pests and treat them as needed.
* Lack of Flowers: This can be caused by insufficient sunlight, over-fertilizing, or extreme temperatures. Make sure your beans are getting at least 6-8 hours of sunlight per day. Avoid over-fertilizing, especially with nitrogen-rich fertilizers. Protect your plants from extreme temperatures.
* Bean Pods Not Filling Out: This can be caused by poor pollination, insufficient watering, or nutrient deficiencies. Ensure that bees and other pollinators have access to your plants. Water your beans regularly, especially during flowering and pod development. Fertilize your beans with a fertilizer that’s rich in phosphorus and potassium.
* Pests: Aphids, bean beetles, and spider mites are common pests of bush beans. Treat them with an appropriate insecticide or insecticidal soap. I prefer using organic pest control methods whenever possible.
Extending Your Harvest
Want to enjoy fresh bush beans for as long as possible? Here are a few tips for extending your harvest:
* Succession Planting: Plant a new batch of bean seeds every 2-3 weeks to ensure a continuous harvest.
* Choose Heat-Tolerant Varieties: If you live in a hot climate, choose bean varieties that are known for their heat tolerance.
* Provide Shade: During the hottest part of the day, provide your bean plants with some shade. You can use shade cloth or move your pots to a shadier location.
* Water Deeply: Water your beans deeply and regularly, especially during hot, dry weather.
* Harvest Regularly: Harvest your beans regularly to encourage continued production.
Enjoying Your Harvest
Now that you’ve harvested your delicious bush beans, it’s time to enjoy them! Here are a few ideas:
* Eat Them Fresh: Bush beans are delicious eaten fresh, right off the plant.
* Steam or Boil Them: Steam or boil your beans until they’re tender-crisp.
* Sauté Them: Sauté your beans with garlic, onions, and other vegetables.
* Add Them to Salads: Add your beans to salads for a healthy and flavorful boost.
* Freeze Them: Freeze your beans for later use. Blanch them in boiling water for 2-3 minutes, then cool them in ice water. Drain them well and freeze them in freezer bags.
Growing bush beans in pots is a rewarding and enjoyable experience. With a little bit of care and attention, you can enjoy a bountiful harvest of fresh, homegrown beans. Happy gardening!
Conclusion
So, there you have it! Growing bush beans in pots is not just a possibility; it’s a pathway to fresh, homegrown goodness right at your fingertips. We’ve explored the simple steps, from selecting the right pot and soil to nurturing your plants and harvesting your bounty. But why is this DIY trick a must-try?
Firstly, it’s incredibly accessible. Whether you have a sprawling garden or a tiny balcony, container gardening allows you to cultivate your own food. No more relying solely on grocery store produce, often shipped from afar and lacking that peak-season flavor. Imagine stepping outside your door and picking fresh, crisp bush beans for your dinner – that’s the magic we’re talking about.
Secondly, it’s empowering. There’s a unique satisfaction in nurturing a plant from seed to harvest. You’ll learn about the life cycle of plants, the importance of sunlight and water, and the joy of reaping the rewards of your labor. It’s a connection to nature that can be incredibly grounding and fulfilling.
Thirdly, it’s customizable. You can tailor your container garden to your specific needs and preferences. Want to try different varieties of bush beans? Go for it! Experiment with companion planting by adding herbs like basil or marigolds to deter pests and enhance flavor. The possibilities are endless.
Variations and Suggestions:
* Succession Planting: Plant new seeds every few weeks to ensure a continuous harvest throughout the growing season.
* Vertical Gardening: If space is truly limited, consider using a trellis or other vertical support to train your bush beans upwards. This can maximize your yield in a small area.
* Companion Planting: As mentioned earlier, basil, marigolds, and even nasturtiums can be beneficial companions for bush beans. They can help deter pests and attract beneficial insects.
* Fertilizer Options: While we recommended a balanced fertilizer, you can also explore organic options like compost tea or fish emulsion.
* Container Size: While a 12-inch pot is a good starting point, larger pots (15-18 inches) can accommodate more plants and provide more room for root growth.
We truly believe that growing bush beans in pots is a rewarding and accessible experience for everyone. It’s a chance to connect with nature, enjoy fresh, homegrown food, and learn new skills. So, we encourage you to give it a try! Don’t be afraid to experiment, make mistakes, and learn along the way.
And most importantly, share your experience with us! We’d love to hear about your successes, your challenges, and any tips or tricks you discover along the way. Share your photos, your stories, and your questions in the comments below. Let’s create a community of container gardeners who are passionate about growing their own food. Let’s all enjoy the fruits (or rather, the beans!) of our labor.
Frequently Asked Questions (FAQ)
Q: What is the best variety of bush bean to grow in pots?
A: While many bush bean varieties thrive in containers, some are particularly well-suited. ‘Blue Lake Bush’, ‘Contender’, ‘Provider’, and ‘Bush Kentucky Wonder’ are all popular choices known for their compact size, high yields, and disease resistance. Consider your local climate and personal preferences when making your selection. Some varieties are stringless, which is a nice convenience. Read seed packet descriptions carefully to find the perfect fit for your needs.
Q: How often should I water my bush beans in pots?
A: Watering frequency depends on several factors, including the weather, the size of your pot, and the type of soil you’re using. Generally, you should water your bush beans whenever the top inch of soil feels dry to the touch. During hot, sunny weather, you may need to water them daily, or even twice a day. In cooler, cloudier weather, you may only need to water them every few days. The best way to determine if your plants need water is to check the soil moisture regularly. Avoid overwatering, as this can lead to root rot. Ensure your pot has adequate drainage holes.
Q: What kind of fertilizer should I use for my bush beans?
A: Bush beans benefit from a balanced fertilizer with an NPK ratio of 10-10-10 or 5-10-10. This means it contains equal parts nitrogen (N), phosphorus (P), and potassium (K), or a lower nitrogen content. Nitrogen promotes leafy growth, phosphorus supports root development and flowering, and potassium contributes to overall plant health. You can use a slow-release granular fertilizer at planting time or a liquid fertilizer every few weeks. Avoid over-fertilizing, as this can burn the roots and harm your plants. Organic options like compost tea or fish emulsion are also excellent choices.
Q: How much sunlight do bush beans need?
A: Bush beans need at least 6-8 hours of direct sunlight per day to thrive. Choose a location for your pots that receives plenty of sunlight throughout the day. If you live in a particularly hot climate, you may want to provide some afternoon shade to prevent the plants from overheating. If you don’t have enough natural sunlight, you can supplement with grow lights.
Q: How do I deal with pests and diseases on my bush beans?
A: Bush beans can be susceptible to pests like aphids, bean beetles, and spider mites, as well as diseases like powdery mildew and bean rust. Regularly inspect your plants for signs of pests or diseases. If you find any, take action immediately. You can try spraying the plants with insecticidal soap or neem oil to control pests. For diseases, ensure good air circulation and avoid overhead watering. Remove any infected leaves or plants to prevent the spread of disease. Companion planting with herbs like basil or marigolds can also help deter pests.
Q: When should I harvest my bush beans?
A: Bush beans are typically ready to harvest about 50-60 days after planting. The pods should be firm, plump, and snap easily when bent. Harvest them regularly to encourage continued production. Overripe beans will become tough and stringy. The ideal time to harvest is in the morning, after the dew has dried.
Q: Can I grow bush beans indoors?
A: While it’s possible to grow bush beans indoors, it can be challenging. They require a lot of sunlight, which can be difficult to provide indoors. You’ll also need to ensure adequate pollination, which may require hand-pollinating the flowers. If you want to try growing bush beans indoors, choose a sunny location and supplement with grow lights.
Q: What do I do with my bush bean plants at the end of the season?
A: Once your bush bean plants have stopped producing, you can remove them from the pots and compost them. The soil can be reused for other plants, but it’s a good idea to amend it with fresh compost or fertilizer. You can also save seeds from your best-performing plants for next year’s garden. Allow the pods to dry completely on the plant, then remove the seeds and store them in a cool, dry place.
Q: Can I grow different types of beans together in the same pot?
A: It’s generally not recommended to grow different types of beans together in the same pot, as they may compete for resources and have different growing requirements. However, you can grow different varieties of bush beans together, as long as they have similar needs.
Q: My bush bean plants are flowering, but not producing beans. What could be the problem?
A: There are several reasons why your bush bean plants might be flowering but not producing beans. One possibility is that they’re not getting enough sunlight. Another is that they’re not being properly pollinated. You can try hand-pollinating the flowers by gently brushing them with a small paintbrush. Other potential causes include nutrient deficiencies, extreme temperatures, or pest infestations.
Leave a Comment