

Bathroom cleaning with vinegar soap – sounds like a science experiment, right? Well, it kind of is, but in the best way possible! I’m going to let you in on a little secret: ditching those harsh chemical cleaners and embracing the power of natural ingredients like vinegar and soap can transform your bathroom cleaning routine.
For generations, resourceful homemakers have relied on simple, readily available ingredients to keep their homes sparkling. Think about it – before the age of mass-produced cleaning products, vinegar was a staple for disinfecting and deodorizing. It’s a testament to its effectiveness that we’re still talking about it today!
Let’s face it, nobody enjoys spending hours scrubbing away at stubborn soap scum and mildew. The fumes from commercial cleaners can be overwhelming, and honestly, who knows what’s *really* in those bottles? That’s where this DIY trick comes in. I’m going to show you how to create your own powerful, all-natural bathroom cleaning with vinegar soap solution that’s not only effective but also gentle on your skin, your wallet, and the environment. Get ready to say goodbye to harsh chemicals and hello to a sparkling clean bathroom, the natural way!
DIY Sparkling Bathroom with Vinegar and Soap: My Secret Weapon!
Hey everyone! I’m so excited to share my go-to method for cleaning my bathroom using a simple, yet incredibly effective, combination: vinegar and soap! Forget those harsh chemicals and expensive cleaners – this DIY solution is budget-friendly, eco-conscious, and leaves your bathroom sparkling clean. I’ve been using this method for years, and trust me, it works wonders. Let’s dive in!
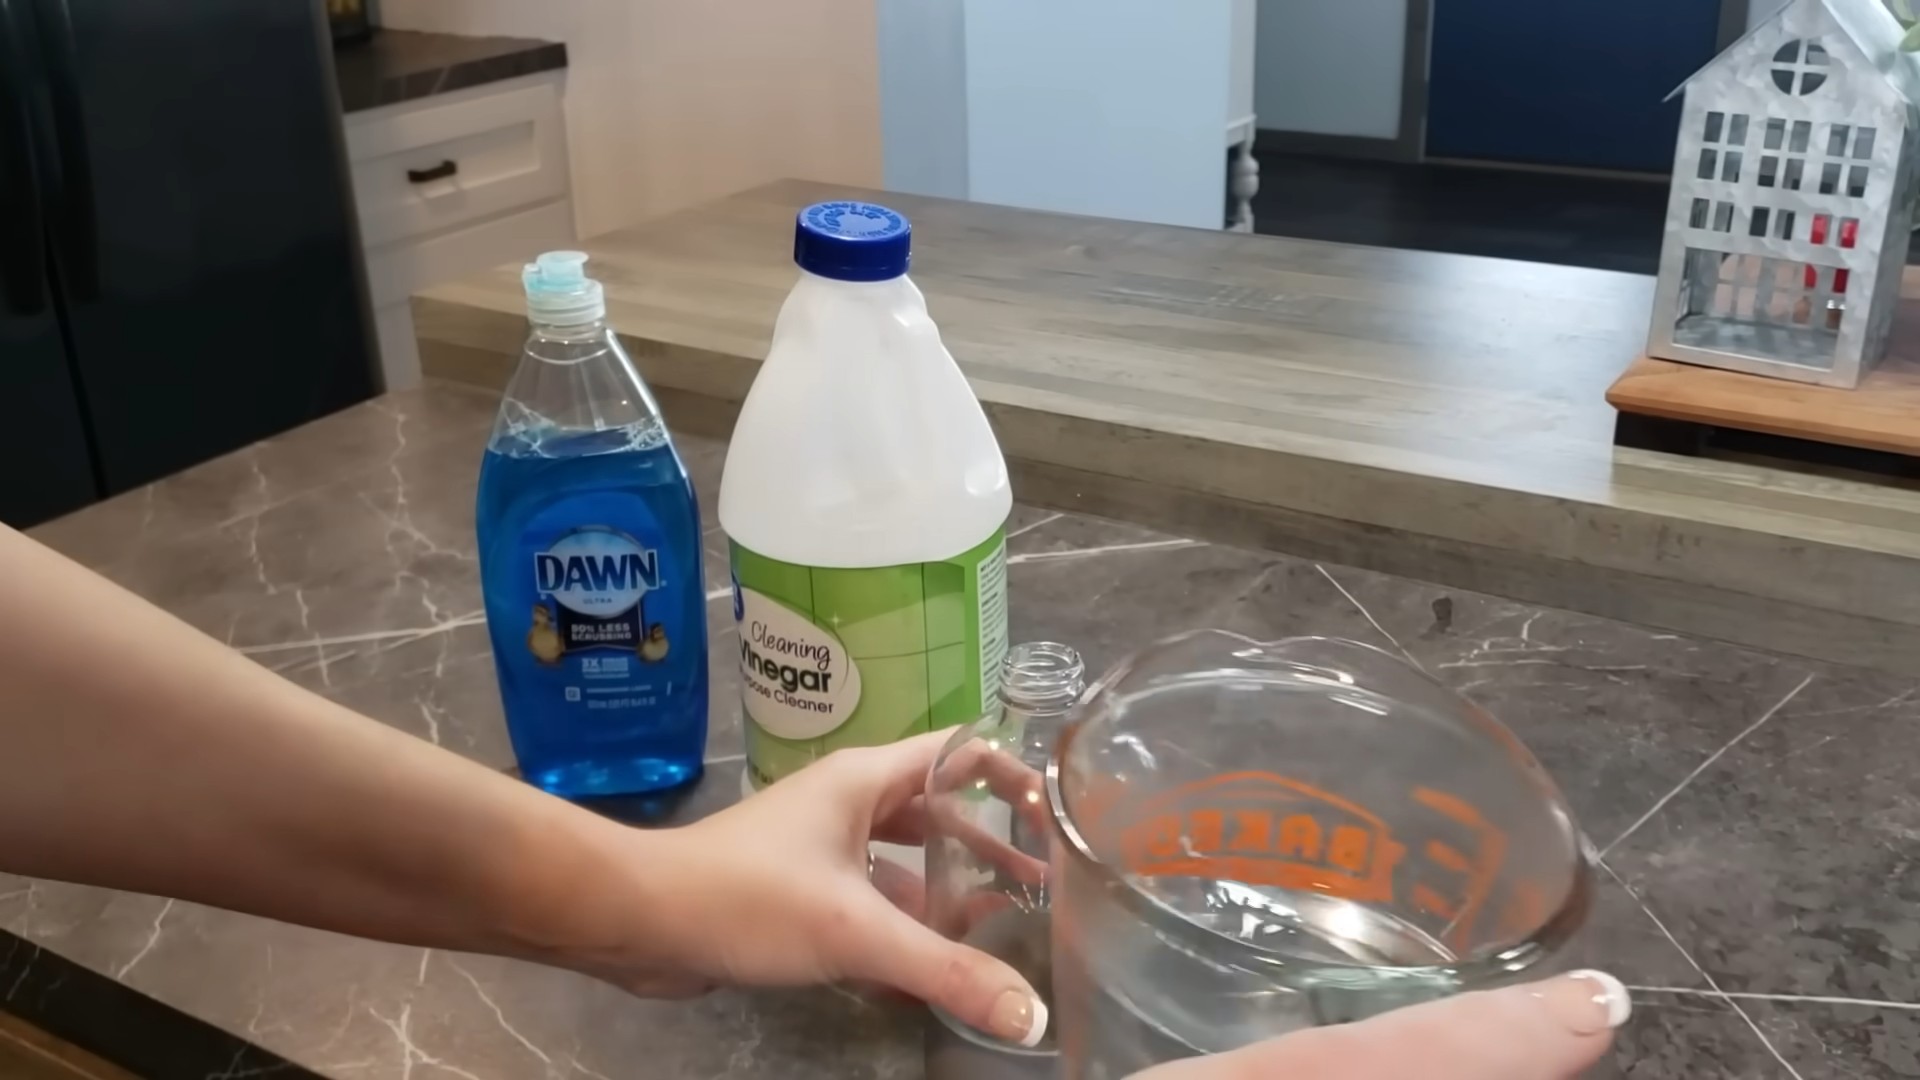
What You’ll Need:
Before we get started, let’s gather our supplies. This is a pretty straightforward process, so you probably already have most of these items on hand.
* White Vinegar: The star of the show! Its acidity helps break down grime, soap scum, and hard water stains.
* Dish Soap: I prefer using a natural dish soap, but any dish soap will work. It helps to lift dirt and grease.
* Spray Bottle: For easy application of our cleaning solution.
* Microfiber Cloths: These are my go-to for cleaning because they’re super absorbent and won’t scratch surfaces.
* Scrub Brush: For tackling stubborn stains and grout. An old toothbrush works great for tight corners!
* Squeegee: To keep your shower doors and walls streak-free.
* Gloves: To protect your hands from the vinegar.
* Baking Soda (Optional): For extra scrubbing power on tough stains.
* Essential Oils (Optional): A few drops of your favorite essential oil can add a pleasant scent. Lavender, tea tree, or lemon are great choices!
Creating the Vinegar and Soap Cleaning Solution
This is the easiest part! We’re going to mix our vinegar and soap to create our super-powered cleaning solution.
1. Prepare the Spray Bottle: Grab your empty spray bottle.
2. Add Vinegar: Pour about 1 cup of white vinegar into the spray bottle.
3. Add Dish Soap: Add about 1 tablespoon of dish soap to the vinegar.
4. Optional: Add Essential Oils: If you’re using essential oils, add a few drops (5-10) to the mixture.
5. Mix Gently: Gently swirl the bottle to combine the ingredients. Avoid shaking vigorously, as this can create excessive bubbles.
6. Label the Bottle: It’s always a good idea to label your cleaning solutions so you know what’s inside!
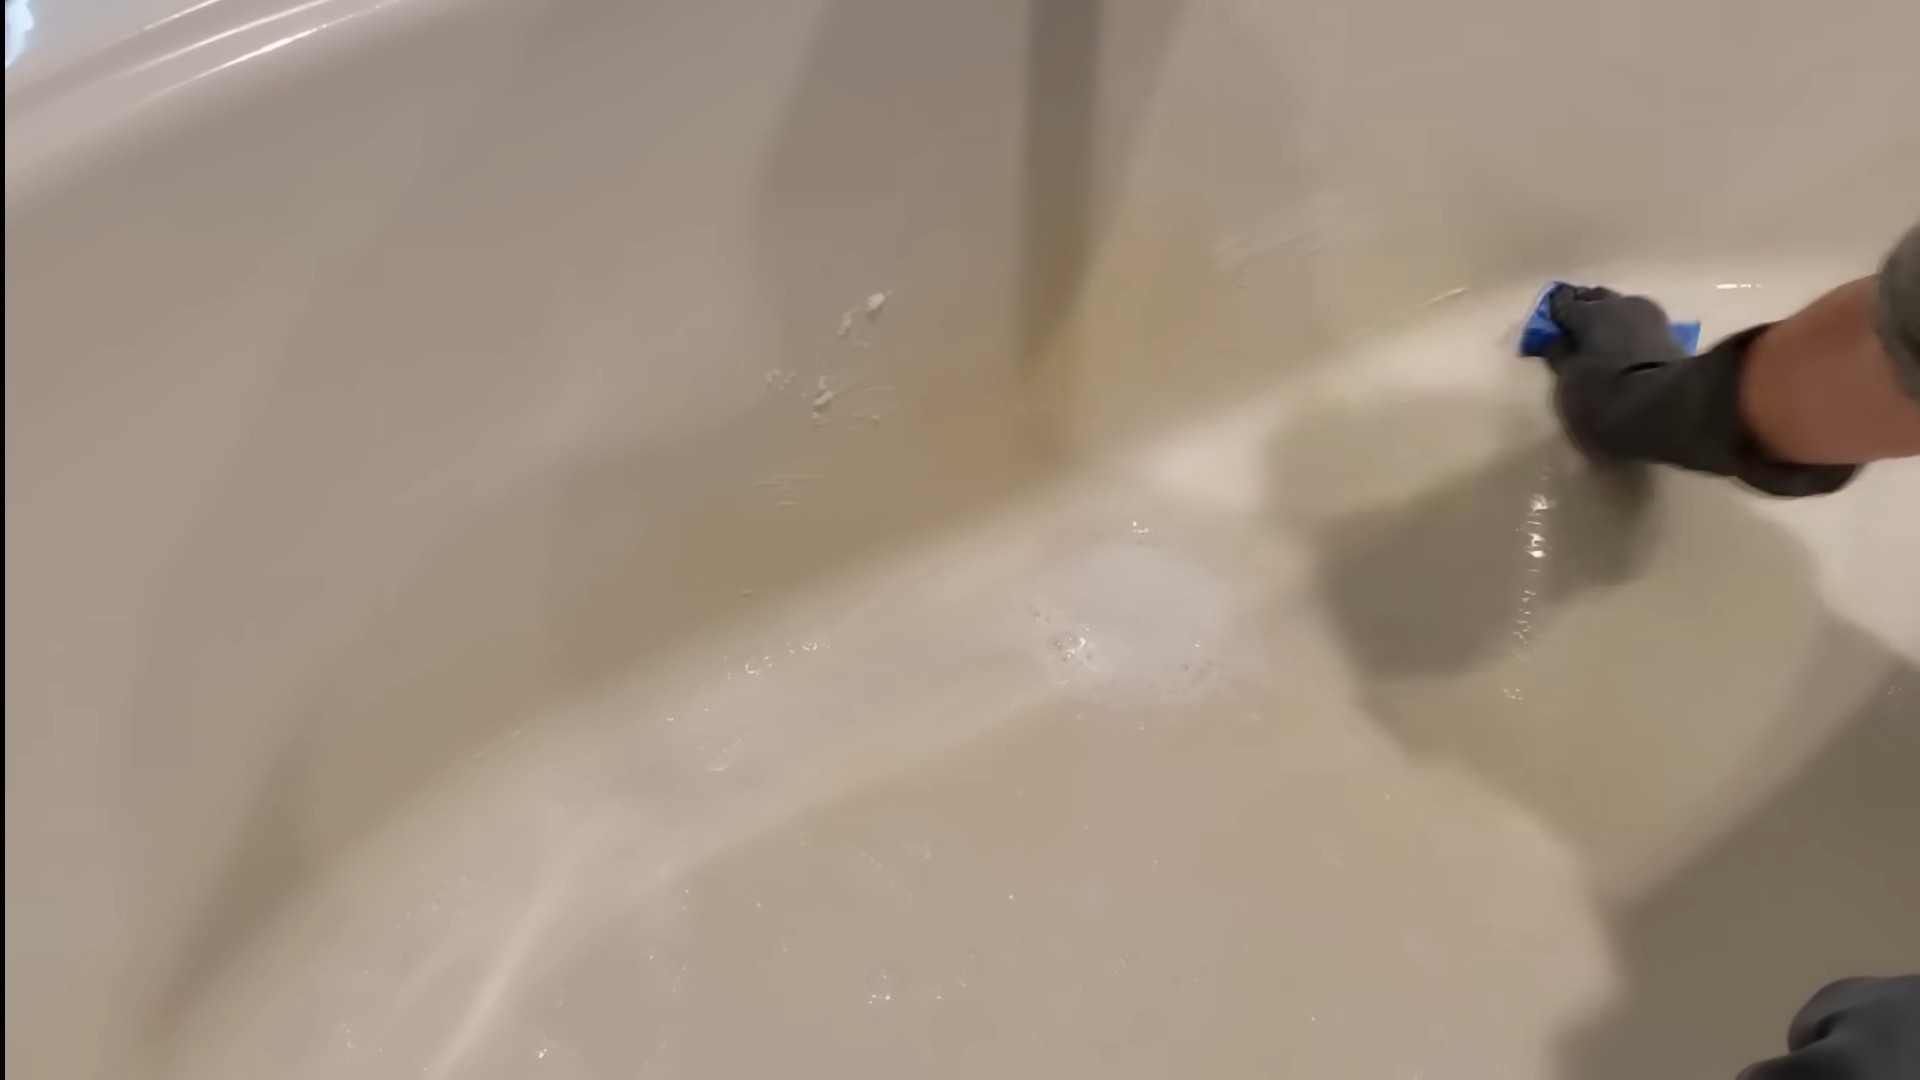
Cleaning the Shower and Tub
This is where the magic happens! We’re going to tackle the shower and tub, banishing soap scum and grime.
1. Spray the Surfaces: Generously spray the vinegar and soap solution onto all surfaces of your shower and tub, including the walls, floor, and fixtures.
2. Let it Sit: Allow the solution to sit for at least 15-20 minutes. This gives the vinegar time to break down the grime. For really tough buildup, you can let it sit for up to an hour.
3. Scrub: After the solution has had time to soak, use your scrub brush or microfiber cloth to scrub the surfaces. Pay extra attention to areas with stubborn stains or soap scum. For grout, use a grout brush or an old toothbrush to get into those tight spaces.
4. Rinse Thoroughly: Rinse all surfaces thoroughly with warm water. Make sure to remove all traces of the cleaning solution.
5. Squeegee (Shower Doors and Walls): Use a squeegee to remove excess water from shower doors and walls. This will help prevent water spots and keep your shower looking cleaner for longer.
6. Dry with a Microfiber Cloth: Use a clean, dry microfiber cloth to dry any remaining water spots.
Cleaning the Toilet
The toilet can be a breeding ground for bacteria, so let’s give it a good cleaning!
1. Flush the Toilet: Flush the toilet to clear out any debris.
2. Spray the Bowl: Spray the inside of the toilet bowl with the vinegar and soap solution.
3. Let it Sit: Let the solution sit for at least 15-20 minutes.
4. Scrub the Bowl: Use a toilet brush to scrub the inside of the bowl, paying attention to the waterline and any stains.
5. Flush Again: Flush the toilet to rinse away the cleaning solution and any debris.
6. Clean the Exterior: Spray the exterior of the toilet, including the seat, lid, and base, with the vinegar and soap solution.
7. Wipe Clean: Wipe the exterior surfaces clean with a microfiber cloth.
Cleaning the Sink and Countertop
Let’s move on to the sink and countertop, where toothpaste splatters and other messes tend to accumulate.
1. Clear the Area: Remove any items from the sink and countertop.
2. Spray the Surfaces: Spray the sink and countertop with the vinegar and soap solution.
3. Let it Sit: Let the solution sit for a few minutes to loosen any grime.
4. Wipe Clean: Wipe the surfaces clean with a microfiber cloth.
5. Rinse (If Necessary): If there’s any residue, rinse the surfaces with water.
6. Dry with a Microfiber Cloth: Dry the surfaces with a clean, dry microfiber cloth.
7. Clean the Faucet: Don’t forget to clean the faucet! Spray it with the vinegar and soap solution, let it sit for a minute, and then wipe it clean with a microfiber cloth.
Cleaning the Mirror
Streaky mirrors are a pet peeve of mine! Here’s how to get a sparkling, streak-free mirror using our vinegar and soap solution.
1. Spray the Mirror: Lightly spray the mirror with the vinegar and soap solution. Be careful not to oversaturate the mirror, as this can cause streaks.
2. Wipe Clean: Use a clean, dry microfiber cloth to wipe the mirror clean. Use a circular motion to remove any streaks.
3. Buff (Optional): For an extra-sparkling finish, buff the mirror with a clean, dry microfiber cloth.
Dealing with Stubborn Stains (Baking Soda Power!)
Sometimes, you’ll encounter stains that are a little more stubborn. That’s where baking soda comes in!
1. Create a Paste: Mix baking soda with a small amount of water to create a paste.
2. Apply to the Stain: Apply the paste to the stubborn stain.
3. Let it Sit: Let the paste sit for 15-20 minutes.
4. Scrub: Use a scrub brush or microfiber cloth to scrub the stain.
5. Rinse Thoroughly: Rinse the area thoroughly with water.
6. Repeat if Necessary: If the stain is still visible, repeat the process.
Tips and Tricks for a Sparkling Bathroom
Here are a few extra tips to help you keep your bathroom sparkling clean:
* Ventilate the Bathroom: Always open a window or turn on the exhaust fan when cleaning the bathroom. This will help to remove moisture and prevent mold and mildew growth.
* Clean Regularly: The more often you clean your bathroom, the easier it will be to keep it clean. Aim to clean your bathroom at least once a week.
* Prevent Soap Scum: To prevent soap scum buildup, switch to liquid soap instead of bar soap.
* Dry Surfaces After Use: After showering or bathing, dry the shower walls and doors with a squeegee or towel to prevent water spots and mildew growth.
* Store Cleaning Supplies Properly: Store your cleaning supplies in a cool, dry place, away from children and pets.
* Don’t Mix Cleaners: Never mix different cleaning products together, as this can create dangerous fumes. Especially avoid mixing bleach with vinegar.
Why This Works: The Science Behind the Sparkle
You might be wondering why this simple combination of vinegar and soap is so effective. Here’s a little science to explain it:
* Vinegar’s Acidity: Vinegar is a mild acid, which helps to break down alkaline substances like soap scum, hard water stains, and mineral deposits.
* Soap’s Surfactants: Soap contains surfactants, which are molecules that have both water-loving (hydrophilic) and grease-loving (lipophilic) properties. This allows soap to lift dirt and grease from surfaces and suspend them in water, so they can be easily rinsed away.
* The Combination: When you combine vinegar and soap, you get a powerful cleaning solution that can tackle a wide range of bathroom messes. The vinegar breaks down the grime, and the soap lifts it away.
My Final Thoughts
I hope you found this DIY bathroom cleaning guide helpful! I truly believe that using vinegar and soap is a fantastic way to keep your bathroom clean, healthy, and eco
Conclusion
So, there you have it! Mastering the art of bathroom cleaning with vinegar soap is not just a cleaning hack; it’s a gateway to a sparkling clean bathroom, a healthier home, and a lighter environmental footprint. We’ve explored the simplicity and effectiveness of this DIY solution, highlighting its cost-effectiveness and eco-friendliness compared to harsh chemical cleaners.
But why is this DIY trick a must-try? Because it works! The combination of vinegar and soap creates a powerful cleaning duo that tackles grime, soap scum, hard water stains, and even mildew, all without the need for toxic chemicals that can irritate your skin and lungs. You’re not just cleaning; you’re creating a safer and healthier environment for yourself and your family.
Beyond its effectiveness, this method is incredibly versatile. Feel free to experiment with different essential oils to customize the scent to your liking. Lavender, tea tree, eucalyptus, and lemon are all excellent choices for a fresh and invigorating bathroom aroma. For tougher stains, consider letting the vinegar soap solution sit for a longer period before scrubbing. You can also add a bit of baking soda to the mix for extra scrubbing power on stubborn areas like grout.
Don’t be afraid to adjust the ratios of vinegar and soap to suit your specific needs and preferences. Some people prefer a stronger vinegar solution for its disinfecting properties, while others prefer a milder solution for everyday cleaning. The beauty of DIY is that you have complete control over the ingredients and their concentrations.
We understand that switching to a DIY cleaning routine can seem daunting at first, but we promise you, the results are worth it. Not only will you be saving money and reducing your exposure to harmful chemicals, but you’ll also be contributing to a more sustainable lifestyle.
We wholeheartedly encourage you to give this bathroom cleaning with vinegar soap a try. Embrace the simplicity, enjoy the fresh scent, and revel in the satisfaction of a sparkling clean bathroom achieved with natural ingredients.
But the journey doesn’t end here! We want to hear about your experiences. Did you find this method effective? What variations did you try? What challenges did you encounter? Share your tips, tricks, and feedback in the comments below. Let’s create a community of DIY cleaning enthusiasts who are passionate about creating healthier homes and a cleaner planet. Your insights could inspire others to make the switch and experience the benefits of bathroom cleaning with vinegar soap for themselves. So, go ahead, give it a try, and let us know what you think! We can’t wait to hear from you.
Frequently Asked Questions (FAQs)
What kind of vinegar should I use for bathroom cleaning?
White distilled vinegar is the best choice for cleaning. It’s inexpensive, readily available, and has a high acidity level that makes it effective at dissolving grime, soap scum, and hard water stains. Avoid using other types of vinegar, such as apple cider vinegar or balsamic vinegar, as they may contain sugars or pigments that could stain surfaces.
What kind of soap should I use?
Castile soap is a great option because it’s natural, gentle, and effective at cleaning. It’s also biodegradable, making it an environmentally friendly choice. You can use liquid castile soap or a bar of castile soap that you grate into the vinegar solution. Other options include dish soap, but be sure to choose a brand that is free of harsh chemicals and dyes. Avoid using hand soap, as it may contain moisturizers that can leave a residue on surfaces.
Will the vinegar smell linger in my bathroom?
The vinegar smell will dissipate quickly after cleaning. To help neutralize the odor, you can open a window or turn on the bathroom fan. You can also add a few drops of essential oils to the vinegar soap solution to create a more pleasant scent. Lavender, tea tree, eucalyptus, and lemon are all popular choices for bathroom cleaning.
Is vinegar soap safe to use on all bathroom surfaces?
Vinegar soap is generally safe to use on most bathroom surfaces, including tile, porcelain, glass, and stainless steel. However, it’s important to avoid using it on natural stone surfaces like marble or granite, as the acidity of the vinegar can etch or damage these materials. Also, avoid using it on waxed surfaces, as it can strip the wax. Always test the solution on a small, inconspicuous area before applying it to the entire surface.
How often should I clean my bathroom with vinegar soap?
The frequency of cleaning depends on how often your bathroom is used and how dirty it gets. For general cleaning, once a week is usually sufficient. However, you may need to clean more frequently if you have a large family or if your bathroom is prone to mildew or soap scum buildup.
Can I use vinegar soap to clean my toilet?
Yes, vinegar soap is an effective toilet cleaner. Simply pour the solution into the toilet bowl, let it sit for a few minutes, and then scrub with a toilet brush. You can also use a spray bottle to apply the solution to the outside of the toilet.
How do I get rid of stubborn soap scum with vinegar soap?
For stubborn soap scum, try letting the vinegar soap solution sit on the affected area for a longer period of time, such as 15-20 minutes, before scrubbing. You can also add a bit of baking soda to the mix for extra scrubbing power. Make a paste of baking soda and vinegar soap, apply it to the soap scum, let it sit for a few minutes, and then scrub with a sponge or brush.
Can I store the vinegar soap solution for later use?
Yes, you can store the vinegar soap solution in a spray bottle or other airtight container for later use. It’s best to store it in a cool, dark place to prevent the vinegar from losing its potency. The solution should last for several weeks or even months.
Is vinegar soap safe for septic systems?
Yes, vinegar soap is generally safe for septic systems. Vinegar is a natural substance that breaks down quickly and doesn’t contain any harsh chemicals that can harm the beneficial bacteria in your septic tank. However, it’s always a good idea to use cleaning products sparingly, even those that are considered septic-safe.
What if I don’t have castile soap? What can I substitute?
If you don’t have castile soap, you can substitute it with a mild dish soap that is free of harsh chemicals and dyes. Look for a dish soap that is labeled as “natural” or “eco-friendly.” Avoid using hand soap, as it may contain moisturizers that can leave a residue on surfaces.
Can I add baking soda to the vinegar soap solution?
Yes, adding baking soda to the vinegar soap solution can create a powerful cleaning combination. The baking soda acts as a mild abrasive, helping to scrub away stubborn grime and soap scum. However, be aware that baking soda and vinegar will react and create fizzing, so add the baking soda slowly and in a well-ventilated area.
What essential oils are best for bathroom cleaning with vinegar soap?
Several essential oils are well-suited for bathroom cleaning due to their antibacterial, antifungal, and antiviral properties, as well as their pleasant scents. Some popular choices include:
* Lavender: Known for its calming and relaxing scent, lavender also has antibacterial and antifungal properties.
* Tea Tree: A powerful antiseptic and antifungal oil, tea tree is great for fighting mildew and mold.
* Eucalyptus: With its refreshing and invigorating scent, eucalyptus also has antibacterial and antiviral properties.
* Lemon: A bright and citrusy scent, lemon is a natural degreaser and disinfectant.
* Peppermint: A refreshing and energizing scent, peppermint also has antibacterial properties.
When using essential oils, add a few drops to the vinegar soap solution and shake well before using. Always test the solution on a small, inconspicuous area before applying it to the entire surface.
How can I make the vinegar soap solution more effective for cleaning grout?
For cleaning grout, you can create a paste of baking soda and vinegar soap. Apply the paste to the grout lines, let it sit for 15-20 minutes, and then scrub with a grout brush or an old toothbrush. Rinse thoroughly with water. You can also use a steam cleaner to help loosen the dirt and grime in the grout lines before cleaning with the vinegar soap solution.
What are the benefits of using vinegar soap for bathroom cleaning compared to commercial cleaners?
Using vinegar soap for bathroom cleaning offers several benefits compared to commercial cleaners:
* Cost-effective: Vinegar and soap are inexpensive and readily available, making vinegar soap a much cheaper alternative to commercial cleaners.
* Eco-friendly: Vinegar and soap are biodegradable and don’t contain any harsh chemicals that can harm the environment.
* Non-toxic: Vinegar soap is safe for your family and pets, as it doesn’t contain any toxic chemicals that can irritate your skin or lungs.
* Effective: Vinegar soap is effective at cleaning grime, soap scum, hard water stains, and mildew.
* Versatile: You can customize the scent of vinegar soap by adding essential oils.
By making the switch to bathroom cleaning with vinegar soap, you can save money, protect the environment, and create a healthier home for yourself and your family.


Leave a Comment