

Bag Tying Hack: Are you tired of struggling with flimsy plastic bags that rip, tear, or simply refuse to stay closed? I know I am! There’s nothing more frustrating than carefully bagging up your garden waste, only to have it spill all over the place because the knot came undone.
Believe it or not, the simple act of tying a bag has a surprisingly long history. From ancient sailors securing their cargo to modern-day gardeners managing their compost, the need to effectively close a bag has been a constant throughout human history. While we might not think of it as a particularly glamorous skill, mastering a reliable bag tying hack can save you time, frustration, and even money in the long run.
In today’s world, where sustainability and resourcefulness are more important than ever, learning clever DIY tricks for everyday tasks is essential. This simple hack isn’t just about convenience; it’s about reducing waste, keeping your garden tidy, and making your life a little bit easier. So, ditch those complicated knots and frustrating ties! I’m going to share a super simple, yet incredibly effective, bag tying method that will change the way you manage your garden waste forever. Get ready to say goodbye to spills and hello to perfectly secured bags!
The Ultimate Bag Tying Hack: Never Struggle Again!
Okay, friends, let’s talk about something we all deal with: tying bags. Whether it’s a trash bag, a grocery bag, or even a bag of dog food, getting a secure knot can sometimes feel like wrestling an octopus. But fear not! I’m going to share my absolute favorite bag-tying hack that will change your life (or at least make your chore routine a little smoother). This method is super strong, easy to learn, and works on almost any type of bag. Let’s dive in!
What You’ll Need
Honestly, that’s the beauty of this hack – you don’t need anything special! Just the bag you want to tie.
The Secret: The Surgeon’s Knot Variation
This isn’t your grandma’s overhand knot. We’re using a variation of the surgeon’s knot, which adds an extra twist for superior holding power. Think of it as the knot equivalent of a superhero.
Step-by-Step Instructions
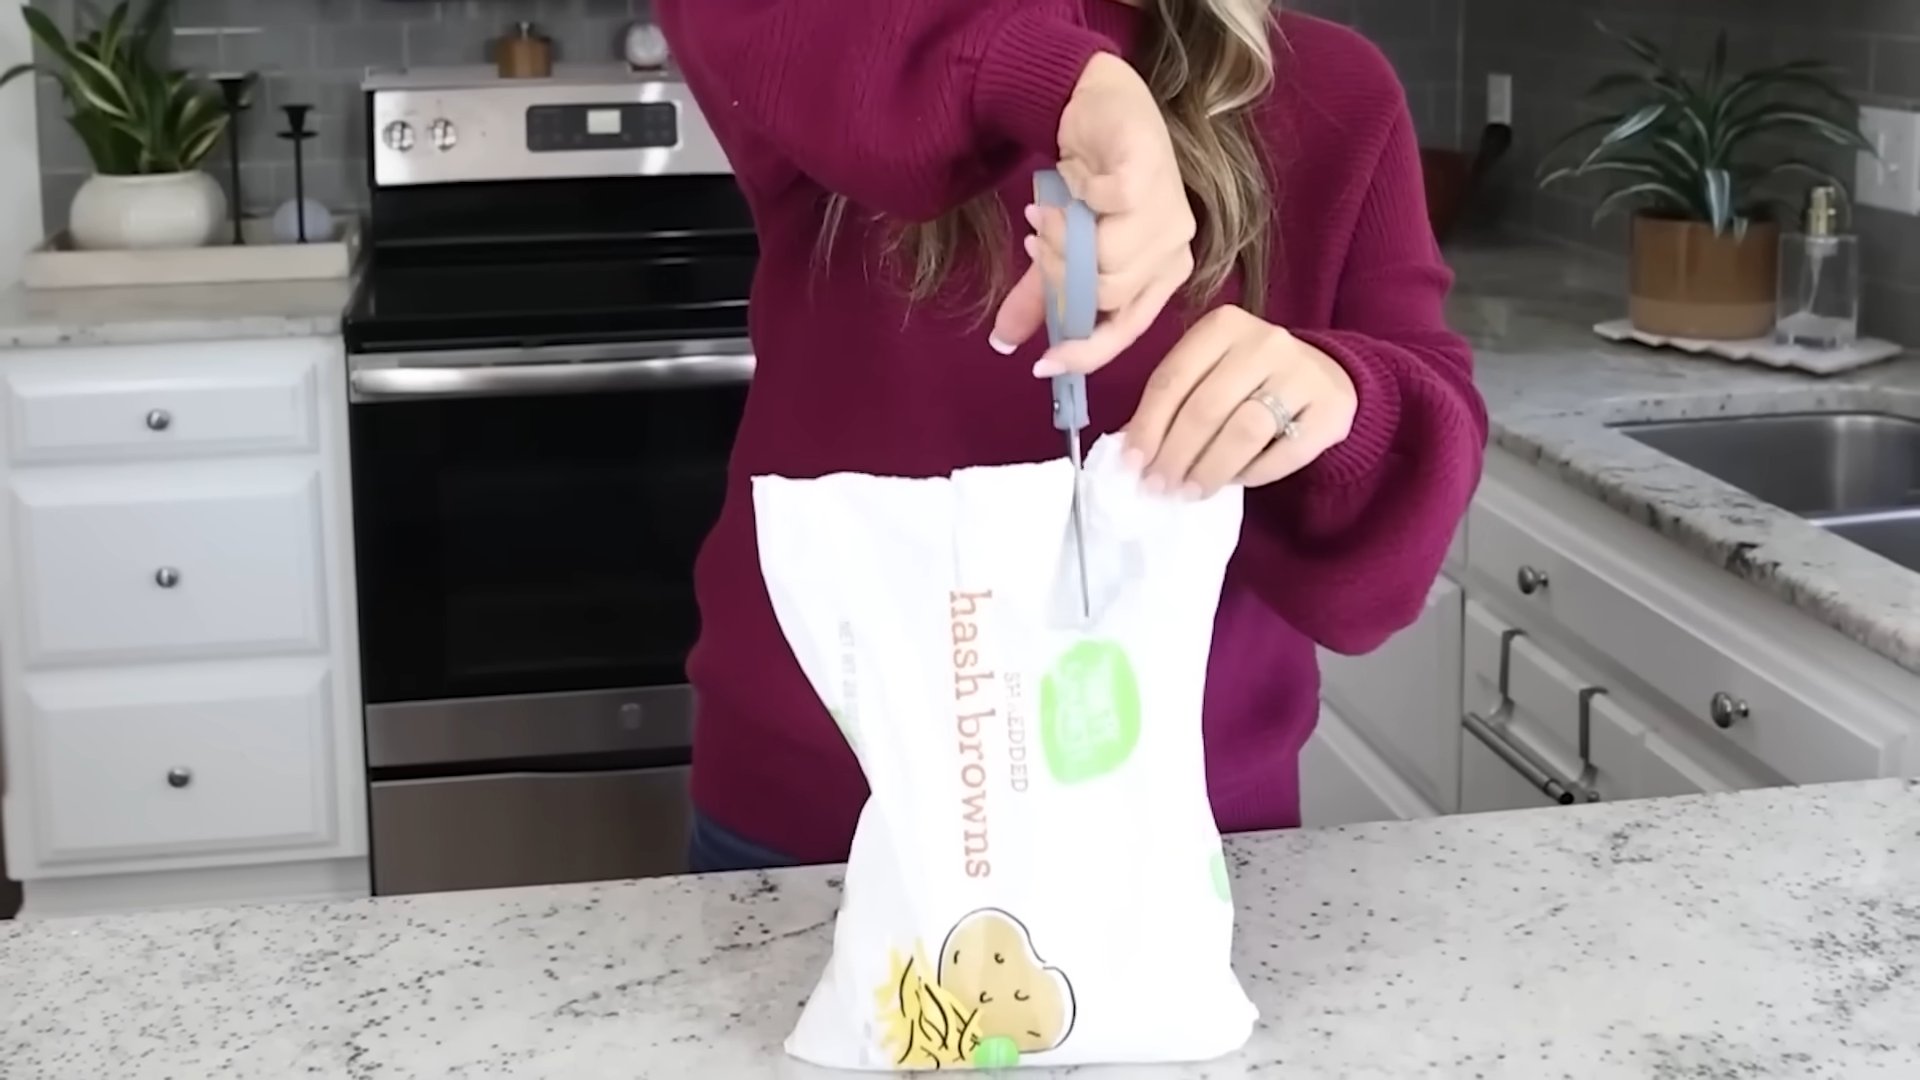
1. Gather the Bag Opening: First, gather the opening of your bag. Make sure you have enough excess material to work with. You don’t want it so tight that it’s difficult to manipulate, but you also don’t want a ton of extra slack. Aim for a comfortable handful.
2. Create the Initial Loop: Now, form a simple loop with the gathered opening. Just like you’re starting to tie a regular knot. Hold the loop firmly in one hand.
3. The First Pass: Take the end of the bag opening (the part you’re going to use to tie the knot) and pass it *through* the loop. This is just like the first step of tying a shoelace.
4. The Second Pass (The Surgeon’s Twist!): This is where the magic happens! Instead of just pulling the end through once, pass it through the loop *again*. Yes, twice! This extra twist is what gives the knot its incredible strength.
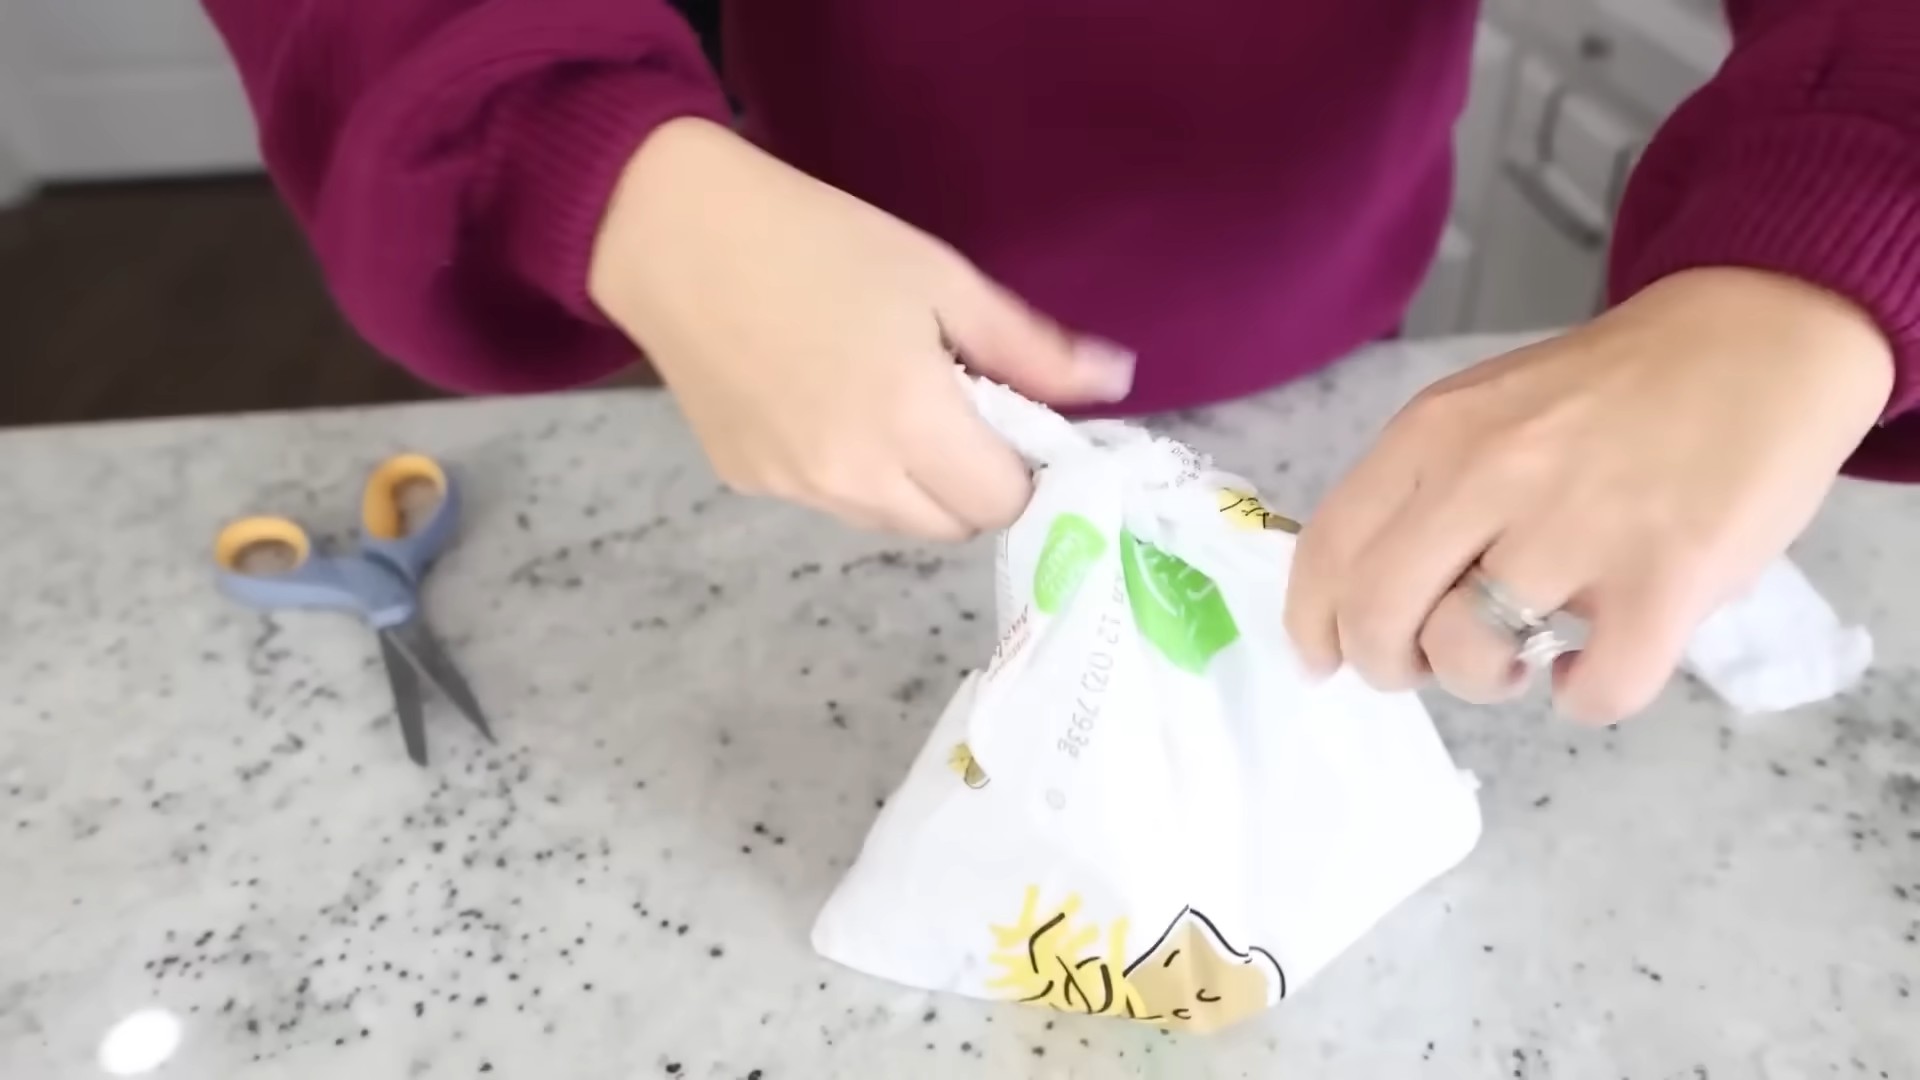
5. Tighten the Knot (Gently!): Now, slowly and carefully tighten the knot. Pull on both ends of the bag opening to cinch it down. Be gentle at first to make sure the knot forms correctly. You want it to be snug, but not so tight that you risk tearing the bag, especially if it’s a thinner plastic bag.
6. Check for Security: Give the knot a little tug. It should feel very secure. If it seems loose or like it might slip, you can tighten it a bit more. The beauty of the surgeon’s knot is that it’s designed to hold under pressure.
7. Trim the Excess (Optional): If you have a lot of excess bag material hanging off the knot, you can trim it with scissors. This is purely for aesthetic purposes, though. The knot will hold just fine even with the extra material. I usually leave a little bit, just in case I need to adjust the knot later.
Troubleshooting and Tips
* Bag Material Matters: This knot works great on most bags, but the type of material can affect how well it holds. Thicker plastic bags, like trash bags, will hold the knot very securely. Thinner plastic bags, like grocery bags, might require a little more finesse when tightening to avoid tearing.
* Too Much Slack: If you have too much slack in the bag opening when you start, the knot might be bulky and not as secure. Try gathering the opening a little tighter before forming the loop.
* Not Enough Slack: Conversely, if you don’t have enough slack, the knot will be difficult to tie and might put too much stress on the bag material. Make sure you have enough excess to comfortably form the loop and pass the end through twice.
* Practice Makes Perfect: Like any new skill, this knot might take a little practice to master. Don’t get discouraged if you don’t get it perfect on the first try. Just keep practicing, and you’ll be tying bags like a pro in no time!
* For Slippery Bags: Some bags, especially those made of very smooth or slippery plastic, can be tricky to tie. For these bags, you might want to try adding an extra twist to the surgeon’s knot (passing the end through the loop three times instead of two). This will provide even more friction and help the knot hold securely.
* Consider the Contents: Think about what’s *in* the bag. If it’s something heavy or bulky, you’ll want to make sure the knot is extra secure. You might even consider using a double surgeon’s knot (passing the end through the loop twice, then tying another surgeon’s knot on top of the first one).
When to Use This Hack
This bag-tying hack is incredibly versatile. Here are just a few situations where it comes in handy:
* Trash Bags: This is my go-to knot for trash bags. It’s strong enough to hold even heavy loads of garbage, and it prevents leaks and spills.
* Grocery Bags: Perfect for securing grocery bags, especially if you’re carrying heavy items.
* Pet Food Bags: Keeps pet food fresh and prevents pests from getting in.
* Yard Waste Bags: Ideal for tying up leaves, grass clippings, and other yard waste.
* Storage Bags: Use it to seal storage bags containing clothes, blankets, or other items.
* Any Bag That Needs a Secure Closure: Seriously, this knot works on just about any type of bag that needs a reliable closure.
Why This Hack is Superior
You might be thinking, “Why bother learning a new knot? My old method works just fine.” And that’s perfectly valid! But here’s why I think this surgeon’s knot variation is superior:
* Strength: The extra twist provides significantly more holding power than a standard overhand knot. This means the knot is less likely to slip or come undone, even under heavy loads.
* Security: The knot is very secure, preventing leaks, spills, and unwanted access to the bag’s contents.
* Ease of Use: Once you get the hang of it, this knot is incredibly easy and quick to tie.
* Versatility: It works on a wide variety of bag types and materials.
* Peace of Mind: Knowing that your bags are securely tied gives you peace of mind, especially when dealing with messy or heavy items.
A Visual Aid (Imagine a GIF Here!)
If you’re still having trouble visualizing the steps, try searching online for a GIF or video tutorial of the surgeon’s knot. Seeing it in action can make a huge difference! I wish I could embed one here, but hopefully, my detailed instructions are clear enough.
Practice Makes Perfect!
Don’t be discouraged if you don’t get it right away. Like any new skill, tying this knot takes a little practice. Grab a few empty bags and practice until you feel comfortable with the technique. Once you master it, you’ll be amazed at how much easier and more secure your bag-tying routine becomes.
Beyond the Basics: Variations and Advanced Techniques
While the basic surgeon’s knot variation is incredibly effective, there are a few variations and advanced techniques you can try to further enhance its performance:
* The Double Surgeon’s Knot: As mentioned earlier, this involves tying two surgeon’s knots on top of each other. This is ideal for extremely heavy or valuable items where maximum security is essential.
* The Surgeon’s Knot with a Half Hitch: After tying the surgeon’s knot, add a half hitch (a simple overhand knot) on top of it. This provides an extra layer of security and prevents the knot from loosening over time.
* Using Twine or String: For very large or heavy bags, you can use a separate piece of twine or string to tie the surgeon’s knot. This provides extra strength and durability. Simply gather the bag opening, wrap the twine around it, and then tie the surgeon’s knot with the twine.
Common Mistakes to Avoid
To ensure your surgeon’s knot is as strong and secure as possible, avoid these common mistakes:
* Tying the Knot Too Loosely: A loose knot is a weak knot. Make sure to tighten the knot firmly, but not so tightly that you risk tearing the bag.
* Using Too Much Slack: As mentioned earlier, too much slack in the bag opening can result in a bulky and insecure knot.
* Forgetting the Second Pass: The second pass through the loop is what makes the surgeon’s knot so strong. Don’t forget to pass the end through the loop twice!
* Using the Wrong Type of Bag: While this knot works on most bags, it’s not ideal for extremely thin or fragile bags. For these bags, you might want to try a different knot or use a bag with a stronger material.
* Not Practicing: The more you practice, the better you’ll become at tying this knot. Don’t
Conclusion
So, there you have it! This simple bag tying hack is more than just a neat trick; it’s a game-changer for anyone who regularly deals with plastic bags, whether it’s in the kitchen, the garden, or anywhere else. We’ve all been there – wrestling with stubborn bags, struggling to create a secure knot, and ending up with a tangled mess. This method eliminates all of that frustration, offering a quick, easy, and surprisingly strong seal every single time.
Why is this a must-try? Because it saves you time, reduces waste (no more broken bags!), and keeps your items securely contained. Think about it: no more spills in the fridge, no more runaway garbage bags, and no more struggling to close up bags of potting soil. This simple technique offers a practical solution to a common everyday problem.
But don’t stop there! This bag tying hack is incredibly versatile. While we’ve focused on the basic method, feel free to experiment with variations. For example, if you’re dealing with a particularly heavy bag, you can reinforce the knot by looping the end through the hole twice before pulling it tight. Or, if you want an even more secure closure, try twisting the bag several times before creating the loop. You can also adapt this technique for different types of bags, from thin produce bags to thicker freezer bags. The possibilities are endless!
Consider using different materials to tie the bag. While the bag itself works perfectly well, you could also use twine, ribbon, or even a reusable zip tie for a more decorative or durable closure. This is especially useful for gifting or storing items where presentation matters.
Another variation is to create a handle while tying the bag. Before pulling the loop tight, leave a small portion of the bag extended to form a loop. This creates a convenient handle for carrying the bag, making it easier to transport groceries or other items.
We truly believe that this bag tying hack will simplify your life and make everyday tasks a little bit easier. It’s a small change that can make a big difference.
Now, it’s your turn! We encourage you to try this simple yet effective technique and see for yourself how much easier it can make your life. Once you’ve mastered it, we’d love to hear about your experience. Share your tips, variations, and success stories in the comments below. Let us know how this bag tying hack has helped you, and if you’ve discovered any new ways to use it. We’re always eager to learn from our readers and build a community of resourceful individuals. So go ahead, give it a try, and let us know what you think! We’re confident that you’ll be amazed at how simple and effective this technique is. Happy tying!
Frequently Asked Questions
What types of bags does this bag tying hack work best with?
This technique is surprisingly versatile and works well with a wide variety of plastic bags. It’s particularly effective for grocery bags, produce bags, freezer bags, and garbage bags. The key is to ensure that the bag material is flexible enough to create a loop and knot without tearing. Thicker bags, like those used for heavy-duty items, may require a slightly larger loop or a reinforced knot. Experiment with different types of bags to find what works best for you.
Is this bag tying hack really secure? Will it prevent leaks or spills?
Yes, when executed correctly, this bag tying hack creates a surprisingly secure seal. The knot formed by looping the bag end through itself creates a tight closure that is resistant to slipping or coming undone. However, the security of the seal also depends on the type of bag and the contents it holds. For liquids or messy items, it’s always a good idea to double-check the knot and consider using a thicker bag for added protection. For extra security, you can also try twisting the bag several times before creating the loop, which will further tighten the closure.
Can this bag tying hack be used for bags containing food?
Absolutely! This technique is perfectly safe for use with bags containing food. The knot is formed using the bag itself, so there’s no risk of contamination from external materials. However, it’s important to ensure that the bag is clean and free from any debris before tying it. For storing food in the refrigerator or freezer, consider using freezer bags specifically designed for food storage, as they are thicker and more resistant to tearing.
What if the bag is too short to create a loop?
If the bag is too short to create a traditional loop, there are a few alternative approaches you can try. First, try twisting the bag tightly before attempting to form the loop. This will effectively shorten the bag and make it easier to create a knot. Alternatively, you can use a small piece of tape or a rubber band to secure the bag opening before tying it. This will prevent the contents from spilling out and give you more leverage to create a loop.
Is this bag tying hack reusable? Can I easily untie the bag?
One of the great advantages of this technique is that it’s relatively easy to untie the bag when needed. Simply loosen the knot by gently pulling on the loop, and the bag should come undone. However, the ease of untying the bag also depends on how tightly the knot was tied. If you’ve created a particularly tight knot, you may need to use a bit more force to loosen it. In some cases, it may be necessary to cut the bag open, especially if the contents are delicate or you want to avoid spilling them.
Does this bag tying hack work for all sizes of bags?
While this technique is generally effective for most sizes of bags, there may be some limitations. For very large bags, such as those used for yard waste or construction debris, the loop may need to be significantly larger to create a secure knot. In these cases, it may be more practical to use a different method, such as a zip tie or a piece of rope. For very small bags, such as those used for snacks or small items, the loop may be too small to create a secure knot. In these cases, it may be more effective to simply tie the bag in a traditional knot.
Can I use this bag tying hack for bags that are already partially full?
Yes, this technique can be used for bags that are already partially full. However, it’s important to be careful not to spill the contents of the bag while tying it. To prevent spills, try to hold the bag upright and steady while creating the loop and knot. You may also want to consider using a larger loop to accommodate the contents of the bag. If the bag is very full, it may be necessary to remove some of the contents before tying it.
Are there any safety precautions I should take when using this bag tying hack?
While this technique is generally safe, there are a few precautions you should keep in mind. First, be careful not to pull the bag too tightly, as this could cause it to tear. Second, avoid using this technique for bags containing sharp or hazardous materials, as the knot may not be strong enough to prevent them from escaping. Finally, always wash your hands after handling plastic bags, as they can harbor bacteria and germs.
How does this bag tying hack help reduce waste?
This bag tying hack helps reduce waste in several ways. First, it prevents bags from tearing or breaking, which means you’re less likely to have to use multiple bags to contain your items. Second, it creates a more secure seal, which prevents spills and leaks, reducing the need to clean up messes and potentially waste food or other materials. Finally, by mastering this technique, you’re less likely to rely on disposable ties or fasteners, further reducing your environmental impact.


Leave a Comment