

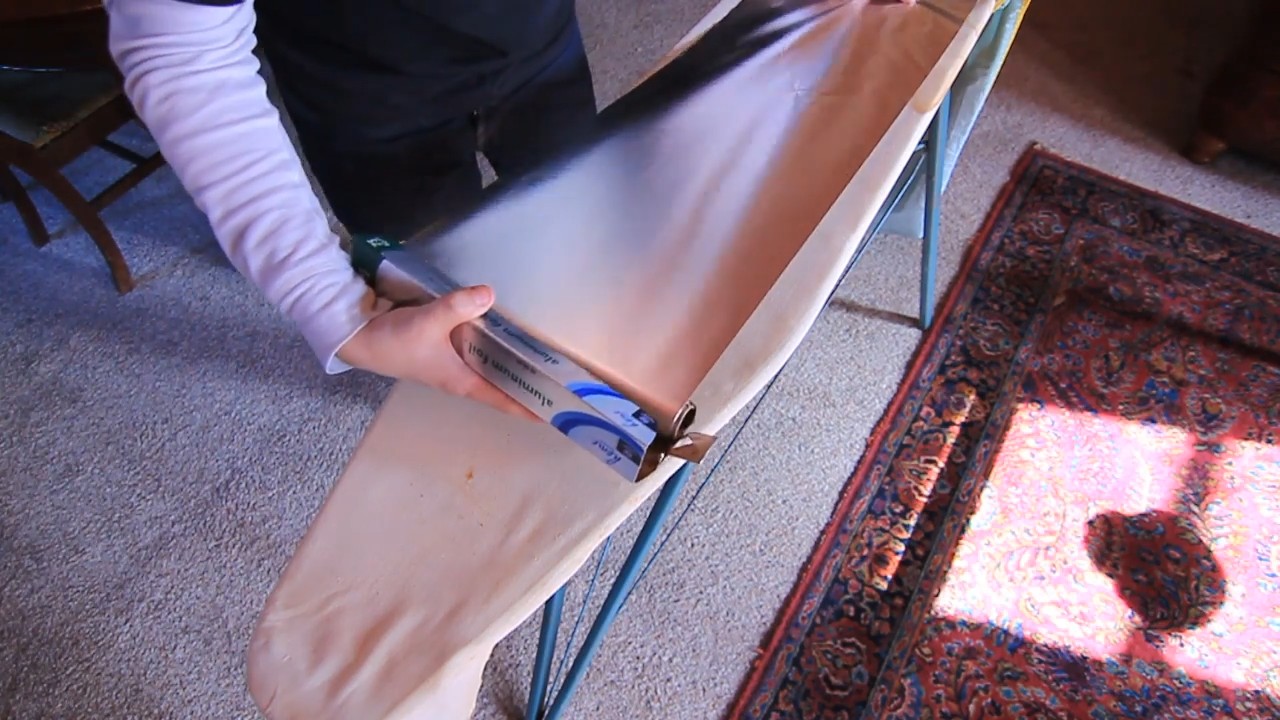
Aluminum Foil Hacks: Prepare to be amazed! Did you know that the humble roll of aluminum foil hiding in your kitchen drawer is a secret weapon for a thriving home garden? I’m not kidding! Forget expensive gadgets and complicated contraptions; this DIY guide will unlock the incredible potential of aluminum foil to boost your gardening game.
For centuries, gardeners have sought innovative ways to protect their precious plants and maximize yields. While aluminum foil might not be a traditional tool passed down through generations, its reflective properties have long been understood and utilized in various agricultural practices. Think of it as a modern twist on age-old wisdom!
Why do you need these aluminum foil hacks? Pests munching on your veggies? Sunlight not reaching all your plants? Soil drying out too quickly? Aluminum foil can tackle all these problems and more! I’m going to show you simple, cost-effective ways to use this everyday material to deter pests, reflect sunlight, retain moisture, and even sharpen your garden tools. Get ready to transform your garden with these clever and easy-to-implement tricks. Let’s get started!
Unlock the Magic: Amazing Aluminum Foil Hacks You Need to Know!
Hey there, fellow DIY enthusiasts! I’m always on the lookout for clever ways to make life easier and more efficient, and let me tell you, aluminum foil is a total game-changer. It’s not just for wrapping leftovers anymore! Get ready to be amazed by these incredible aluminum foil hacks that will simplify your life and save you money.
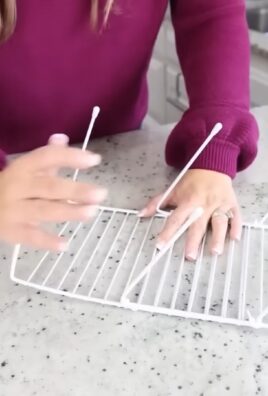
Sharpening Scissors with Aluminum Foil
Dull scissors driving you crazy? Don’t rush out to buy a new pair just yet! Aluminum foil can bring them back to life. This is one of my favorite quick fixes.
What you’ll need:
* A sheet of aluminum foil
Step-by-step instructions:
1. Fold the Foil: Take a standard sheet of aluminum foil and fold it over several times to create a thick, multi-layered strip. The more layers, the better the sharpening effect. I usually aim for about 6-8 layers.
2. Cut, Cut, Cut!: Now, grab your dull scissors and start cutting through the folded aluminum foil strip. Make several long, deliberate cuts, using the entire length of the blades. Imagine you’re cutting fabric or paper.
3. Repeat as Needed: Repeat the cutting process 5-10 times, or until you notice a significant improvement in the sharpness of your scissors. You should feel the blades gliding through the foil more easily.
4. Test and Enjoy: Test your scissors on a piece of paper or fabric. If they’re still not sharp enough, repeat the process a few more times. You’ll be surprised at how effective this simple trick is!
Boosting Wi-Fi Signal with a Foil Reflector
Is your Wi-Fi signal weak in certain areas of your home? Before you invest in a Wi-Fi extender, try this simple aluminum foil hack. It’s a surprisingly effective way to boost your signal strength.
What you’ll need:
* A sheet of aluminum foil
* Cardboard (a cereal box works great!)
* Scissors or a craft knife
* Tape or glue
Step-by-step instructions:
1. Prepare the Cardboard: Cut a piece of cardboard into a curved shape, like a shallow dish or a half-circle. The size will depend on the size of your router, but aim for something that will comfortably sit behind it. I usually use a piece about 8 inches wide and 6 inches tall.
2. Cover with Foil: Cover the curved side of the cardboard with aluminum foil, making sure to smooth out any wrinkles. Use tape or glue to secure the foil in place. The foil should be facing outwards, acting as a reflector.
3. Position the Reflector: Place the foil-covered cardboard behind your router, with the curved side facing the direction where you want to boost the Wi-Fi signal. Experiment with the angle to find the optimal position.
4. Test Your Signal: Use a Wi-Fi analyzer app on your smartphone or laptop to measure the signal strength in the area you’re trying to improve. Adjust the position of the reflector until you achieve the best possible signal.
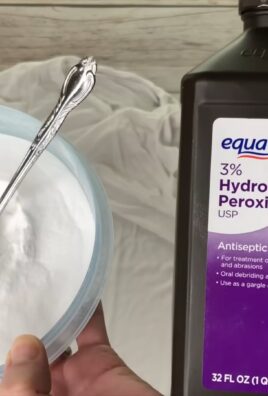
Cleaning Silverware with Aluminum Foil
Tarnished silverware looking dull and lifeless? This aluminum foil cleaning method is a safe, effective, and chemical-free way to restore its shine.
What you’ll need:
* A baking dish or pot
* Aluminum foil
* 1 cup of baking soda
* 1 cup of salt
* Boiling water
Step-by-step instructions:
1. Line the Dish: Line the bottom of your baking dish or pot with a sheet of aluminum foil, shiny side up. Make sure the foil covers the entire bottom surface.
2. Prepare the Solution: Add 1 cup of baking soda and 1 cup of salt to the dish.
3. Add Boiling Water: Carefully pour boiling water into the dish, enough to completely submerge the silverware.
4. Submerge the Silverware: Place the tarnished silverware in the dish, making sure each piece is touching the aluminum foil.
5. Let it Soak: Let the silverware soak in the solution for 5-10 minutes, or until the tarnish disappears. You’ll see the tarnish transferring to the aluminum foil.
6. Rinse and Dry: Remove the silverware from the dish, rinse it thoroughly with clean water, and dry it with a soft cloth. Your silverware will look sparkling clean!
Cleaning a Grill with Aluminum Foil
Cleaning a dirty grill can be a real chore, but aluminum foil makes it much easier. This is my go-to method for a quick and effective grill cleaning.
What you’ll need:
* A sheet of aluminum foil
* Grill brush (optional)
Step-by-step instructions:
1. Heat the Grill: Turn on your grill and let it heat up to a high temperature. This will help loosen the grease and grime.
2. Crumple the Foil: Crumple a sheet of aluminum foil into a ball. Make sure it’s large enough to hold comfortably in your hand.
3. Scrub the Grates: Using tongs or wearing heat-resistant gloves, scrub the grill grates with the aluminum foil ball. The foil will act as an abrasive, removing the burnt-on food and grease.
4. Use a Grill Brush (Optional): For stubborn areas, you can use a grill brush in combination with the aluminum foil.
5. Dispose of the Foil: Once you’ve finished cleaning the grates, dispose of the aluminum foil ball.
Making a Makeshift Funnel with Aluminum Foil
Need a funnel but don’t have one handy? Aluminum foil to the rescue! This is a great trick for pouring liquids or powders into small containers.
What you’ll need:
* A sheet of aluminum foil
Step-by-step instructions:
1. Shape the Foil: Take a sheet of aluminum foil and shape it into a cone. The size of the cone will depend on the size of the container you’re pouring into.
2. Secure the Cone: Fold over the edges of the foil to secure the cone shape. You can also use tape to hold it together.
3. Use the Funnel: Place the narrow end of the foil cone into the opening of the container you’re pouring into. Pour the liquid or powder into the wide end of the cone.
Preventing Pie Crust Burning with Aluminum Foil
Nobody likes a burnt pie crust! Aluminum foil can help prevent the edges of your pie crust from burning while the filling cooks.
What you’ll need:
* A sheet of aluminum foil
Step-by-step instructions:
1. Cut the Foil: Cut a sheet of aluminum foil into strips that are wide enough to cover the edges of your pie crust.
2. Wrap the Crust: Wrap the aluminum foil strips around the edges of the pie crust, crimping them gently to secure them in place.
3. Bake as Usual: Bake the pie according to your recipe instructions. The aluminum foil will protect the crust from burning.
4. Remove the Foil: Remove the aluminum foil during the last 15-20 minutes of baking to allow the crust to brown slightly.
Removing Static Cling with Aluminum Foil
Tired of static cling ruining your outfits? Toss a ball of aluminum foil into the dryer with your clothes to eliminate static.
What you’ll need:
* A sheet of aluminum foil
Step-by-step instructions:
1. Crumple the Foil: Crumple a sheet of aluminum foil into a ball, about the size of a tennis ball.
2. Toss in the Dryer: Toss the aluminum foil ball into the dryer with your wet clothes.
3. Dry as Usual: Dry your clothes as usual. The aluminum foil will help to dissipate static electricity, leaving your clothes cling-free.
4. Reuse the Foil: You can reuse the same aluminum foil ball for several loads of laundry.
Cleaning Iron with Aluminum Foil and Salt
Is your iron leaving scorch marks on your clothes? Clean the soleplate with aluminum foil and salt to remove residue and restore its smooth surface.
What you’ll need:
* A sheet of aluminum foil
* Salt
Step-by-step instructions:
1. Prepare the Surface: Place a sheet of aluminum foil on your ironing board.
2. Sprinkle with Salt: Sprinkle a generous amount of salt onto the aluminum foil.
3. Heat the Iron: Turn on your iron to a medium heat setting. Make sure the steam function is turned off.
4. Iron the Salt: Gently iron the salt-covered aluminum foil, using a circular motion. The salt will act as an abrasive, removing the residue from the soleplate.
5

Conclusion
So, there you have it! These aluminum foil hacks are more than just clever tricks; they’re game-changers for your kitchen, your cleaning routine, and even your beauty regimen. From sharpening dull scissors to effortlessly cleaning your grill grates, the versatility of this everyday household item is truly astounding. We’ve shown you how to transform a simple roll of aluminum foil into a powerful tool that can save you time, money, and a whole lot of elbow grease.
But why is this a must-try? Because it’s practical, accessible, and incredibly effective. In a world where we’re constantly bombarded with expensive gadgets and specialized cleaning products, these hacks offer a refreshing return to simplicity. They empower you to solve common problems with a resource you likely already have on hand. Think about the satisfaction of breathing new life into your dull scissors with just a few folds of foil, or the relief of effortlessly removing stubborn grime from your grill. These are small victories that add up to a more efficient and enjoyable life.
Looking for variations? Absolutely! For sharpening scissors, try layering the foil multiple times for an even more aggressive sharpening effect. When cleaning silver, experiment with different ratios of baking soda and salt to find what works best for your particular tarnished items. And for the dryer sheet alternative, consider adding a few drops of your favorite essential oil to the foil ball for a subtle, natural fragrance. You can even crumple the foil into different shapes for scrubbing pots and pans, tailoring it to the specific contours of the cookware. The possibilities are endless!
We wholeheartedly encourage you to give these aluminum foil hacks a try. Don’t just take our word for it; experience the magic for yourself. Start with one or two that pique your interest and see how they transform your daily routines. We’re confident that you’ll be amazed by the results.
And most importantly, we want to hear from you! Share your experiences, your successes, and even your failures in the comments below. Did you discover a new and innovative way to use aluminum foil? Did one of these hacks work particularly well for you? Your feedback is invaluable and helps us build a community of resourceful and creative individuals. Let’s learn from each other and unlock the full potential of this humble kitchen staple. Embrace the power of aluminum foil hacks and discover a world of possibilities you never knew existed!
Frequently Asked Questions
Is it safe to use aluminum foil in the microwave?
This is a common concern, and the answer is nuanced. Generally, it’s not recommended to use aluminum foil in the microwave unless specifically instructed by the microwave manufacturer or the recipe. The reason is that aluminum foil can reflect microwaves, which can cause arcing (sparks) and potentially damage the microwave. However, some microwaves are designed with shielding that allows for limited use of foil. Always consult your microwave’s manual for guidance. If you do use foil, ensure it’s smooth, covers the food completely, and doesn’t touch the microwave walls. When in doubt, err on the side of caution and avoid using foil in the microwave.
Can I reuse the aluminum foil after using it for these hacks?
It depends on the hack. For sharpening scissors, the foil is generally too damaged to be reused. For cleaning grill grates, you can often reuse the foil ball a few times, especially if you’re just removing loose debris. However, if the foil is heavily soiled or torn, it’s best to discard it. For using foil as a dryer sheet alternative, you can reuse the ball multiple times until it starts to crumble or lose its static-reducing effectiveness. Ultimately, use your best judgment and prioritize hygiene.
Does the type of aluminum foil (heavy-duty vs. regular) matter for these hacks?
In most cases, regular aluminum foil will suffice. However, for tasks that require more durability, such as cleaning heavily soiled grill grates or creating a sturdy scrubbing tool, heavy-duty foil is recommended. It’s less likely to tear or disintegrate under pressure. For tasks like sharpening scissors or using foil as a dryer sheet alternative, regular foil is perfectly adequate.
Are there any surfaces I should avoid using aluminum foil on for cleaning?
Yes, it’s important to be mindful of the surfaces you’re cleaning with aluminum foil. Avoid using it on delicate or easily scratched surfaces, such as non-stick cookware, painted surfaces, or polished metals. The abrasive nature of the foil can cause damage. Always test a small, inconspicuous area first to ensure it doesn’t scratch or dull the surface. For delicate surfaces, opt for gentler cleaning methods.
How does the aluminum foil dryer sheet alternative work?
The aluminum foil ball works as a dryer sheet alternative by neutralizing static electricity. As clothes tumble in the dryer, they rub against each other, creating an electrical charge. The aluminum foil ball acts as a conductor, dissipating this charge and preventing static cling. It’s a simple and effective way to reduce static without the use of chemicals found in traditional dryer sheets.
Can I use these aluminum foil hacks on all types of scissors?
The aluminum foil sharpening trick works best on scissors that are only slightly dull. It’s not a substitute for professional sharpening for severely damaged or very dull scissors. It’s also important to note that this trick may not be suitable for all types of scissors, such as those with serrated edges or specialized blades. Always exercise caution and avoid applying excessive pressure that could damage the scissors.
Is there any environmental impact to consider when using aluminum foil?
Yes, it’s important to be mindful of the environmental impact of aluminum foil. While aluminum is recyclable, the process of producing it is energy-intensive. To minimize your environmental footprint, try to reuse aluminum foil whenever possible. When you do discard it, make sure to clean it thoroughly and recycle it properly. Consider alternative materials for some tasks, such as reusable cloths for cleaning or reusable dryer balls for reducing static.
How often should I sharpen my scissors with aluminum foil?
The frequency of sharpening depends on how often you use your scissors and the type of materials you’re cutting. If you notice your scissors becoming dull, try the aluminum foil trick. You can repeat the process as needed, but if the scissors remain dull after several attempts, it may be time for professional sharpening.
What other uses does aluminum foil have in the kitchen?
Beyond the hacks mentioned, aluminum foil has numerous other uses in the kitchen. It can be used to line baking sheets for easy cleanup, wrap food for storage, create makeshift piping bags, tent roasts to prevent over-browning, and even polish silverware. Its versatility makes it an indispensable tool for any home cook.
Are there any safety precautions I should take when using aluminum foil for these hacks?
Always exercise caution when using sharp objects like scissors. Avoid applying excessive pressure that could cause injury. When cleaning with aluminum foil, wear gloves to protect your hands from harsh chemicals or abrasive surfaces. And as mentioned earlier, never use aluminum foil in the microwave unless specifically instructed by the manufacturer.
Leave a Comment