

Clean Kitchen Cupboards: DIY Tricks for a Sparkling Space
Clean kitchen cupboards – isn’t that the dream? Imagine opening your cupboard doors to reveal a pristine, organized space, free from sticky spills and lingering odors. This isn’t just about aesthetics; a clean and organized kitchen makes cooking a joy and contributes to a more peaceful home environment. For years, I’ve struggled with keeping my kitchen cupboards truly spotless, battling stubborn grease and grime. But through trial and error, and a little bit of ingenuity, I’ve discovered some amazing DIY tricks that have completely transformed my kitchen. This article is all about sharing those secrets with you, so you can achieve that sparkling clean kitchen you’ve always wanted.
The desire for clean and organized spaces isn’t new; throughout history, a tidy home has been associated with prosperity and well-being. From ancient Roman villas to modern minimalist apartments, the pursuit of a clean kitchen has been a constant. But modern life often leaves us short on time and resources. That’s why these Clean Kitchen Cupboards DIY solutions are so important. They’re designed to be effective, affordable, and easy to implement, even for the busiest among us.
Why You Need These DIY Tricks
Let’s face it, professional cleaning services can be expensive. And harsh chemical cleaners can be harmful to your family and the environment. These Clean Kitchen Cupboards DIY hacks offer a natural, cost-effective, and eco-friendly alternative. You’ll learn how to tackle even the most stubborn messes using ingredients you probably already have in your pantry. Get ready to reclaim your kitchen and enjoy the satisfaction of a job well done, knowing you’ve achieved a sparkling clean space without breaking the bank or compromising your health.
Deep Clean Your Kitchen Cupboards: A DIY Guide
Let’s tackle those grimy kitchen cupboards! This guide will walk you through a thorough cleaning process, leaving your cabinets sparkling and organized. I’ll share my favorite tips and tricks for achieving a professional-level clean without breaking the bank or spending hours scrubbing.
Phase 1: Preparation is Key
- Empty the Cupboards: This is the most crucial step. Take everything out – plates, bowls, spices, everything! This allows for a complete and thorough cleaning.
- Gather Your Supplies: You’ll need:
- Microfiber cloths (several, in different colors if possible to avoid cross-contamination)
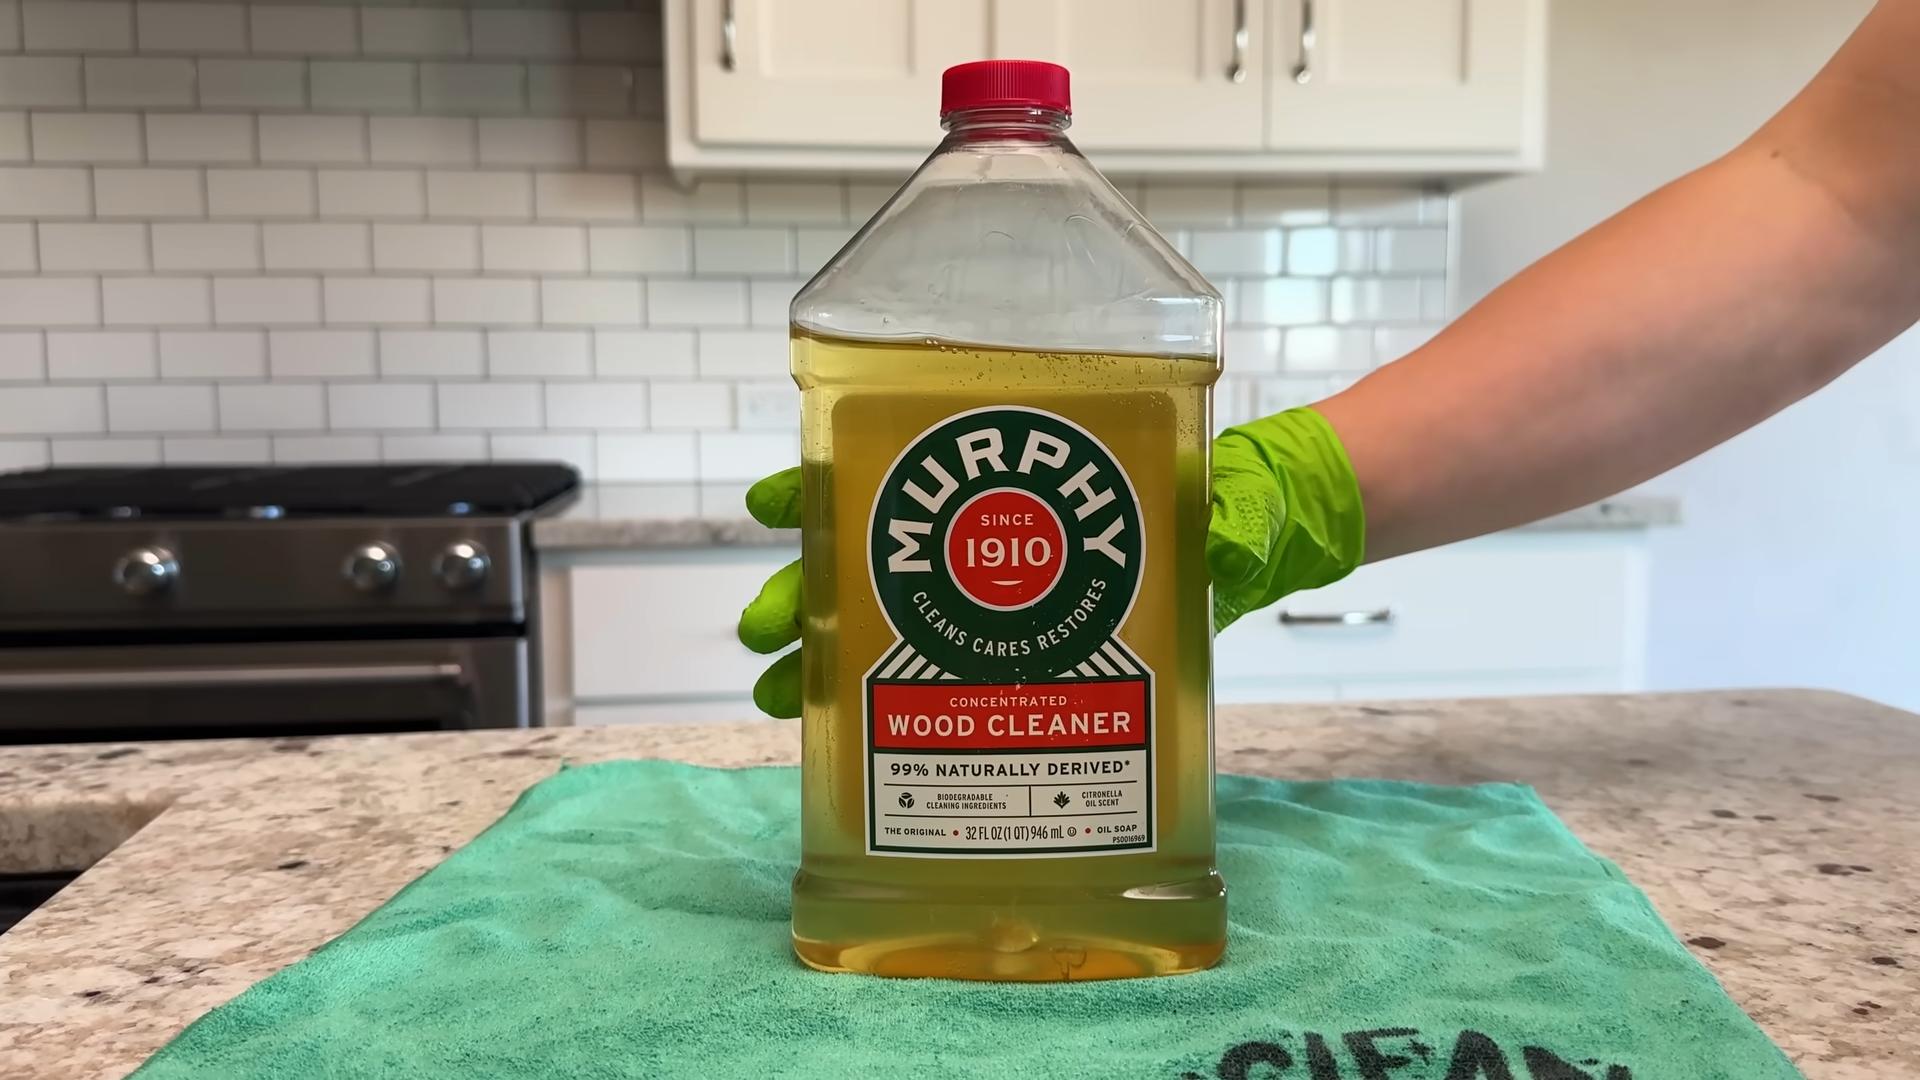
- All-purpose cleaner (I prefer a natural one, but any will do)
- Distilled white vinegar (great for cutting grease)
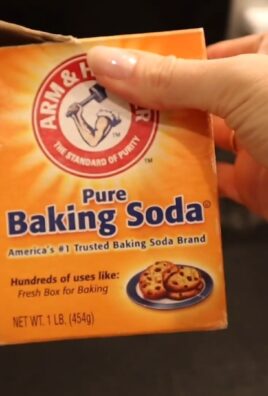
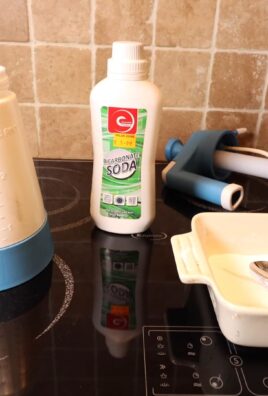
- Baking soda (a natural abrasive and deodorizer)
- Warm water
- Spray bottle
- Soft-bristled brush (an old toothbrush works wonders for detail cleaning)
- Rubber gloves (protect your hands!)
- Paper towels or clean rags
- Vacuum cleaner with a brush attachment (optional, but helpful for removing crumbs)
- Protect Your Countertops: Lay down some old towels or newspapers to protect your countertops from scratches and spills.
Phase 2: Cleaning the Cupboards
- Vacuum (Optional): If you have a vacuum with a brush attachment, gently vacuum the inside of the cupboards to remove loose crumbs and dust. This prevents spreading dirt while you wipe.
- Mix Your Cleaning Solution: In your spray bottle, combine equal parts warm water and white vinegar. Add a tablespoon or two of your all-purpose cleaner. Shake well to combine.
- Spray and Wipe: Spray the inside of your cupboards with your cleaning solution. Let it sit for a few minutes to loosen any grime or stuck-on food.
- Scrub Away: Use your microfiber cloths and soft-bristled brush to scrub the surfaces thoroughly. Pay close attention to corners, edges, and any areas with stubborn stains. For really tough spots, make a paste of baking soda and water and gently scrub with your brush.
- Rinse and Wipe: Once you’ve scrubbed everything, use a clean, damp microfiber cloth to wipe away the cleaning solution. Then, use a dry cloth to buff the surfaces to a shine.
- Tackle Sticky Spots: For particularly sticky areas, try a paste of baking soda and water. Let it sit for a few minutes before scrubbing. You can also try a magic eraser (melamine sponge), but test it in an inconspicuous area first to ensure it doesn’t damage the finish.
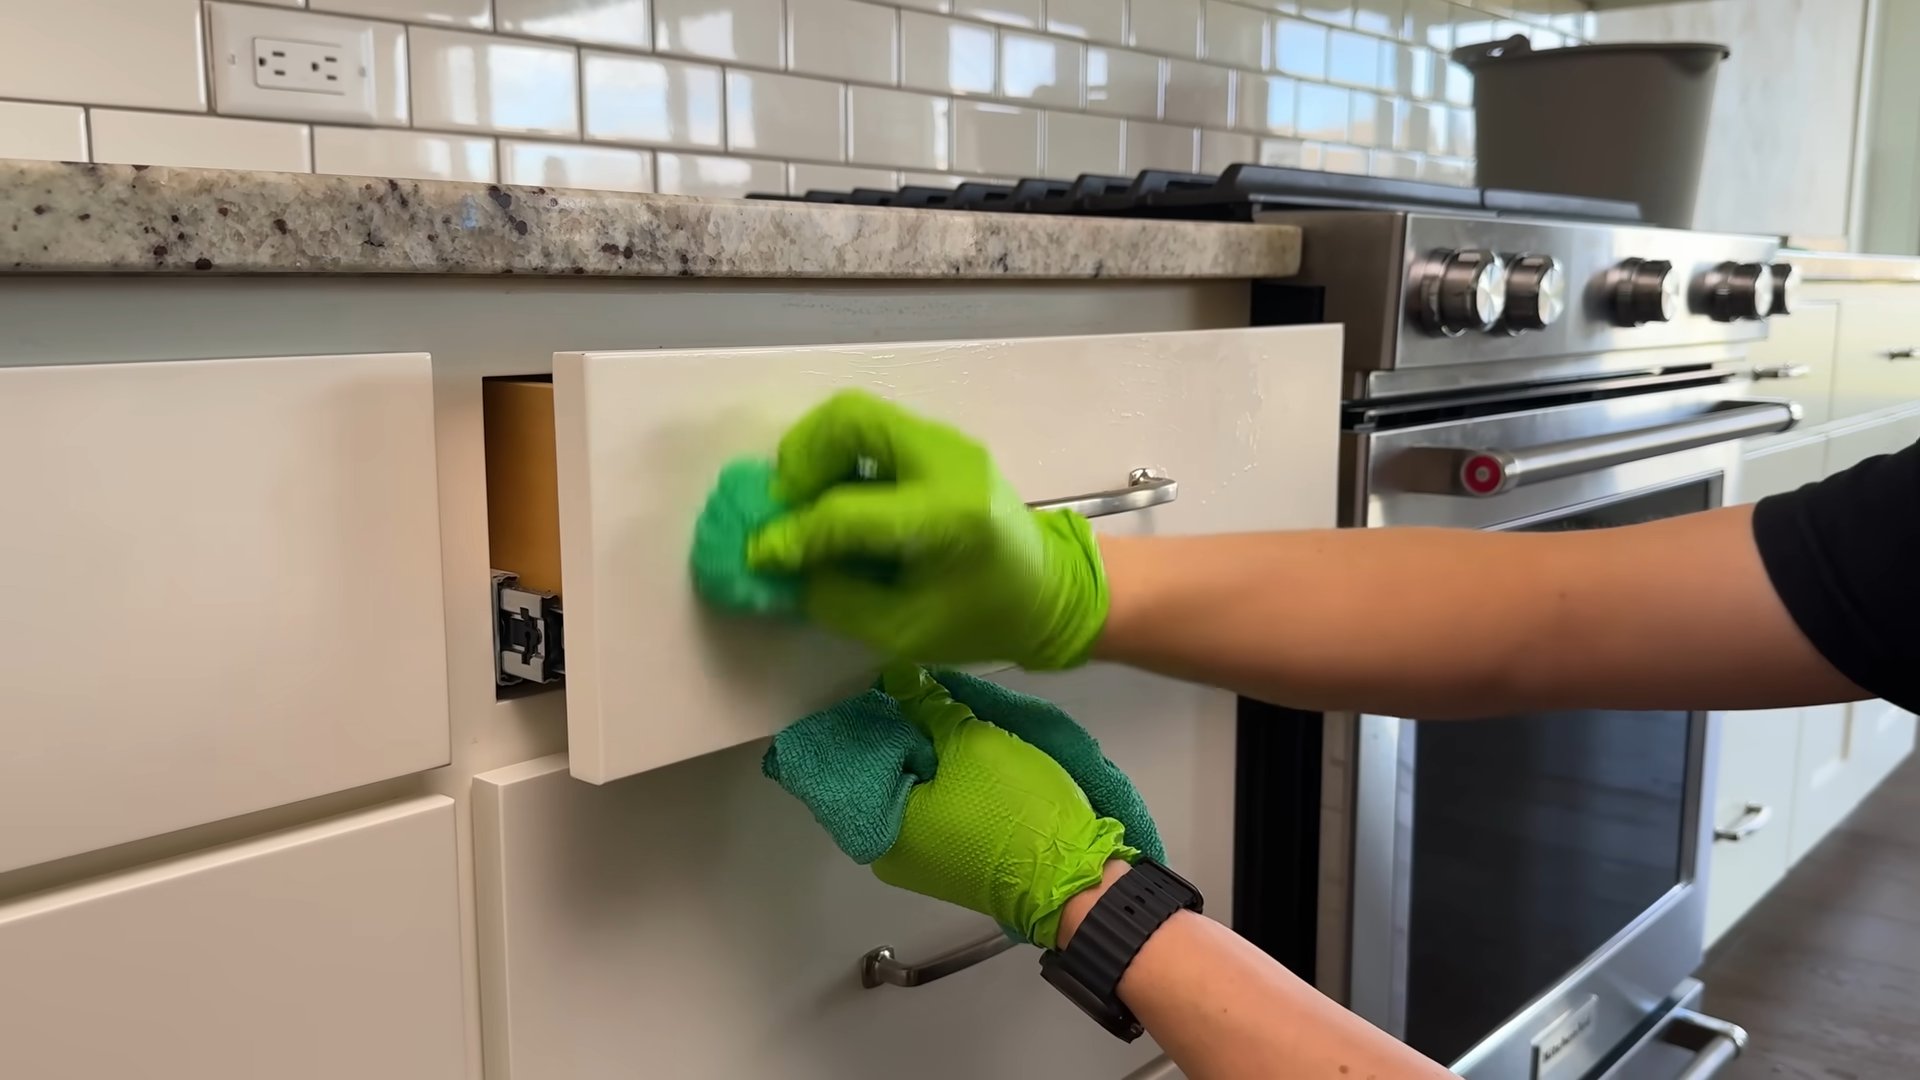
- Clean the Cupboard Doors and Frames: Don’t forget the outside! Use the same cleaning solution and method to clean the cupboard doors and frames. Pay attention to handles and knobs, which often accumulate grime.
Phase 3: Organizing and Restocking
- Wipe Down Items: Before putting anything back in the cupboards, quickly wipe down any items that might be dusty or dirty. This will prevent you from reintroducing dirt into your freshly cleaned cabinets.
- Line Shelves (Optional): Consider lining your shelves with shelf liner. This protects the shelves, makes cleaning easier in the future, and can add a nice aesthetic touch. Measure your shelves carefully before purchasing liner.
- Organize and Arrange: Now’s the time to organize your items! Group similar items together, place frequently used items within easy reach, and consider using storage containers to maximize space and keep things tidy.
- Restock Strategically: Put items back in the cupboards, keeping in mind your organizational system. Make sure everything is easily accessible and that you have a clear view of what you have.
- Consider Labeling: Labeling containers can help you stay organized and easily find what you need. This is especially helpful for spices and other small items.
Phase 4: Maintaining Cleanliness
- Regular Wiping: Wipe down spills immediately to prevent them from setting. This will prevent future deep cleans from being necessary as often.
- Periodic Cleaning: Aim to do a quick wipe-down of your cupboards at least once a month. This will help prevent a build-up of grime and make deep cleaning much easier.
- Declutter Regularly: Regularly decluttering your cupboards will prevent them from becoming overcrowded and messy. This will also make cleaning much easier.
- Smart Storage: Using appropriate storage solutions like canisters, baskets, and drawer dividers can help keep things organized and prevent clutter.
Pro Tip:
For stubborn grease stains, try using a solution of equal parts baking soda and white vinegar. Make a paste, apply it to the stain, let it sit for 15-20 minutes, then scrub gently with a brush and wipe clean.
Important Note:
Always test any cleaning solution on a small, inconspicuous area first to ensure it doesn’t damage the finish of your cupboards. If you have antique or delicate cabinets, you may want to consult a professional cleaner.
Conclusion
So there you have it! Our guide to achieving sparkling clean kitchen cupboards. This DIY cleaning trick isn’t just about achieving a pristine finish; it’s about reclaiming a sense of order and calm in your kitchen. By using readily available ingredients and simple techniques, you’ve learned how to banish grease, grime, and sticky residue, leaving your cupboards looking and smelling fantastic. This Clean Kitchen Cupboards method is a must-try because it’s effective, affordable, and environmentally friendly – a win-win-win! You’ll be amazed at the difference a little elbow grease and the right cleaning solution can make. The satisfaction of transforming your cluttered, grimy cupboards into gleaming showcases of cleanliness is unparalleled. It’s a small act that yields significant rewards, boosting your mood and making your kitchen a more enjoyable space.
Beyond the basic method, there are countless ways to personalize your Clean Kitchen Cupboards routine. For particularly stubborn stains, consider pre-treating them with a paste of baking soda and water before applying your cleaning solution. Experiment with different essential oils to add a pleasant scent – lemon, tea tree, or lavender all work beautifully. If you prefer a more powerful degreaser, you can add a small amount of dish soap to your mixture, but remember to rinse thoroughly afterwards. For those with wooden cupboards, always test your cleaning solution on a small, inconspicuous area first to ensure it doesn’t damage the finish. And don’t forget the importance of regular maintenance! A quick wipe-down after each use will prevent grime from building up and make future deep cleans much easier. Consider adding a liner to your shelves to catch spills and crumbs, simplifying the cleaning process even further.
We strongly encourage you to try this DIY Clean Kitchen Cupboards method and share your experience with us! Show us your before-and-after photos on social media using #CleanKitchenCupboards. We’d love to see the transformation you achieve and hear about your tips and tricks. Let’s create a community of clean kitchen enthusiasts, inspiring each other to maintain sparkling, organized, and inviting kitchens. Remember, a clean kitchen is a happy kitchen! So roll up your sleeves, gather your supplies, and get ready to experience the joy of a truly sparkling clean kitchen. You deserve it!
Frequently Asked Questions
What if I have different types of cupboard materials?
The cleaning solution described in this guide is generally safe for most cupboard materials, including wood, laminate, and melamine. However, it’s always crucial to test the solution on a small, inconspicuous area first, especially with wood or painted surfaces. If you have particularly delicate or antique cupboards, you may want to consult a professional cleaning service or the manufacturer’s instructions for cleaning recommendations. For very sensitive materials, you might consider using a gentler cleaner like a diluted solution of white vinegar and water.
How often should I clean my kitchen cupboards?
The frequency of cleaning depends on your usage and the level of mess you tend to create. As a general guideline, a quick wipe-down after spills or splatters is recommended. A more thorough cleaning, using the method described in this article, should be done at least once a month, or more frequently if needed. Regular cleaning prevents the buildup of grease and grime, making deep cleaning much easier in the long run.
Can I use this method on cupboard doors with intricate details or carvings?
Yes, you can, but extra care is needed. For cupboards with intricate details or carvings, you might need to use a smaller, softer cloth or sponge to reach all the nooks and crannies. Pay close attention to these areas during both the cleaning and rinsing stages to ensure all the cleaning solution is removed. Avoid using abrasive cloths or scrub brushes, as these could damage the delicate details.
What if my cupboards have stubborn sticky residue?
For stubborn sticky residue, pre-treating the area with a paste of baking soda and water is highly recommended. Let the paste sit for a few minutes to allow it to absorb the sticky substance. Then, proceed with the cleaning solution as described in the article. For extremely stubborn residue, you might need to repeat the process or consider using a specialized cleaning product designed for sticky residue removal. Always test any new product on a small, inconspicuous area first.
Are there any environmentally friendly alternatives to the ingredients suggested?
Absolutely! The beauty of this cleaning method is its adaptability. You can easily substitute the ingredients with other eco-friendly options. For example, instead of white vinegar, you can use lemon juice, which is a natural disinfectant and deodorizer. For the baking soda, you can explore other natural abrasive cleaners like diatomaceous earth (ensure it’s food-grade). Remember to always test any new combination on a small area before applying it to the entire surface.
What should I do if I accidentally damage my cupboards?
If you accidentally damage your cupboards during the cleaning process, it’s essential to act quickly. Depending on the type of damage, you may need to contact a professional repair service or try to repair the damage yourself using appropriate materials and techniques. For minor scratches, you might be able to use a wood filler or touch-up paint. For more significant damage, professional help is often recommended.

Leave a Comment