

Bitter Melon Gardening: Unlock the Secrets to a Bountiful Harvest
Bitter melon, with its unique flavor and impressive health benefits, has captivated palates and inspired home gardeners for centuries. I’ve always been fascinated by this fascinating vine, and after years of trial and error (and a few less-than-successful harvests!), I’ve compiled some truly effective Bitter Melon Gardening tricks and DIY solutions to help you achieve a bumper crop. This isn’t just about growing bitter melon; it’s about unlocking the secrets to cultivating a thriving, vibrant plant that yields an abundance of these nutritious fruits.
Historically, bitter melon cultivation has been deeply intertwined with various cultures across Asia, Africa, and the Caribbean, where it holds a significant place in traditional medicine and cuisine. But you don’t need to be an expert to enjoy the rewards of Bitter Melon Gardening. Whether you’re a seasoned gardener or a complete beginner, this article is designed to empower you with practical, easy-to-follow techniques.
Why You Need These Bitter Melon Gardening Hacks
Let’s face it: growing your own food is incredibly rewarding. Imagine the satisfaction of harvesting your own bitter melons, knowing exactly how they were grown and free from harmful pesticides. Beyond the personal satisfaction, homegrown bitter melons are often more flavorful and nutritious than store-bought ones. These DIY tips and tricks will help you overcome common challenges, such as pest control and optimal growing conditions, ensuring a healthy and productive harvest. You’ll learn everything from seed starting to harvesting, making your Bitter Melon Gardening journey a success.
So, let’s dive in and discover the secrets to a bountiful harvest of delicious, homegrown bitter melons!
My Bitter Melon Gardening Adventure: A Complete Guide
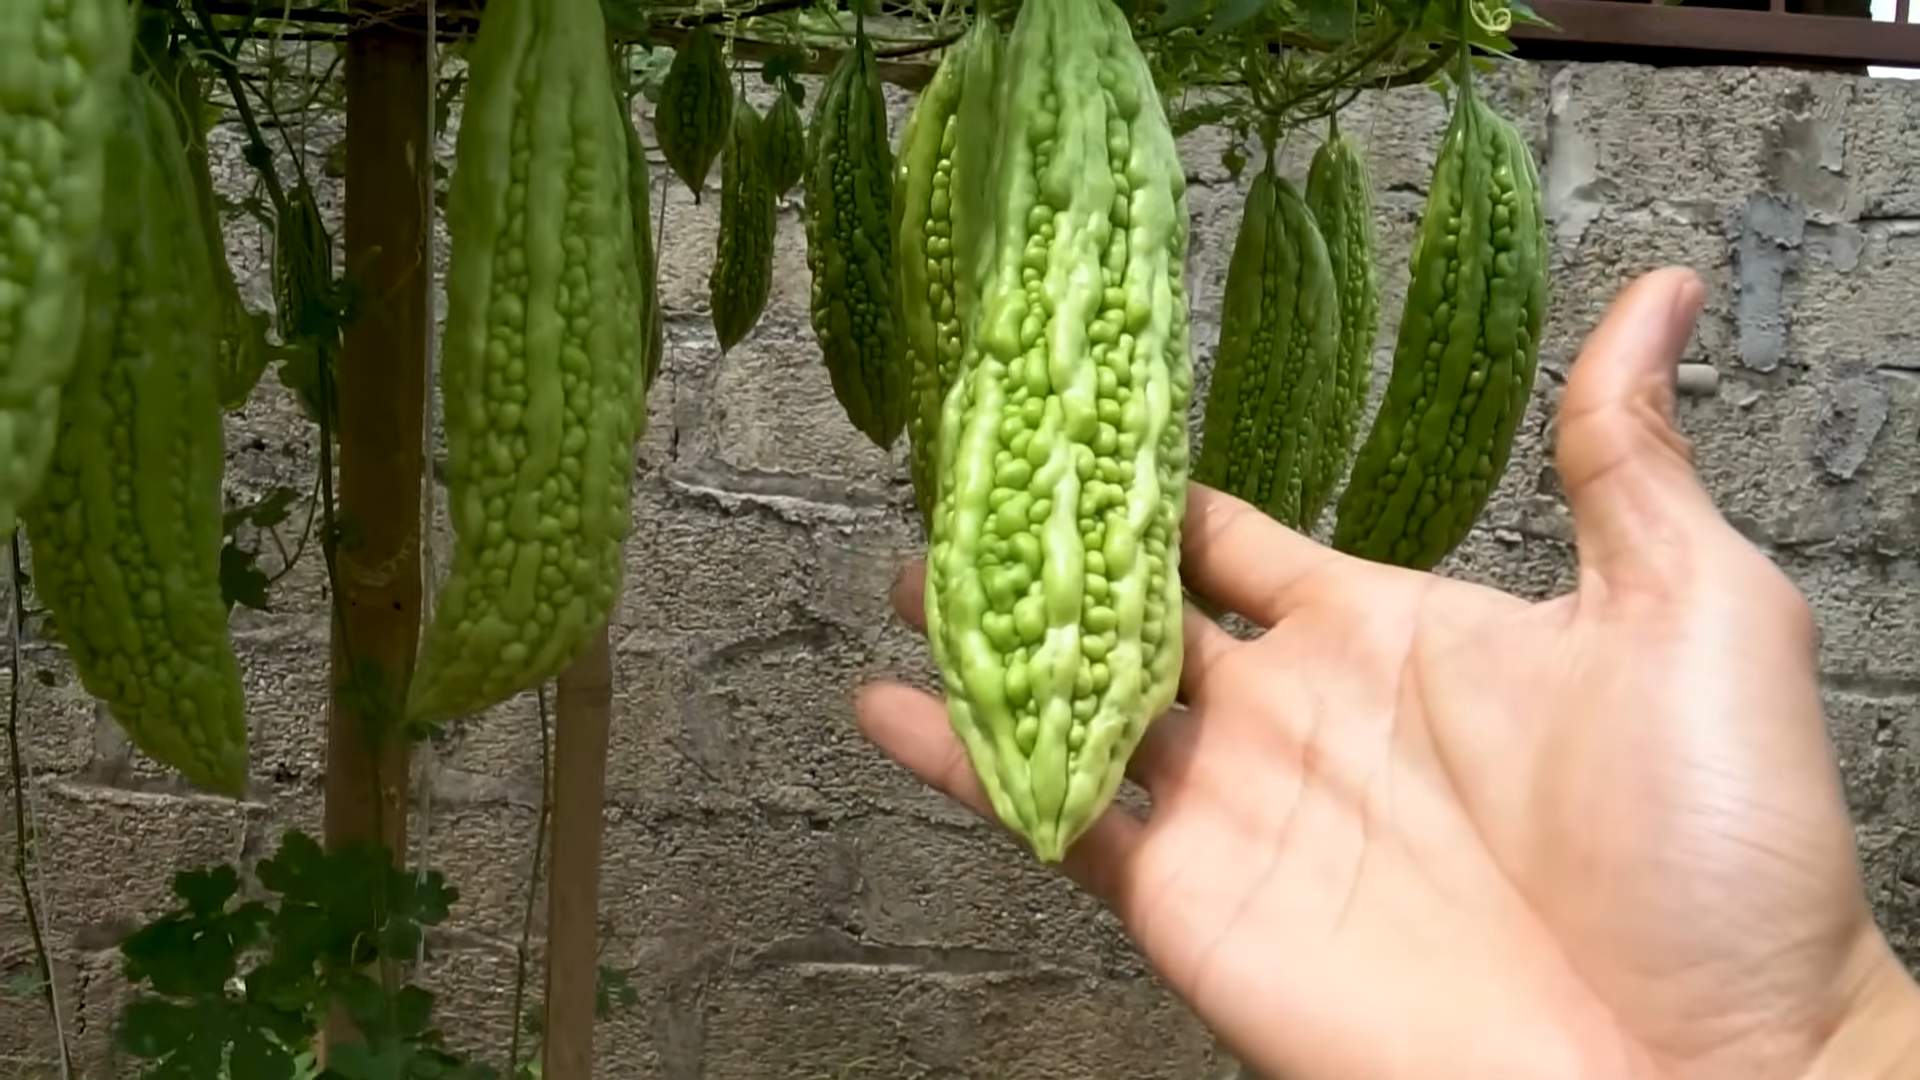
I’ve always loved the slightly bitter, slightly sweet taste of bitter melon, also known as bitter gourd. So, naturally, I decided to grow my own! It wasn’t as easy as I thought, but with some patience and the right techniques, I harvested a bumper crop. Here’s how I did it, and how you can too.
Phase 1: Planning and Preparation
- Choose the right time: Bitter melon thrives in warm weather. I started my seeds indoors about 6-8 weeks before the last expected frost in my area. This ensures strong seedlings ready for transplanting.
- Select your seeds: I opted for heirloom seeds for better flavor and adaptability to my local climate. You can find these online or at specialty garden centers. Make sure they are fresh for optimal germination.
- Prepare your soil: Bitter melon needs well-drained, fertile soil. I mixed my garden soil with compost to improve drainage and add nutrients. A soil pH of 6.0-6.8 is ideal.
- Choose your location: Bitter melon needs at least 6-8 hours of direct sunlight daily. I selected a sunny spot in my garden with protection from strong winds.
- Consider your support system: Bitter melon is a vigorous vine and needs strong support to climb. I built a sturdy trellis using strong wooden stakes and twine. You can also use a fence or other suitable structure.
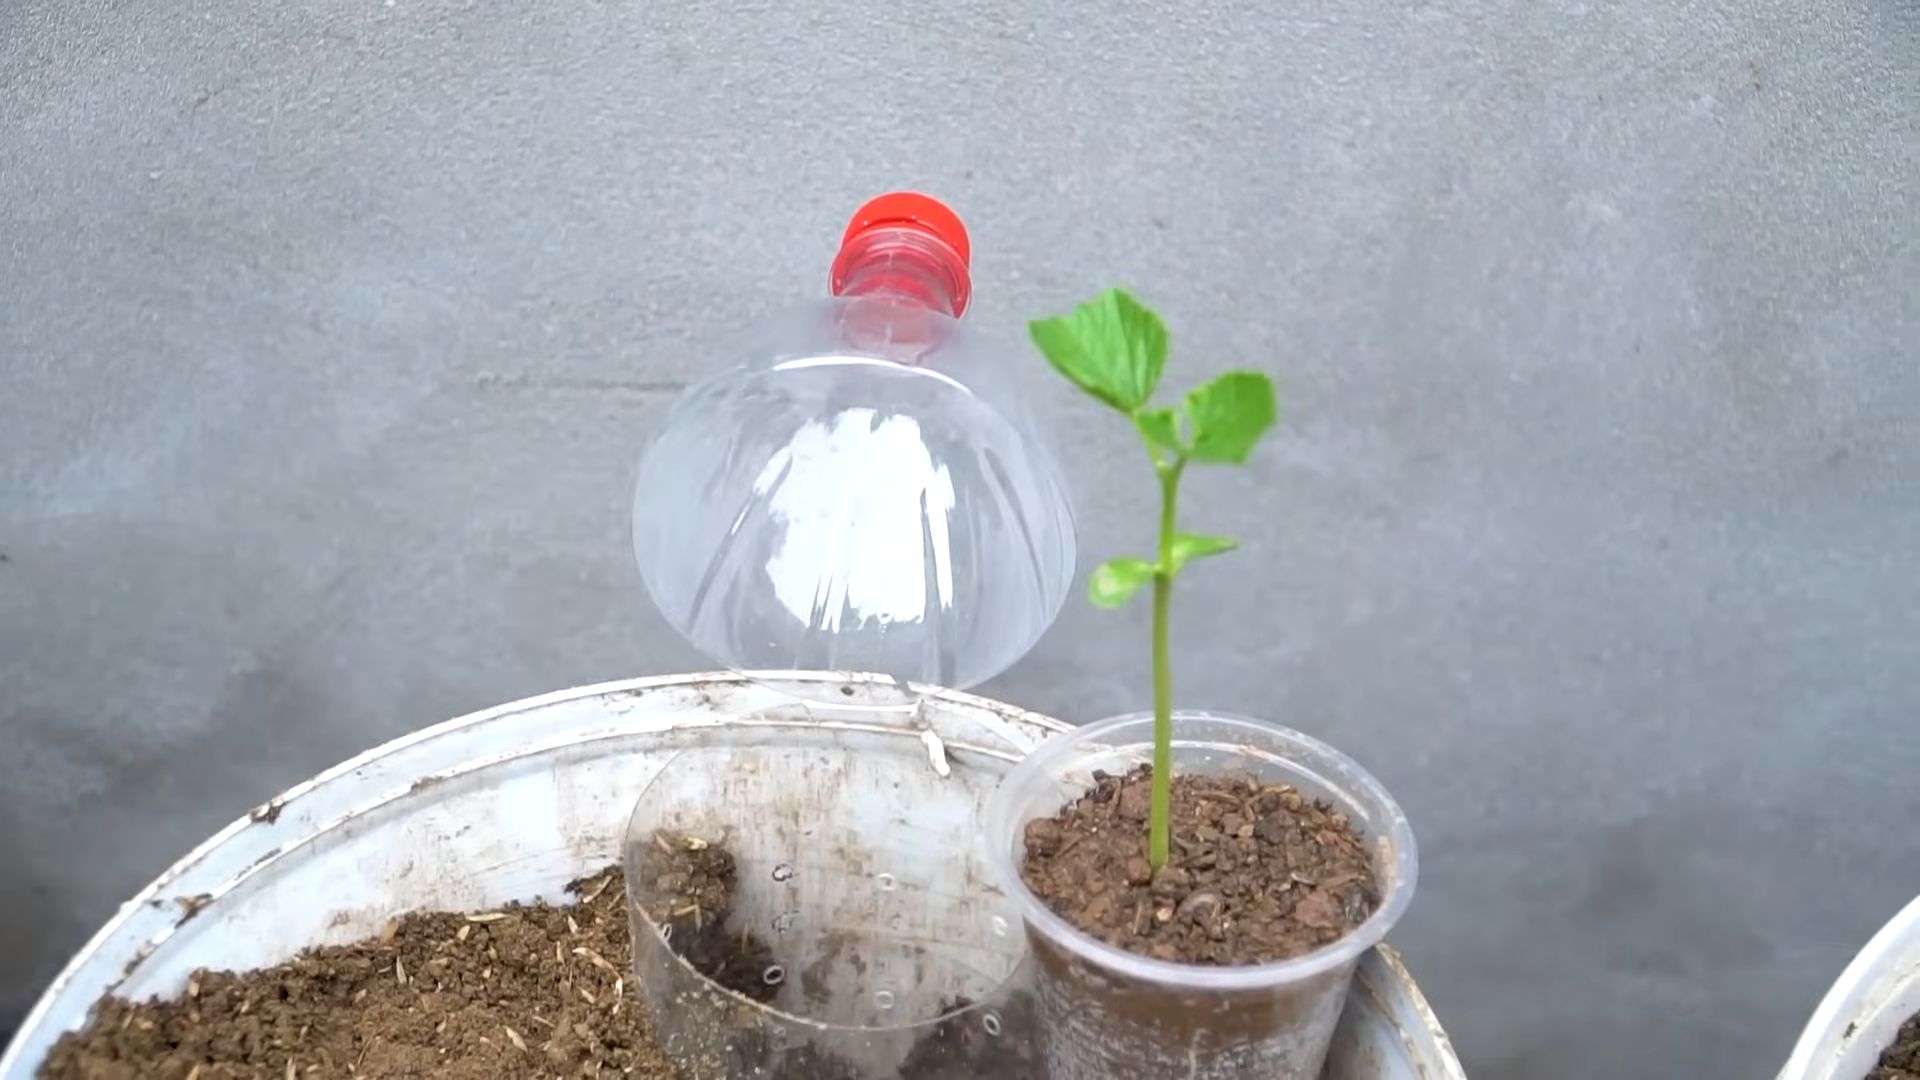
Phase 2: Starting Seeds Indoors
- Fill seed trays: I used small seed trays filled with a seed-starting mix. This mix is lighter and drains better than regular garden soil, promoting healthy root development.
- Sow the seeds: I planted two seeds per cell, about ½ inch deep. Gently cover with soil and water thoroughly but gently, avoiding washing away the seeds.
- Provide warmth and humidity: I placed the trays in a warm, sunny location (around 70-80°F) and covered them with a clear plastic dome to maintain humidity. This helps speed up germination.
- Maintain moisture: Keep the soil consistently moist but not soggy. Check daily and water as needed. Avoid overwatering, which can lead to damping off (a fungal disease).
- Thin seedlings: Once the seedlings have developed their first true leaves (not the cotyledons), I thinned each cell to the strongest seedling. I carefully removed the weaker one, being careful not to disturb the roots of the remaining plant.
- Harden off seedlings: Before transplanting outdoors, I gradually acclimated the seedlings to outdoor conditions. This process, called hardening off, involves gradually exposing them to more sunlight and wind over a period of 7-10 days.
Phase 3: Transplanting and Ongoing Care
- Prepare the planting holes: Once the danger of frost has passed, I dug holes slightly larger than the root balls of my seedlings. I spaced them about 2-3 feet apart to allow for vine growth.
- Transplant the seedlings: Carefully remove the seedlings from their cells, being careful not to damage the roots. Plant them in the prepared holes, ensuring the top of the root ball is level with the soil surface.
- Water thoroughly: After transplanting, I watered the seedlings deeply to help them settle in. I used a gentle watering can to avoid disturbing the soil.
- Provide support: As soon as the vines started to grow, I gently guided them onto the trellis. This helps them climb and prevents them from sprawling on the ground.
- Regular watering: Bitter melon needs consistent moisture, especially during hot and dry periods. I watered deeply and regularly, aiming for about 1 inch of water per week. I checked the soil moisture regularly and adjusted watering accordingly.
- Fertilizing: I fertilized my plants every 2-3 weeks with a balanced, organic fertilizer. This provided the nutrients needed for healthy growth and abundant fruit production. I followed the instructions on the fertilizer packaging carefully.
- Pest and disease control: I regularly inspected my plants for pests and diseases. I used organic pest control methods, such as neem oil or insecticidal soap, to address any problems. Good air circulation helps prevent fungal diseases.
- Pruning: To encourage more fruit production, I pinched off the growing tips of the main vines once they reached the top of the trellis. This encourages the plant to produce more side shoots and flowers.
Phase 4: Harvesting and Enjoying Your Bitter Melon
- Harvesting time: Bitter melon fruits are ready for harvest when they are firm and fully developed, typically 6-8 weeks after flowering. The size and color will vary depending on the variety.
- Harvesting technique: I carefully cut the fruits from the vine using a sharp knife or pruning shears. Avoid pulling the fruits, as this can damage the vine.
- Storage: Bitter melon can be stored in the refrigerator for up to a week. For longer storage, you can freeze them after slicing and blanching.
- Enjoying your harvest: I used my bitter melon in various dishes, from stir-fries to curries. The slightly bitter taste adds a unique flavor to many cuisines. Remember to remove the seeds before cooking!
Tips for Success:
- Patience is key: Growing bitter melon takes time and effort. Don’t get discouraged if you don’t see results immediately.
- Observe your plants: Regularly check your plants for signs of stress or disease. Early detection is crucial for effective treatment.
- Experiment with different varieties: There are many different varieties of bitter melon, each with its own unique characteristics. Try different ones to find your favorite.
Conclusion
So there you have it! Our guide to conquering the sometimes-challenging world of bitter melon gardening. This DIY approach, focusing on understanding the plant’s specific needs and employing simple, yet effective techniques, truly transforms the experience from frustrating to fulfilling. This isn’t just about growing bitter melons; it’s about mastering a rewarding gardening challenge and enjoying the delicious, unique fruits of your labor. The satisfaction of harvesting your own bitter melons, knowing you nurtured them from seed to maturity, is unparalleled. The intense flavor, perfect for stir-fries, curries, or even pickled delights, makes the effort entirely worthwhile. This DIY method, with its emphasis on proper soil preparation, consistent watering, and effective pest control, ensures a bountiful harvest, making your bitter melon gardening journey a resounding success. Beyond the sheer joy of growing your own food, you’ll also find yourself connecting with nature in a deeper, more meaningful way.
Beyond the basic techniques outlined, there are numerous avenues for experimentation and customization. Consider experimenting with different varieties of bitter melon to discover your favorite flavor profiles. Some varieties are less bitter than others, offering a more palatable experience for those new to this unique vegetable. You can also explore companion planting, incorporating herbs and flowers that repel pests and attract beneficial insects. Marigolds, for instance, are known for their pest-repelling properties and can be a valuable addition to your bitter melon patch. Furthermore, consider experimenting with different trellising techniques to optimize space and support the vigorous growth of your bitter melon vines. A well-structured trellis system will not only improve yield but also make harvesting easier and more efficient. Finally, don’t be afraid to adapt the techniques to your specific climate and growing conditions. Observe your plants closely and adjust your watering and fertilization schedules as needed. Remember, gardening is a journey of learning and adaptation, and your unique experience will contribute to your success.
We strongly encourage you to embark on this rewarding journey of bitter melon gardening. Share your experiences, your successes, and even your challenges with us and the wider gardening community. Post pictures of your thriving plants and bountiful harvests on social media, using the hashtag #BitterMelonGardeningDIY. Let’s build a supportive network of bitter melon enthusiasts, sharing tips, tricks, and celebrating the joys of homegrown goodness. Your feedback is invaluable, helping us refine and improve our techniques and share the knowledge with others. Remember, the beauty of DIY gardening lies in its adaptability and the unique perspective each gardener brings to the table. So, grab your seeds, prepare your soil, and get ready to experience the satisfaction of growing your own delicious bitter melons. Don’t hesitate – start your bitter melon gardening adventure today!
Frequently Asked Questions
What type of soil is best for bitter melon?
Bitter melon thrives in well-drained, fertile soil with a slightly acidic pH level (around 6.0-6.8). Amend heavy clay soils with organic matter like compost to improve drainage and aeration. Sandy soils may benefit from the addition of organic matter to retain moisture. Regular soil testing can help you monitor the pH and nutrient levels, ensuring optimal growing conditions for your bitter melon plants. A soil test kit can be easily purchased online or at most garden centers.
How often should I water my bitter melon plants?
Consistent watering is crucial for healthy bitter melon growth. Aim for deep, infrequent watering rather than shallow, frequent watering. The frequency will depend on your climate and soil type. In hot, dry climates, you may need to water daily, especially during the fruiting stage. However, in cooler, more humid climates, watering every other day or even less frequently might suffice. Always check the soil moisture before watering; water only when the top inch or two of soil feels dry to the touch. Overwatering can lead to root rot, while underwatering can stress the plants and reduce yields. Mulching around the base of the plants can help retain soil moisture and reduce the frequency of watering.
What are some common pests and diseases that affect bitter melon?
Bitter melon plants can be susceptible to various pests and diseases, including aphids, whiteflies, spider mites, and fungal diseases like powdery mildew and downy mildew. Regularly inspect your plants for signs of infestation or disease. Early detection is key to effective pest and disease management. Organic pest control methods, such as insecticidal soap or neem oil, can be effective against many common pests. For fungal diseases, ensure good air circulation around the plants by providing adequate spacing and avoiding overhead watering. Rotating crops can also help prevent the buildup of soilborne diseases. If problems persist, consult with your local agricultural extension office for specific recommendations.
How long does it take for bitter melon to mature?
The time it takes for bitter melon to mature depends on the variety and growing conditions. Generally, it takes around 50-70 days from planting to harvest. However, some varieties may mature faster or slower. Ensure your seeds are from a reputable source and follow the instructions on the seed packet for optimal germination and growth. Providing the plants with adequate sunlight, water, and nutrients will contribute to faster maturation. Regular monitoring of the fruits will help you determine when they are ready for harvest. Harvest bitter melons when they are firm and have reached their desired size and color.
Can I grow bitter melon in containers?
Yes, you can successfully grow bitter melon in containers, provided they are large enough to accommodate the plant’s vigorous root system. Choose containers at least 15-20 gallons in capacity. Ensure the containers have adequate drainage holes to prevent waterlogging. Use a well-draining potting mix and fertilize regularly to provide the plants with the necessary nutrients. You will need to water more frequently in containers than in the ground, as the soil dries out faster. A sturdy trellis or support system is essential for container-grown bitter melon to prevent the vines from becoming tangled and to maximize fruit production. Container gardening offers flexibility and is a great option for those with limited space.
Leave a Comment