

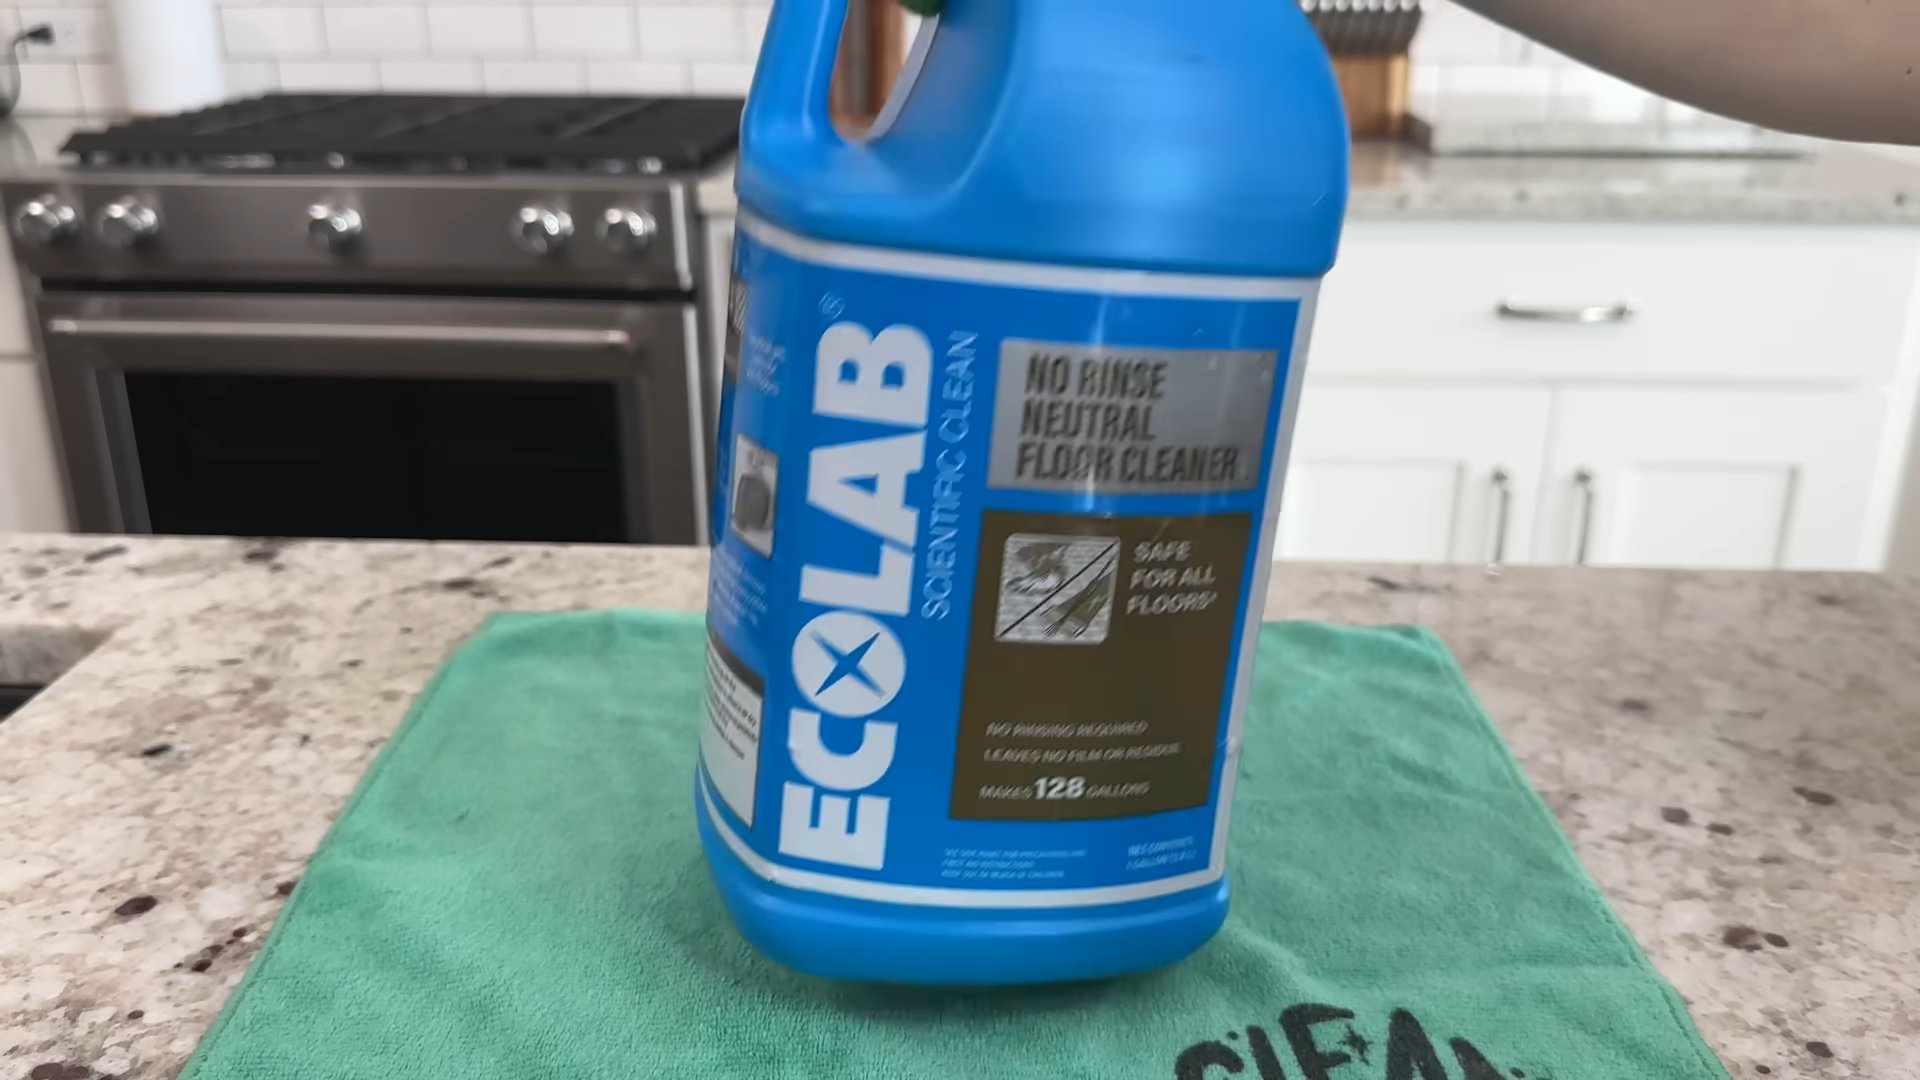
Easy DIY Floor Cleaning: Are you tired of spending a fortune on commercial floor cleaners that promise the world but often leave behind a sticky residue or a lingering chemical smell? I know I was! For generations, resourceful homeowners have relied on simple, natural ingredients to keep their floors sparkling, and now, you can too!
The tradition of using homemade cleaning solutions stretches back centuries, born out of necessity and a deep understanding of natural ingredients. Think about it – before the age of mass-produced chemicals, people used what they had: vinegar, baking soda, lemon juice, and good old-fashioned elbow grease. These methods weren’t just about saving money; they were about creating a healthier, safer home environment.
In today’s world, where we’re increasingly conscious of the impact of chemicals on our health and the environment, returning to these time-tested techniques makes perfect sense. This article is packed with easy DIY floor cleaning tricks and hacks that will not only save you money but also give you peace of mind knowing exactly what you’re using to clean your home. I’m going to show you how to whip up effective, eco-friendly floor cleaners using ingredients you probably already have in your pantry. Get ready to ditch those harsh chemicals and embrace a cleaner, greener way to shine your floors!
Easy DIY Floor Cleaning Solutions: Sparkling Floors on a Budget!
Hey there, fellow DIY enthusiasts! Are you tired of spending a fortune on commercial floor cleaners that are often packed with harsh chemicals? I know I was! That’s why I’ve been experimenting with homemade floor cleaning solutions for years, and I’m excited to share my favorite recipes and techniques with you. Get ready to say goodbye to dull, dirty floors and hello to a sparkling clean home, all while saving money and using natural ingredients.
General Tips for DIY Floor Cleaning
Before we dive into the specific recipes, let’s cover some essential tips that apply to all types of floors and cleaning solutions:
* Always test in an inconspicuous area: This is crucial! Before applying any cleaning solution to your entire floor, test it in a small, hidden spot (like under a rug or in a closet) to ensure it doesn’t damage or discolor the surface.
* Sweep or vacuum thoroughly first: This removes loose dirt, dust, and debris, preventing you from just pushing the grime around. A good sweep or vacuum is the foundation of any successful floor cleaning project.
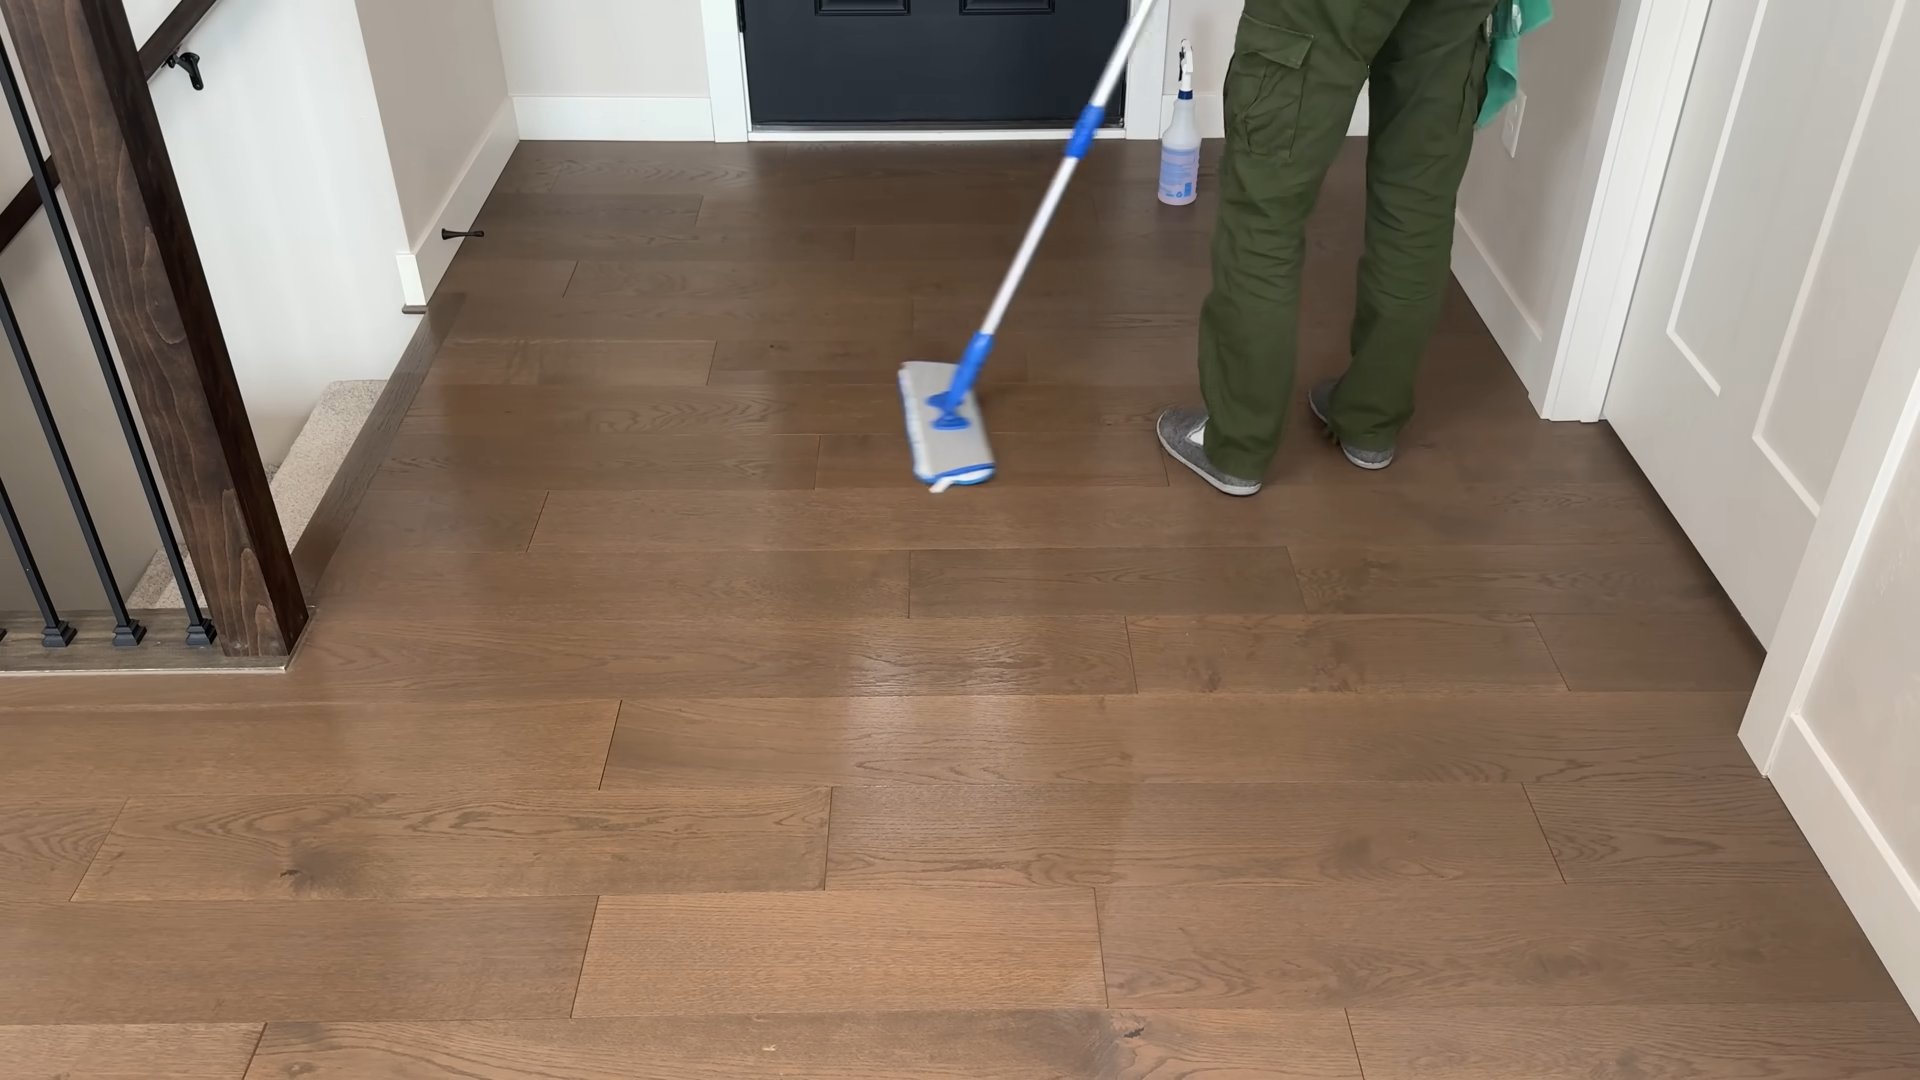
* Use the right tools: A microfiber mop is your best friend for most floor types. It’s gentle, absorbent, and effective at picking up dirt. For tougher stains, a soft-bristled brush can be helpful.
* Don’t over-wet the floor: Excess water can damage some floor types, especially hardwood. Wring out your mop thoroughly after dipping it in the cleaning solution. You want the floor to be damp, not soaking wet.
* Rinse with clean water (optional): Depending on the cleaning solution you use, you may want to rinse the floor with clean water afterward to remove any residue. This is especially important for floors that tend to streak.
* Dry the floor: After cleaning, dry the floor with a clean, dry mop or towel to prevent water spots and streaks.
* Ventilate the room: Open windows or turn on a fan to help the floor dry quickly and prevent moisture buildup.
DIY Cleaning Solutions for Different Floor Types
Now, let’s get to the good stuff – the recipes! I’ve broken them down by floor type to ensure you’re using the best solution for your specific needs.
Hardwood Floors
Hardwood floors are beautiful, but they require a gentle touch. Avoid harsh chemicals and excessive water, as these can damage the finish.
Recipe 1: Vinegar and Water
This is my go-to for everyday hardwood floor cleaning. It’s simple, effective, and safe for most hardwood finishes.
1. Gather your supplies: You’ll need a bucket, warm water, white vinegar, a microfiber mop, and a spray bottle (optional).
2. Mix the solution: In the bucket, combine 1/2 cup of white vinegar with 1 gallon of warm water.
3. Dampen the mop: Dip the microfiber mop into the solution and wring it out thoroughly. You want the mop to be damp, not dripping wet.
4. Mop the floor: Mop the floor in sections, overlapping each stroke slightly.
5. Rinse (optional): If you notice any streaks, rinse the floor with clean water and a clean mop.
6. Dry the floor: Dry the floor with a clean, dry mop or towel.
Recipe 2: Castile Soap and Water
Castile soap is a gentle, natural cleanser that’s safe for hardwood floors.
1. Gather your supplies: You’ll need a bucket, warm water, castile soap (unscented is best), a microfiber mop, and a spray bottle (optional).
2. Mix the solution: In the bucket, combine 1 tablespoon of castile soap with 1 gallon of warm water.
3. Dampen the mop: Dip the microfiber mop into the solution and wring it out thoroughly.
4. Mop the floor: Mop the floor in sections, overlapping each stroke slightly.
5. Rinse (optional): Rinse the floor with clean water and a clean mop to remove any soap residue.
6. Dry the floor: Dry the floor with a clean, dry mop or towel.
Tile Floors
Tile floors are generally more durable than hardwood, but they can still benefit from a gentle cleaning solution.
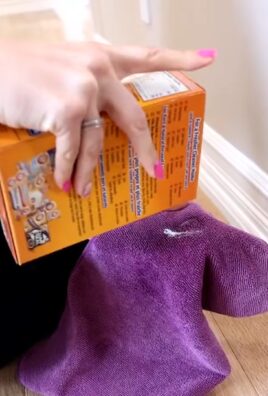
Recipe 1: Baking Soda Paste for Grout
Grout can be a real pain to clean! This baking soda paste is a natural and effective way to remove stains and grime.
1. Gather your supplies: You’ll need baking soda, water, a small bowl, an old toothbrush or grout brush, and a damp cloth.
2. Make the paste: In the bowl, mix baking soda with enough water to form a thick paste.
3. Apply the paste: Apply the paste to the grout lines.
4. Scrub the grout: Use the toothbrush or grout brush to scrub the grout lines.
5. Let it sit: Let the paste sit for 5-10 minutes.
6. Wipe clean: Wipe the grout lines clean with a damp cloth.
7. Rinse: Rinse the area with clean water.
Recipe 2: Vinegar and Water (Again!)
This solution works wonders on tile floors too!
1. Gather your supplies: You’ll need a bucket, warm water, white vinegar, a microfiber mop, and a spray bottle (optional).
2. Mix the solution: In the bucket, combine 1/2 cup of white vinegar with 1 gallon of warm water.
3. Dampen the mop: Dip the microfiber mop into the solution and wring it out thoroughly.
4. Mop the floor: Mop the floor in sections, overlapping each stroke slightly.
5. Rinse (optional): If you notice any streaks, rinse the floor with clean water and a clean mop.
6. Dry the floor: Dry the floor with a clean, dry mop or towel.
Laminate Floors
Laminate floors are known for their durability and ease of maintenance. However, it’s still important to use a gentle cleaning solution to avoid damaging the surface.
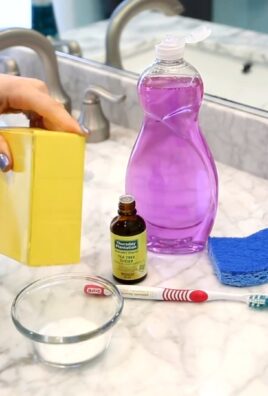
Recipe 1: Dish Soap and Water
This is a simple and effective solution for laminate floors.
1. Gather your supplies: You’ll need a bucket, warm water, dish soap (a mild, clear formula is best), a microfiber mop, and a spray bottle (optional).
2. Mix the solution: In the bucket, combine 1 teaspoon of dish soap with 1 gallon of warm water.
3. Dampen the mop: Dip the microfiber mop into the solution and wring it out thoroughly.
4. Mop the floor: Mop the floor in sections, overlapping each stroke slightly.
5. Rinse (optional): Rinse the floor with clean water and a clean mop to remove any soap residue.
6. Dry the floor: Dry the floor with a clean, dry mop or towel.
Recipe 2: Rubbing Alcohol and Water
This solution is great for removing streaks and leaving your laminate floors sparkling clean.
1. Gather your supplies: You’ll need a bucket, warm water, rubbing alcohol (isopropyl alcohol), a microfiber mop, and a spray bottle (optional).
2. Mix the solution: In the bucket, combine 1/2 cup of rubbing alcohol with 1 gallon of warm water.
3. Dampen the mop: Dip the microfiber mop into the solution and wring it out thoroughly.
4. Mop the floor: Mop the floor in sections, overlapping each stroke slightly.
5. Dry the floor: Dry the floor with a clean, dry mop or towel. The alcohol will help the floor dry quickly and prevent streaks.
Vinyl Floors
Vinyl floors are durable and water-resistant, making them a popular choice for kitchens and bathrooms.
Recipe 1: Vinegar and Water (Yet Again!)
Yes, vinegar and water is a versatile cleaning solution that works well on vinyl floors too!
1. Gather your supplies: You’ll need a bucket, warm water, white vinegar, a microfiber mop, and a spray bottle (optional).
2. Mix the solution: In the bucket, combine 1 cup of white vinegar with 1 gallon of warm water. Vinyl can handle a slightly stronger vinegar solution than hardwood or laminate.
3. Dampen the mop: Dip the microfiber mop into the solution and wring it out thoroughly.
4. Mop the floor: Mop the floor in sections, overlapping each stroke slightly.
5. Rinse (optional): If you notice any streaks, rinse the floor with clean water and a clean mop.
6. Dry the floor: Dry the floor with a clean, dry mop or towel.
Conclusion
So, there you have it! This easy DIY floor cleaning solution is more than just a cost-effective alternative to store-bought cleaners; it’s a game-changer for maintaining sparkling floors while minimizing your environmental impact and exposure to harsh chemicals. We’ve shown you how simple it is to whip up a powerful cleaning agent using ingredients you likely already have in your pantry.
Why is this DIY trick a must-try? Because it offers a trifecta of benefits: it’s budget-friendly, eco-conscious, and incredibly effective. Commercial floor cleaners often come with a hefty price tag and a long list of ingredients you can’t even pronounce. This DIY solution cuts through the clutter and delivers a clean that rivals, and often surpasses, those expensive alternatives. Plus, you have complete control over what goes into your cleaner, ensuring a safe and healthy environment for your family and pets.
But the beauty of this DIY approach lies in its adaptability. Feel free to experiment with variations to suit your specific needs and preferences. For instance, if you’re dealing with particularly stubborn stains, consider adding a tablespoon of borax to the mixture for an extra boost of cleaning power. For a refreshing scent, infuse your vinegar with citrus peels for a few days before using it in the solution. Lemon, orange, or grapefruit peels all work wonderfully and leave behind a subtle, natural fragrance. If you prefer a more herbal aroma, try adding a few drops of your favorite essential oil, such as lavender, tea tree, or eucalyptus. Remember to always test any new variation on a small, inconspicuous area of your floor first to ensure it doesn’t cause any discoloration or damage.
This easy DIY floor cleaning method is not just about saving money; it’s about empowering you to take control of your cleaning routine and create a healthier home environment. It’s about reducing your reliance on harsh chemicals and embracing a more sustainable way of living.
We wholeheartedly encourage you to give this DIY floor cleaning solution a try. We’re confident that you’ll be amazed by the results. And once you’ve experienced the satisfaction of cleaning your floors with a homemade solution that’s both effective and eco-friendly, we’d love to hear about it! Share your experiences, variations, and tips in the comments below. Let’s build a community of DIY enthusiasts who are passionate about creating clean, healthy, and sustainable homes. Your feedback will not only help others discover the benefits of this simple trick but also inspire us to continue sharing innovative and eco-friendly solutions. So, grab your ingredients, mix up a batch, and get ready to experience the joy of sparkling clean floors, the natural way!
Frequently Asked Questions (FAQs)
1. What types of floors can I use this DIY floor cleaning solution on?
This DIY floor cleaning solution is generally safe for most sealed hard floors, including hardwood, tile, laminate, vinyl, and linoleum. However, it’s crucial to exercise caution and test the solution on an inconspicuous area first, especially if you have delicate or antique flooring. Avoid using this solution on unsealed wood floors, as the moisture can seep into the wood and cause damage. For stone floors like marble or granite, it’s best to use a pH-neutral cleaner specifically designed for those surfaces to prevent etching or discoloration. Always consult your flooring manufacturer’s recommendations for the best cleaning practices.
2. Can I use this DIY floor cleaner on hardwood floors?
Yes, you can use this DIY floor cleaner on hardwood floors, but with a few important precautions. First and foremost, ensure that your hardwood floors are properly sealed. Unsealed hardwood is highly susceptible to water damage. Secondly, use the solution sparingly. Avoid saturating the floor with the cleaner. A slightly damp mop is all you need. Finally, dry the floor thoroughly after cleaning to prevent water from seeping into the wood. Some people prefer to use a microfiber cloth to buff the floor dry. As always, test the solution on a hidden area first to ensure it doesn’t damage the finish.
3. What is the best ratio of ingredients for this DIY floor cleaning solution?
The recommended ratio is typically 1/2 cup of white vinegar to 1 gallon of warm water. However, you can adjust the ratio based on the level of dirt and grime on your floors. For heavily soiled floors, you can increase the amount of vinegar to 1 cup per gallon of water. If you find the vinegar scent too strong, you can reduce the amount or add a few drops of your favorite essential oil to mask the smell. Remember, it’s always better to start with a weaker solution and gradually increase the concentration as needed.
4. How often should I use this DIY floor cleaning solution?
The frequency of cleaning depends on the amount of foot traffic and dirt your floors are exposed to. For high-traffic areas, you may need to clean your floors once or twice a week. For less frequently used areas, cleaning every other week or once a month may suffice. Regular sweeping or vacuuming is essential to remove loose dirt and debris before mopping. This will prevent the dirt from being spread around and scratching your floors.
5. What are some alternatives to vinegar in this DIY floor cleaning solution?
If you’re not a fan of the vinegar smell, you can substitute it with lemon juice. Lemon juice has similar cleaning properties to vinegar and leaves behind a fresh, citrusy scent. Use the same amount of lemon juice as you would vinegar. Another alternative is rubbing alcohol. Rubbing alcohol is a great degreaser and evaporates quickly, preventing streaks. Use 1/4 cup of rubbing alcohol per gallon of water. You can also use a mild dish soap, but be sure to use it sparingly, as too much soap can leave a residue on your floors.
6. Can I add essential oils to this DIY floor cleaning solution?
Yes, you can definitely add essential oils to this DIY floor cleaning solution! Essential oils not only add a pleasant fragrance but also offer additional cleaning and disinfecting properties. Some popular choices include lavender, tea tree, eucalyptus, lemon, and orange. Tea tree oil, in particular, is known for its antibacterial and antifungal properties. Add 10-20 drops of your chosen essential oil to the solution. Be sure to use pure, high-quality essential oils for the best results.
7. How do I store the leftover DIY floor cleaning solution?
Store any leftover DIY floor cleaning solution in a clean, airtight container. A plastic spray bottle or a glass jar with a lid works well. Label the container clearly with the contents and the date you made the solution. Store the container in a cool, dark place away from direct sunlight and heat. The solution should last for several weeks, but it’s best to use it within a month for optimal effectiveness.
8. Is this DIY floor cleaning solution safe for pets and children?
Yes, this DIY floor cleaning solution is generally safe for pets and children, as it uses natural ingredients. However, it’s still important to take precautions. Keep pets and children away from the area while you’re cleaning and until the floor is completely dry. If you’re using essential oils, be sure to choose pet-safe options, as some essential oils can be toxic to animals. Always store the solution out of reach of children and pets.
9. What if I have stubborn stains on my floors?
For stubborn stains, you can pre-treat the area with a paste made from baking soda and water. Apply the paste to the stain, let it sit for a few minutes, and then scrub gently with a soft cloth or sponge. You can also try using a solution of hydrogen peroxide and water for particularly tough stains. Always test any stain removal method on an inconspicuous area first to ensure it doesn’t damage the floor.
10. My floors are streaky after using this DIY floor cleaning solution. What am I doing wrong?
Streaky floors can be caused by several factors. First, you may be using too much cleaner. Use the solution sparingly and avoid saturating the floor. Second, you may not be rinsing the mop or cloth frequently enough. Rinse the mop or cloth in clean water after each pass to remove dirt and grime. Third, you may be using hard water. If you have hard water, consider using distilled water to make the cleaning solution. Finally, make sure you are drying the floor thoroughly after cleaning. Use a clean, dry microfiber cloth to buff the floor dry and remove any remaining streaks.

Leave a Comment