

Grow Bok Choy Kitchen: Imagine stepping into your kitchen, not just to cook, but to harvest fresh, crisp bok choy right from your windowsill! Sounds like a dream, right? Well, it doesn’t have to be! For centuries, cultivating food at home has been a cornerstone of self-sufficiency and a connection to nature. From ancient civilizations tending their herb gardens to modern urban dwellers embracing vertical farming, the desire to nurture our own food is deeply ingrained.
But let’s be honest, not everyone has a sprawling garden or the time for intensive gardening. That’s where these simple, yet effective, DIY tricks come in. I’m going to show you how to grow bok choy kitchen style, even if you have limited space or a black thumb! This isn’t just about saving money on groceries; it’s about experiencing the joy of watching something grow from seed to table, reducing your carbon footprint, and adding a touch of green to your indoor space.
Ready to ditch the store-bought bok choy and embrace the satisfaction of homegrown goodness? Let’s dive into these easy-to-follow DIY hacks that will have you harvesting your own delicious bok choy in no time!
Grow Bok Choy Indoors: A Beginner’s Guide to Kitchen Gardening
Hey there, fellow plant enthusiasts! Ever thought about growing your own veggies right in your kitchen? It’s easier than you think, and bok choy is a fantastic choice for beginners. It’s quick to grow, relatively low-maintenance, and adds a delicious crunch to your stir-fries. I’m going to walk you through everything you need to know to successfully cultivate bok choy indoors. Let’s get started!
What You’ll Need
Before we dive into the nitty-gritty, let’s gather our supplies. Here’s a list of everything you’ll need to grow bok choy indoors:
* Bok Choy Seeds: You can find these at most garden centers or online. Look for varieties specifically suited for container gardening, like ‘Dwarf Bok Choy’ or ‘Toy Choy’.
* Containers: Choose containers that are at least 6 inches deep and wide. Bok choy needs room for its roots to grow. I prefer using plastic pots with drainage holes.
* Potting Mix: Use a high-quality, well-draining potting mix. Avoid using garden soil, as it can compact and hinder drainage.
* Grow Lights (Optional but Recommended): Bok choy needs plenty of light, especially indoors. A grow light will ensure your plants get enough light, even on cloudy days.
* Watering Can or Spray Bottle: For gentle watering.
* Fertilizer (Optional): A balanced liquid fertilizer can help boost growth.
* Seed Starting Tray (Optional): If you prefer to start your seeds indoors before transplanting.
Getting Started: Sowing Your Seeds
Okay, now that we have all our supplies, let’s get those seeds in the soil!
1. Prepare Your Containers: Fill your containers with potting mix, leaving about an inch of space at the top. Gently pat down the soil to remove any air pockets.
2. Sow the Seeds: Sprinkle the bok choy seeds evenly over the surface of the soil. Aim for about 2-3 seeds per inch.
3. Cover the Seeds: Lightly cover the seeds with a thin layer of potting mix, about ¼ inch deep.
4. Water Gently: Use a watering can or spray bottle to gently moisten the soil. Be careful not to dislodge the seeds.
5. Provide Light: Place your containers in a bright location, preferably under a grow light. If you’re using a grow light, position it a few inches above the soil surface.
6. Maintain Moisture: Keep the soil consistently moist but not waterlogged. Check the soil moisture daily and water as needed.
Germination and Early Growth
This is where the magic happens! Within a week or two, you should start seeing tiny green sprouts emerge from the soil.
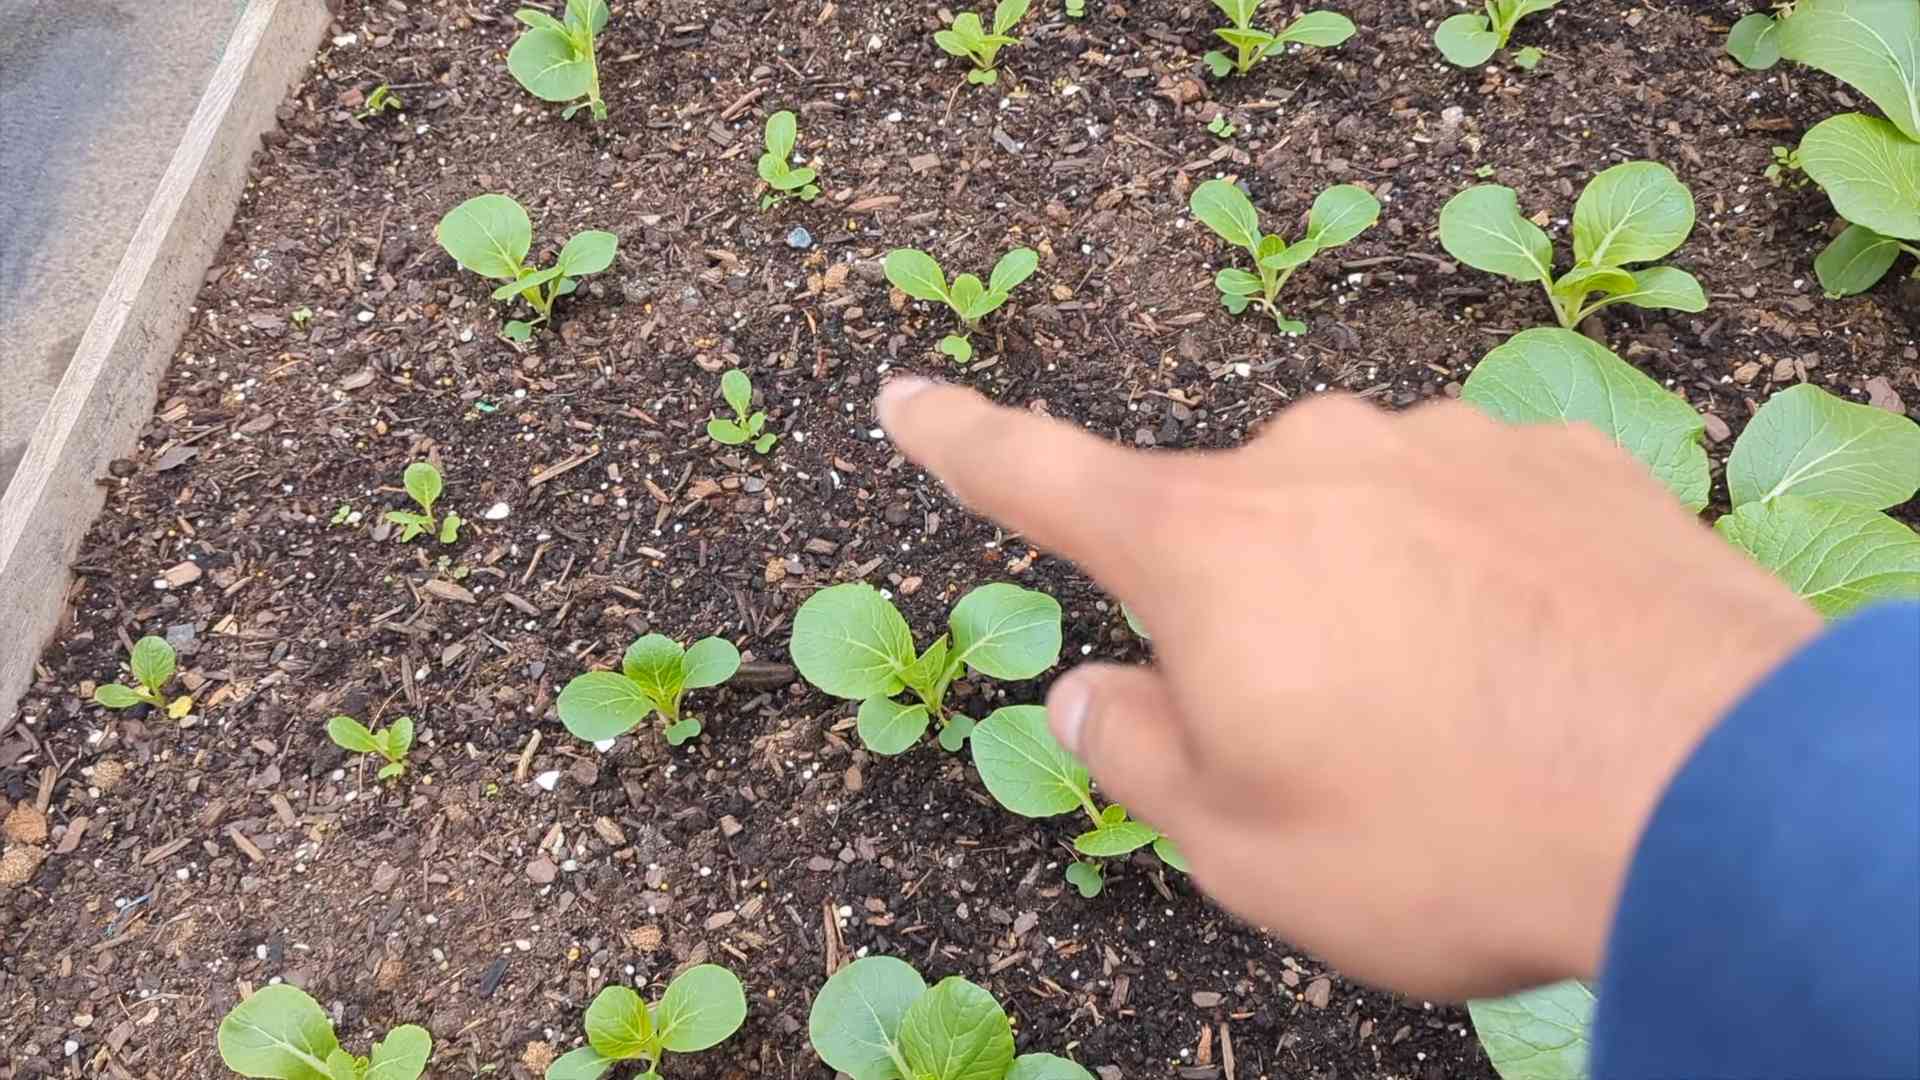
1. Thin Seedlings (If Necessary): Once your seedlings have developed a few true leaves (the second set of leaves that appear after the initial seed leaves), you may need to thin them out. This means removing some of the seedlings to give the remaining ones more space to grow. Choose the strongest-looking seedlings and gently snip off the weaker ones at the soil line. Aim for about 2-3 inches of space between each plant.
2. Adjust Lighting: As your seedlings grow, you may need to adjust the height of your grow light to ensure they’re getting enough light. The leaves should be a vibrant green color. If they start to look pale or leggy (tall and spindly), they’re likely not getting enough light.
3. Watering: Continue to water your bok choy regularly, keeping the soil consistently moist. Avoid overwatering, as this can lead to root rot.
4. Fertilizing (Optional): If you want to give your bok choy a boost, you can start fertilizing them with a balanced liquid fertilizer diluted to half strength. Follow the instructions on the fertilizer package. I usually fertilize every two weeks.
Caring for Your Bok Choy
Now that your bok choy is growing, it’s important to provide them with the right care to ensure they thrive.
1. Light: Bok choy needs at least 6 hours of sunlight per day. If you’re growing them indoors, a grow light is essential. I use a full-spectrum LED grow light and keep it on for about 12-14 hours per day.
2. Watering: Water your bok choy regularly, keeping the soil consistently moist. Check the soil moisture daily and water when the top inch of soil feels dry to the touch. Avoid letting the soil dry out completely, as this can stress the plants.
3. Temperature: Bok choy prefers cooler temperatures, ideally between 60-70°F (15-21°C). Avoid placing them near heat sources, such as radiators or vents.
4. Humidity: Bok choy prefers moderate humidity. If your indoor environment is dry, you can increase the humidity by placing a tray of water near your plants or using a humidifier.
5. Fertilizing: Continue to fertilize your bok choy every two weeks with a balanced liquid fertilizer diluted to half strength.
6. Pest Control: Keep an eye out for pests, such as aphids or cabbage worms. If you notice any pests, you can try spraying them with insecticidal soap or neem oil. I prefer to use organic pest control methods whenever possible.
Harvesting Your Bok Choy
The best part! You can usually start harvesting your bok choy about 30-45 days after planting.
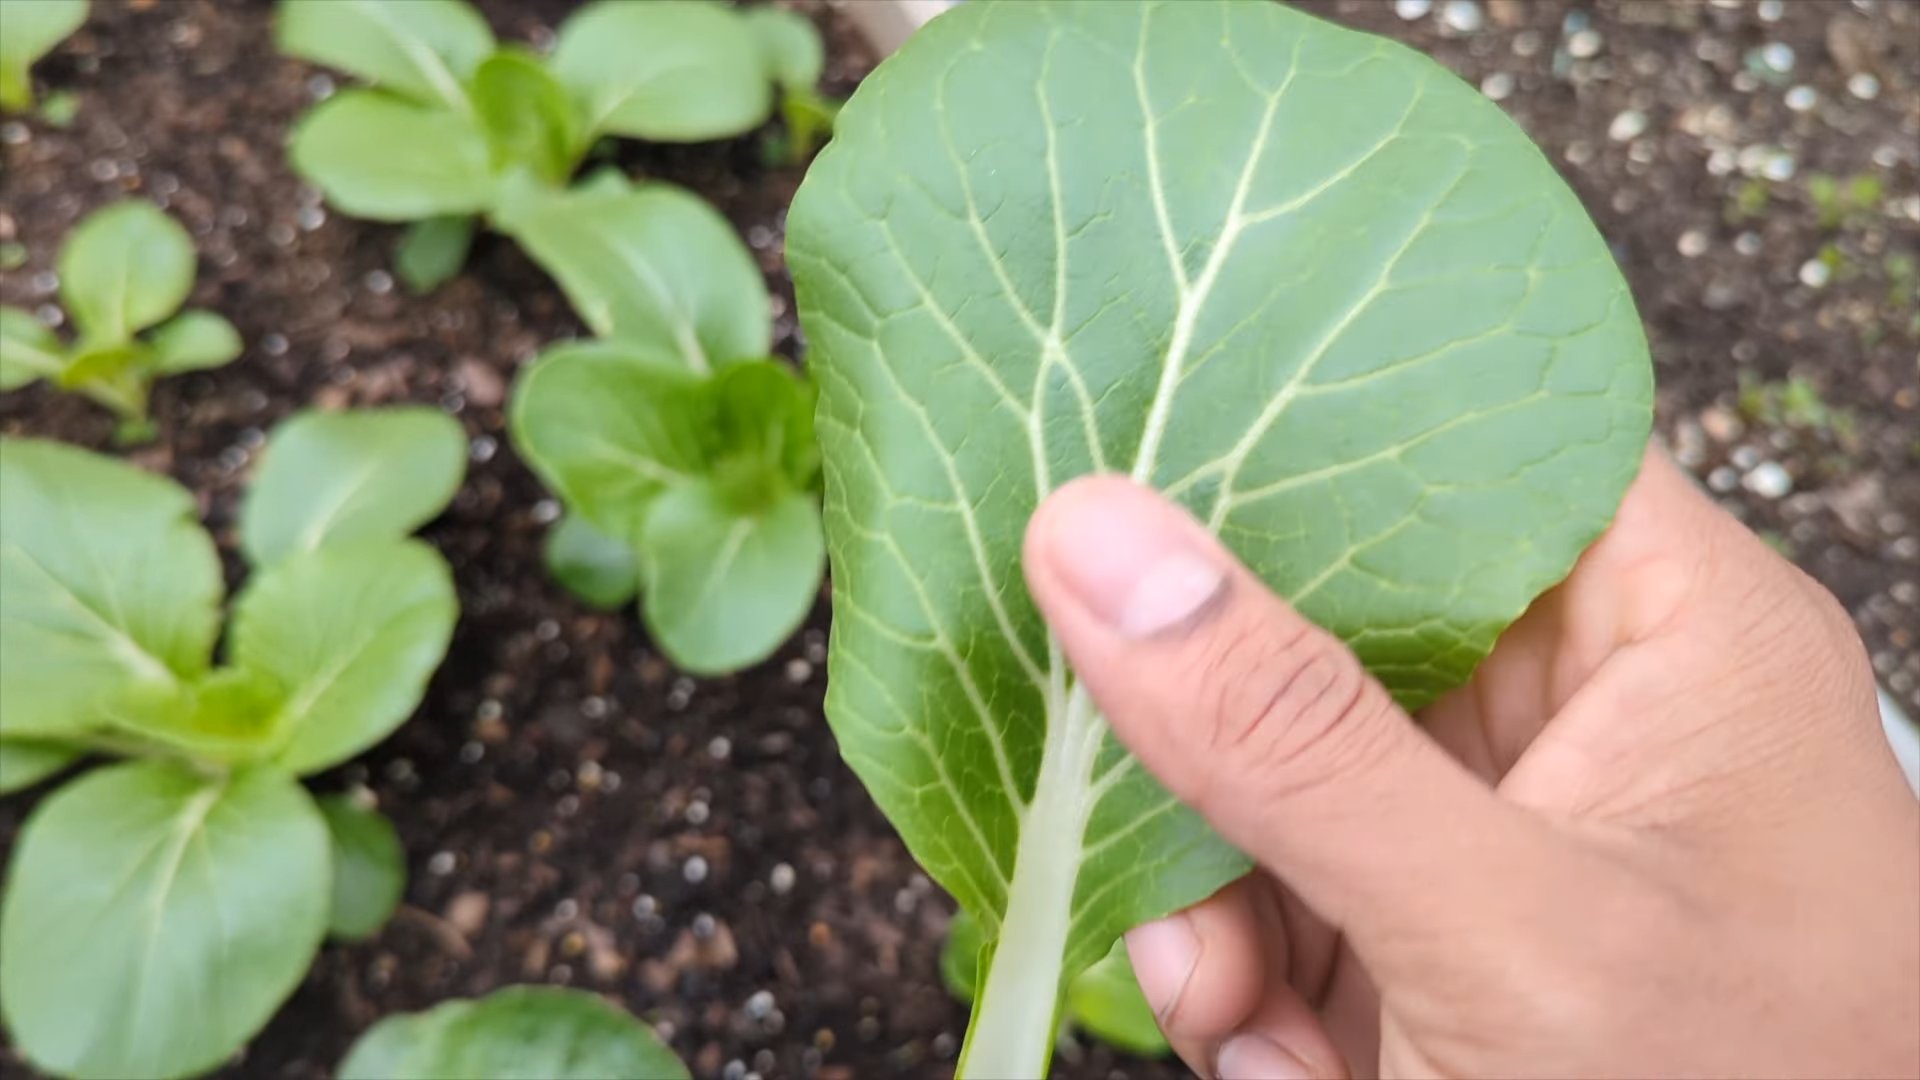
1. Harvesting Individual Leaves: You can harvest individual leaves as needed, starting with the outer leaves. Simply cut the leaves off at the base of the plant. This will allow the inner leaves to continue to grow.
2. Harvesting the Entire Plant: If you prefer, you can harvest the entire plant at once. Simply cut the plant off at the base.
3. Timing: Harvest your bok choy before it starts to bolt (flower). Bolting can make the leaves taste bitter.
4. Storage: Store your harvested bok choy in the refrigerator for up to a week.
Troubleshooting
Even with the best care, you may encounter some problems while growing bok choy indoors. Here are some common issues and how to address them:
* Leggy Growth: This is usually caused by insufficient light. Make sure your bok choy is getting enough light, either from a sunny window or a grow light.
* Yellowing Leaves: This can be caused by overwatering, underwatering, or nutrient deficiencies. Check the soil moisture and adjust your watering accordingly. If you suspect a nutrient deficiency, try fertilizing your plants with a balanced liquid fertilizer.
* Pest Infestations: Keep an eye out for pests, such as aphids or cabbage worms. If you notice any pests, you can try spraying them with insecticidal soap or neem oil.
* Bolting: Bolting is when the plant starts to flower prematurely. This can be caused by stress, such as high temperatures or inconsistent watering. To prevent bolting, try to keep your bok choy in a cool, well-ventilated location and water them regularly.
Tips for Success
Here are a few extra tips to help you succeed at growing bok choy indoors:
* Choose the Right Variety: Select bok choy varieties that are specifically suited for container gardening, such as ‘Dwarf Bok Choy’ or ‘Toy Choy’.
* Use High-Quality Potting Mix: Avoid using garden soil, as it can compact and hinder drainage.
* Provide Adequate Light: Bok choy needs plenty of light, especially indoors. A grow light is essential for success.
* Water Regularly: Keep the soil consistently moist but not waterlogged.
* Fertilize Regularly: Fertilize your bok choy every two weeks with a balanced liquid fertilizer diluted to half strength.
* Monitor for Pests: Keep an eye out for pests and take action promptly if you notice any.
* Harvest Regularly: Harvest your bok choy before it starts to bolt.
Enjoy Your Homegrown Bok Choy!
Growing bok choy indoors is a rewarding experience. With a little care and attention, you can enjoy fresh, delicious bok choy right from your kitchen. I hope this guide has been helpful. Happy gardening!
Conclusion
So, there you have it! Growing your own Bok Choy in the kitchen is not only possible, but it’s surprisingly simple and incredibly rewarding. Forget those wilted, overpriced heads of Bok Choy at the grocery store. With a little patience and this easy DIY trick, you can have fresh, crisp Bok Choy readily available, adding a vibrant and healthy touch to your meals.
Why is this a must-try? Because it’s sustainable, cost-effective, and puts you in control of your food source. You know exactly where your Bok Choy comes from and what (or rather, what *isn’t*) going into it. Plus, there’s something deeply satisfying about nurturing a plant from scraps and watching it thrive. It’s a small act of self-sufficiency that can bring a surprising amount of joy.
Beyond the basic method, there are plenty of ways to experiment and personalize your Bok Choy growing experience. Try using different types of containers – from repurposed yogurt tubs to stylish ceramic pots. Consider varying the lighting conditions to see how it affects growth. You can even try different nutrient solutions or compost teas to boost your Bok Choy’s vitality.
For a spicier kick, consider letting some of your Bok Choy go to seed. The flowers are edible and have a peppery flavor that’s delicious in salads or stir-fries. You can also save the seeds to plant a whole new crop!
Don’t be afraid to experiment with different varieties of Bok Choy. While the standard green Bok Choy is readily available, you might also find baby Bok Choy, Shanghai Bok Choy (with its spoon-shaped leaves), or even purple Bok Choy for a splash of color.
The key to success is consistent moisture and adequate light. Keep a close eye on your Bok Choy, and don’t be discouraged if you encounter a few bumps along the way. Every plant is different, and learning to read its needs is part of the fun.
We wholeheartedly encourage you to give this DIY trick a try. It’s a fantastic way to reduce food waste, connect with nature, and enjoy the freshest possible Bok Choy. Once you’ve experienced the satisfaction of growing your own, you’ll never look at a Bok Choy head the same way again.
And most importantly, we want to hear about your experience! Share your photos, tips, and challenges in the comments below. Let’s create a community of home gardeners and inspire each other to grow more of our own food. What are you waiting for? Get growing your own **Bok Choy Kitchen** garden today!
Frequently Asked Questions (FAQ)
1. How long does it take to regrow Bok Choy from the base?
The time it takes to regrow Bok Choy from the base can vary depending on several factors, including the amount of light, temperature, and the overall health of the original Bok Choy. Generally, you can expect to see new growth within a few days to a week. Within two weeks, you should have a noticeable amount of new leaves. However, keep in mind that this initial regrowth is primarily fueled by the stored energy in the base. For substantial growth and a harvestable amount of Bok Choy, it typically takes around 3-4 weeks. Be patient and consistent with watering and providing adequate light, and you’ll be rewarded with fresh, homegrown Bok Choy.
2. What kind of light does Bok Choy need when regrowing indoors?
Bok Choy thrives in bright, indirect light. When regrowing Bok Choy indoors, providing sufficient light is crucial for healthy growth. A sunny windowsill that receives at least 4-6 hours of sunlight per day is ideal. If you don’t have access to a sunny windowsill, you can supplement with artificial light. A fluorescent grow light or an LED grow light placed a few inches above the Bok Choy base can provide the necessary light spectrum for photosynthesis. Rotate the Bok Choy regularly to ensure even light exposure on all sides. Insufficient light can result in leggy growth and pale leaves, so make sure your Bok Choy is getting enough light to flourish.
3. How often should I water my regrowing Bok Choy?
Maintaining consistent moisture is essential for successful Bok Choy regrowth. Water your Bok Choy regularly, keeping the soil consistently moist but not waterlogged. Check the soil moisture level daily by sticking your finger about an inch into the soil. If the soil feels dry to the touch, it’s time to water. When watering, thoroughly saturate the soil until water drains out of the bottom of the container. Avoid letting the Bok Choy sit in standing water, as this can lead to root rot. The frequency of watering will depend on factors such as temperature, humidity, and the type of container you’re using. In general, you may need to water every 1-2 days, but adjust as needed based on your specific conditions.
4. Can I plant the regrown Bok Choy in the garden?
Yes, absolutely! Once your Bok Choy has developed a good root system and several new leaves, you can transplant it into the garden. This is a great way to extend the life of your Bok Choy and harvest even more leaves. Before transplanting, harden off the Bok Choy by gradually exposing it to outdoor conditions for a few hours each day over the course of a week. Choose a location in your garden that receives partial shade, especially during the hottest part of the day. Dig a hole slightly larger than the root ball and gently place the Bok Choy in the hole. Backfill with soil and water thoroughly. Mulch around the base of the plant to help retain moisture and suppress weeds. With proper care, your transplanted Bok Choy will continue to grow and provide you with fresh leaves for weeks to come.
5. What are some common problems I might encounter when regrowing Bok Choy, and how can I fix them?
While regrowing Bok Choy is generally straightforward, you might encounter a few common problems. One common issue is yellowing leaves, which can be caused by overwatering, underwatering, or nutrient deficiencies. Make sure you’re watering correctly and consider adding a diluted liquid fertilizer to provide essential nutrients. Another problem is leggy growth, which is usually a sign of insufficient light. Move your Bok Choy to a brighter location or supplement with artificial light. Pests such as aphids or slugs can also attack Bok Choy. Inspect your plants regularly and remove any pests by hand or use an organic insecticidal soap. Finally, root rot can occur if the soil is constantly waterlogged. Ensure proper drainage and avoid overwatering. By addressing these potential problems promptly, you can keep your Bok Choy healthy and thriving.

Leave a Comment