

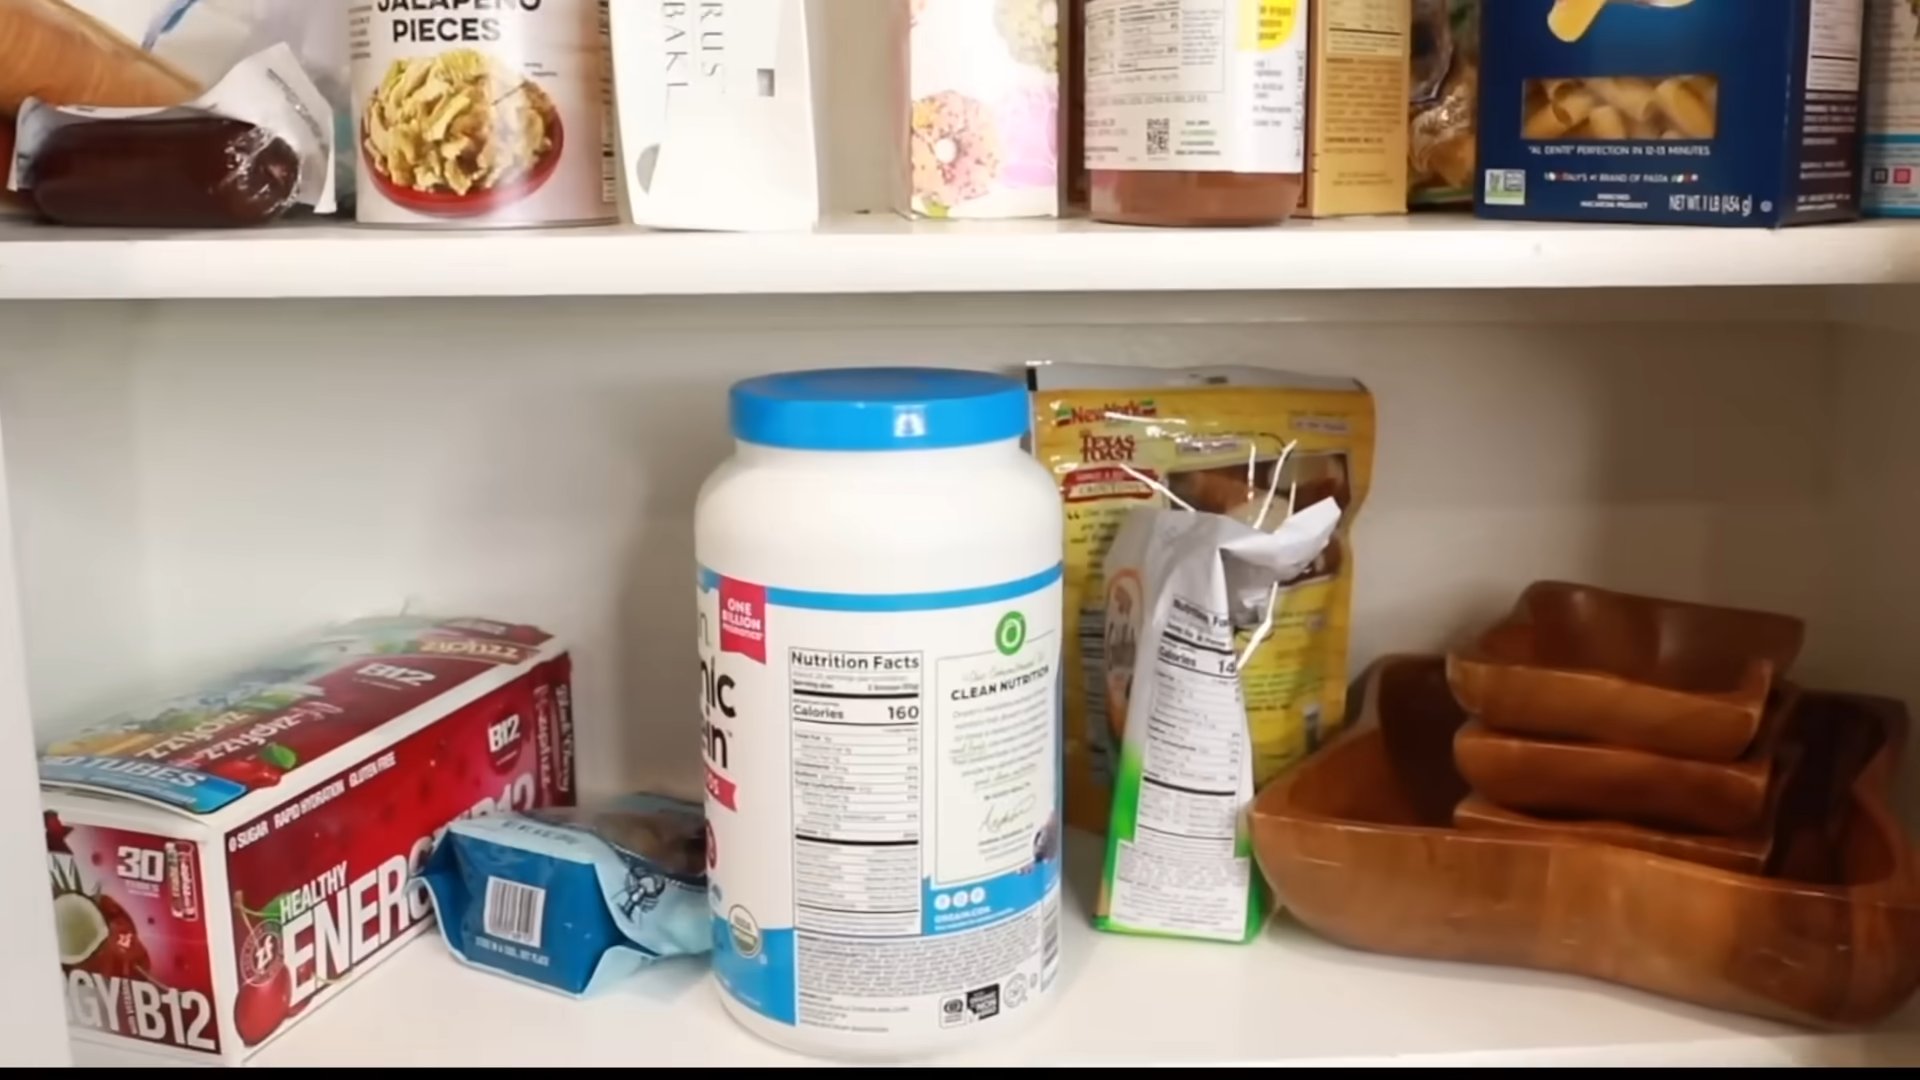
Double Storage Space DIY: Are you tired of tripping over garden tools and struggling to find a spot for your seedlings? I know I was! It felt like my little green haven was constantly being swallowed by clutter. But fear not, fellow gardening enthusiasts, because I’ve got the perfect solution for you: a brilliant DIY project that will literally double your storage space!
For centuries, gardeners have been devising clever ways to maximize their limited space. From ancient Roman vertical gardens to the intricate Japanese art of bonsai, the need to make the most of every inch has always been a driving force. Today, with smaller homes and urban gardening on the rise, the challenge is more relevant than ever.
That’s why I’m so excited to share this simple yet incredibly effective double storage space DIY project. It’s not just about tidying up; it’s about creating a more functional and enjoyable gardening experience. Imagine having all your tools neatly organized, your pots readily accessible, and your precious plants thriving in a clutter-free environment. This DIY project will not only save you space but also save you time and frustration, allowing you to focus on what you love most: nurturing your garden and watching it flourish. Let’s get started!
Double Your Closet Space with This Genius DIY Hack!
Okay, let’s face it: closet space is a universal struggle. I’ve been there, staring into a crammed abyss of clothes, shoes, and accessories, wondering how I accumulated so much stuff. But fear not, fellow space-challenged friends! I’m going to share a super effective DIY hack that literally doubled my closet space. It involves adding a second rod, and trust me, it’s easier than you think.
What You’ll Need
Before we dive in, let’s gather our supplies. This is a pretty straightforward project, so you probably already have some of these items lying around.
* Measuring Tape: Accuracy is key!
* Pencil: For marking your measurements.
* Stud Finder: Absolutely essential for secure installation. You don’t want your new rod collapsing!
* Level: To ensure your rod is perfectly horizontal.
* Drill: With appropriate drill bits for your wall type (drywall, plaster, etc.).
* Screws: Choose screws that are long enough to securely anchor into the studs. I recommend at least 2-inch screws.
* Closet Rod: You can buy a new one or repurpose an old one. Make sure it’s the right length for your closet.
* Closet Rod Flanges (Rod Sockets): These are the brackets that will hold your rod in place. You’ll need two.
* Safety Glasses: Protect your eyes from dust and debris.
* Optional: Paint or Primer: If you want to paint the flanges to match your closet.
* Optional: Sandpaper: If you’re using an old closet rod and want to smooth it out.
Planning is Key: Measuring and Marking
Before you even think about picking up a drill, careful planning is crucial. This is where we figure out exactly where that second rod is going to live.
1. Empty Your Closet (Mostly): You don’t have to completely empty it, but clear out enough space so you can easily move around and see what you’re doing.
2. Determine the Height: This is the most important step. You need to decide how much space you want between the existing rod and the new one. I recommend measuring the length of your shortest hanging items (shirts, blouses, skirts). Add a few inches for clearance. You want to be able to hang those items comfortably without them dragging on the floor or getting squished. I aimed for about 40 inches between the two rods, which worked perfectly for my shirts and skirts.
3. Find the Studs: This is where your stud finder comes in. Use it to locate the studs in your closet wall. The studs are the vertical wooden beams that provide structural support. You absolutely *must* attach your rod flanges to the studs, otherwise, the rod won’t be able to hold any weight. Mark the location of the studs with your pencil.
4. Mark the Flange Locations: Once you’ve found the studs and determined the height of your new rod, it’s time to mark the exact locations where you’ll be attaching the flanges. Use your measuring tape and level to ensure that the flanges will be perfectly aligned and horizontal. This is crucial for a professional-looking result. Make sure the marks are on the center of the stud.
5. Double-Check Everything: Before you start drilling, take a step back and double-check all your measurements and markings. It’s much easier to correct a mistake now than it is after you’ve drilled holes in your wall!
Installing the Closet Rod
Now for the fun part! We’re finally going to start building that second rod.
1. Pre-Drill Pilot Holes: This is an important step, especially if you’re working with hardwood studs. Pre-drilling pilot holes will make it much easier to drive in the screws and prevent the wood from splitting. Use a drill bit that’s slightly smaller than the diameter of your screws. Drill the pilot holes at the marked locations.
2. Attach the Flanges: Now, position the flanges over the pilot holes and screw them into the studs. Make sure the screws are driven in straight and tight. Use a level to ensure that the flanges are perfectly vertical.
3. Prepare the Closet Rod: If you’re using a new closet rod, you may need to cut it to the correct length. Use a saw to cut the rod to the desired length. If you’re using an old closet rod, you may want to sand it down to remove any rough spots or splinters.
4. Install the Closet Rod: Carefully slide the closet rod into the flanges. Make sure it’s securely seated in the brackets. Some flanges have a small screw that you can tighten to hold the rod in place.
5. Test the Rod: Before you start loading up your new rod with clothes, give it a test. Gently push down on the rod to make sure it’s securely attached to the wall. If it feels wobbly or unstable, tighten the screws or add additional support.
Finishing Touches
Okay, the hard part is over! Now it’s time to add the finishing touches and enjoy your newly doubled closet space.
1. Paint the Flanges (Optional): If you want to give your closet a more polished look, you can paint the flanges to match the color of your walls or trim. Use a primer first to ensure that the paint adheres properly.
2. Organize Your Clothes: Now for the best part! Start hanging your clothes on the new rod. I recommend organizing your clothes by type (shirts, skirts, pants) and color. This will make it much easier to find what you’re looking for.
3. Add Accessories: Don’t forget about accessories! You can use hooks, shelves, and baskets to store shoes, bags, and other items.
4. Admire Your Work: Step back and admire your handiwork! You’ve just doubled your closet space and created a more organized and functional storage area.
Troubleshooting Tips
Even with the best planning, sometimes things don’t go exactly as expected. Here are a few troubleshooting tips to help you overcome any challenges you might encounter.
* Can’t Find the Studs? If your stud finder is giving you trouble, try using a small nail to gently probe the wall until you hit something solid. You can also try looking for electrical outlets or switches, as these are usually attached to studs.
* Screws Won’t Go In? If you’re having trouble driving in the screws, make sure you’ve pre-drilled pilot holes that are the correct size. You can also try using a lubricant, such as soap or wax, on the screws.
* Rod is Sagging? If your rod is sagging, it’s likely because it’s not properly supported. Make sure the flanges are securely attached to the studs. You can also add a center support bracket to provide additional support.
* Flanges are Crooked? If your flanges are crooked, loosen the screws and adjust them until they’re level. Use a level to ensure that they’re perfectly aligned.
Alternative Ideas and Customizations
This DIY hack is a great starting point, but you can customize it to fit your specific needs and preferences. Here are a few alternative ideas:
* Adjustable Rod System: Instead of using fixed-height flanges, you can install an adjustable rod system that allows you to change the height of the rod as needed. This is a great option if you have a variety of clothing lengths.
* Wire Shelving: Instead of adding a second rod, you can install wire shelving to create additional storage space. This is a good option for storing folded clothes, shoes, and other items.
* Combination Rod and Shelf: You can combine a second rod with a shelf above it to create a versatile storage solution. This is a great option for maximizing space in a small closet.
* Use Different Materials: While I used a standard metal closet rod, you could get creative with materials. Think about using a sturdy wooden dowel for a more rustic look, or even a length of galvanized pipe for an industrial vibe. Just make sure whatever you choose is strong enough to hold the weight of your clothes!
I hope this guide has inspired you to tackle your own closet space woes. With a little planning and effort, you can easily double your closet space and create a more organized and functional storage area. Happy DIY-ing!
Conclusion
So, there you have it! This simple yet ingenious “Double Storage Space DIY” trick is more than just a space-saving hack; it’s a game-changer for anyone struggling with clutter and limited storage. We’ve shown you how to maximize your existing space, transforming cramped areas into organized havens. The beauty of this method lies in its adaptability. Whether you’re dealing with a tiny apartment, an overflowing closet, or a garage bursting at the seams, this technique can be tailored to fit your specific needs and storage challenges.
Why is this a must-try? Because it’s cost-effective, easy to implement, and yields immediate results. You don’t need to invest in expensive storage solutions or embark on a major renovation project. With a few readily available materials and a little bit of elbow grease, you can dramatically increase your storage capacity without breaking the bank. Imagine the satisfaction of opening your closet and seeing everything neatly organized and easily accessible, or walking into your garage and finding ample space to move around. This DIY project makes that dream a reality.
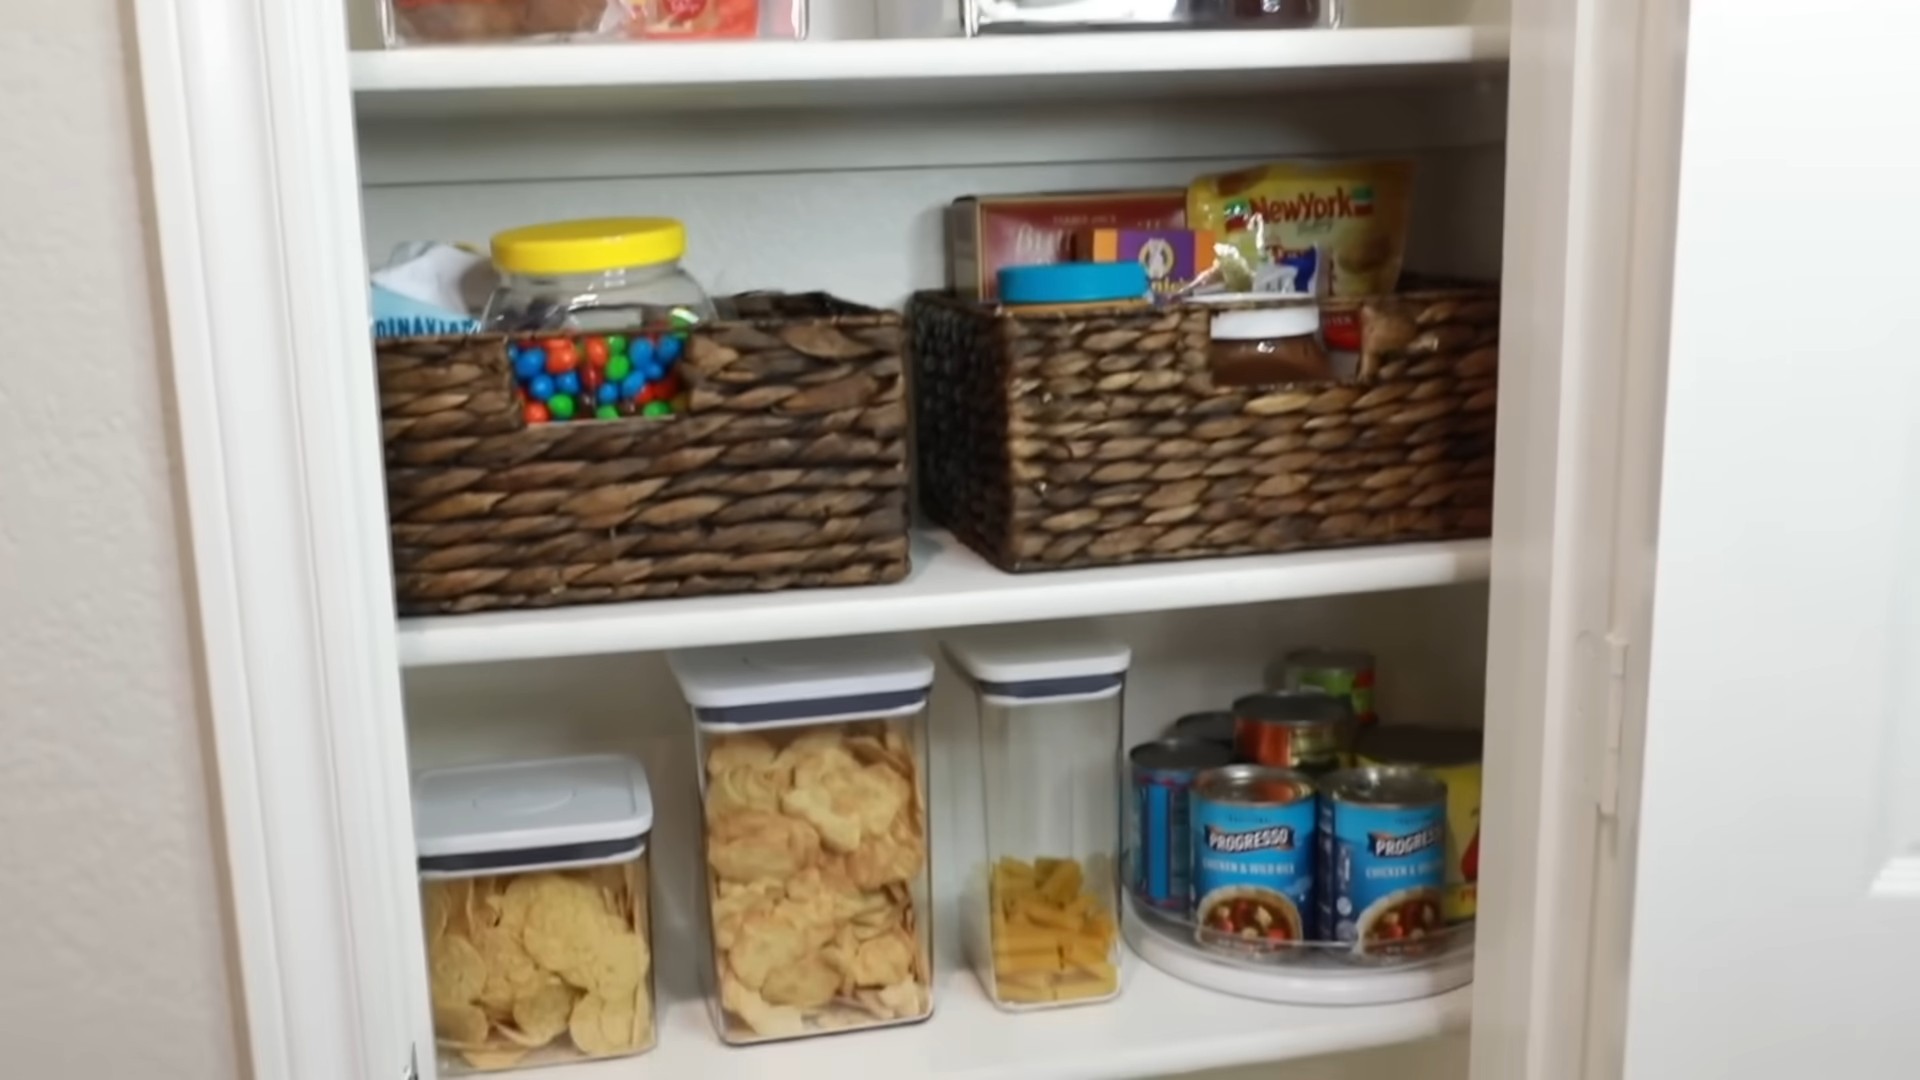
But the possibilities don’t stop there! Feel free to experiment with variations to suit your personal style and storage requirements. For example, if you’re using this trick in your closet, consider adding decorative baskets or bins to further organize your belongings and enhance the aesthetic appeal. You could also use different colored labels to categorize your items, making it even easier to find what you need. In the garage, think about using heavy-duty shelving units to support heavier items and maximize vertical space. The key is to get creative and adapt the technique to your unique circumstances.
We encourage you to take the plunge and try this “Double Storage Space DIY” trick for yourself. We’re confident that you’ll be amazed by the results. Don’t just take our word for it; experience the transformation firsthand. Once you’ve implemented this storage solution, we’d love to hear about your experience. Share your before-and-after photos, tips, and variations in the comments section below. Let’s create a community of organized individuals who are passionate about maximizing their space and simplifying their lives. Your insights could inspire others to declutter and create a more functional and enjoyable living environment. Remember, a well-organized space leads to a more peaceful and productive life. So, what are you waiting for? Start doubling your storage space today!
Frequently Asked Questions (FAQs)
What kind of materials do I need for this Double Storage Space DIY?
The materials you’ll need will depend on the specific area you’re organizing and the type of storage you’re aiming for. However, some common materials include:
* Shelving units (consider adjustable shelves for maximum flexibility)
* Storage bins and baskets (choose sizes and materials that suit your needs and aesthetic)
* Hooks and hangers (for maximizing vertical space in closets and garages)
* Labels and a label maker (for easy identification of stored items)
* Drill and screws (for installing shelves and hooks)
* Measuring tape (for accurate planning and placement)
* Level (to ensure shelves are installed evenly)
* Cleaning supplies (to declutter and prepare the space before organizing)
* For closet specific projects, consider thin, space-saving hangers.
* For garage projects, consider heavy-duty shelving and wall-mounted storage systems.
Is this DIY project suitable for renters?
Yes, absolutely! The beauty of this “Double Storage Space DIY” is that it can be adapted to suit rental properties. Focus on solutions that don’t require permanent alterations, such as using freestanding shelving units, over-the-door organizers, and adhesive hooks (make sure they are renter-friendly and won’t damage the walls). Avoid drilling holes or making any structural changes that could violate your lease agreement. When you move out, you can easily disassemble and take your storage solutions with you.
How long will it take to complete this DIY project?
The time required will vary depending on the size of the space you’re organizing and the complexity of the project. A small closet might take a few hours, while a larger garage could take a full day or even a weekend. It’s best to break the project down into smaller, manageable tasks and tackle them one at a time. Start by decluttering and sorting your belongings, then plan your storage layout, and finally, install your storage solutions. Don’t rush the process; take your time to ensure that everything is organized to your liking.
What if I don’t have a lot of DIY experience?
No problem! This “Double Storage Space DIY” is designed to be accessible to people of all skill levels. Start with a small, simple project, such as organizing a single shelf or drawer. As you gain confidence, you can tackle more challenging projects. There are also plenty of online resources, such as tutorials and videos, that can guide you through the process. Don’t be afraid to ask for help from friends or family members if you need it. The most important thing is to be patient and persistent.
How can I maintain the organized space after completing this DIY project?
Maintaining an organized space requires ongoing effort and commitment. Here are a few tips to help you stay on track:
* Declutter regularly: Get rid of items you no longer need or use.
* Put things back in their place: Make it a habit to return items to their designated storage locations immediately after using them.
* Follow the “one in, one out” rule: When you buy something new, get rid of something old.
* Schedule regular maintenance: Set aside a few minutes each week to tidy up and reorganize your space.
* Re-evaluate your storage needs: As your needs change, adjust your storage solutions accordingly.
Can this Double Storage Space DIY
So, there you have it! This simple yet ingenious “Double Storage Space DIY” trick is more than just a space-saving hack; it’s a game-changer for anyone struggling with clutter and limited storage. We’ve shown you how to maximize your existing space, transforming cramped areas into organized havens. The beauty of this method lies in its adaptability. Whether you’re dealing with a tiny apartment, an overflowing closet, or a garage bursting at the seams, this technique can be tailored to fit your specific needs and storage challenges.
Why is this a must-try? Because it’s cost-effective, easy to implement, and yields immediate results. You don’t need to invest in expensive storage solutions or embark on a major renovation project. With a few readily available materials and a little bit of elbow grease, you can dramatically increase your storage capacity without breaking the bank. Imagine the satisfaction of opening your closet and seeing everything neatly organized and easily accessible, or walking into your garage and finding ample space to move around. This DIY project makes that dream a reality.
But the possibilities don’t stop there! Feel free to experiment with variations to suit your personal style and storage requirements. For example, if you’re using this trick in your closet, consider adding decorative baskets or bins to further organize your belongings and enhance the aesthetic appeal. You could also use different colored labels to categorize your items, making it even easier to find what you need. In the garage, think about using heavy-duty shelving units to support heavier items and maximize vertical space. The key is to get creative and adapt the technique to your unique circumstances.
We encourage you to take the plunge and try this “Double Storage Space DIY” trick for yourself. We’re confident that you’ll be amazed by the results. Don’t just take our word for it; experience the transformation firsthand. Once you’ve implemented this storage solution, we’d love to hear about your experience. Share your before-and-after photos, tips, and variations in the comments section below. Let’s create a community of organized individuals who are passionate about maximizing their space and simplifying their lives. Your insights could inspire others to declutter and create a more functional and enjoyable living environment. Remember, a well-organized space leads to a more peaceful and productive life. So, what are you waiting for? Start doubling your storage space today!
Frequently Asked Questions (FAQs)
What kind of materials do I need for this Double Storage Space DIY?
The materials you’ll need will depend on the specific area you’re organizing and the type of storage you’re aiming for. However, some common materials include:
* Shelving units (consider adjustable shelves for maximum flexibility)
* Storage bins and baskets (choose sizes and materials that suit your needs and aesthetic)
* Hooks and hangers (for maximizing vertical space in closets and garages)
* Labels and a label maker (for easy identification of stored items)
* Drill and screws (for installing shelves and hooks)
* Measuring tape (for accurate planning and placement)
* Level (to ensure shelves are installed evenly)
* Cleaning supplies (to declutter and prepare the space before organizing)
* For closet specific projects, consider thin, space-saving hangers.
* For garage projects, consider heavy-duty shelving and wall-mounted storage systems.
Is this DIY project suitable for renters?
Yes, absolutely! The beauty of this “Double Storage Space DIY” is that it can be adapted to suit rental properties. Focus on solutions that don’t require permanent alterations, such as using freestanding shelving units, over-the-door organizers, and adhesive hooks (make sure they are renter-friendly and won’t damage the walls). Avoid drilling holes or making any structural changes that could violate your lease agreement. When you move out, you can easily disassemble and take your storage solutions with you.
How long will it take to complete this DIY project?
The time required will vary depending on the size of the space you’re organizing and the complexity of the project. A small closet might take a few hours, while a larger garage could take a full day or even a weekend. It’s best to break the project down into smaller, manageable tasks and tackle them one at a time. Start by decluttering and sorting your belongings, then plan your storage layout, and finally, install your storage solutions. Don’t rush the process; take your time to ensure that everything is organized to your liking.
What if I don’t have a lot of DIY experience?
No problem! This “Double Storage Space DIY” is designed to be accessible to people of all skill levels. Start with a small, simple project, such as organizing a single shelf or drawer. As you gain confidence, you can tackle more challenging projects. There are also plenty of online resources, such as tutorials and videos, that can guide you through the process. Don’t be afraid to ask for help from friends or family members if you need it. The most important thing is to be patient and persistent.
How can I maintain the organized space after completing this DIY project?
Maintaining an organized space requires ongoing effort and commitment. Here are a few tips to help you stay on track:
* Declutter regularly: Get rid of items you no longer need or use.
* Put things back in their place: Make it a habit to return items to their designated storage locations immediately after using them.
* Follow the “one in, one out” rule: When you buy something new, get rid of something old.
* Schedule regular maintenance: Set aside a few minutes each week to tidy up and reorganize your space.
* Re-evaluate your storage needs: As your needs change, adjust your storage solutions accordingly.
Can this Double Storage Space DIY be used in a small apartment?
Absolutely! In fact, this DIY is *especially* beneficial for small apartments where space is at a premium. Focus on vertical storage solutions, such as tall shelving units and wall-mounted organizers. Utilize every nook and cranny, including under-bed storage, over-the-door organizers, and corner shelves. Choose furniture with built-in storage, such as ottomans with hidden compartments and beds with drawers underneath. The key is to be creative and maximize every inch of available space.
What are some creative variations of this Double Storage Space DIY?
Here are a few creative variations to inspire you:
* DIY Rolling Storage Cart: Build a custom rolling cart to store items that you need to access frequently.
* Under-Stair Storage: Transform the unused space under your stairs into a functional storage area.
* Pegboard Organizer: Use a pegboard to create a customizable storage system for tools, craft supplies, or kitchen utensils.
* Floating Shelves: Install floating shelves to add storage without taking up floor space.
* Repurposed Furniture: Give old furniture a new life by repurposing it for storage. For example, an old dresser can be used as a storage unit in a garage or workshop.
How do I choose the right storage bins and baskets?
When choosing storage bins and baskets, consider the following factors:
* Size: Choose sizes that fit your storage space and the items you’ll be storing.
* Material: Select materials that are durable and easy to clean. Options include plastic, fabric, wicker, and metal.
* Style: Choose bins and baskets that complement your decor.
* Transparency: Opt for clear bins if you want to easily see what’s inside.
* Lids: Choose bins with lids if you want to protect your items from dust and moisture.
* Stackability: Select bins that can be stacked to maximize vertical space.
What if I find that I have too much stuff even after implementing this DIY?
If you still have too much stuff after implementing this “Double Storage Space DIY”, it’s time to declutter more aggressively. Be honest with yourself about what you truly need and use. Consider donating, selling, or discarding items that you no longer want or need. Remember, the goal is to create a functional and clutter-free space, not just to store everything you own. Sometimes, less is more.
Leave a Comment