

DIY Paint Brush Storage: Are you tired of finding your paint brushes splayed out, bristles bent, and caked with dried paint? I know I was! It’s a common problem for anyone who loves a good DIY project, from seasoned artists to weekend crafters. We’ve all been there, staring at a drawer overflowing with brushes in various states of disrepair, wondering if there’s a better way.
Historically, artists have always sought ways to preserve their tools. From simple leather wraps to handcrafted wooden boxes, the quest for effective paint brush storage is nothing new. Think about the old masters meticulously caring for their sable brushes – it speaks to the value placed on these essential instruments.
But let’s be honest, in today’s busy world, who has time for elaborate storage solutions? That’s where this DIY guide comes in. I’m going to show you some incredibly simple, affordable, and effective ways to create your own DIY paint brush storage. Not only will this keep your brushes in tip-top shape, extending their lifespan and saving you money in the long run, but it will also declutter your workspace and make your creative process so much smoother. Imagine, no more digging through a tangled mess to find the perfect brush! Let’s get started and transform your brush chaos into organized bliss!
DIY Paint Brush Storage: Keep Your Brushes Happy and Organized!
Okay, fellow DIY enthusiasts! Are you tired of your paint brushes ending up a tangled, paint-caked mess? I know I was! That’s why I came up with this super simple and effective DIY paint brush storage solution. It’s cheap, customizable, and will keep your brushes in tip-top shape for years to come. Let’s get started!
What You’ll Need:
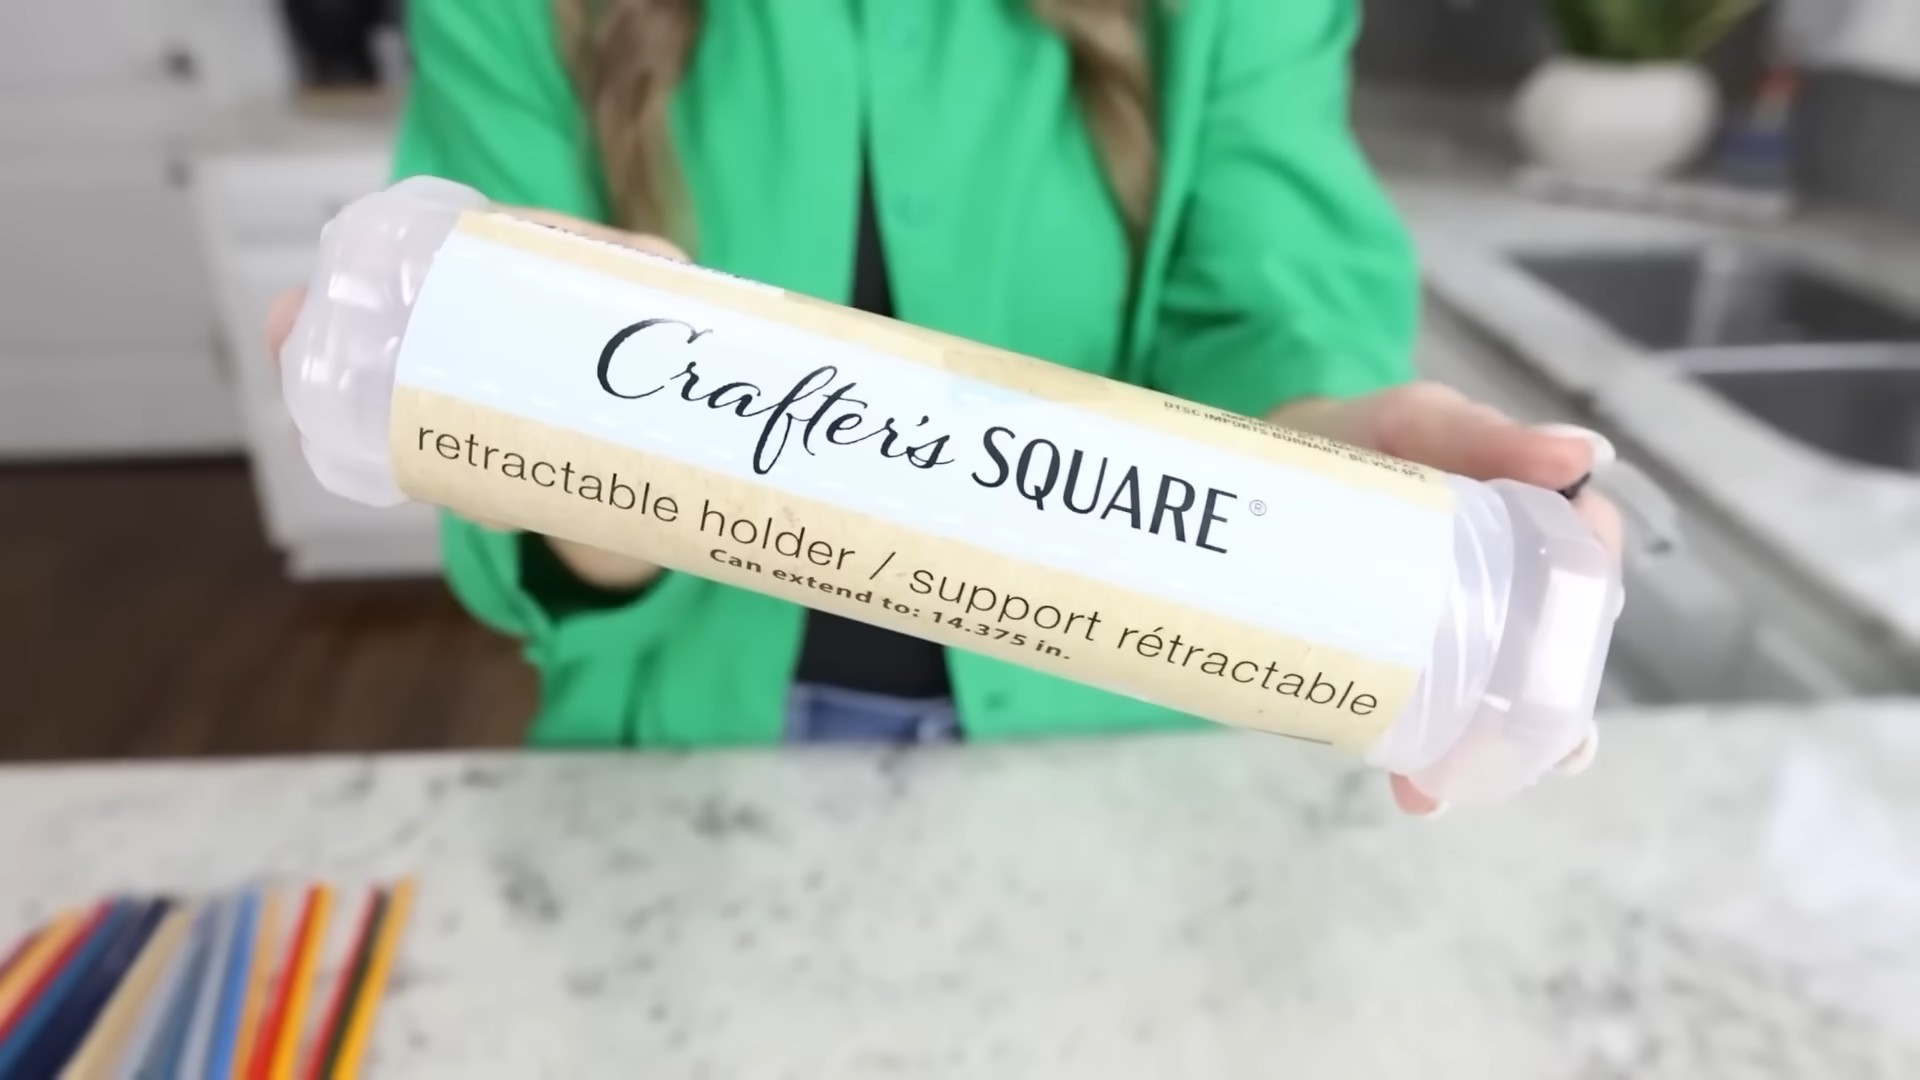
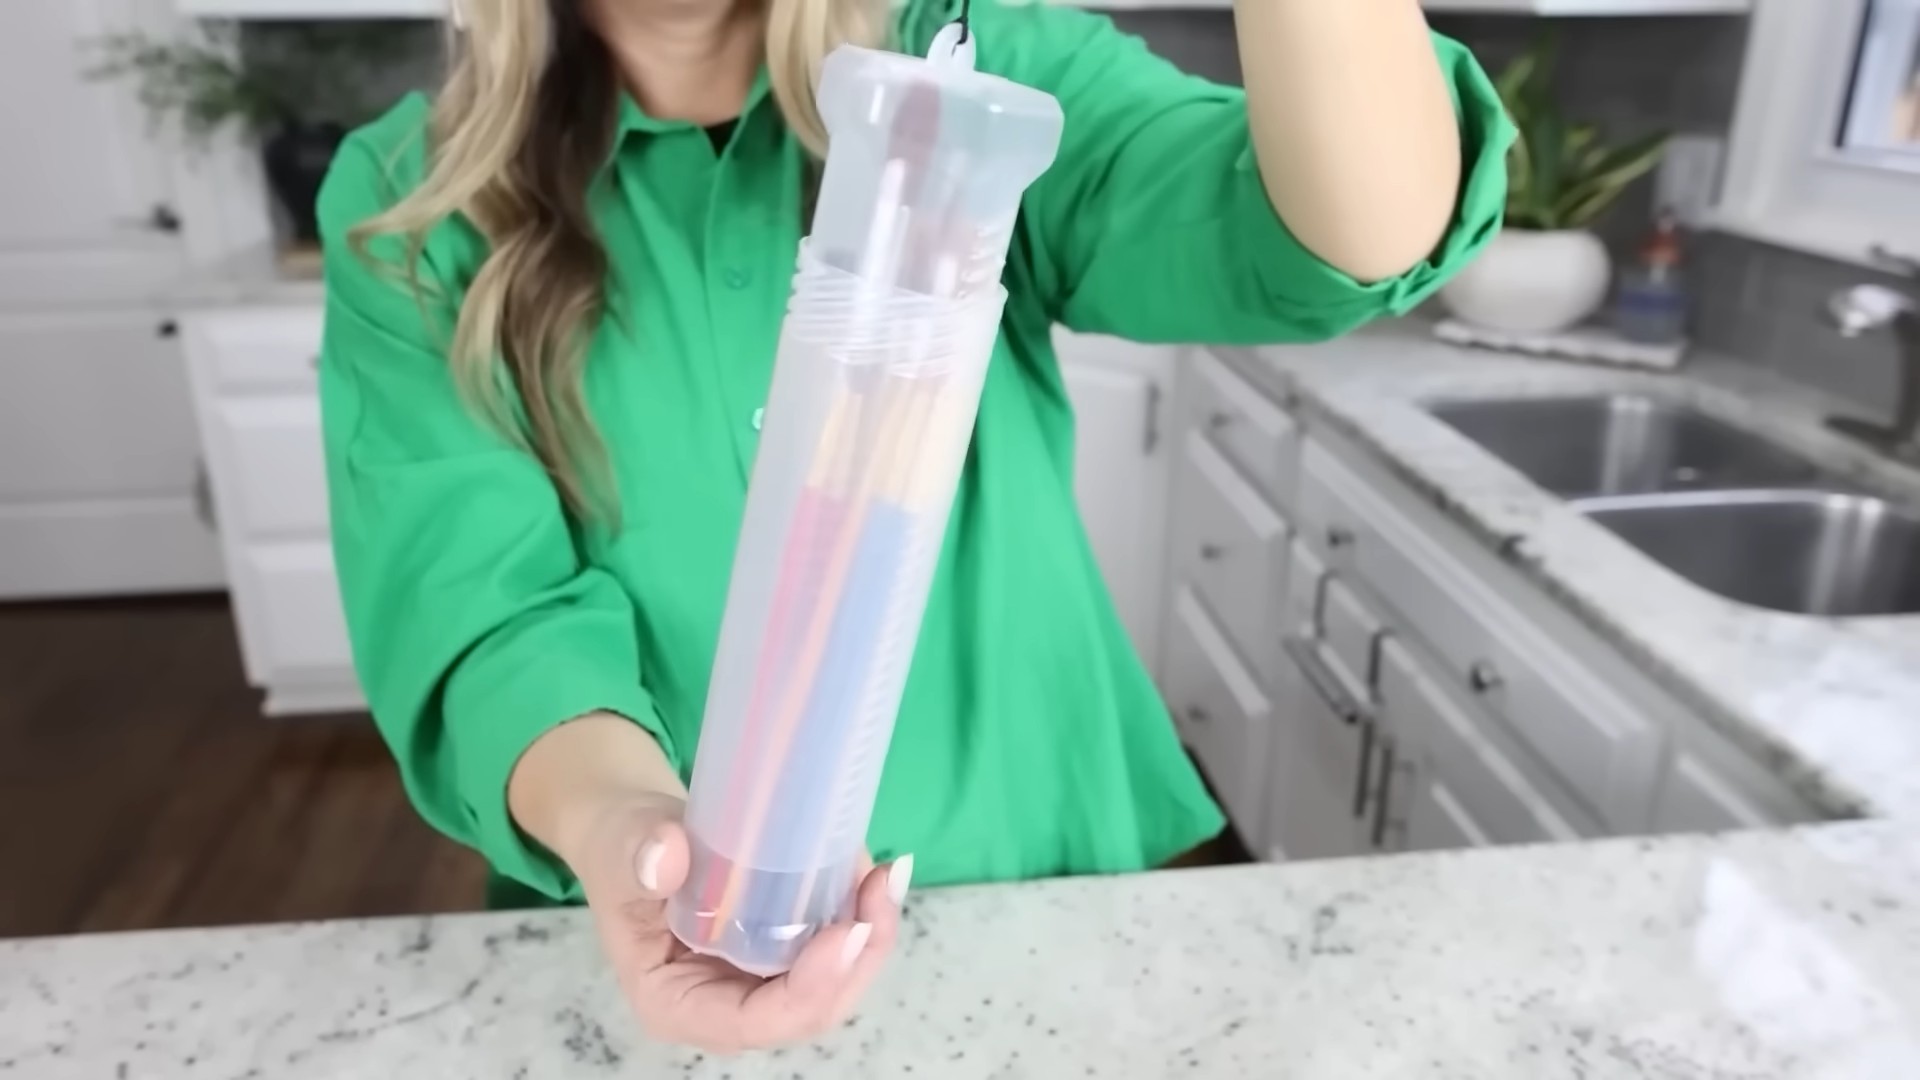
* A sturdy container: This could be a mason jar, a coffee can, a plastic bucket, or even a repurposed oatmeal container. The size will depend on how many brushes you have. I’m using a large mason jar for this tutorial.
* Pebbles, marbles, or sand: These will weigh down the container and provide a base for your brushes.
* Clothespins (wooden or plastic): These are the key to keeping your brushes suspended and preventing the bristles from bending. You’ll need enough for all your brushes.
* Hot glue gun and glue sticks (optional, but recommended): For securing the clothespins to the container.
* Scissors or wire cutters (if needed): For trimming clothespins if they’re too long.
* Painter’s tape (optional): For decorating your container.
* Spray paint (optional): For painting your container or clothespins.
* Ruler or measuring tape (optional): For precise placement of clothespins.
* Protective gloves (optional): To protect your hands from hot glue.
* Newspaper or drop cloth: To protect your work surface.
Step-by-Step Instructions:
1. Prepare Your Container
1. Clean Your Container: First things first, make sure your container is clean and dry. If you’re using a repurposed container, remove any labels and wash it thoroughly with soap and water. Let it dry completely before moving on.
2. Decorate (Optional): This is where you can get creative! If you want to personalize your paint brush holder, now’s the time. You can use painter’s tape to create stripes or patterns, or you can spray paint the entire container a different color. I’m going to leave my mason jar clear so I can easily see my brushes.
3. Add Weight: Pour your pebbles, marbles, or sand into the bottom of the container. You want to fill it up about 1/4 to 1/3 of the way. This will provide a stable base and prevent the container from tipping over when it’s full of brushes.
2. Prepare Your Clothespins
1. Choose Your Clothespins: Decide whether you want to use wooden or plastic clothespins. Wooden clothespins are more traditional and can be painted or stained, while plastic clothespins are more durable and water-resistant. I’m using wooden clothespins for a rustic look.
2. Trim (If Necessary): If your clothespins are too long for your container, you can trim them down with scissors or wire cutters. You want them to be long enough to grip the brushes securely, but not so long that they stick out too far from the top of the container.
3. Paint (Optional): If you want to add a pop of color, you can paint your clothespins. Use spray paint or acrylic paint and let them dry completely before moving on. I’m going to leave mine natural.
3. Attach the Clothespins
1. Plan Your Placement: Before you start gluing, it’s a good idea to plan out how you want to arrange the clothespins around the rim of the container. You want to space them evenly so that your brushes will be supported properly. You can use a ruler or measuring tape to ensure even spacing.
2. Hot Glue (Recommended): Using your hot glue gun, apply a small amount of hot glue to the inside of the clothespin where it will contact the rim of the container.
3. Attach to Container: Quickly press the clothespin onto the rim of the container and hold it in place for a few seconds until the glue sets. Be careful not to burn yourself!
4. Repeat: Repeat steps 2 and 3 until you’ve attached all the clothespins around the rim of the container.
5. Alternative Attachment (No Glue): If you don’t want to use hot glue, you can simply clip the clothespins onto the rim of the container. This method is less permanent, but it’s also easier to adjust the placement of the clothespins later on. However, I find that the glue makes it much more stable.
4. Organize Your Brushes
1. Sort Your Brushes: Before you start putting your brushes into the holder, take a moment to sort them by size and type. This will make it easier to find the brush you need when you’re painting.
2. Clip Your Brushes: Clip each brush onto a clothespin, making sure that the bristles are hanging down and not touching the bottom of the container. This will help them maintain their shape and prevent them from getting bent or damaged.
3. Arrange for Airflow: Make sure there’s enough space between the brushes so that air can circulate. This will help them dry properly and prevent mold or mildew from forming.
4. Enjoy Your Organized Brushes! That’s it! You’ve now created a simple and effective paint brush storage solution. Your brushes will be organized, protected, and ready for your next painting project.
Tips and Tricks for Success:
* Consider Brush Size: For larger brushes, you might want to use two clothespins for extra support.
* Clean Your Brushes First: Always clean your brushes thoroughly after each use before storing them. This will prevent paint from drying and hardening in the bristles. I like to use brush cleaner and then reshape the bristles before storing.
* Store Bristles Down: Storing your brushes bristles down is crucial for maintaining their shape and preventing water from seeping into the ferrule (the metal part that holds the bristles).
* Experiment with Different Containers: Don’t be afraid to experiment with different types of containers to find one that works best for you. I’ve seen people use everything from old teacups to repurposed spice racks.
* Add a Label: If you have a lot of brushes, you might want to add a label to your container so you can easily identify what’s inside.
* Customize Your Design: Get creative with your design! You can paint the container, add stickers, or even decoupage it with your favorite images.
* Check for Stability: Make sure your container is stable and won’t tip over easily. If it’s top-heavy, you might want to add more weight to the bottom.
* Use Different Clothespin Sizes: You can use different sizes of clothespins to accommodate brushes with different handle thicknesses.
* Regularly Clean Your Holder: Every now and then, clean your paint brush holder to remove any dust or debris.
* Consider a Rotating System: If you have a lot of brushes, consider using a rotating system so that you’re not always using the same ones. This will help extend the life of your brushes.
* Don’t Overcrowd: Avoid overcrowding your paint brush holder. This can damage the bristles and make it difficult to find the brush you need.
* Protect from Sunlight: Store your paint brush holder in a cool, dry place away from direct sunlight. Sunlight can damage the bristles and cause the paint to fade.
* Use a Lid (Optional): If you want to protect your brushes from dust and debris, you can use a lid on your container.
* Recycle and Reuse: This DIY project is a great way to recycle and reuse old containers and clothespins.
* Safety First: Always use caution when working with hot glue and sharp objects. Wear protective gloves if necessary.
* Have Fun! Most importantly, have fun with this project! It’s a great way to express your creativity and organize your painting supplies.
Why This Works So Well:
The beauty of this DIY paint brush storage solution lies in its simplicity and effectiveness. By suspending the brushes bristles down, you’re preventing them from bending and losing their shape. The clothespins provide a secure grip, while the weighted base keeps the container stable. Plus, it’s a great way to repurpose old materials and save money. I’ve been using this method for years, and my brushes are still in great condition. I hope you find this tutorial helpful, and happy painting!
Conclusion
So, there you have it! This simple, cost-effective DIY paint brush storage solution is more than just a way to declutter your workspace; it’s an investment in the longevity of your brushes and, ultimately, the quality of your artistic endeavors. We’ve shown you how to transform readily available materials into a functional and aesthetically pleasing organizer that will keep your brushes in tip-top shape.
Why is this a must-try? Because proper brush storage is often overlooked, leading to bent bristles, dried paint buildup, and a shortened lifespan for your valuable tools. Imagine no longer struggling to clean hardened paint from the base of your brushes or dealing with bristles that splay out uncontrollably. This DIY project addresses these common frustrations head-on, providing a dedicated space for each brush to dry properly and maintain its shape. It’s about respecting your tools and maximizing their potential.
Beyond the basic design, there are countless ways to customize your DIY paint brush storage to suit your specific needs and preferences. Consider adding labels to each slot for easy identification of brush sizes or types. You could also paint or decorate the container to match your studio decor, turning it into a personalized piece of art in itself. For larger collections, explore creating tiered storage systems or using multiple containers. If you work with different types of paint (acrylics, oils, watercolors), you might even dedicate separate storage solutions to prevent cross-contamination. Think about incorporating a small drawer or compartment to hold brush cleaning supplies, keeping everything you need within easy reach. Another variation could involve using repurposed materials like old wooden boxes or even PVC pipes cut to size. The possibilities are truly endless!
This DIY paint brush storage solution isn’t just about organization; it’s about fostering a more efficient and enjoyable creative process. When your tools are readily accessible and well-maintained, you’re free to focus on what truly matters: bringing your artistic vision to life.
We wholeheartedly encourage you to give this DIY project a try. It’s a rewarding experience that will not only benefit your brushes but also enhance your overall artistic practice. And most importantly, we want to hear about your experience! Share your creations, modifications, and any tips you discover along the way. Post pictures of your finished DIY paint brush storage on social media using #DIYBrushStorage and tag us so we can see your amazing creations. Let’s build a community of artists who value their tools and share their innovative solutions! We are confident that once you experience the benefits of organized brush storage, you’ll wonder how you ever managed without it. So, gather your supplies, unleash your creativity, and get ready to transform your workspace!
FAQ
What materials do I really need for this DIY paint brush storage?
The beauty of this project is its flexibility. At its core, you’ll need a container (a sturdy box, jar, or even a repurposed can will work), some material to create dividers (cardboard, foam board, or even rolled-up newspaper), and adhesive (glue or tape). You might also want paint or decorative paper to personalize your storage. The specific materials will depend on the design you choose and the resources you have readily available. Don’t be afraid to get creative and use what you have on hand!
How do I determine the right size slots for my brushes?
This is crucial for effective storage. Before cutting your dividers, lay out your brushes and measure the diameter of the handles. Add a little extra space (about ¼ inch) to ensure the brushes slide in and out easily without being too loose. Consider the length of your brushes as well. If you have some particularly long brushes, make sure your container is tall enough to accommodate them. You can also create different sized slots to accommodate various brush sizes.
What if I don’t have cardboard or foam board for dividers?
No problem! There are plenty of alternatives. Rolled-up newspaper or magazines can be surprisingly sturdy. You can also use pieces of wood, plastic, or even thick fabric. The key is to find a material that is rigid enough to hold the brushes in place and won’t easily bend or collapse. Experiment with different materials until you find something that works for you.
How do I prevent the brushes from sticking to the bottom of the container?
This is a valid concern, especially if you’re storing brushes that are still slightly damp. To prevent sticking, you can line the bottom of the container with a piece of absorbent material like felt, paper towels, or even a thin layer of sand. This will help absorb any excess moisture and prevent the brushes from adhering to the surface. You can also add small drainage holes to the bottom of the container if you are using a material that can get wet.
Can I use this storage solution for brushes that have been used with oil paints?
Yes, but with a few precautions. Make sure your oil paint brushes are thoroughly cleaned with appropriate solvents before storing them. You might also want to dedicate a separate storage container specifically for oil paint brushes to prevent any potential contamination of your other brushes. Consider using a container with good ventilation to allow any residual solvent fumes to dissipate.
How do I clean the DIY paint brush storage container itself?
The cleaning method will depend on the materials you used to construct your storage. For cardboard or paper-based containers, simply wipe them down with a damp cloth. For plastic or metal containers, you can use soap and water. Avoid using harsh chemicals or abrasive cleaners, as these could damage the materials. Regularly cleaning your storage container will help prevent the buildup of paint residue and keep your brushes in optimal condition.
My brushes are different lengths. How do I accommodate that in my storage?
There are a couple of ways to handle this. You can create different depths within your storage container by adding platforms or risers to some of the slots. This will allow shorter brushes to sit higher and be more easily accessible. Alternatively, you can simply accept that some brushes will extend further out of the container than others. As long as the bristles are protected and the brushes are securely held in place, the different lengths shouldn’t be a problem.
Is this DIY paint brush storage suitable for travel?
While this DIY solution is great for studio organization, it might not be the most practical for travel, depending on the design. If you need a portable brush storage solution, consider creating a roll-up brush holder or using a hard-sided container with individual slots or compartments. There are also commercially available brush cases specifically designed for travel.
How can I make my DIY paint brush storage more aesthetically pleasing?
Personalization is key! Paint the container in your favorite colors, add decorative paper or fabric, or even decoupage it with images that inspire you. You can also add labels to each slot to clearly identify the brush sizes or types. Consider using decorative hardware like knobs or handles to add a touch of elegance. The possibilities are endless! Let your creativity shine and turn your DIY paint brush storage into a work of art in itself.
What if I don’t have the time or skills for a DIY project?
That’s perfectly fine! There are plenty of commercially available brush storage solutions on the market. Look for options that offer individual slots or compartments to protect the bristles and keep your brushes organized. Consider factors like size, material, and portability when choosing a storage solution that meets your needs. The most important thing is to find a system that works for you and helps you keep your brushes in good condition.


Leave a Comment