

Cupcake Liner DIY Projects: Who knew those humble little paper cups could be so much more than just vessels for delicious treats? I’m constantly amazed by the ingenuity of crafters and DIY enthusiasts who find new and exciting uses for everyday items. From adding a touch of elegance to parties to creating unique home décor, cupcake liners are surprisingly versatile.
While the exact origin of the cupcake liner is a bit murky, the concept of using paper to contain food dates back centuries. Think of ancient civilizations using leaves or natural fibers to wrap and serve meals. Today, we’ve refined that idea into the convenient and colorful cupcake liner we all know and love. But beyond their practical purpose, these little paper cups offer a world of creative possibilities!
In today’s world, where sustainability and budget-friendly crafting are more important than ever, learning how to repurpose items is a valuable skill. That’s where these cupcake liner DIY projects come in. Instead of tossing them after baking, why not transform them into something beautiful and functional? I’m going to show you some fantastic ways to give those leftover cupcake liners a new lease on life, saving you money and adding a personal touch to your home and celebrations. Get ready to unleash your inner artist and discover the magic of cupcake liner crafting!
Transforming Ordinary Cupcake Liners into Extraordinary Creations
Hey there, fellow crafters! I’m so excited to share some of my favorite DIY projects using something you probably already have in your kitchen: cupcake liners! These little paper cups are surprisingly versatile and can be transformed into stunning decorations, adorable accessories, and even unique gifts. Get ready to unleash your creativity and see cupcake liners in a whole new light!
Creating a Stunning Cupcake Liner Flower Garland
This garland is perfect for parties, nurseries, or just adding a touch of whimsy to any room. It’s surprisingly easy to make and looks absolutely gorgeous!
Materials You’ll Need:
* Cupcake liners (various colors and sizes – the more variety, the better!)
* Scissors
* Hot glue gun and glue sticks
* String, twine, or ribbon
* Optional: Beads, glitter, or other embellishments
Step-by-Step Instructions:
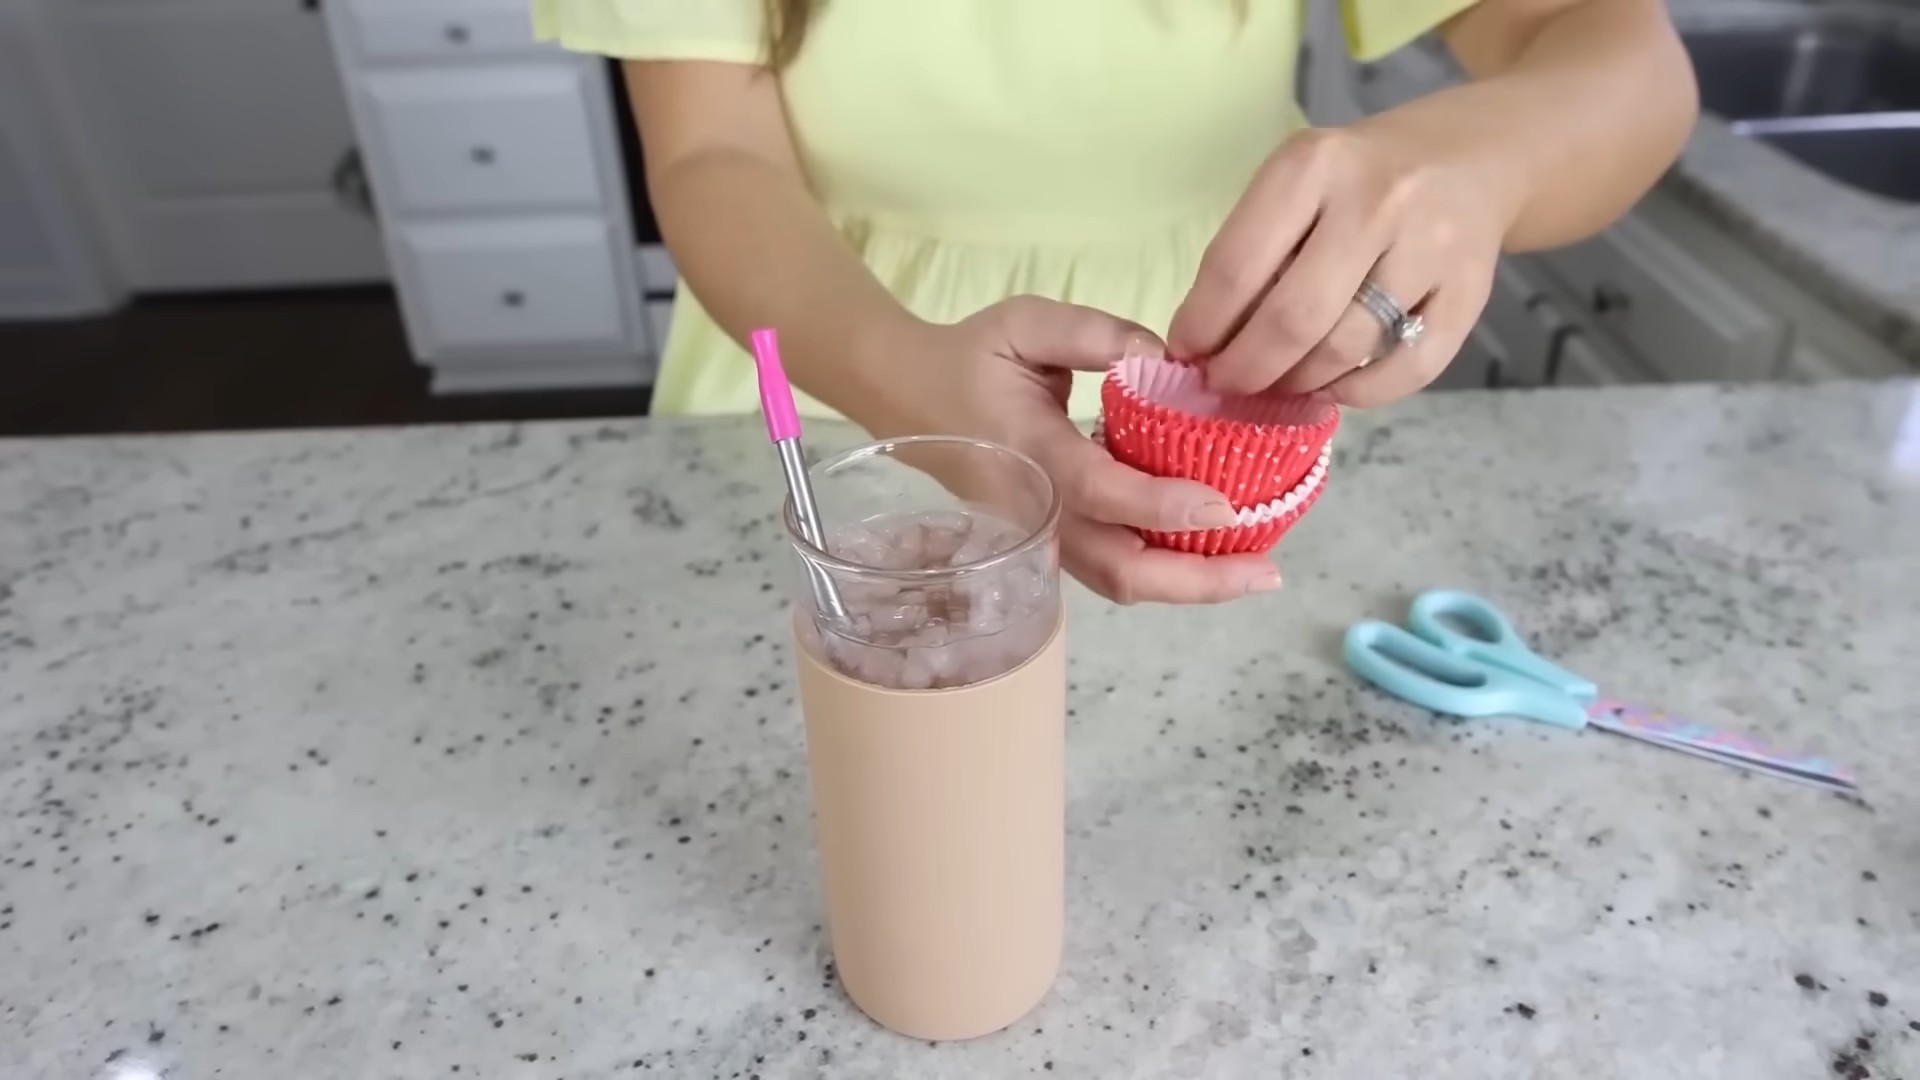
1. Flatten the Liners: Start by flattening each cupcake liner. You can do this by gently pressing them down on a flat surface. This will make them easier to work with.
2. Create Petals: Now, we’re going to create the petals for our flowers. There are a few ways to do this:
* Simple Petals: Fold the flattened liner in half, then in half again. Cut a rounded shape along the open edge to create a petal shape. Unfold it, and you’ll have a flower with four petals.
* Fancier Petals: For a more intricate look, fold the flattened liner in half, then in thirds. Cut a curved shape along the open edge and a small triangle at the pointed end. Unfold it, and you’ll have a flower with six more detailed petals.
* Layered Petals: Cut the edges of the cupcake liner to create different shapes, like fringes or scallops.
3. Layer the Petals: To create a fuller flower, layer several petals together. Use different sizes and colors of cupcake liners for a more dynamic look. I like to use three to five layers per flower.
4. Secure the Layers: Use a small dab of hot glue in the center of each layer to secure them together. Be careful not to use too much glue, or it will seep out the sides.
5. Add Embellishments (Optional): Now’s the time to add any embellishments you want, like beads, glitter, or small paper cutouts. Glue them to the center of the flower.
6. Attach to the String: Once your flowers are dry, it’s time to attach them to the string. Apply a small amount of hot glue to the back of each flower and press it onto the string. Space the flowers evenly along the string, leaving a few inches between each one.
7. Hang and Enjoy: Once all the flowers are attached, your garland is complete! Hang it up and enjoy your beautiful creation.
Crafting Adorable Cupcake Liner Animals
These little critters are perfect for kids’ crafts, party decorations, or just adding a touch of cuteness to your desk.
Materials You’ll Need:
* Cupcake liners (various colors)
* Construction paper (matching colors)
* Scissors
* Glue stick
* Markers or crayons
* Googly eyes (optional)
Step-by-Step Instructions:
1. Choose Your Animal: Decide what kind of animal you want to make. Some popular choices include butterflies, owls, chicks, and ladybugs.
2. Prepare the Body: Flatten a cupcake liner and fold it in half. This will be the body of your animal.
3. Create the Features: Use construction paper to cut out the features of your animal, such as wings, eyes, beaks, and antennae.
4. Assemble the Animal: Glue the features onto the cupcake liner body. Use markers or crayons to add details, such as spots, stripes, or facial expressions.
5. Add Googly Eyes (Optional): For an extra touch of cuteness, glue googly eyes onto your animal.
Specific Animal Examples:
* Butterfly: Cut out two wing shapes from construction paper and glue them to the back of the cupcake liner body. Draw patterns on the wings with markers. Add antennae made from thin strips of construction paper.
* Owl: Cut out two large circles for the eyes and a small triangle for the beak. Glue them to the front of the cupcake liner body. Draw feathers with markers.
* Chick: Use a yellow cupcake liner for the body. Cut out a small orange triangle for the beak and two small black circles for the eyes. Glue them to the front of the cupcake liner body. Add wings made from yellow construction paper.
* Ladybug: Use a red cupcake liner for the body. Cut out a black circle for the head and glue it to the front of the cupcake liner body. Draw black spots on the body with a marker. Add antennae made from thin strips of black construction paper.
Making Miniature Cupcake Liner Christmas Trees
These tiny trees are perfect for holiday decorations, place settings, or even as ornaments.
Materials You’ll Need:
* Cupcake liners (green, various shades)
* Scissors
* Hot glue gun and glue sticks
* Wooden skewers or toothpicks
* Small beads, sequins, or glitter (for decoration)
* Small pot or base (optional)
Step-by-Step Instructions:
1. Flatten and Cut the Liners: Flatten several green cupcake liners. Cut each liner into a different size circle, starting with the largest and gradually getting smaller. You’ll need about 5-7 circles for each tree. You can also use different shades of green to add dimension.
2. Create the Cone Shape: Cut a slit from the edge to the center of each circle. Overlap the edges slightly and glue them together to form a cone shape. The smaller the overlap, the wider the cone.
3. Assemble the Tree: Starting with the largest cone, thread it onto the wooden skewer or toothpick. Add a dab of glue to secure it in place. Repeat with the remaining cones, layering them from largest to smallest.
4. Decorate the Tree: Once all the cones are in place, decorate your tree with small beads, sequins, or glitter. Glue them onto the cones to create a festive look.
5. Add a Base (Optional): If you want to display your tree in a small pot or base, insert the skewer into the pot and secure it with glue or floral foam.
Creating a Unique Cupcake Liner Mirror Frame
This project adds a touch of elegance and whimsy to any mirror.
Materials You’ll Need:
* Cupcake liners (various colors and patterns)
* Scissors
* Hot glue gun and glue sticks
* Round mirror (any size)
* Cardboard circle (slightly larger than the mirror)
Step-by-Step Instructions:
1. Prepare the Base: Cut a cardboard circle that is slightly larger than your mirror. This will be the base for your frame.
2. Flatten and Shape the Liners: Flatten the cupcake liners and cut them into various petal shapes. You can experiment with different shapes and sizes to create a unique look.
3. Layer the Petals: Starting from the outer edge of the cardboard circle, glue the cupcake liner petals in layers. Overlap the petals slightly to create a full and textured look. Use different colors and patterns to add visual interest.
4. Continue Layering: Continue layering the petals, working your way towards the center of the cardboard circle. Leave a space in the center for the mirror.
5. Attach the Mirror: Once the frame is complete, carefully glue the mirror to the center of the cardboard circle. Make sure the glue is strong enough to hold the mirror securely.
6. Add Finishing Touches: Add any finishing touches you like, such as glitter, beads, or ribbon. You can also paint the cardboard base to match the cupcake liners.
Making a Cupcake Liner Pomander Ball
This fragrant decoration is perfect for adding a touch of charm to any room.
Materials You’ll Need:
* Cupcake liners (various colors)
* Styrofoam ball (any size)
* Scissors
* Hot glue gun and glue sticks
* Ribbon (for hanging)
* Essential oils (optional)
Step-by-Step Instructions:
1. Prepare the Liners: Flatten the cupcake liners and cut them into petal shapes. You can use different sizes and shapes to create a more interesting texture.
2. Fold the Petals: Fold each petal in half or in thirds to create a more defined shape.
3. Glue the Petals to the Ball: Starting at one point on the styrofoam ball, glue the folded petals in layers. Overlap the petals slightly to create a full and dense covering.
Conclusion
So, there you have it! Transforming ordinary cupcake liners into extraordinary creations is not just a fun craft project; it’s a gateway to unleashing your creativity and adding a personalized touch to your home decor, party decorations, and even gift-giving. This cupcake liner DIY adventure is a must-try for anyone looking for budget-friendly, visually appealing, and surprisingly versatile crafting options.
Think beyond the basic flowers and garlands. Consider using metallic or patterned cupcake liners to create miniature lampshades for fairy lights, adding a touch of whimsy to your bedroom or patio. Or, how about crafting a stunning wall art piece by layering different sizes and colors of cupcake liners onto a canvas? For the holidays, imagine crafting delicate cupcake liner snowflakes to adorn your Christmas tree or creating miniature cupcake liner pumpkins for a festive fall display.
The possibilities are truly endless, limited only by your imagination. Don’t be afraid to experiment with different colors, textures, and sizes of cupcake liners. Try combining them with other craft supplies like beads, glitter, paint, and ribbon to create truly unique and personalized pieces. You can even involve your kids in the process for a fun and engaging family activity.
We’ve shown you some fantastic starting points, but the real magic happens when you put your own spin on these ideas. Perhaps you’ll discover a new and innovative way to use cupcake liners that we haven’t even thought of yet!
We wholeheartedly encourage you to dive into this delightful cupcake liner DIY world. Gather your supplies, choose a project that sparks your interest, and let your creativity flow. The results are often surprisingly beautiful and rewarding.
But don’t keep your creations to yourself! We’d love to see what you come up with. Share your photos and stories with us in the comments section below or on our social media channels. Let’s inspire each other and build a community of creative cupcake liner enthusiasts! We are eager to see how you make this cupcake liner DIY your own. What color combinations did you use? What unique projects did you tackle? What challenges did you overcome, and what tips can you share with other crafters? Your experiences and insights are invaluable, and we can all learn from each other. So, go ahead, get crafting, and share your cupcake liner masterpieces with the world!
Frequently Asked Questions (FAQ)
What types of cupcake liners work best for these DIY projects?
The beauty of cupcake liner DIY is its versatility! You can use a wide variety of cupcake liners, including paper, foil, silicone, and even greaseproof options. Paper liners are generally the most affordable and readily available, making them a great choice for beginners. Foil liners add a touch of shimmer and are ideal for projects where you want a more metallic look. Silicone liners are reusable and can be used for projects that require heat resistance. Greaseproof liners are less likely to absorb moisture and are a good option for projects that might come into contact with liquids. Experiment with different types to see which ones you prefer for specific projects. Consider the color, pattern, and size of the liners as well. Smaller liners are great for intricate details, while larger liners are better for creating larger shapes.
Are there any specific tools I need for cupcake liner crafts?
While the beauty of cupcake liner DIY lies in its simplicity, having a few basic tools on hand can make the process easier and more enjoyable. Essential tools include:
* Scissors: For cutting and shaping the liners.
* Glue: A good quality craft glue or hot glue gun for adhering the liners together.
* Ruler: For measuring and ensuring accuracy.
* Pencil: For marking and sketching designs.
* Wire cutters (optional): For cutting wire if you’re incorporating it into your projects.
* Paintbrushes (optional): For adding color and details with paint.
* Beads, glitter, and other embellishments (optional): For adding extra flair and personality to your creations.
How do I prevent the cupcake liners from tearing when I’m working with them?
Cupcake liners can be delicate, so it’s important to handle them with care. To prevent tearing, avoid using excessive force when folding, cutting, or shaping them. If you’re using glue, apply it sparingly to avoid saturating the paper. For more delicate liners, consider using a low-temperature hot glue gun to minimize the risk of damage. When unfolding the liners, do it gently and slowly, starting from the center and working your way outwards. If a liner does tear, don’t despair! You can often salvage it by using a small piece of tape or glue to repair the tear.
Can I use cupcake liners that have already been used for baking?
While it’s technically possible to reuse cupcake liners that have been used for baking, it’s generally not recommended. Used liners may contain traces of food residue and grease, which can affect the appearance and durability of your crafts. Additionally, they may be more prone to tearing and discoloration. For the best results, it’s always best to use fresh, unused cupcake liners for your cupcake liner DIY projects.
How can I make my cupcake liner crafts more durable?
To increase the durability of your cupcake liner crafts, consider applying a sealant or varnish after you’ve finished creating your project. This will help to protect the paper from moisture and wear and tear. You can also reinforce the liners by layering them together or by backing them with a sturdier material like cardboard or felt. For projects that will be exposed to the elements, consider using waterproof or water-resistant cupcake liners.
Where can I find inspiration for cupcake liner DIY projects?
The internet is a treasure trove of inspiration for cupcake liner DIY projects! Browse online craft blogs, websites, and social media platforms like Pinterest and Instagram for ideas and tutorials. You can also find inspiration in nature, art, and everyday objects. Pay attention to colors, shapes, and patterns that you find appealing, and try to incorporate them into your own cupcake liner creations. Don’t be afraid to experiment and try new things! The best way to find inspiration is to simply start crafting and see where your creativity takes you.
How do I store my finished cupcake liner crafts?
Proper storage is essential for preserving the beauty and longevity of your cupcake liner crafts. Store them in a cool, dry place away from direct sunlight and moisture. If you’re storing delicate items, consider placing them in a protective container or wrapping them in acid-free tissue paper. Avoid stacking heavy objects on top of your crafts, as this can cause them to become crushed or damaged. With proper care, your cupcake liner creations will last for years to come.
Leave a Comment