

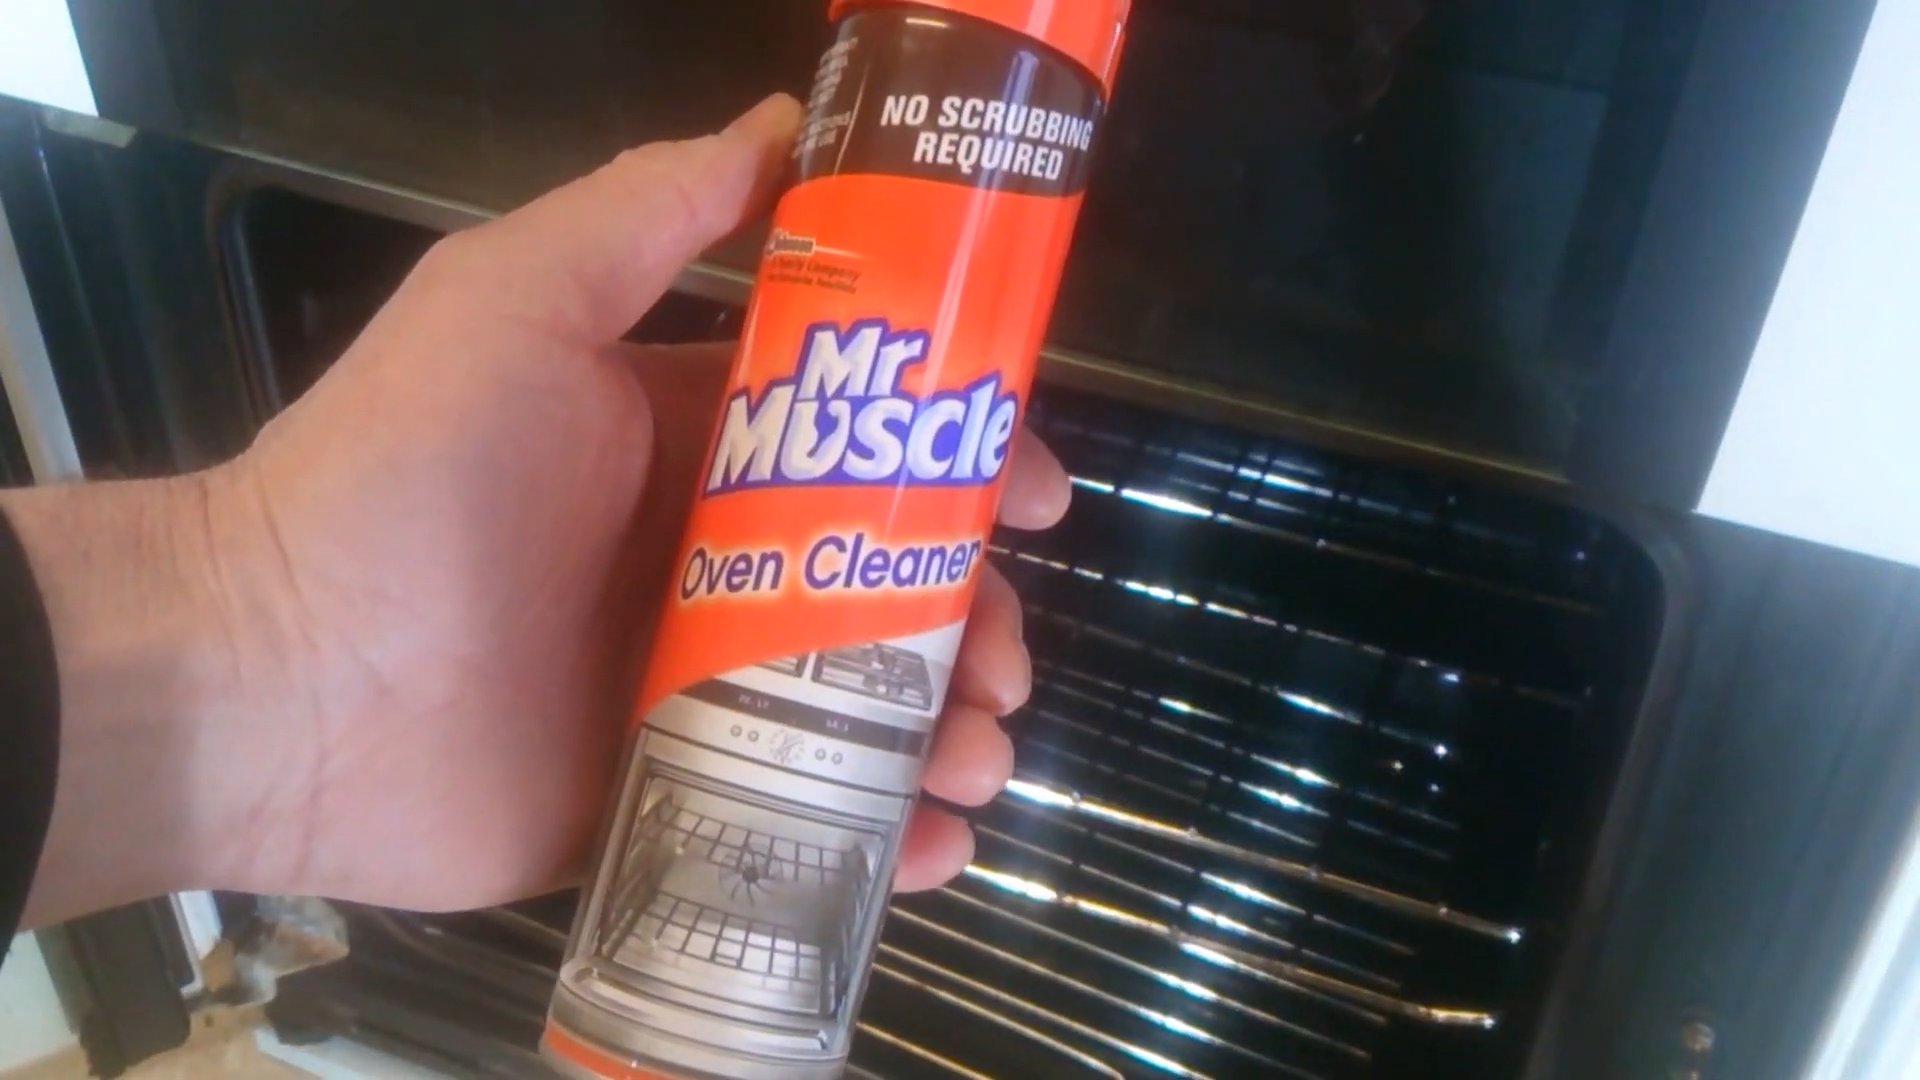
Mr Muscle oven cleaning tips are about to become your new best friend! Let’s face it, oven cleaning is the chore we all dread. It’s messy, time-consuming, and often involves harsh chemicals. But what if I told you there’s a way to tackle that grime without breaking a sweat (or the bank)?
For generations, keeping a clean oven was a symbol of a well-maintained home. While our grandmothers might have relied on elbow grease and simple ingredients like baking soda and vinegar, we now have access to powerful cleaning solutions like Mr Muscle. However, knowing *how* to use them effectively is key!
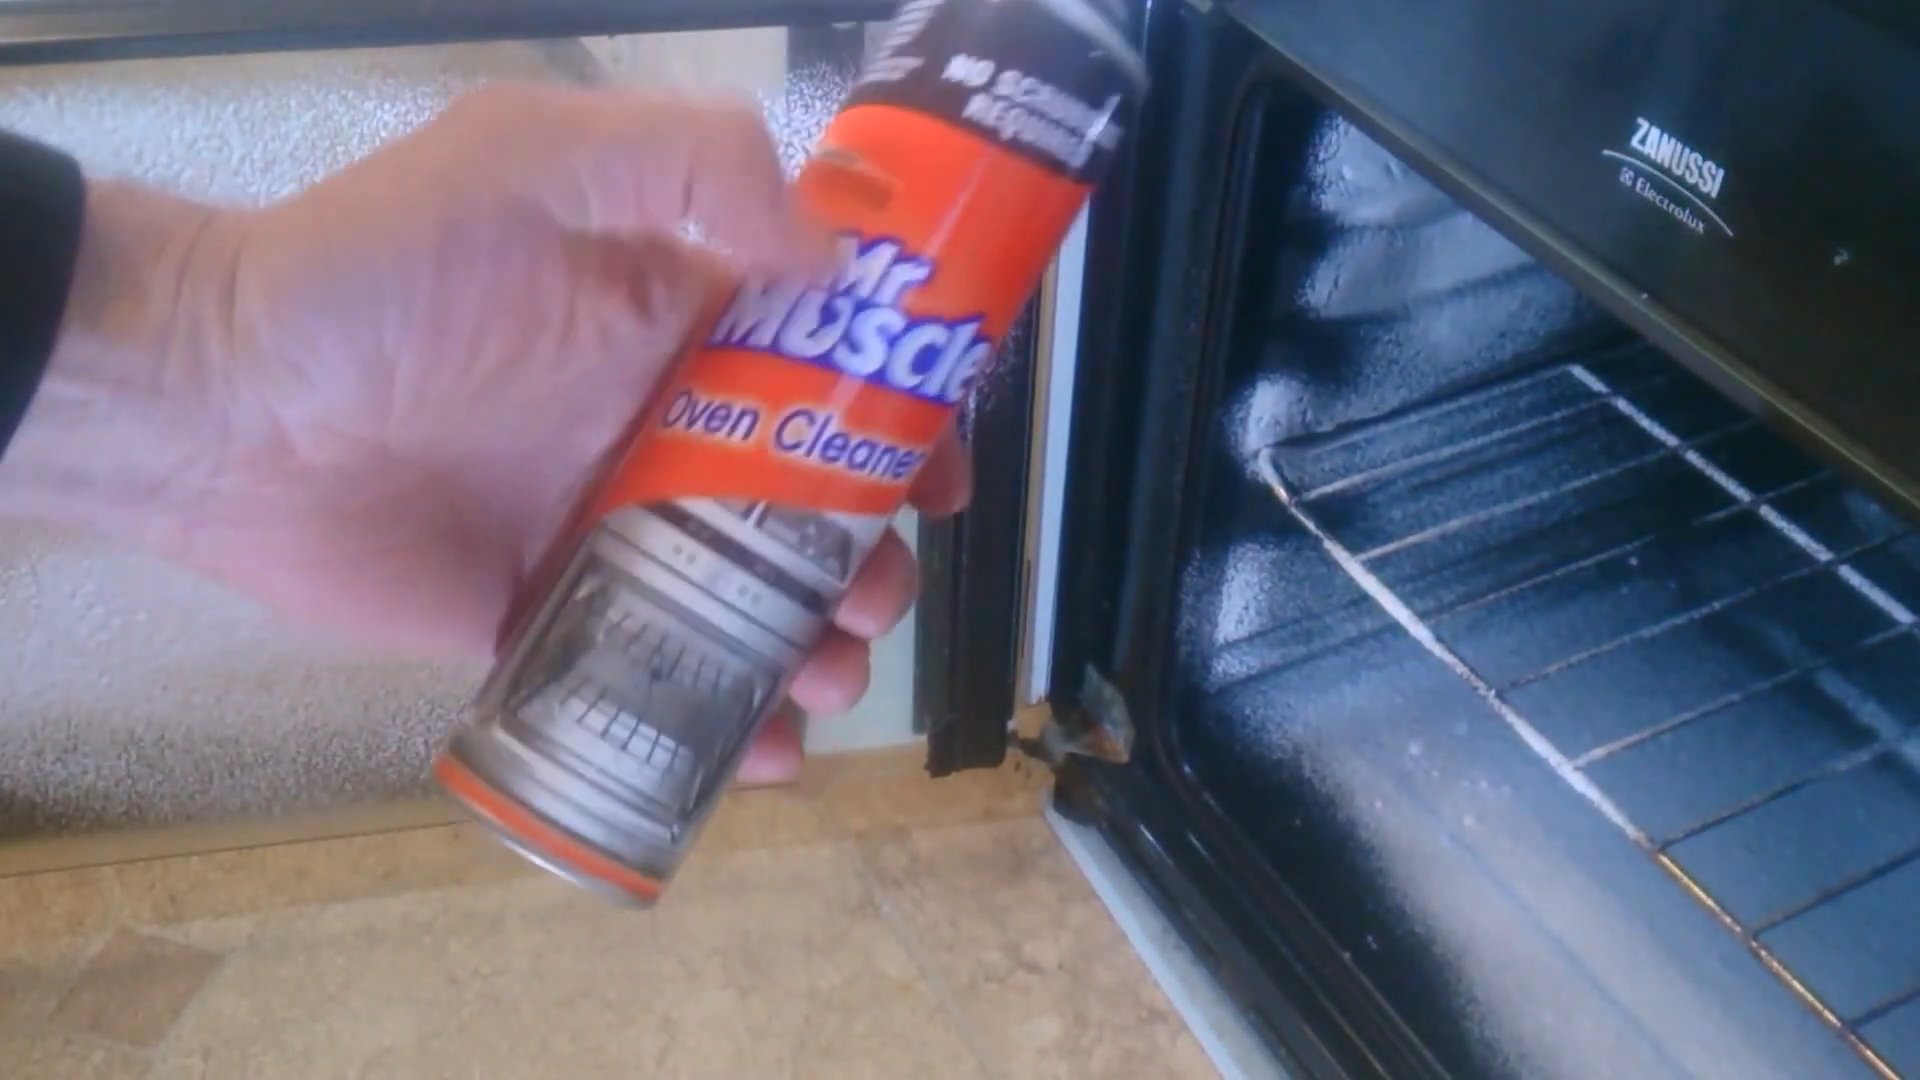
This DIY article is your ultimate guide to mastering Mr Muscle oven cleaning tips. I’ll walk you through the best techniques, safety precautions, and even some clever hacks to make the process faster and easier. Say goodbye to burnt-on food and hello to a sparkling clean oven you’ll be proud to show off! Trust me, with these tips, you’ll transform your oven from a dreaded chore into a manageable task.
DIY Oven Cleaning Hack: Revive Your Oven with Baking Soda and Vinegar!
Okay, let’s face it, cleaning the oven is probably on everyone’s list of least favorite chores. But a sparkling clean oven makes cooking so much more enjoyable! I’m going to share my go-to method for a deep clean using ingredients you probably already have in your pantry: baking soda and vinegar. Forget those harsh chemicals; this method is effective, budget-friendly, and much gentler on your lungs.
What You’ll Need:
* Baking soda (a whole box might be necessary depending on how dirty your oven is)
* White vinegar (a spray bottle is super helpful)
* Water
* Rubber gloves (trust me, you’ll want these)
* Spatula or scraper (plastic is best to avoid scratching)
* Spray bottle
* Sponge or scrubbing brush
* Paper towels or a clean cloth
* Old towels or newspapers (for protecting your floor)
Getting Started: Prep Work is Key!
Before we dive in, let’s get the oven ready for its spa day.
1. Unplug the Oven: Safety first! Make sure your oven is completely unplugged or the breaker is switched off. This is crucial to avoid any electrical accidents.
2. Remove Oven Racks and Accessories: Take out all the oven racks, baking stones, thermometers, or anything else that’s inside. We’ll clean these separately later.
3. Protect Your Floor: Lay down old towels or newspapers around the base of the oven. This will catch any drips and spills, saving you from extra cleanup later.
Mixing the Magic Paste: Baking Soda Power!
This is where the real cleaning power comes from. We’re going to create a baking soda paste that will work its magic overnight.
1. Make the Paste: In a bowl, mix about ½ cup of baking soda with enough water to form a spreadable paste. You want it to be thick enough to stick to the oven surfaces but not too dry. I usually start with a few tablespoons of water and add more gradually until I get the right consistency.
2. Coat the Oven: Using your rubber gloves (remember, protect those hands!), spread the baking soda paste all over the inside of your oven. Avoid the heating elements! I usually start with the back and then move to the sides, bottom, and top. Make sure to get a good, even coating, especially on those stubborn baked-on stains.
3. Don’t Forget the Glass Door: Apply the paste to the inside of the oven door as well. If you have a lot of baked-on grease on the glass, you might want to apply a slightly thicker layer.
4. Let it Sit Overnight: This is the most important part! Let the baking soda paste sit for at least 12 hours, or even better, overnight. The longer it sits, the more time it has to loosen the grime. I usually do this before I go to bed so it can work its magic while I sleep.
Cleaning the Racks: A Soak in Suds
While the baking soda is working its wonders inside the oven, let’s tackle those greasy racks.
1. Fill Your Sink (or Tub): Fill your sink or bathtub with hot, soapy water. I like to use dish soap because it’s great at cutting through grease.
2. Submerge the Racks: Place the oven racks in the soapy water and let them soak for at least a few hours, or even overnight if they’re really dirty. The hot water and soap will help to loosen the baked-on food and grease.
3. Scrub-a-dub-dub: After soaking, use a scrubbing brush or sponge to scrub the racks clean. You might need to use a little elbow grease, especially for those stubborn spots. If you have really tough stains, you can try using a paste of baking soda and water directly on the racks.
4. Rinse and Dry: Once the racks are clean, rinse them thoroughly with clean water and dry them with a clean cloth.
The Vinegar Finale: Time to Shine!
After the baking soda has done its job overnight, it’s time for the vinegar to step in and give your oven that final sparkle.
1. Wipe Away the Baking Soda: Using a damp sponge or cloth, wipe away as much of the dried baking soda paste as you can. This might take a little effort, but be patient. You don’t need to get every last bit off at this stage.
2. Vinegar Power: Fill your spray bottle with white vinegar.
3. Spray and React: Spray the inside of the oven with vinegar. You’ll notice that the vinegar will react with any remaining baking soda, creating a foamy mixture. This is a good thing! It means the vinegar is helping to loosen any remaining grime.
4. Wipe it Down Again: Let the vinegar sit for a few minutes, then wipe down the inside of the oven again with a clean, damp sponge or cloth. This time, you should be able to remove most of the remaining baking soda and grime.
5. Rinse and Repeat (If Necessary): If you still see any baking soda residue, rinse your sponge or cloth with clean water and wipe down the oven again. You might need to repeat this process a few times to get everything completely clean.
6. Dry it Off: Once you’re satisfied that the oven is clean, dry it off with a clean cloth or paper towels.
Putting it All Back Together: The Grand Finale!
Almost there! Now it’s time to put everything back in its place and admire your sparkling clean oven.
1. Replace the Racks: Carefully place the clean oven racks back inside the oven.
2. Wipe Down the Door: Give the outside of the oven door a final wipe down with a glass cleaner to remove any fingerprints or smudges.
3. Plug it Back In: Plug the oven back in or switch the breaker back on.
4. Heat it Up (Optional): If you want to be extra sure that all the vinegar and baking soda residue is gone, you can turn the oven on to a low temperature (around 200 degrees Fahrenheit) for about 15-20 minutes. This will help to evaporate any remaining moisture. Just be sure to open a window to ventilate the kitchen.
Tips and Tricks for a Super Clean Oven:
* Tackle Spills Immediately: The best way to keep your oven clean is to clean up spills as soon as they happen. This will prevent them from baking onto the oven surfaces and becoming harder to remove later.
* Use Oven Liners: Consider using oven liners to catch drips and spills. These can be easily removed and cleaned, saving you from having to clean the entire oven.
* Regular Cleaning: Try to clean your oven at least once every few months, or more often if you use it frequently. Regular cleaning will prevent grime from building up and make the job much easier.
* For Extra Stubborn Stains: If you have really stubborn stains that won’t come off with the baking soda and vinegar method, you can try using a commercial oven cleaner. Just be sure to follow the instructions carefully and wear gloves and eye protection.
* Self-Cleaning Ovens: If you have a self-cleaning oven, you can use that feature instead of the baking soda and vinegar method. However, be aware that the self-cleaning cycle can produce a lot of smoke and odors, so be sure to ventilate your kitchen well. Also, it uses a lot of energy.
And there you have it! A sparkling clean oven without the harsh chemicals. I hope this DIY hack helps you enjoy cooking in a cleaner, healthier kitchen. Happy baking!
Conclusion
So, there you have it! Ditching the harsh chemicals and embracing this simple, effective DIY oven cleaning trick is a game-changer for anyone who values a sparkling clean oven and a healthier home. We’ve shown you how to achieve results comparable to, or even better than, using commercial cleaners like Mr Muscle, but without the fumes, the expense, or the environmental impact.
This isn’t just about saving money; it’s about creating a safer, more pleasant cooking environment. Think about it: no more holding your breath while spraying toxic chemicals, no more lingering odors that taint your next baking project. Instead, you’ll have a fresh, clean oven ready to deliver perfectly cooked meals every time.
The beauty of this DIY approach is its adaptability. While the baking soda and vinegar paste is a powerhouse on its own, feel free to experiment with variations to suit your specific needs and preferences. For instance, if you have particularly stubborn baked-on grime, you can add a tablespoon of salt to the baking soda paste for extra scrubbing power. Alternatively, a few drops of your favorite essential oil, like lemon or lavender, can be added to the vinegar spray for a subtle, refreshing scent. Just be sure to test any additions in an inconspicuous area first.
This DIY oven cleaning method is truly a must-try. It’s easy, affordable, and incredibly effective. You’ll be amazed at how easily the grime lifts away, leaving you with a sparkling clean oven that’s ready for your next culinary adventure.
We’re confident that once you try this method, you’ll never go back to harsh chemical cleaners. It’s a win-win for your oven, your health, and your wallet.
Now, it’s your turn! We encourage you to give this DIY oven cleaning trick a try. We’re eager to hear about your experiences. Did you find it as effective as we did? Did you experiment with any variations? Share your tips, tricks, and before-and-after photos in the comments below. Let’s build a community of clean oven enthusiasts!
And remember, a clean oven isn’t just about aesthetics; it’s about ensuring optimal cooking performance and preventing potential fire hazards. So, take a few minutes to give your oven some love, and enjoy the benefits of a sparkling clean cooking space. You’ll be glad you did!
Frequently Asked Questions (FAQs)
Q: Is this DIY oven cleaning method as effective as using Mr Muscle oven cleaner?
A: In many cases, yes! Our DIY method, using baking soda and vinegar, can be just as effective, if not more so, than commercial oven cleaners like Mr Muscle. The key is allowing the baking soda paste to sit for a sufficient amount of time (ideally overnight) to loosen the baked-on grime. While Mr Muscle relies on harsh chemicals to dissolve the mess, baking soda acts as a gentle abrasive and deodorizer, while vinegar helps to break down grease and grime. The combination provides a powerful cleaning action without the harsh fumes and potential health risks associated with chemical cleaners. The effectiveness also depends on the severity of the grime buildup. For extremely stubborn cases, you might need to repeat the process or use a bit more elbow grease.
Q: Will this DIY method work on self-cleaning ovens?
A: While this method is generally safe for most ovens, it’s always best to consult your oven’s manual before using any cleaning products, even natural ones. Some self-cleaning ovens have specific coatings or finishes that could be damaged by baking soda or vinegar. However, many people have successfully used this method on self-cleaning ovens without any issues. If you’re unsure, test a small, inconspicuous area first. Also, avoid using the self-cleaning cycle immediately after using this DIY method, as any remaining baking soda residue could potentially cause issues.
Q: How long should I leave the baking soda paste on the oven?
A: For optimal results, we recommend leaving the baking soda paste on the oven overnight, or for at least 12 hours. This allows the baking soda to fully penetrate and loosen the baked-on grime. If you’re short on time, you can try leaving it on for a shorter period, such as 2-3 hours, but the cleaning process might require more scrubbing. The longer you leave it, the easier it will be to wipe away the mess.
Q: What if the baking soda paste is difficult to remove?
A: If the baking soda paste has dried and become difficult to remove, don’t worry! Simply spray the area generously with vinegar. The vinegar will react with the baking soda, causing it to fizz and loosen. Let the vinegar sit for a few minutes, then wipe away the paste with a damp cloth or sponge. You may need to repeat this process a few times for particularly stubborn areas.
Q: Can I use this method on the oven door glass?
A: Yes, this method is perfectly safe and effective for cleaning the oven door glass. Apply the baking soda paste to the glass, let it sit for the recommended time, and then spray with vinegar and wipe clean. For particularly stubborn stains on the glass, you can use a non-scratch scouring pad to gently scrub the area.
Q: What if I don’t have vinegar? Can I use something else?
A: While vinegar is the ideal choice for reacting with the baking soda and breaking down grease, you can try using lemon juice as a substitute. Lemon juice has similar acidic properties to vinegar and can help to loosen grime. However, vinegar is generally more effective and readily available.
Q: How often should I clean my oven using this method?
A: The frequency of cleaning depends on how often you use your oven and how much it tends to get dirty. As a general guideline, we recommend cleaning your oven every 3-6 months. However, if you notice significant buildup of grease and grime, you may need to clean it more frequently. Regular cleaning will prevent the buildup from becoming too stubborn and will make the cleaning process easier in the long run.
Q: Is this method safe for people with allergies or sensitivities?
A: This DIY method is generally considered safe for people with allergies or sensitivities, as it uses only two natural ingredients: baking soda and vinegar. Unlike commercial oven cleaners, it doesn’t contain harsh chemicals, fragrances, or dyes that can trigger allergic reactions. However, if you have known sensitivities to baking soda or vinegar, it’s always best to test a small area first or wear gloves during the cleaning process.
Q: Can I use this method on other appliances besides the oven?
A: While this method is primarily designed for cleaning ovens, it can also be used on other appliances with baked-on grime, such as stovetops, grills, and even some pots and pans. However, be cautious when using it on delicate surfaces or appliances with special coatings. Always test a small, inconspicuous area first to ensure that the method doesn’t cause any damage.
Q: What are some other variations I can try with this DIY oven cleaning method?
A: Besides adding salt or essential oils, as mentioned earlier, you can also try adding a small amount of dish soap to the baking soda paste for extra cleaning power. Another variation is to create a thicker paste by using less water, which can be helpful for tackling vertical surfaces or areas with heavy grime buildup. Remember to always test any variations in a small, inconspicuous area first.


Leave a Comment