

Shine Faucets with Toothpaste? Yes, you read that right! Are you tired of dull, water-stained faucets that just don’t sparkle? I know I was! Before you reach for those harsh chemical cleaners, let me let you in on a little secret – your trusty tube of toothpaste can be your new best friend in the bathroom and kitchen.
The concept of using everyday items for cleaning isn’t new. In fact, resourceful homemakers have been employing clever DIY cleaning hacks for generations. Think about it – our grandmothers didn’t have access to the plethora of specialized cleaning products we do today. They relied on ingenuity and readily available ingredients like vinegar, baking soda, and, yes, even toothpaste! This tradition of resourcefulness is something I truly admire, and I’m excited to share this simple yet effective trick with you.
Why should you try this DIY hack to shine faucets with toothpaste? Because it’s inexpensive, readily available, and surprisingly effective! Hard water stains and soap scum can make even the newest faucets look old and grimy. This method is gentle enough to avoid scratching delicate surfaces, yet powerful enough to cut through the build-up, leaving your faucets gleaming. Plus, who doesn’t love a fresh, minty scent in their bathroom? Let’s dive in and discover how to transform your dull faucets into sparkling showpieces with just a dab of toothpaste!
Shine Your Faucets Like New with Toothpaste: A DIY Guide
Okay, let’s be honest, grimy faucets are a real eyesore. But before you reach for those harsh chemical cleaners, I’m going to show you a super simple, surprisingly effective trick: using toothpaste! Yes, you read that right. That minty fresh stuff you use on your teeth can also work wonders on your chrome fixtures. It’s gentle, readily available, and honestly, it works like a charm.
Why Toothpaste?
You might be wondering, “Why toothpaste?” Well, toothpaste contains mild abrasives that help scrub away plaque and stains from your teeth. These same abrasives are gentle enough to polish chrome and other faucet finishes without scratching them. Plus, the fluoride in toothpaste can help prevent future water spots. It’s a win-win!
Materials You’ll Need
Before we get started, gather these few simple supplies:
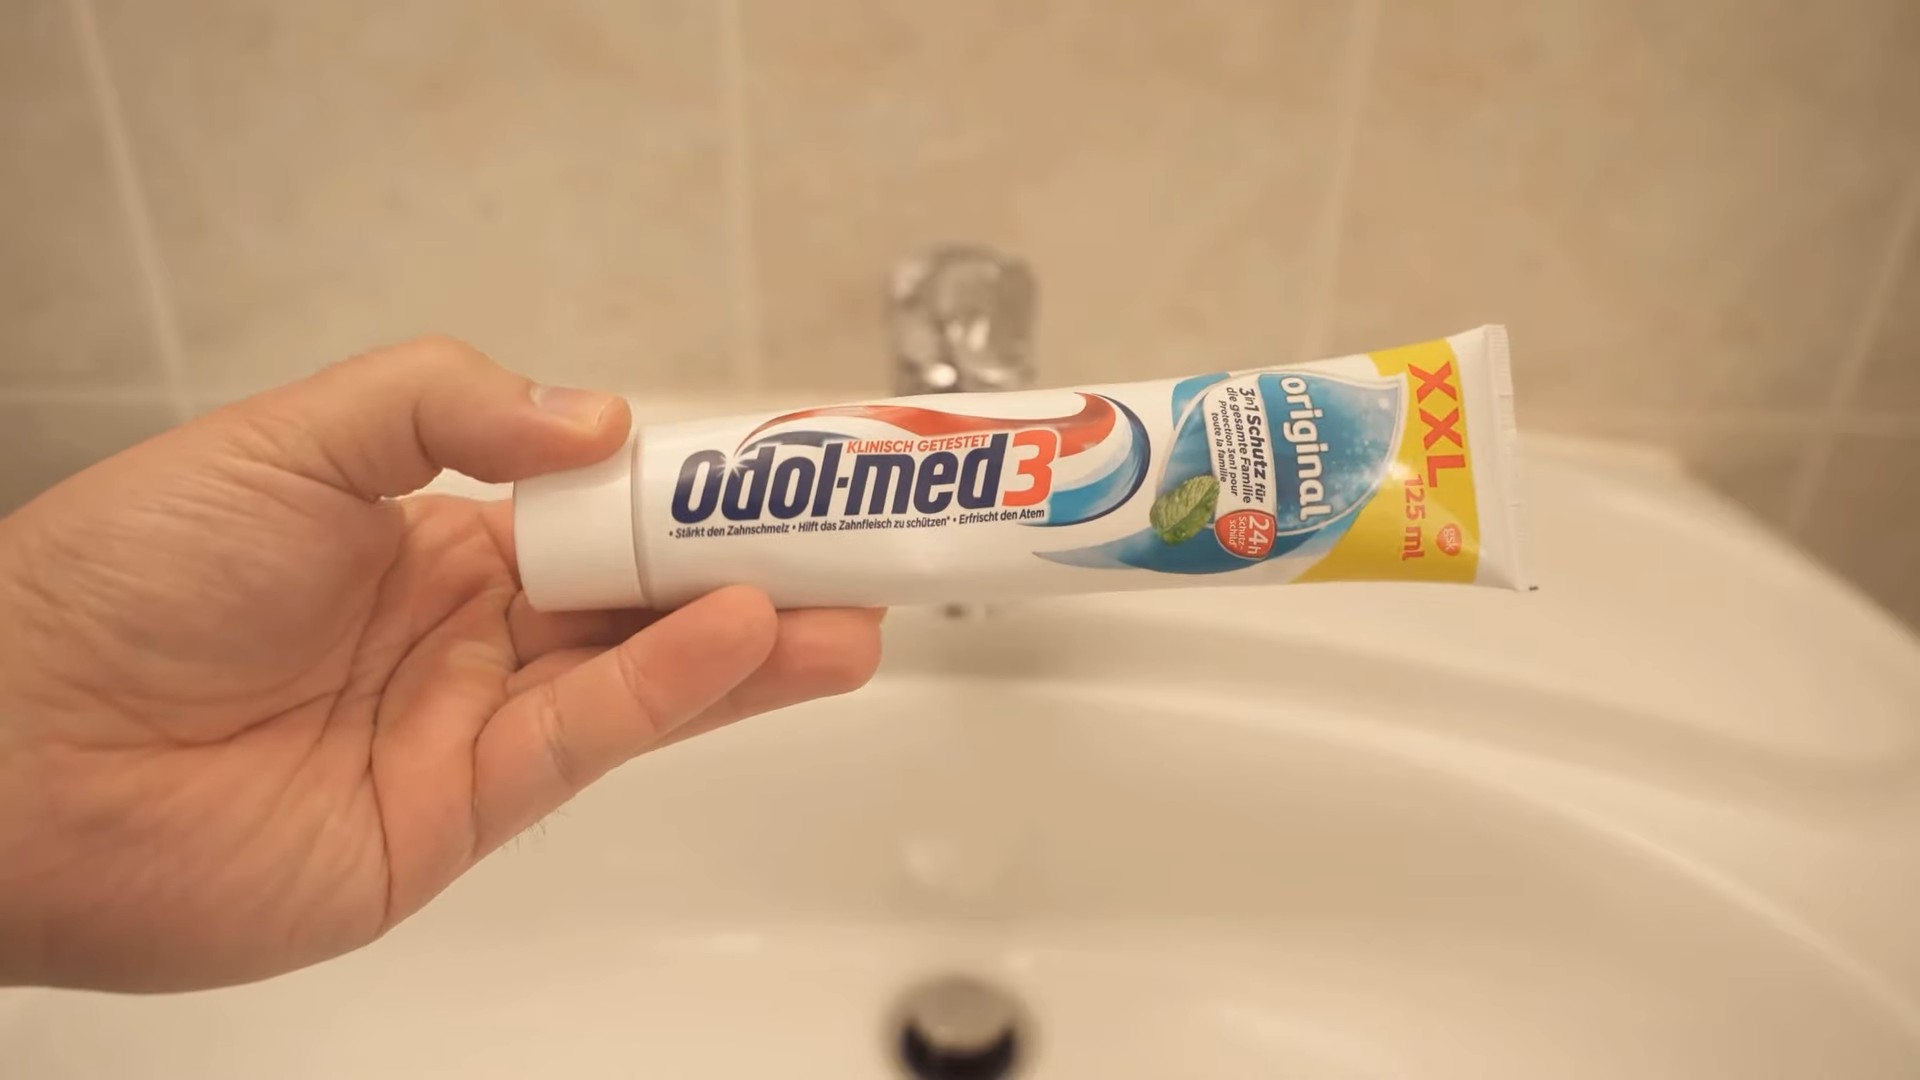
* Toothpaste (any non-gel variety works best – plain white is ideal)
* A soft-bristled toothbrush (an old one is perfect!)
* A clean, damp cloth or sponge
* A dry microfiber cloth
Step-by-Step Guide to Sparkling Faucets
Here’s the breakdown of how to get your faucets gleaming:
1. Prepare the Faucet: Start by giving your faucet a quick rinse with water to remove any loose dirt or debris. This will prevent you from grinding the dirt into the finish while you’re polishing.
2. Apply the Toothpaste: Squeeze a small amount of toothpaste (about the size of a pea) onto your toothbrush. You don’t need a ton!
3. Scrub Gently: Using the toothbrush, gently scrub the entire surface of the faucet. Pay special attention to areas with water spots, soap scum, or mineral buildup. Use small, circular motions and apply light pressure. Remember, we’re polishing, not sanding!
4. Reach Those Tricky Spots: The toothbrush is your best friend for getting into those hard-to-reach areas around the base of the faucet, the handle, and the spout. Don’t be afraid to really work the toothpaste into those crevices.
5. Let it Sit (Optional): For stubborn stains or buildup, you can let the toothpaste sit on the faucet for a few minutes (5-10 minutes should do the trick). This allows the abrasives to really break down the grime.
6. Rinse Thoroughly: Once you’ve scrubbed (and let it sit, if you chose to), rinse the faucet thoroughly with clean water. Make sure to remove all traces of toothpaste. Any leftover toothpaste will dry and leave a white residue.
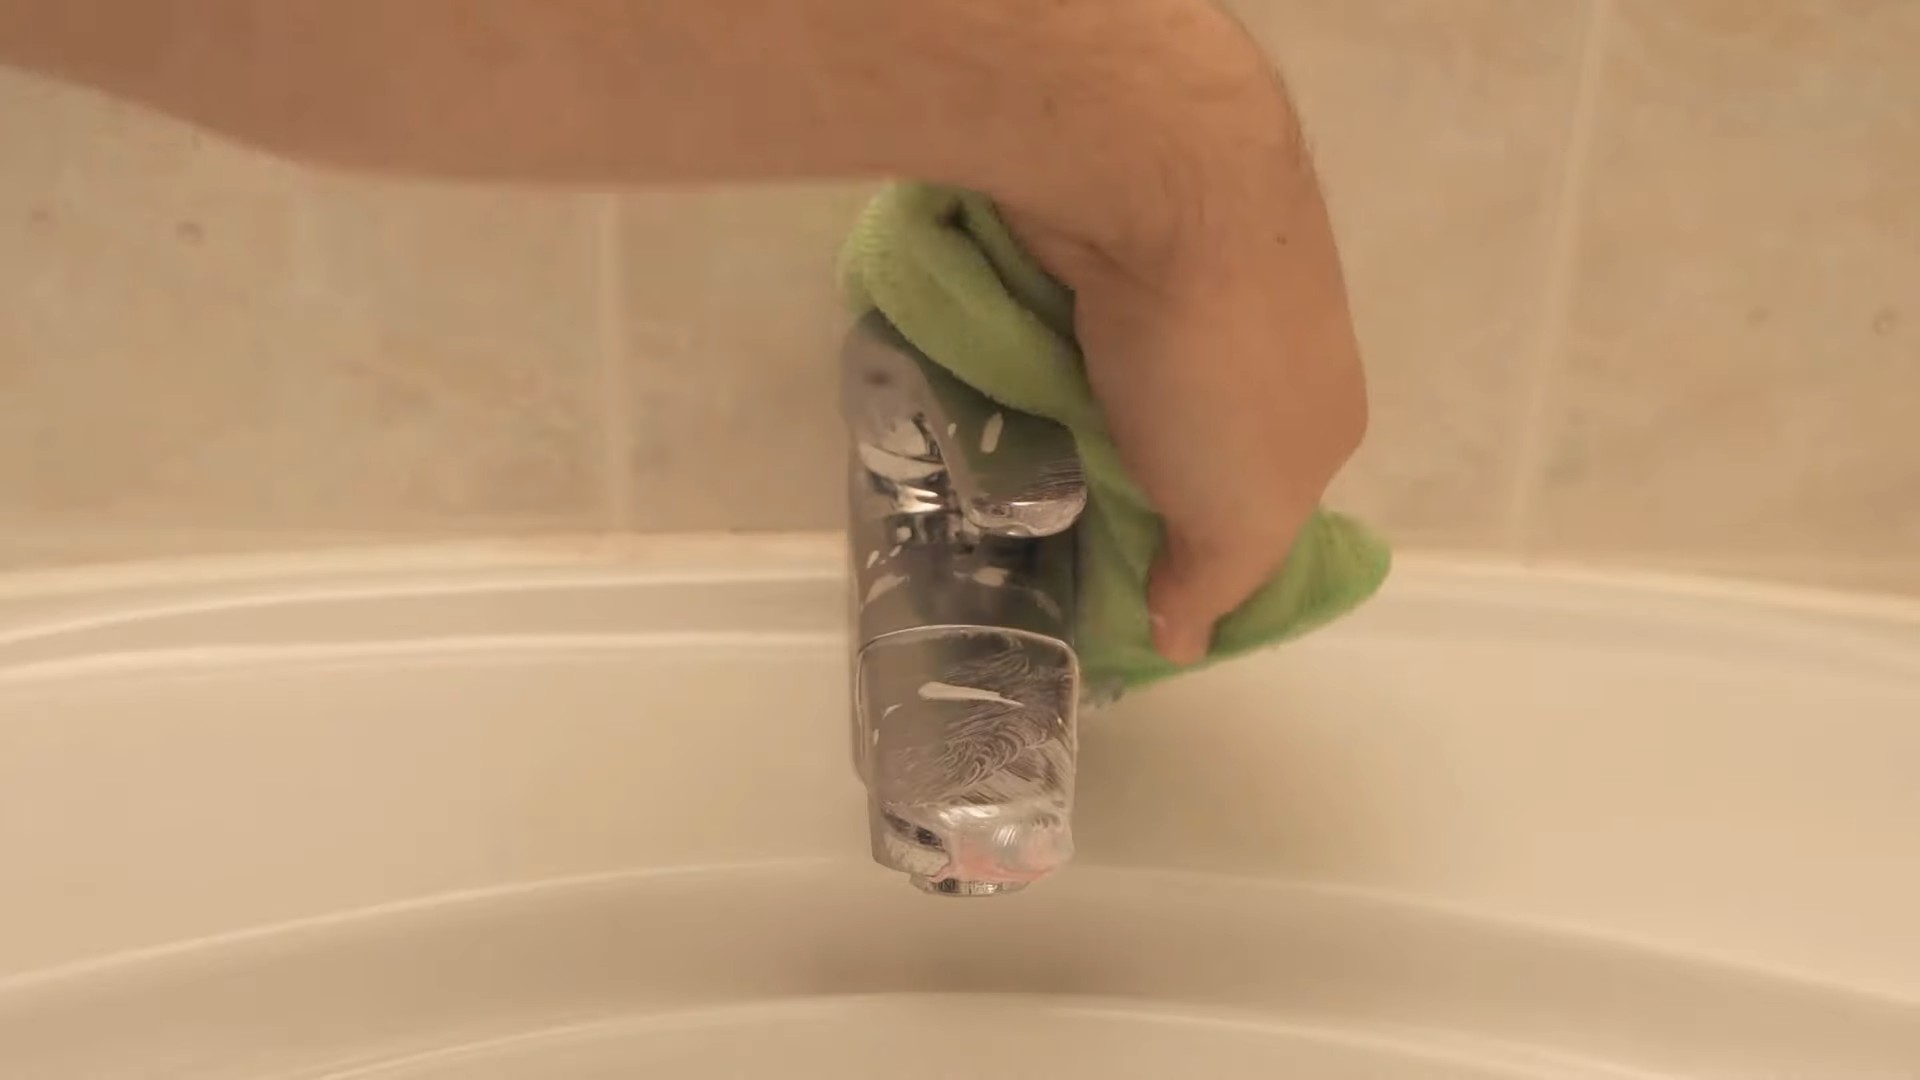
7. Dry and Buff: Now, grab your dry microfiber cloth and buff the faucet until it shines. The microfiber cloth will help remove any remaining water spots and leave a streak-free finish.
Dealing with Stubborn Stains
Sometimes, you might encounter stains that are a bit more persistent. Here are a few tips for tackling those tough spots:
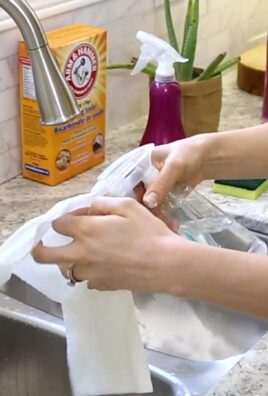
* Baking Soda Boost: For extra cleaning power, you can mix a small amount of baking soda with the toothpaste to create a slightly more abrasive paste. Just be careful not to scrub too hard, as baking soda can be more abrasive than toothpaste alone.
* Vinegar Soak: If you have hard water stains, try soaking a cloth in white vinegar and wrapping it around the affected area for about 30 minutes before scrubbing with toothpaste. The vinegar will help dissolve the mineral deposits.
* Repeat the Process: Sometimes, all it takes is a second application of toothpaste and a little extra elbow grease. Don’t be afraid to repeat the scrubbing and rinsing process if needed.
Maintaining Your Sparkling Faucets
Once you’ve achieved that beautiful shine, you’ll want to keep your faucets looking their best. Here are a few tips for maintaining their sparkle:
* Wipe Down Regularly: After each use, wipe down your faucets with a clean, dry cloth to prevent water spots from forming.
* Avoid Harsh Cleaners: Harsh chemical cleaners can damage the finish of your faucets. Stick to gentle cleaning methods like toothpaste or a mild soap and water solution.
* Address Leaks Promptly: Leaky faucets can lead to mineral buildup and stains. Fix any leaks as soon as possible to prevent further damage.
Different Types of Faucets and Toothpaste Considerations
While this method is generally safe for most faucet finishes, there are a few things to keep in mind depending on the type of faucet you have:
* Chrome Faucets: Chrome faucets are the most common and are very durable. Toothpaste works exceptionally well on chrome, leaving a brilliant shine.
* Brushed Nickel Faucets: Brushed nickel has a more delicate finish than chrome. Be extra gentle when scrubbing brushed nickel faucets with toothpaste. Avoid using excessive pressure or abrasive scrub brushes.
* Oil-Rubbed Bronze Faucets: Oil-rubbed bronze faucets have a unique, antique-like finish. While toothpaste can be used on oil-rubbed bronze, it’s important to test it in an inconspicuous area first to ensure it doesn’t alter the finish. Use a very small amount of toothpaste and scrub very gently.
* Gold-Plated Faucets: Gold-plated faucets are extremely delicate and prone to scratching. I would advise against using toothpaste on gold-plated faucets. Instead, opt for a gentle soap and water solution and a soft cloth.
* Gel Toothpaste: While I recommend using a non-gel toothpaste, you *can* use gel toothpaste in a pinch. However, it may not be as effective at polishing and removing stains. You might need to use a bit more and scrub a bit longer.
* Whitening Toothpaste: Whitening toothpaste often contains more abrasive ingredients than regular toothpaste. While it can be effective at removing stains, it’s important to use it with caution, especially on delicate finishes. Test it in an inconspicuous area first and avoid using excessive pressure.
Troubleshooting
* White Residue: If you notice a white residue after rinsing, it means you didn’t remove all the toothpaste. Simply rinse the faucet again and buff it with a clean, dry cloth.
* Scratches: If you accidentally scratch your faucet, it’s likely because you used too much pressure or an abrasive scrub brush. Unfortunately, scratches can be difficult to remove completely. You can try using a metal polish specifically designed for the type of finish you have, but be sure to follow the manufacturer’s instructions carefully.
* No Improvement: If you’re not seeing any improvement after scrubbing with toothpaste, it could be that the stains are too severe or that the toothpaste isn’t abrasive enough. Try using a baking soda and toothpaste mixture or a vinegar soak, as mentioned earlier.
Beyond Faucets: Other Uses for Toothpaste Around the House
The cleaning power of toothpaste extends beyond faucets! Here are a few other ways you can use toothpaste to clean around your home:
* Cleaning Sneakers: Toothpaste can help remove scuffs and stains from the rubber soles of your sneakers.
* Polishing Silverware: Toothpaste can restore the shine to tarnished silverware.
* Removing Water Rings from Wood Furniture: Gently rub toothpaste onto the water ring and then wipe it away with a damp cloth.
* Cleaning Iron: Toothpaste can remove residue buildup on the soleplate of your iron.
* Defogging Bathroom Mirrors: Apply a thin layer of toothpaste to your bathroom mirror and then wipe it away with a damp cloth to prevent fogging.
So, there you have it! A simple, effective, and affordable way to get your faucets sparkling like new. Give it a try, and I think you’ll be amazed at the results. Happy cleaning!
Conclusion
So, there you have it! A simple, effective, and surprisingly affordable way to achieve sparkling clean faucets using something you likely already have in your bathroom: toothpaste. This DIY trick isn’t just about saving money on expensive cleaning products; it’s about embracing a more sustainable and resourceful approach to home maintenance. Think about it – you’re repurposing a product designed to polish and protect enamel to do the same for your chrome or stainless steel fixtures. It’s ingenious!
Why is this a must-try? Because it works! The mild abrasives in toothpaste gently buff away water spots, soap scum, and mineral deposits that dull your faucets’ shine. The result is a noticeable difference, often exceeding what you can achieve with commercial cleaners. Plus, the minty scent leaves your bathroom smelling fresh and clean.
But don’t just take our word for it. We encourage you to experiment and find what works best for your specific faucets and water conditions. For instance, if you have particularly stubborn hard water stains, you might try letting the toothpaste sit on the affected area for a slightly longer period before scrubbing. Alternatively, for delicate or antique faucets, consider using a non-gel toothpaste and a very soft cloth to avoid any potential scratching. You can also add a tiny amount of baking soda to the toothpaste for extra cleaning power, but test this mixture on an inconspicuous area first to ensure it doesn’t damage the finish.
Beyond the basic method, consider these variations:
* For a deeper clean: After applying the toothpaste, gently warm the faucet with a hairdryer for a minute or two before scrubbing. The heat can help loosen stubborn grime.
* For hard-to-reach areas: Use an old toothbrush to get into crevices and around the base of the faucet.
* For added protection: After cleaning and rinsing, apply a thin coat of carnauba wax to the faucet to help repel water and prevent future spotting.
Ultimately, the key to success with this DIY trick is patience and persistence. Don’t expect miracles with a single application, especially if your faucets are heavily soiled. Regular maintenance, using this toothpaste method every week or two, will keep your faucets looking their best.
We are confident that you’ll be amazed by the results. So, ditch the harsh chemicals and give this simple, effective, and eco-friendly method a try. We’re eager to hear about your experience! Share your before-and-after photos and tips in the comments below. Let’s create a community of sparkling clean faucets, one tube of toothpaste at a time! Let us know if this toothpaste faucet cleaning method worked for you!
Frequently Asked Questions (FAQ)
1. What kind of toothpaste should I use?
Generally, any non-gel toothpaste will work well for cleaning faucets. However, for optimal results, we recommend using a plain white toothpaste, as colored or gel toothpastes may contain dyes or additives that could potentially stain or leave a residue on certain faucet finishes. Avoid using whitening toothpastes with excessive abrasives, especially on delicate or antique faucets, as they could scratch the surface. If you’re unsure, test a small, inconspicuous area first.
2. Will toothpaste scratch my faucets?
The risk of scratching depends on the type of toothpaste you use and the material of your faucets. Most non-gel toothpastes contain mild abrasives that are gentle enough for chrome, stainless steel, and brushed nickel faucets. However, it’s always a good idea to test a small, hidden area first to ensure there are no adverse effects. For delicate or antique faucets, opt for a non-gel toothpaste specifically formulated for sensitive teeth, as these tend to be less abrasive. Use a soft cloth or sponge and avoid applying excessive pressure while scrubbing.
3. How often should I clean my faucets with toothpaste?
The frequency of cleaning depends on how quickly your faucets accumulate water spots and soap scum. For most households, cleaning your faucets with toothpaste once a week or every two weeks is sufficient to maintain a sparkling shine. If you live in an area with hard water, you may need to clean them more frequently. Regular maintenance will prevent buildup and make the cleaning process easier.
4. Can I use this method on all types of faucets?
This method is generally safe for most common faucet finishes, including chrome, stainless steel, brushed nickel, and even some brass faucets. However, it’s crucial to exercise caution when cleaning faucets with delicate or antique finishes, such as oil-rubbed bronze or painted surfaces. Always test a small, inconspicuous area first to ensure the toothpaste doesn’t damage the finish. If you’re unsure, consult the manufacturer’s instructions or a professional cleaner.
5. What if the toothpaste doesn’t remove all the stains?
If you’re dealing with particularly stubborn stains, such as hard water deposits or rust, you may need to take additional steps. Try letting the toothpaste sit on the affected area for a longer period, up to 30 minutes, before scrubbing. You can also add a small amount of baking soda to the toothpaste for extra cleaning power. For severe rust stains, consider using a specialized rust remover, but always follow the manufacturer’s instructions carefully and test it on a hidden area first. In some cases, professional cleaning may be necessary.
6. Is there anything else I can use besides toothpaste?
Yes, there are several other natural alternatives you can use to clean your faucets. White vinegar is a popular choice for removing hard water stains. Simply soak a cloth in white vinegar and wrap it around the faucet for 30 minutes, then scrub and rinse. Baking soda paste is another effective option for removing grime and soap scum. Lemon juice can also be used to brighten and disinfect faucets. However, always test any cleaning solution on a small, hidden area first to ensure it doesn’t damage the finish.
7. How do I prevent water spots from forming on my faucets?
Preventing water spots is key to keeping your faucets looking their best. After each use, wipe down your faucets with a clean, dry cloth to remove any water droplets. You can also apply a water repellent product, such as carnauba wax, to create a protective barrier that prevents water from clinging to the surface. Consider installing a water softener if you live in an area with hard water.
8. Can I use this method to clean other bathroom fixtures?
Yes, the toothpaste cleaning method can be used to clean other bathroom fixtures, such as showerheads, sink basins, and even toilet handles. Just be sure to test a small, inconspicuous area first to ensure it doesn’t damage the finish. The mild abrasives in toothpaste can help remove water spots, soap scum, and mineral deposits from a variety of surfaces.
9. What if I accidentally get toothpaste on other surfaces in my bathroom?
If you accidentally get toothpaste on other surfaces in your bathroom, such as countertops or mirrors, simply wipe it off with a damp cloth. Toothpaste is generally non-toxic and shouldn’t cause any damage to most surfaces. However, it’s always a good idea to clean up any spills promptly to prevent staining or residue buildup.
10. Where can I find more information about cleaning and maintaining my faucets?
You can find more information about cleaning and maintaining your faucets on the manufacturer’s website or in the product manual. You can also consult with a professional plumber or cleaning service for expert advice. Online forums and home improvement websites are also great resources for finding tips and tricks for keeping your faucets looking their best.
Leave a Comment