

Alcohol and dish soap cleaner – sounds like a bartender’s secret recipe, right? Well, almost! But instead of mixing cocktails, we’re mixing up a powerful, all-natural cleaning solution that’s about to revolutionize your home. Forget those harsh chemicals and expensive store-bought sprays. I’m going to show you how to create a simple, effective cleaner using just two ingredients you probably already have in your kitchen.
The beauty of this DIY cleaner lies in its simplicity and effectiveness. For generations, resourceful homemakers have relied on natural ingredients to keep their homes sparkling. While the exact origins of combining alcohol and dish soap for cleaning are a bit murky, the individual components have a long history of use. Alcohol, known for its disinfecting properties, has been used for centuries, while soap, in its various forms, has been a cleaning staple since ancient times.
Why do you need this alcohol and dish soap cleaner in your life? Because it’s a game-changer! It’s perfect for tackling grease, grime, and everyday messes on a variety of surfaces. Plus, it’s a safer, more eco-friendly alternative to many commercial cleaners. I know you’re going to love how easy it is to make and how well it works. So, let’s dive in and discover the magic of this simple yet powerful cleaning hack!
DIY Streak-Free Window Cleaner: Alcohol and Dish Soap Magic!
Hey everyone! I’m so excited to share my go-to recipe for sparkling clean windows. Forget expensive store-bought cleaners – this DIY solution using just alcohol and dish soap is incredibly effective, budget-friendly, and leaves your windows streak-free. I’ve been using this for years, and trust me, you’ll be amazed at the results!
What You’ll Need:
Before we dive in, let’s gather our supplies. This is a super simple recipe, so you probably already have most of these items on hand.
* Rubbing Alcohol (Isopropyl Alcohol): I recommend using 70% or 91% isopropyl alcohol. The higher the percentage, the faster it will evaporate, which helps prevent streaks.
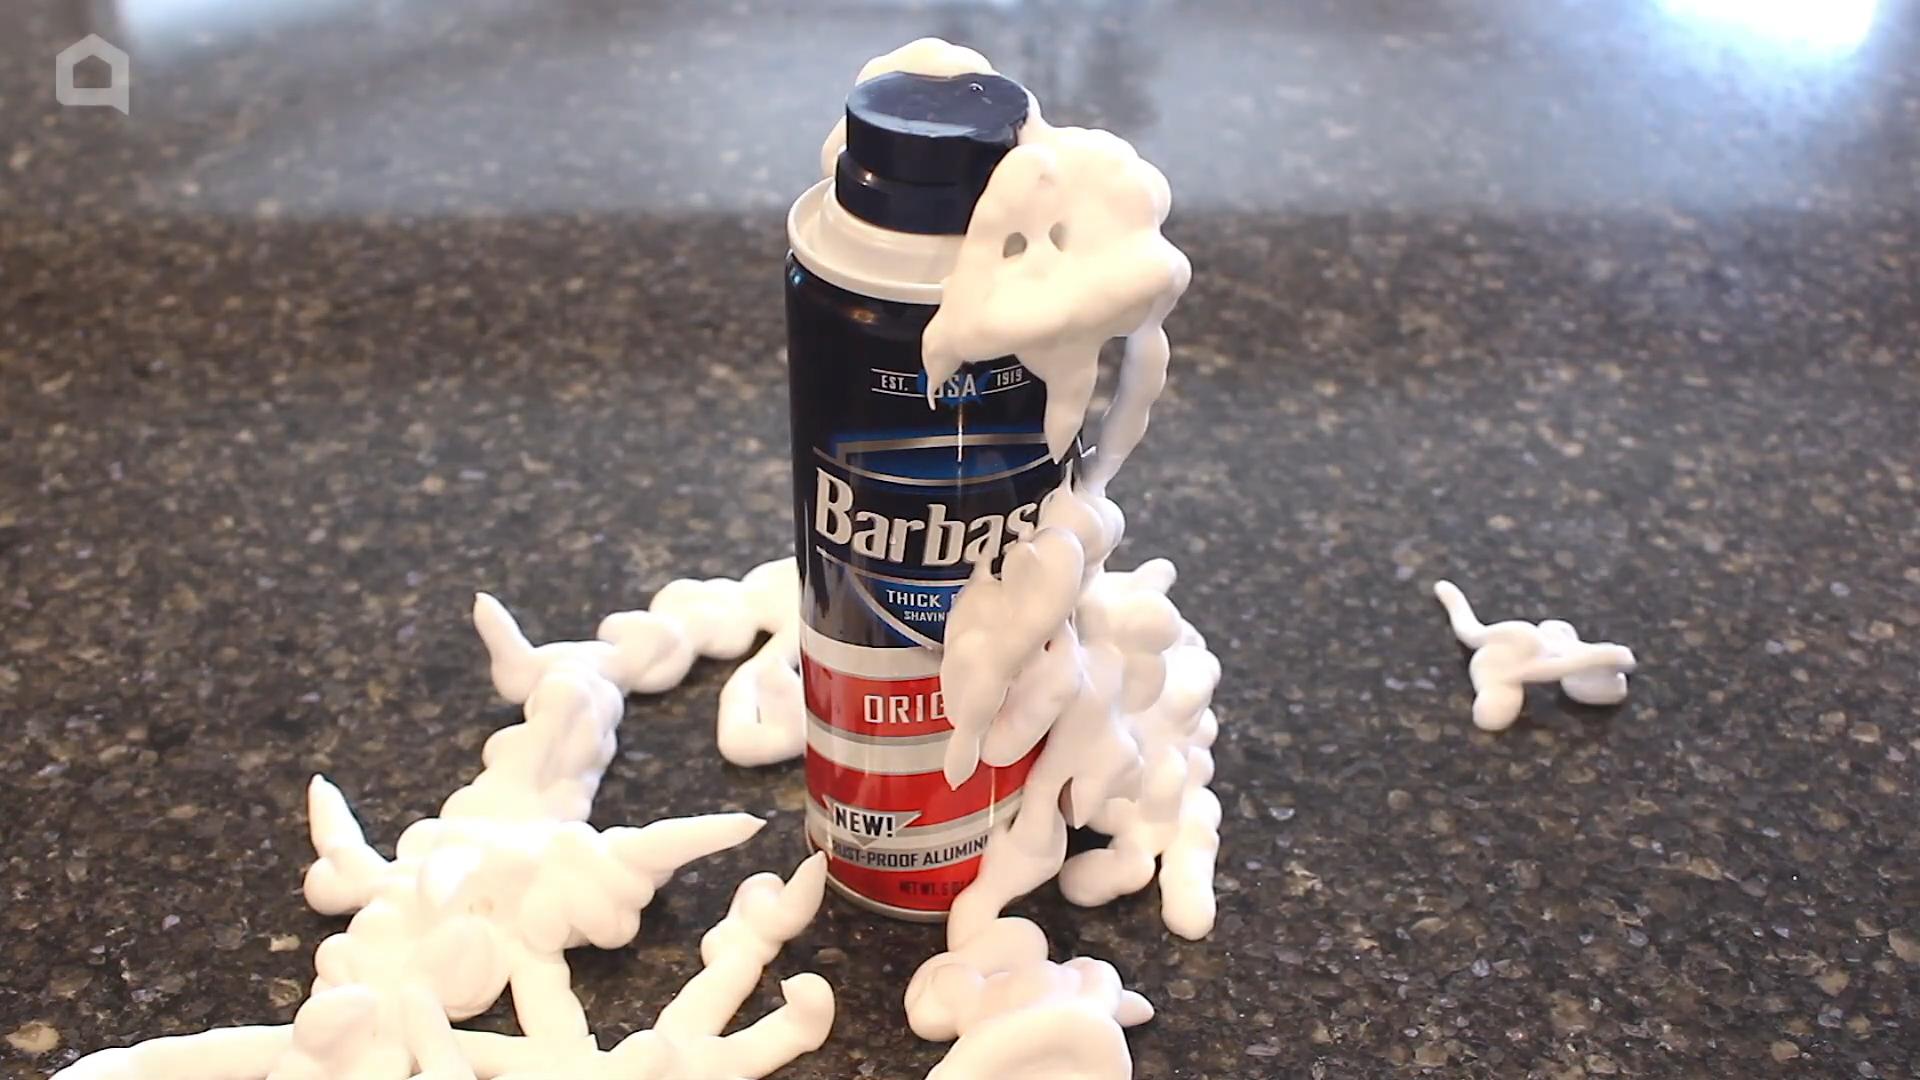
* Dish Soap: A small amount of dish soap helps to cut through grease and grime. Dawn is a popular choice, but any grease-cutting dish soap will work. Just be careful not to use too much!
* Distilled Water: Using distilled water is key to avoiding mineral deposits and streaks. Tap water can contain minerals that leave residue on your windows.
* Spray Bottle: A clean, empty spray bottle is essential for applying the cleaner.
* Microfiber Cloths: These are my secret weapon for streak-free windows! Microfiber cloths are super absorbent and won’t leave lint behind.
* Optional: Squeegee: For larger windows or mirrors, a squeegee can help you achieve a professional-looking finish.
* Optional: Bucket: If you’re cleaning a lot of windows, a bucket of clean water can be helpful for rinsing your microfiber cloths.
Mixing the Magic Potion:
This is where the magic happens! The proportions are important for getting the best results, so pay close attention.
1. Prepare Your Spray Bottle: Make sure your spray bottle is clean and dry. Any residue inside could contaminate your cleaner.
2. Add Rubbing Alcohol: Pour 1 cup of rubbing alcohol into the spray bottle.
3. Add Distilled Water: Add 1 cup of distilled water to the spray bottle.
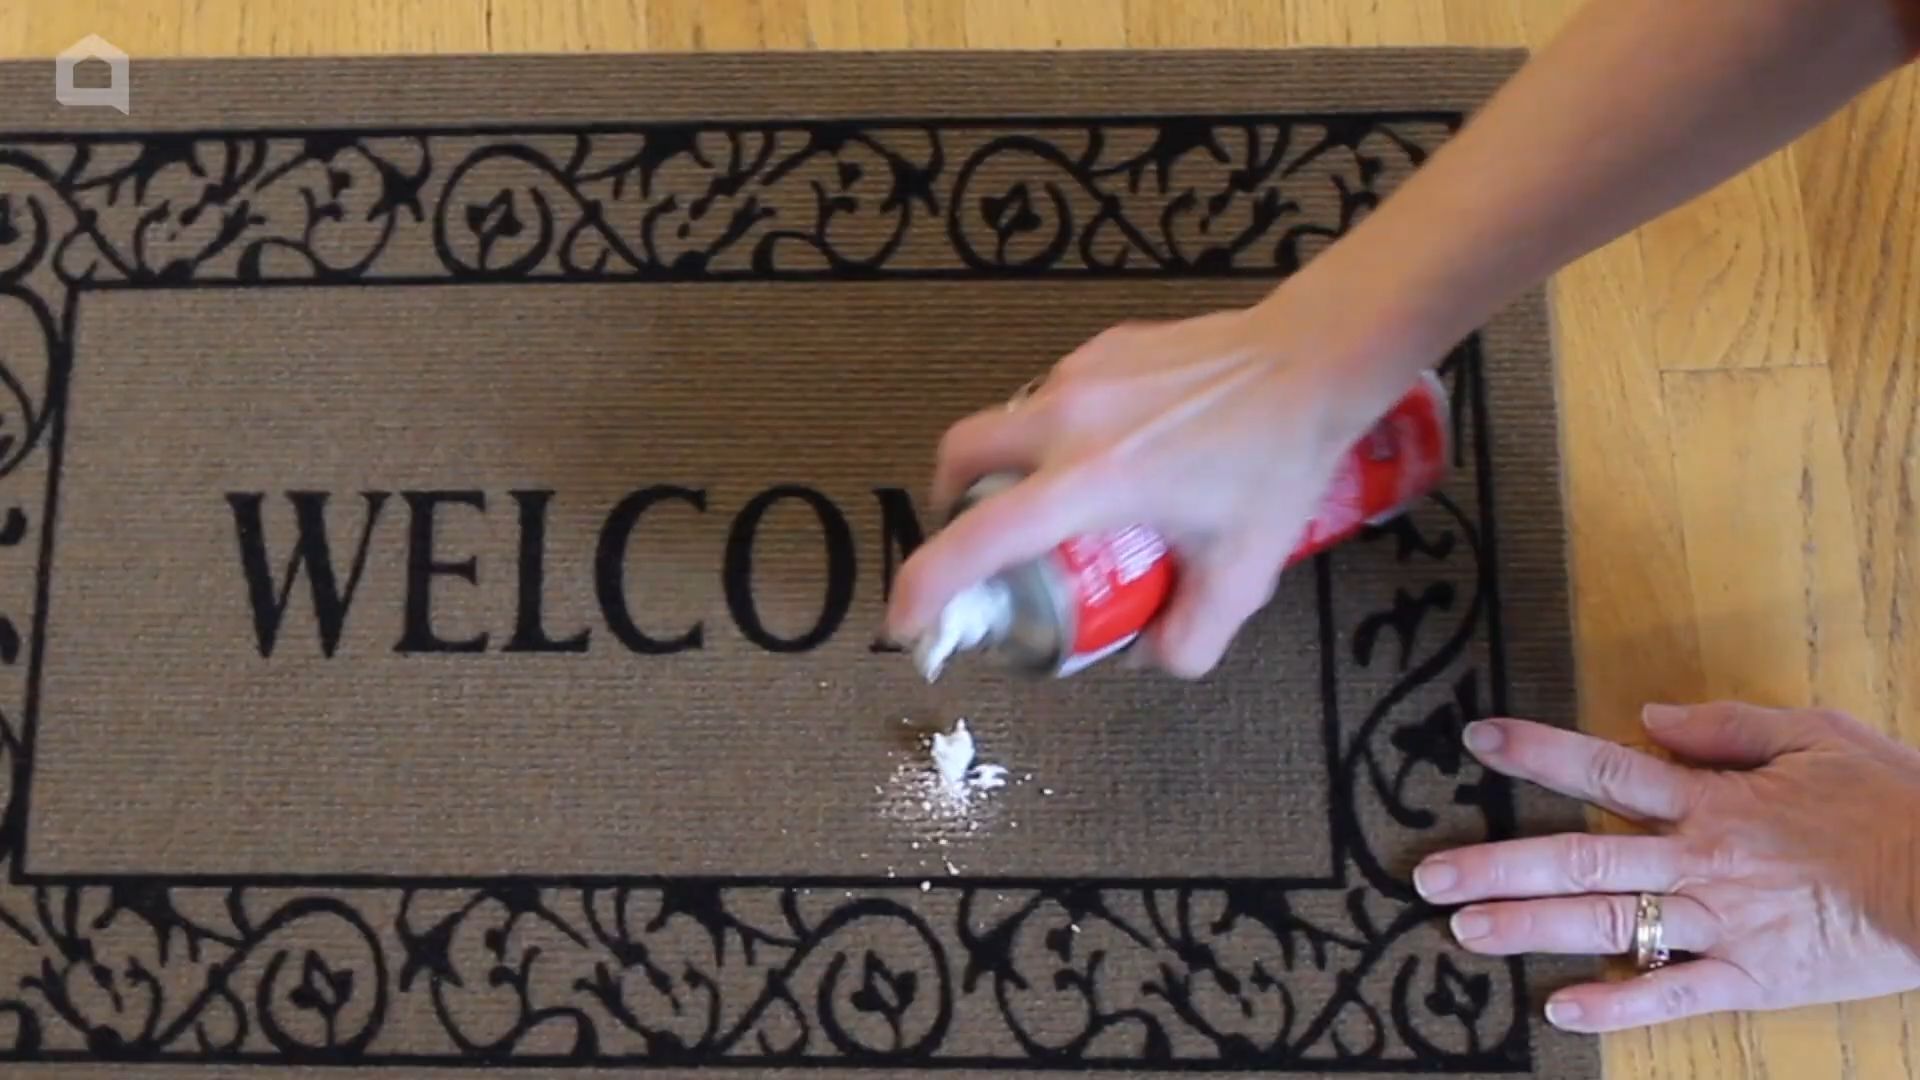
4. Add Dish Soap: This is the tricky part – you only need a tiny amount of dish soap! I recommend adding just 1/4 teaspoon. Too much soap will leave a residue and cause streaks.
5. Gently Mix: Close the spray bottle tightly and gently swirl the mixture to combine the ingredients. Avoid shaking vigorously, as this can create bubbles.
Cleaning Your Windows: The Step-by-Step Guide
Now that you have your amazing window cleaner, let’s get those windows sparkling!
1. Prepare the Area: Before you start spraying, it’s a good idea to prepare the area around your windows. Move any furniture or objects that might get in the way, and protect your floors with a drop cloth or old towels.
2. Dust and Debris Removal: Use a dry microfiber cloth or a brush to remove any loose dust, dirt, or cobwebs from the window surface. This will prevent you from just spreading the dirt around when you start cleaning.
3. Spray the Window: Hold the spray bottle a few inches away from the window and spray a generous amount of the cleaner onto the surface. You want to make sure the entire window is covered, but avoid oversaturating it.
4. Wipe with a Microfiber Cloth: Immediately after spraying, use a clean, dry microfiber cloth to wipe the window. Use overlapping strokes to ensure you’re covering the entire surface. Apply a little pressure to remove any stubborn dirt or grime.
5. Optional: Use a Squeegee: If you’re using a squeegee, start at the top corner of the window and pull the squeegee down in a smooth, overlapping stroke. Wipe the squeegee blade with a clean microfiber cloth after each stroke to prevent streaks. Overlap each stroke by about an inch.
6. Buff Dry: After wiping with the microfiber cloth (or using the squeegee), use another clean, dry microfiber cloth to buff the window dry. This will remove any remaining streaks and leave your windows sparkling.
7. Repeat if Necessary: For heavily soiled windows, you may need to repeat the cleaning process. Don’t be afraid to spray and wipe again until you’re satisfied with the results.
8. Clean Your Tools: Once you’re finished cleaning, be sure to wash your microfiber cloths and squeegee blade with soap and water. This will keep them clean and ready for your next window-cleaning session.
Tackling Stubborn Spots:
Sometimes, you’ll encounter stubborn spots or stains that are difficult to remove with the regular cleaning process. Here are a few tips for dealing with those pesky areas:
* Bug Splatter: For dried bug splatter, try soaking the area with the cleaner for a few minutes before wiping. You can also use a soft-bristled brush to gently scrub the area.
* Hard Water Stains: Hard water stains can be tough to remove. Try using a solution of equal parts white vinegar and water to pre-treat the area before cleaning with the alcohol and dish soap mixture.
* Grease and Grime: For greasy or grimy windows, you may need to use a slightly stronger dish soap solution. Add a tiny bit more dish soap to your spray bottle, but be careful not to overdo it.
* Sticky Residue: For sticky residue from stickers or tape, try using a small amount of rubbing alcohol directly on the affected area. Let it sit for a few minutes, then gently scrape away the residue with a plastic scraper or credit card.
Tips for Sparkling Results:
Here are a few extra tips to help you achieve the best possible results:
* Choose the Right Time of Day: Avoid cleaning your windows in direct sunlight, as this can cause the cleaner to dry too quickly and leave streaks. The best time to clean windows is on a cloudy day or in the early morning or late afternoon.
* Use Clean Microfiber Cloths: Dirty microfiber cloths will just spread dirt and grime around, so be sure to use clean cloths for each window. I recommend having a few extra cloths on hand so you can switch them out as needed.
* Don’t Over-Spray: Oversaturating your windows with cleaner can actually make them harder to clean. Spray just enough to cover the surface, and wipe immediately.
* Rinse Your Cloths: If you’re cleaning a lot of windows, rinse your microfiber cloths periodically in a bucket of clean water. This will help to remove any accumulated dirt and grime.
* Practice Makes Perfect: Like any DIY project, cleaning windows takes practice. Don’t be discouraged if you don’t get perfect results the first time. Keep experimenting with different techniques and amounts of cleaner until you find what works best for you.
* Clean Interior Windows Regularly: Dust and grime accumulate on interior windows too! Cleaning them regularly will keep your home looking brighter and fresher.
* Clean Exterior Windows Seasonally: Exterior windows are exposed to the elements, so they require more frequent cleaning. I recommend cleaning them at least twice a year, in the spring and fall.
* Consider a Window Cleaning Brush: For hard-to-reach windows, consider using a window cleaning brush with an extendable handle. These brushes can help you reach high windows without having to climb on a ladder.
* Check the Weather Forecast: Avoid cleaning your windows on a windy day, as the wind can blow dust and debris onto your freshly cleaned windows.
* Be Patient: Cleaning windows can be a time-consuming task, but the results are worth it! Take your time and enjoy the process.
Safety First!
While this DIY window cleaner is relatively safe, it’s always a good idea to take a few precautions:
* Ventilation: Make sure you’re working in a well-ventilated area, especially if you’re using a high concentration of rubbing alcohol.
* Avoid Contact with Eyes: Avoid getting the cleaner in your eyes. If contact occurs, rinse thoroughly with water.
* Keep Out of Reach of Children: Store the cleaner in a safe place, out of reach of children and pets.
* Test on a Small Area: Before cleaning an entire window, test the cleaner on a small, inconspicuous area to make sure it doesn’t damage the surface.
I hope you found this guide helpful! With a little bit of effort and this simple DIY recipe, you can have sparkling clean, streak-free windows in no time. Happy cleaning!
Conclusion
So, there you have it! This simple yet incredibly effective DIY alcohol and dish soap cleaner is a game-changer for anyone looking to achieve sparkling surfaces without harsh chemicals or breaking the bank. We’ve walked you through the easy steps, highlighting the cost-effectiveness and eco-friendly nature of this homemade solution. But why is this DIY trick a must-try?
Firstly, its versatility is unmatched. From grimy stovetops to streaky mirrors and even stubborn bathroom tiles, this cleaner tackles a wide range of household messes with ease. The alcohol acts as a powerful disinfectant, killing germs and bacteria, while the dish soap cuts through grease and grime, leaving surfaces spotless. Secondly, it’s incredibly gentle on your surfaces. Unlike some commercial cleaners that can damage or discolor delicate materials, this solution is safe to use on most surfaces, including glass, stainless steel, and even sealed granite.
But the real magic lies in its simplicity. You likely already have the ingredients on hand, making it a convenient and readily available cleaning solution whenever you need it. No more last-minute trips to the store or reliance on expensive, pre-packaged cleaners. You’re in control of the ingredients and the concentration, allowing you to customize the solution to your specific needs.
Looking for variations? Consider adding a few drops of your favorite essential oil for a pleasant scent. Lavender, lemon, or eucalyptus oil not only add a refreshing aroma but also boast additional antibacterial properties. For tougher stains, you can increase the concentration of alcohol slightly, but always test on an inconspicuous area first to ensure it doesn’t damage the surface. Another variation is to use a different type of dish soap. A natural, plant-based dish soap will make the cleaner even more eco-friendly.
We are confident that once you try this DIY alcohol and dish soap cleaner, you’ll be amazed by its effectiveness and simplicity. It’s a cost-effective, eco-friendly, and versatile solution that will quickly become a staple in your cleaning routine.
Don’t just take our word for it – give it a try! We encourage you to experiment with different variations and find what works best for you. And most importantly, share your experience with us! Let us know in the comments below how this DIY cleaner worked for you, what surfaces you used it on, and any variations you tried. Your feedback will help other readers discover the power of this simple yet effective cleaning solution. We’re excited to hear your success stories and learn from your experiences. Embrace the power of DIY and discover the joy of a clean and healthy home with this fantastic alcohol and dish soap cleaner!
Frequently Asked Questions (FAQ)
Is this cleaner safe to use on all surfaces?
While this DIY cleaner is generally safe for most surfaces, it’s always best to test it on an inconspicuous area first, especially on delicate or painted surfaces. Avoid using it on porous materials like unsealed granite or marble, as the alcohol can potentially damage them. For wood surfaces, use sparingly and wipe dry immediately. Always err on the side of caution and test before applying liberally.
What type of alcohol should I use?
Isopropyl alcohol (rubbing alcohol) is the most commonly used and readily available type of alcohol for this cleaner. A concentration of 70% or higher is recommended for optimal disinfecting properties. You can also use denatured alcohol, but be sure to handle it with care and avoid inhaling the fumes. Avoid using alcohols intended for consumption, such as vodka or gin, as they are not as effective disinfectants and may leave a sticky residue.
Can I use any type of dish soap?
Yes, you can use most types of dish soap. However, for an even more eco-friendly option, consider using a natural, plant-based dish soap. Avoid using dish soaps that contain bleach or other harsh chemicals, as these can react with the alcohol and create harmful fumes. A mild, unscented dish soap is generally the best choice.
How long does the cleaner last?
This DIY cleaner doesn’t have a very long shelf life, as the alcohol can evaporate over time. It’s best to make a fresh batch each time you need it. However, if you store it in an airtight spray bottle in a cool, dark place, it can last for a few weeks. If you notice any separation or cloudiness, it’s best to discard it and make a new batch.
Can I use this cleaner to disinfect surfaces?
Yes, the alcohol in this cleaner acts as a disinfectant, killing germs and bacteria on surfaces. However, it’s important to note that it’s not a substitute for hospital-grade disinfectants. For thorough disinfection, allow the cleaner to sit on the surface for a few minutes before wiping it away.
What if the cleaner leaves streaks on my windows or mirrors?
Streaking can sometimes occur if you use too much dish soap or if the water you’re using is hard. To prevent streaking, use a minimal amount of dish soap and wipe the surface dry with a clean, microfiber cloth. You can also try using distilled water instead of tap water.
Can I add essential oils to this cleaner?
Yes, adding a few drops of your favorite essential oil can add a pleasant scent and boost the cleaning power of this DIY solution. Lavender, lemon, tea tree, and eucalyptus oils are all great choices for their antibacterial and antiviral properties. However, be sure to use pure essential oils and avoid using fragrance oils, as they can leave a sticky residue. Start with a small amount (5-10 drops per bottle) and adjust to your preference.
Is this cleaner safe to use around pets and children?
While this cleaner is generally safer than commercial cleaners, it’s still important to keep it out of reach of pets and children. Alcohol can be harmful if ingested, so store the cleaner in a secure location. When using the cleaner, ensure proper ventilation and avoid spraying it directly into the eyes or mouth.
Can I use this cleaner on electronics?
It’s generally not recommended to use this cleaner on electronics, as the alcohol can damage sensitive components. If you need to clean your electronics, use a specialized electronic cleaner or a dry microfiber cloth.
What is the best ratio of alcohol to dish soap?
The ideal ratio is generally around 1 cup of alcohol to 1 teaspoon of dish soap. You can adjust this ratio slightly depending on the type of mess you’re cleaning. For tougher stains, you can increase the amount of alcohol. For lighter cleaning, you can reduce the amount of dish soap.

Leave a Comment