

Clean frying pan baking soda: sounds simple, right? But trust me, this little combination is a game-changer in the kitchen! We’ve all been there – staring down at a frying pan caked with stubborn, burnt-on food. You scrub, you soak, you practically wrestle with it, and still, those greasy remnants cling on for dear life. It’s frustrating, time-consuming, and honestly, a bit of a mood killer when you’re trying to whip up a delicious meal.
But before you resign yourself to a lifetime of elbow grease or, worse, tossing that beloved pan in the trash, let me share a secret weapon that’s been passed down through generations. Baking soda, that humble pantry staple, has been used for centuries for everything from baking (obviously!) to cleaning. Our grandmothers knew its power, and now, I’m here to share their wisdom with you.
This DIY trick isn’t just about saving time and effort; it’s about extending the life of your cookware and avoiding harsh chemicals. Many commercial cleaners contain ingredients that can be harmful to both your health and the environment. With this simple clean frying pan baking soda method, you can achieve sparkling results using a natural, affordable, and readily available ingredient. So, ditch the toxic sprays and let’s get that frying pan looking brand new again! I promise, you’ll be amazed at how easy and effective this is.
DIY: Revive Your Burnt Frying Pan with Baking Soda!
Okay, friends, let’s face it. We’ve all been there. You’re multitasking in the kitchen, maybe catching up on your favorite show while simmering a delicious sauce, and BAM! You smell that dreaded burnt odor. You rush to the stove, and there it is – a frying pan with a stubborn, blackened layer that seems impossible to remove. Don’t despair! Before you toss that pan in the trash, let me show you a super simple and effective DIY trick using baking soda to bring it back to life. This method is gentle, non-toxic, and uses ingredients you probably already have in your pantry. Let’s get started!
What You’ll Need:
* Your burnt frying pan (obviously!)
* Baking soda
* Water
* Dish soap
* A non-abrasive sponge or scrub brush (avoid steel wool for non-stick pans!)
* A spatula or scraper (plastic or wooden is best to avoid scratching)
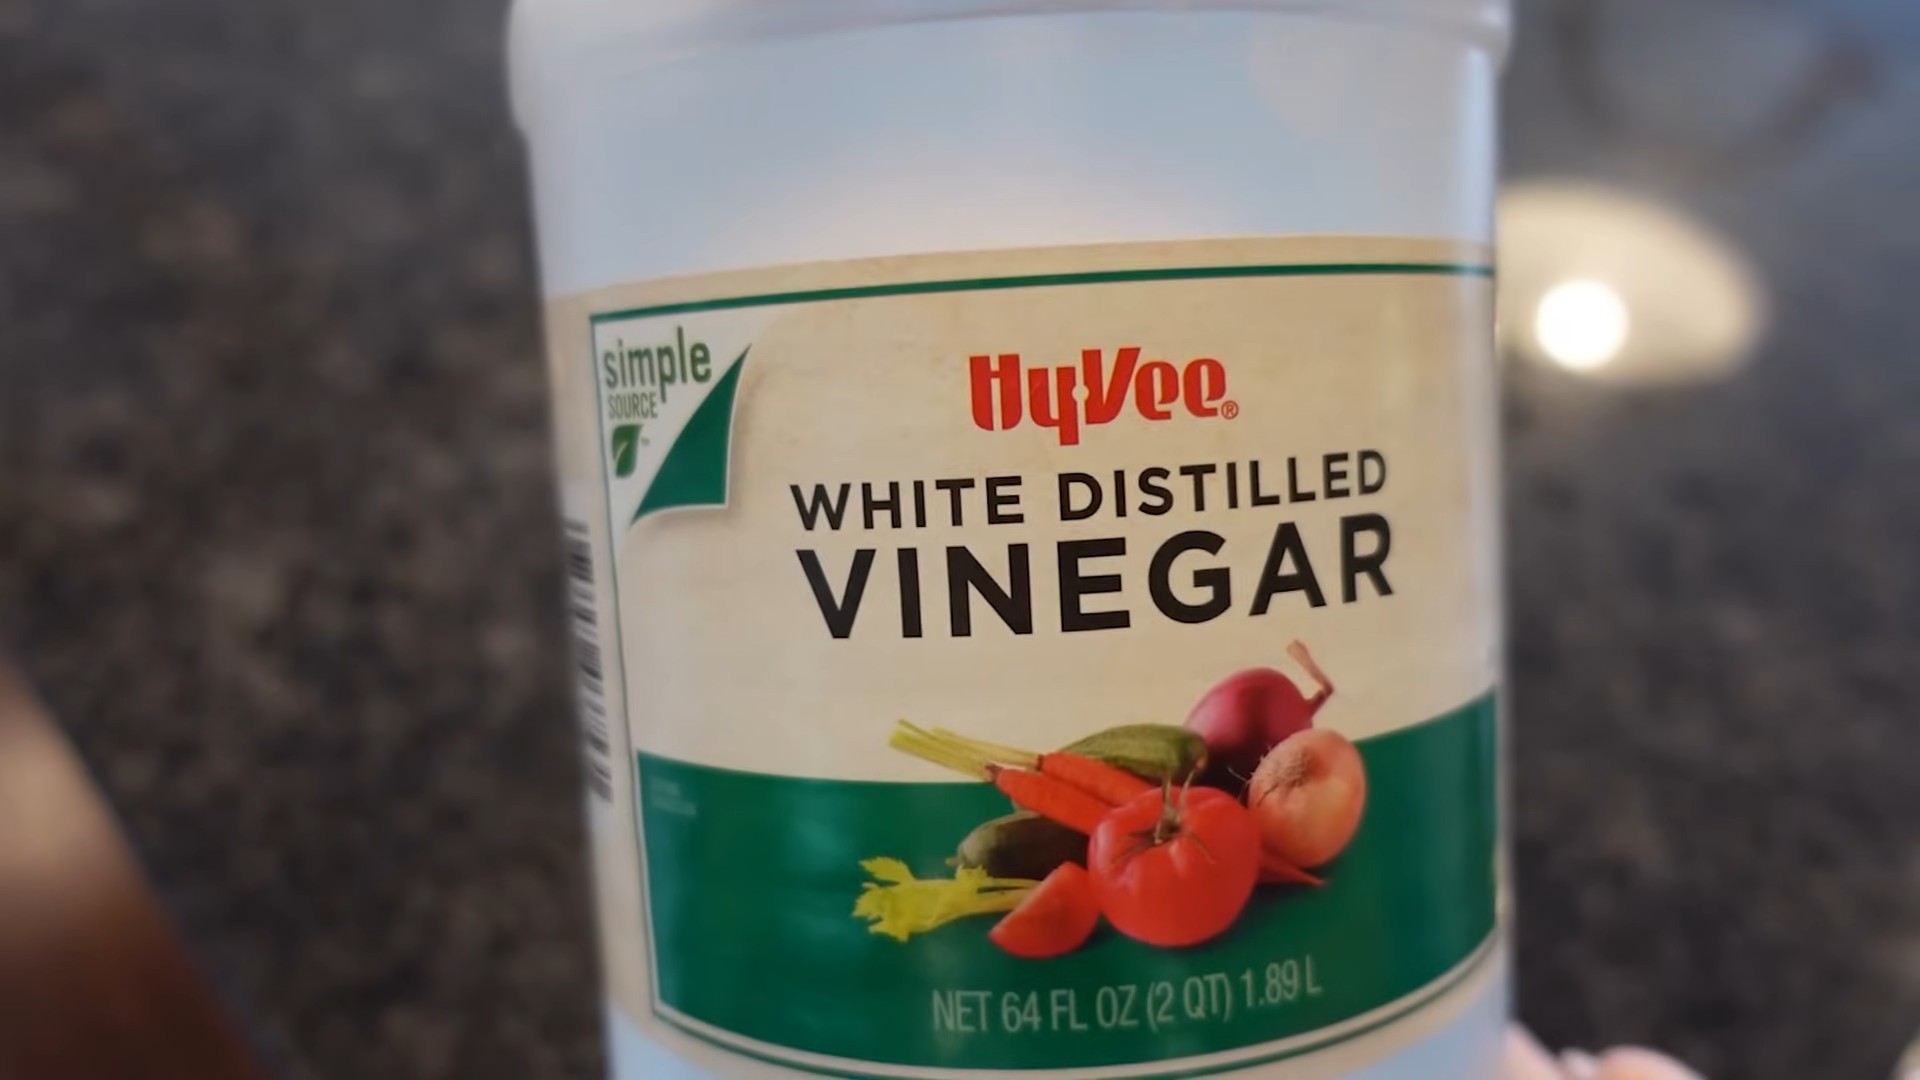
* Optional: White vinegar
The Baking Soda Magic: A Step-by-Step Guide
This process is broken down into manageable steps. I’ve found this method works wonders, but remember, the severity of the burn will determine how much elbow grease you need to put in.
1. Initial Assessment and Prep: First, let’s take a good look at the damage. How thick is the burnt layer? Is it just a light coating, or is it a thick, crusty mess? This will help you gauge how much baking soda and water you’ll need. Remove any loose bits of food with a spatula or scraper. This will make the next steps much easier.
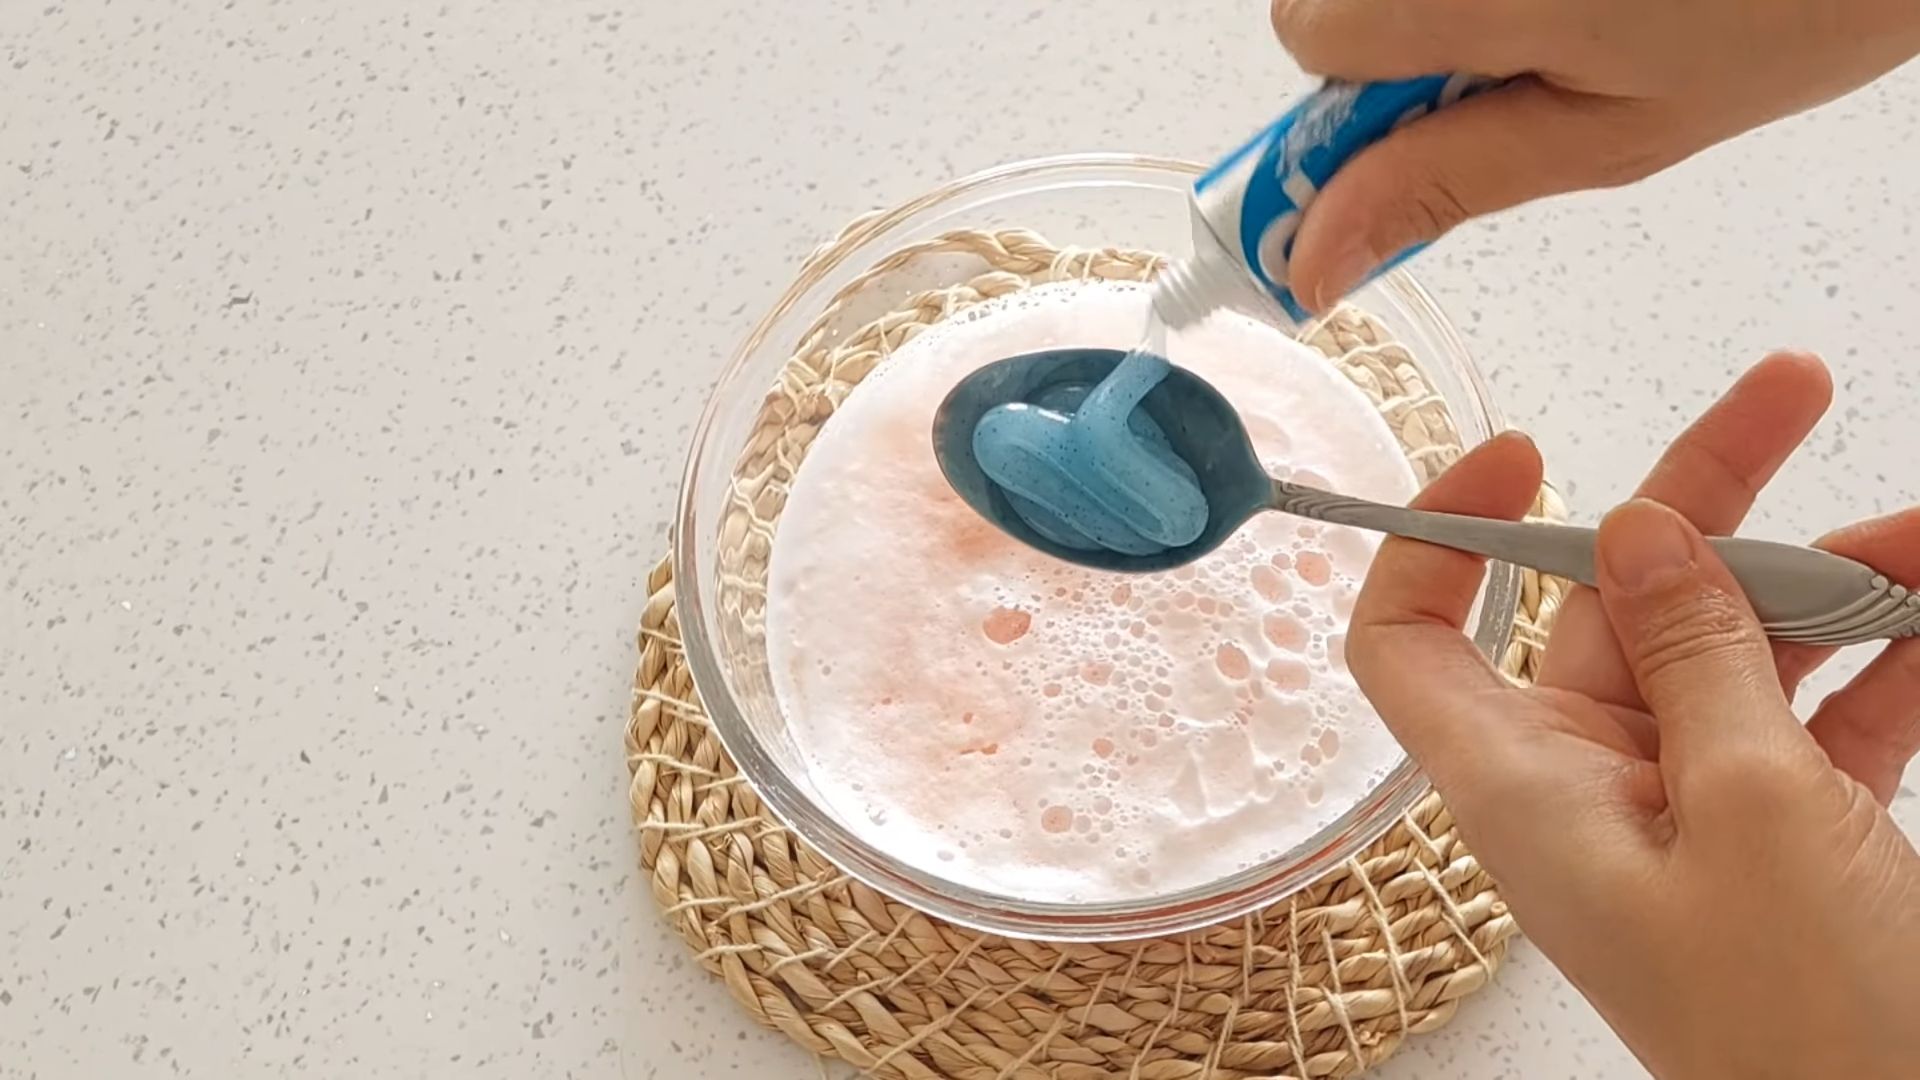
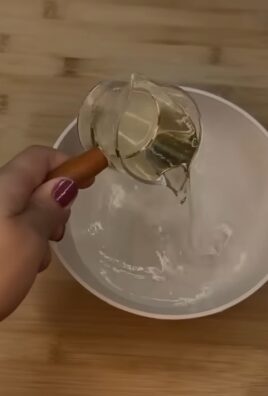
2. The Baking Soda Paste: This is where the magic begins! In the burnt frying pan, create a paste by mixing baking soda with a small amount of water. You want a consistency that’s thick enough to spread easily but not too watery. Start with about 1/4 cup of baking soda and add water a tablespoon at a time until you reach the desired consistency.
3. Apply the Paste: Using your fingers or a spatula, generously coat the burnt areas of the pan with the baking soda paste. Make sure to cover every single bit of the burnt residue. Don’t be shy! The thicker the layer of paste, the better it will work.
4. Let it Sit (The Waiting Game): Now comes the patience part. Let the baking soda paste sit on the burnt areas for at least 30 minutes. For heavily burnt pans, I recommend letting it sit for several hours, or even overnight. The longer it sits, the more time the baking soda has to loosen the burnt-on food. This is crucial!
5. Scrubbing Time: After the soaking period, it’s time to scrub! Using a non-abrasive sponge or scrub brush, gently scrub the burnt areas. You should start to see the burnt residue lifting away. If the residue is particularly stubborn, you might need to apply a little more pressure. Remember, be gentle, especially if you have a non-stick pan. You don’t want to scratch the surface.
6. Rinse and Repeat (If Necessary): Rinse the pan with warm water to remove the loosened residue and baking soda paste. Inspect the pan to see if any burnt areas remain. If so, repeat steps 2 through 5. Sometimes, it takes a couple of rounds to completely remove the burnt-on food.
7. The Vinegar Boost (Optional): If you’re dealing with a particularly stubborn burn, you can add a little white vinegar to the mix. After applying the baking soda paste, pour a thin layer of white vinegar over the paste. The vinegar will react with the baking soda, creating a fizzing action that can help to loosen the burnt residue even further. Let it fizz for a few minutes before scrubbing.
8. Final Wash and Dry: Once you’re satisfied that all the burnt residue is gone, wash the pan thoroughly with dish soap and warm water. This will remove any remaining baking soda and vinegar. Finally, dry the pan completely with a clean towel.
Dealing with Different Types of Pans:
The basic method remains the same, but here are a few tips for specific types of pans:
* Non-Stick Pans: Be extra gentle when scrubbing non-stick pans. Avoid using abrasive scrub brushes or steel wool, as these can damage the non-stick coating. Stick to a soft sponge or a non-abrasive scrub brush.
* Stainless Steel Pans: Stainless steel pans are more durable than non-stick pans, so you can use a slightly more abrasive scrub brush if needed. However, avoid using steel wool, as it can scratch the surface.
* Cast Iron Pans: For cast iron pans, you might need to use a chainmail scrubber to remove stubborn burnt residue. After cleaning, make sure to re-season the pan to prevent rusting.
Preventing Future Burns:
Prevention is always better than cure! Here are a few tips to help you avoid burning your frying pan in the future:
* Pay Attention: This might seem obvious, but it’s the most important tip. Don’t leave food unattended while cooking, especially when using high heat.
* Use the Right Heat: Use the appropriate heat setting for the type of food you’re cooking. High heat is great for searing, but it’s also more likely to cause burning.
* Stir Frequently: Stirring food frequently helps to prevent it from sticking to the pan and burning.
* Add Liquid: If food starts to stick to the pan, add a little liquid (water, broth, or oil) to help loosen it.
* Clean Regularly: Clean your frying pan after each use to prevent food from building up and burning.
Troubleshooting:
* The Burnt Residue Won’t Budge: If the burnt residue is extremely stubborn, try making a stronger baking soda paste by using less water. You can also try adding a little salt to the paste, as salt is a natural abrasive.
* The Pan is Still Stained: Even after removing the burnt residue, the pan might still be stained. To remove stains, try boiling a mixture of water and vinegar in the pan for a few minutes.
* The Non-Stick Coating is Damaged: If the non-stick coating of your pan is damaged, it’s time to replace the pan. Using a damaged non-stick pan can be harmful, as the coating can flake off into your food.
Alternative Methods (When Baking Soda Isn’t Enough):
While baking soda is my go-to, sometimes you need to bring in the big guns. Here are a couple of other methods you can try if the baking soda trick doesn’t quite cut it:
* Boiling Water and Dish Soap: Fill the burnt pan with water, add a generous squirt of dish soap, and bring it to a boil. Let it simmer for 15-20 minutes, then let it cool slightly before scrubbing. The boiling water and dish soap will help to loosen the burnt residue.
* Dryer Sheets: This might sound crazy, but it works! Place a dryer sheet in the burnt pan, fill it with water, and let it soak overnight. The chemicals in the dryer sheet will help to break down the burnt residue.
* Commercial Oven Cleaner: As a last resort, you can try using a commercial oven cleaner. However, be very careful when using oven cleaner, as it’s a harsh chemical. Follow the instructions on the label carefully, and wear gloves and eye protection. Make sure to thoroughly rinse the pan after using oven cleaner.
I hope this guide helps you rescue your burnt frying pan! Remember, patience is key. Don’t give up if the burnt residue doesn’t come off immediately. Keep scrubbing, and eventually, you’ll have your pan looking as good as new. Happy cooking!
Conclusion
So, there you have it! A simple, effective, and surprisingly satisfying method for cleaning your frying pan using baking soda. We’ve all been there – staring at a stubbornly stained frying pan, wondering if it’s destined for the trash. But before you resign yourself to buying a new one, give this DIY trick a try. It’s a game-changer, and frankly, a must-try for anyone who values a clean kitchen and wants to avoid harsh chemicals.
Why is this method so compelling? First, it’s incredibly cost-effective. Baking soda is a pantry staple for many, and even if you need to buy some, it’s far cheaper than specialized cleaning products. Second, it’s gentle yet powerful. The abrasive nature of baking soda, combined with the degreasing properties of dish soap and the lifting action of hot water, works wonders on baked-on grease and food residue without scratching the surface of your pan. Third, it’s environmentally friendly. You’re avoiding harsh chemicals that can be harmful to both you and the planet.
But the real magic lies in the results. Seeing that grime lift away, revealing a sparkling clean surface, is incredibly rewarding. It’s like giving your frying pan a new lease on life!
Looking for variations? Absolutely! For particularly stubborn stains, consider adding a splash of vinegar to the baking soda paste. The fizzing action can help loosen the grime even further. You can also let the baking soda paste sit on the pan for a longer period, even overnight, for maximum effectiveness. If you’re dealing with burnt food, try boiling water in the pan with a few tablespoons of baking soda for about 15 minutes before scrubbing. This will help to soften the burnt residue and make it easier to remove. For cast iron pans, be sure to re-season them after cleaning to prevent rusting.
Don’t be afraid to experiment and find what works best for your specific frying pan and the type of stains you’re dealing with. The key is to be patient and persistent.
We’re confident that this DIY trick will become your go-to method for cleaning your frying pan. It’s a simple, effective, and environmentally friendly way to keep your cookware looking its best.
Now, it’s your turn! Give this baking soda cleaning method a try and see the amazing results for yourself. We’d love to hear about your experience. Share your before-and-after photos and any tips or variations you discover in the comments below. Let’s build a community of sparkling clean frying pans! We are sure that you will find that this is the best way to clean your frying pan.
FAQ
Q: What type of frying pans does this baking soda cleaning method work on?
A: This method is generally safe and effective for most types of frying pans, including stainless steel, non-stick, ceramic, and even cast iron (with proper re-seasoning afterward). However, it’s always a good idea to test a small, inconspicuous area first, especially if you’re unsure about the material of your pan. For delicate non-stick surfaces, use a gentler scrubbing motion to avoid scratching.
Q: How often should I clean my frying pan with baking soda?
A: The frequency depends on how often you use your frying pan and how much food residue accumulates. For pans that are used daily, a weekly cleaning with baking soda can help prevent buildup and keep them looking their best. For pans that are used less frequently, you can clean them as needed. If you notice stubborn stains or grease buildup, it’s a good time to give them a baking soda treatment.
Q: Can I use this method on other cookware besides frying pans?
A: Absolutely! This baking soda cleaning method is versatile and can be used on a variety of cookware, including pots, baking sheets, and even oven racks. The same principles apply – the abrasive nature of baking soda, combined with the degreasing properties of dish soap and the lifting action of hot water, can effectively remove baked-on grease and food residue from various surfaces.
Q: What if the stains are really stubborn and don’t come off easily?
A: For particularly stubborn stains, there are a few things you can try. First, make sure you’re using enough baking soda and applying enough pressure while scrubbing. You can also try adding a splash of vinegar to the baking soda paste. The fizzing action can help loosen the grime even further. Let the paste sit on the pan for a longer period, even overnight, for maximum effectiveness. If you’re dealing with burnt food, try boiling water in the pan with a few tablespoons of baking soda for about 15 minutes before scrubbing. This will help to soften the burnt residue and make it easier to remove. You can also try using a more abrasive scrubbing tool, such as a scouring pad, but be careful not to scratch the surface of your pan.
Q: Is it safe to use baking soda on non-stick frying pans?
A: Yes, it is generally safe to use baking soda on non-stick frying pans, but you need to be gentle. Avoid using abrasive scrubbing tools, such as steel wool or scouring pads, as these can scratch the non-stick coating. Instead, use a soft sponge or cloth and apply gentle pressure while scrubbing. You can also try diluting the baking soda with water to create a less abrasive paste. After cleaning, be sure to rinse the pan thoroughly to remove any baking soda residue.
Q: Can I use this method to remove rust from cast iron frying pans?
A: Yes, baking soda can be used to remove rust from cast iron frying pans. However, it’s important to re-season the pan after cleaning to prevent it from rusting again. To remove rust, create a paste of baking soda and water and apply it to the rusted areas. Let it sit for a few hours, then scrub with a steel wool or scouring pad. Rinse the pan thoroughly and dry it completely. Then, re-season the pan by coating it with a thin layer of oil and baking it in the oven at 350 degrees Fahrenheit for an hour.
Q: What are some other natural cleaning alternatives to baking soda?
A: Besides baking soda, there are several other natural cleaning alternatives you can use in your kitchen. Vinegar is a great degreaser and can be used to clean a variety of surfaces. Lemon juice is a natural disinfectant and can be used to remove stains and odors. Salt is a mild abrasive and can be used to scrub away grime. And hydrogen peroxide is a natural bleaching agent and can be used to remove stains and disinfect surfaces.
Q: How do I prevent my frying pan from getting so dirty in the first place?
A: There are a few things you can do to prevent your frying pan from getting so dirty in the first place. First, avoid overheating the pan, as this can cause food to burn and stick. Second, use enough oil or butter when cooking to prevent food from sticking. Third, clean the pan immediately after use, while the food residue is still soft and easy to remove. Fourth, avoid using metal utensils on non-stick pans, as these can scratch the coating. And fifth, store your frying pans properly to prevent them from getting scratched or damaged.
Q: What if I don’t have baking soda? Can I use something else?
A: While baking soda is the star of this cleaning method, you can try alternatives if you don’t have it on hand. Cream of tartar, which is mildly abrasive, can work similarly. A paste of salt and water can also provide some scrubbing power. However, baking soda is generally the most effective and readily available option.


Leave a Comment