

Weekly harvest garden for beginners, that’s what we all dream of, right? Imagine stepping into your backyard and gathering fresh, vibrant produce every single week – a true farm-to-table experience without ever leaving home! But let’s be honest, the idea of starting a garden, especially with the goal of a consistent harvest, can feel overwhelming. Where do you even begin?
For centuries, humans have cultivated the earth, relying on gardens for sustenance and connection to nature. From the ancient hanging gardens of Babylon to the humble kitchen gardens of our grandparents, the practice of growing our own food is deeply ingrained in our history. But in today’s fast-paced world, many of us have lost touch with this essential skill. That’s where this guide comes in!
This isn’t just another gardening article; it’s your personalized roadmap to creating a thriving weekly harvest garden for beginners. We’ll break down the process into manageable steps, sharing simple DIY tricks and hacks that will transform your backyard (or even your balcony!) into a productive oasis. Forget complicated techniques and expensive equipment. I’m here to show you how to achieve a bountiful harvest with minimal effort, maximizing your yield and minimizing your stress. So, grab your gardening gloves, and let’s get started on your journey to fresh, homegrown goodness!
Creating Your Own Weekly Harvest Garden: A Beginner’s Guide
Okay, so you’re itching to grow your own food and enjoy fresh veggies every week? Awesome! I’m here to guide you through creating a simple, manageable, and rewarding weekly harvest garden. This isn’t about becoming a full-time farmer; it’s about enjoying the fruits (and vegetables!) of your labor with minimal fuss. Let’s get started!
Planning Your Weekly Harvest Garden
Before you even think about digging, a little planning goes a long way. This is where we figure out what you want to eat and how much space you have.
* Assess Your Space: Honestly evaluate the area you have available. Even a small balcony can work! Consider the amount of sunlight it receives (at least 6 hours of direct sunlight is ideal for most vegetables). Is it a raised bed, a container garden, or a patch of ground?
* Choose Your Crops: This is the fun part! Think about the vegetables you enjoy eating regularly. Focus on quick-growing, cut-and-come-again varieties like lettuce, spinach, kale, radishes, and herbs. Cherry tomatoes and bush beans are also great options for beginners.
* Consider Succession Planting: This is the key to a weekly harvest! Succession planting means planting small batches of the same crop every week or two. This ensures a continuous supply instead of one massive harvest all at once.
* Sketch a Layout: A simple sketch helps visualize your garden and plan where each plant will go. Consider the mature size of each plant to avoid overcrowding. Taller plants should be placed where they won’t shade smaller ones.
* Gather Your Supplies: Make a list of everything you’ll need: seeds or seedlings, potting mix (if using containers), gardening tools (trowel, hand rake, watering can), fertilizer, and any necessary supports (stakes for tomatoes, trellises for beans).
Step-by-Step Planting Guide
Now for the hands-on part! I’ll walk you through the planting process, step by step.
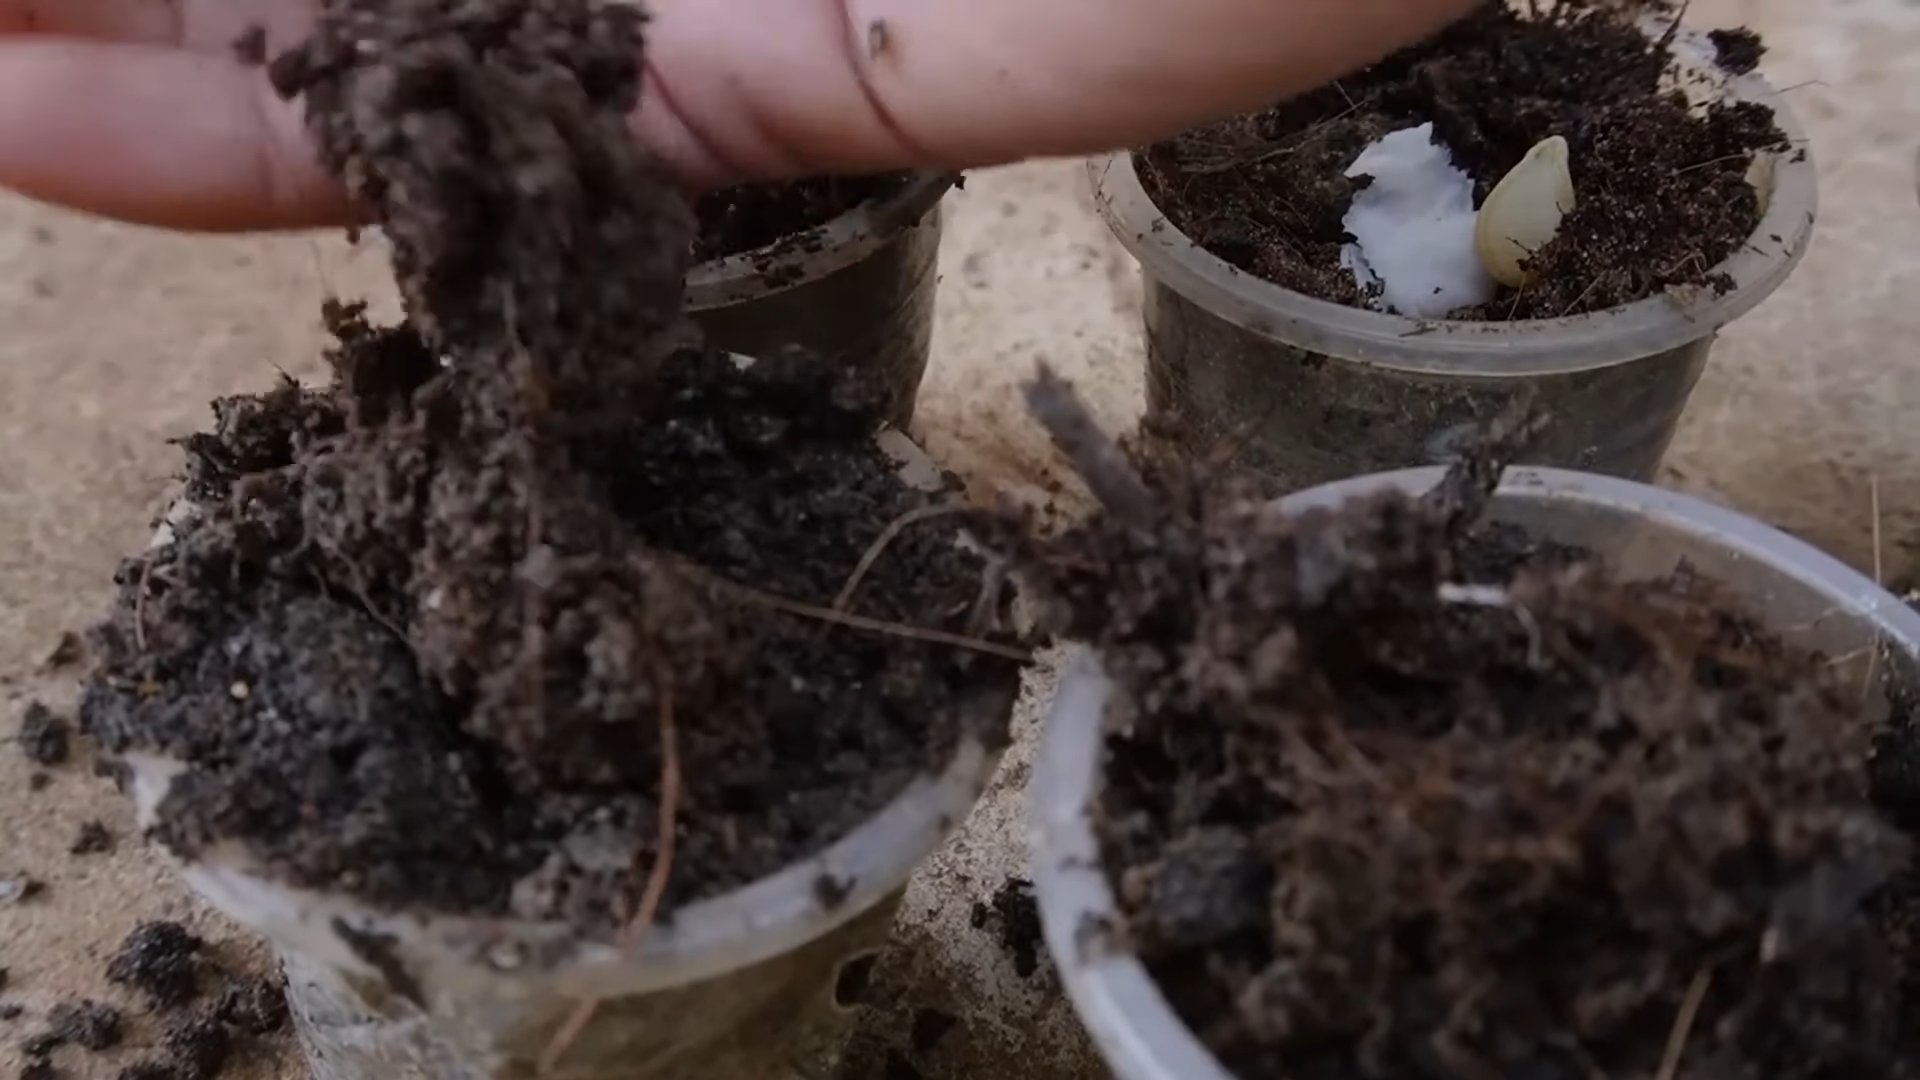
1. Prepare Your Soil: Whether you’re using a raised bed, containers, or the ground, good soil is crucial. Amend your soil with compost or other organic matter to improve drainage and fertility. If using containers, choose a high-quality potting mix.
2. Start Seeds Indoors (Optional): For some crops, like tomatoes and peppers, starting seeds indoors a few weeks before the last frost gives them a head start. Follow the instructions on your seed packets for proper timing and planting depth.
3. Direct Sow Seeds: Many vegetables, like lettuce, spinach, radishes, and carrots, can be directly sown into the garden. Prepare the soil by raking it smooth and creating shallow furrows. Sprinkle the seeds evenly into the furrows and cover them lightly with soil. Gently water the area.
4. Transplant Seedlings: If you started seeds indoors or purchased seedlings, carefully transplant them into the garden. Dig a hole slightly larger than the root ball, gently remove the seedling from its container, and place it in the hole. Backfill with soil and gently firm it around the base of the plant. Water thoroughly.
5. Succession Planting: This is where the magic happens! Plant a small batch of your chosen crops every week or two. For example, plant a row of lettuce seeds one week, another row the following week, and so on. This will ensure a continuous harvest of fresh lettuce.
6. Label Your Plants: Trust me, you’ll forget what you planted where! Use plant markers or labels to identify each crop and the date you planted it.
Watering and Feeding Your Garden
Consistent watering and occasional feeding are essential for healthy growth and abundant harvests.
1. Water Regularly: Water deeply and regularly, especially during dry spells. Aim to keep the soil consistently moist but not waterlogged. Water in the morning to allow the foliage to dry before nightfall, which helps prevent fungal diseases.
2. Fertilize Sparingly: Over-fertilizing can lead to leggy growth and fewer fruits. Use a balanced organic fertilizer according to the package instructions. You can also use compost tea or other natural fertilizers.
3. Mulch Your Garden: Apply a layer of mulch around your plants to help retain moisture, suppress weeds, and regulate soil temperature. Straw, wood chips, or shredded leaves are all good options.
Pest and Disease Control
Even in a small garden, pests and diseases can sometimes be a problem. Here’s how to deal with them naturally.
1. Inspect Regularly: Check your plants regularly for signs of pests or diseases. Early detection is key to preventing problems from escalating.
2. Handpick Pests: For small infestations, simply handpick the pests off your plants. This is especially effective for larger pests like caterpillars and slugs.
3. Use Insecticidal Soap or Neem Oil: For more serious infestations, use insecticidal soap or neem oil. These are natural and relatively safe options for controlling a wide range of pests. Always follow the instructions on the product label.
4. Promote Beneficial Insects: Attract beneficial insects to your garden by planting flowers that provide nectar and pollen. Ladybugs, lacewings, and hoverflies are all beneficial insects that prey on common garden pests.
5. Practice Crop Rotation: Rotate your crops each season to help prevent soilborne diseases and pest infestations.
Harvesting Your Weekly Bounty
This is the moment you’ve been waiting for! Harvesting your own fresh vegetables is incredibly rewarding.
1. Harvest Regularly: Harvest your vegetables regularly as they ripen. This encourages the plants to produce more.
2. Cut-and-Come-Again Harvesting: For leafy greens like lettuce, spinach, and kale, use the cut-and-come-again method. Simply cut off the outer leaves, leaving the inner leaves to continue growing.
3. Harvest at the Right Time: Harvest vegetables at their peak ripeness for the best flavor and texture. For example, harvest radishes when they are about an inch in diameter, and harvest tomatoes when they are fully colored and slightly soft to the touch.
4. Store Properly: Store your harvested vegetables properly to keep them fresh for longer. Leafy greens should be stored in the refrigerator in a plastic bag or container. Tomatoes should be stored at room temperature.
Specific Crop Tips for Weekly Harvesting
Let’s dive into some specific tips for the crops I mentioned earlier, focusing on how to maximize your weekly harvest.
* Lettuce: As I said, cut-and-come-again is your best friend here. Plant a mix of different lettuce varieties for a colorful and flavorful salad mix. Loose-leaf varieties are particularly well-suited for this method.
* Spinach: Similar to lettuce, harvest outer leaves as needed. Keep the soil consistently moist to prevent bolting (going to seed).
* Kale: Harvest the lower leaves as they mature. Kale is very hardy and can tolerate light frosts, extending your harvest season.
* Radishes: These are super fast-growing! Sow a new batch every week for a continuous supply. Harvest when they are about an inch in diameter.
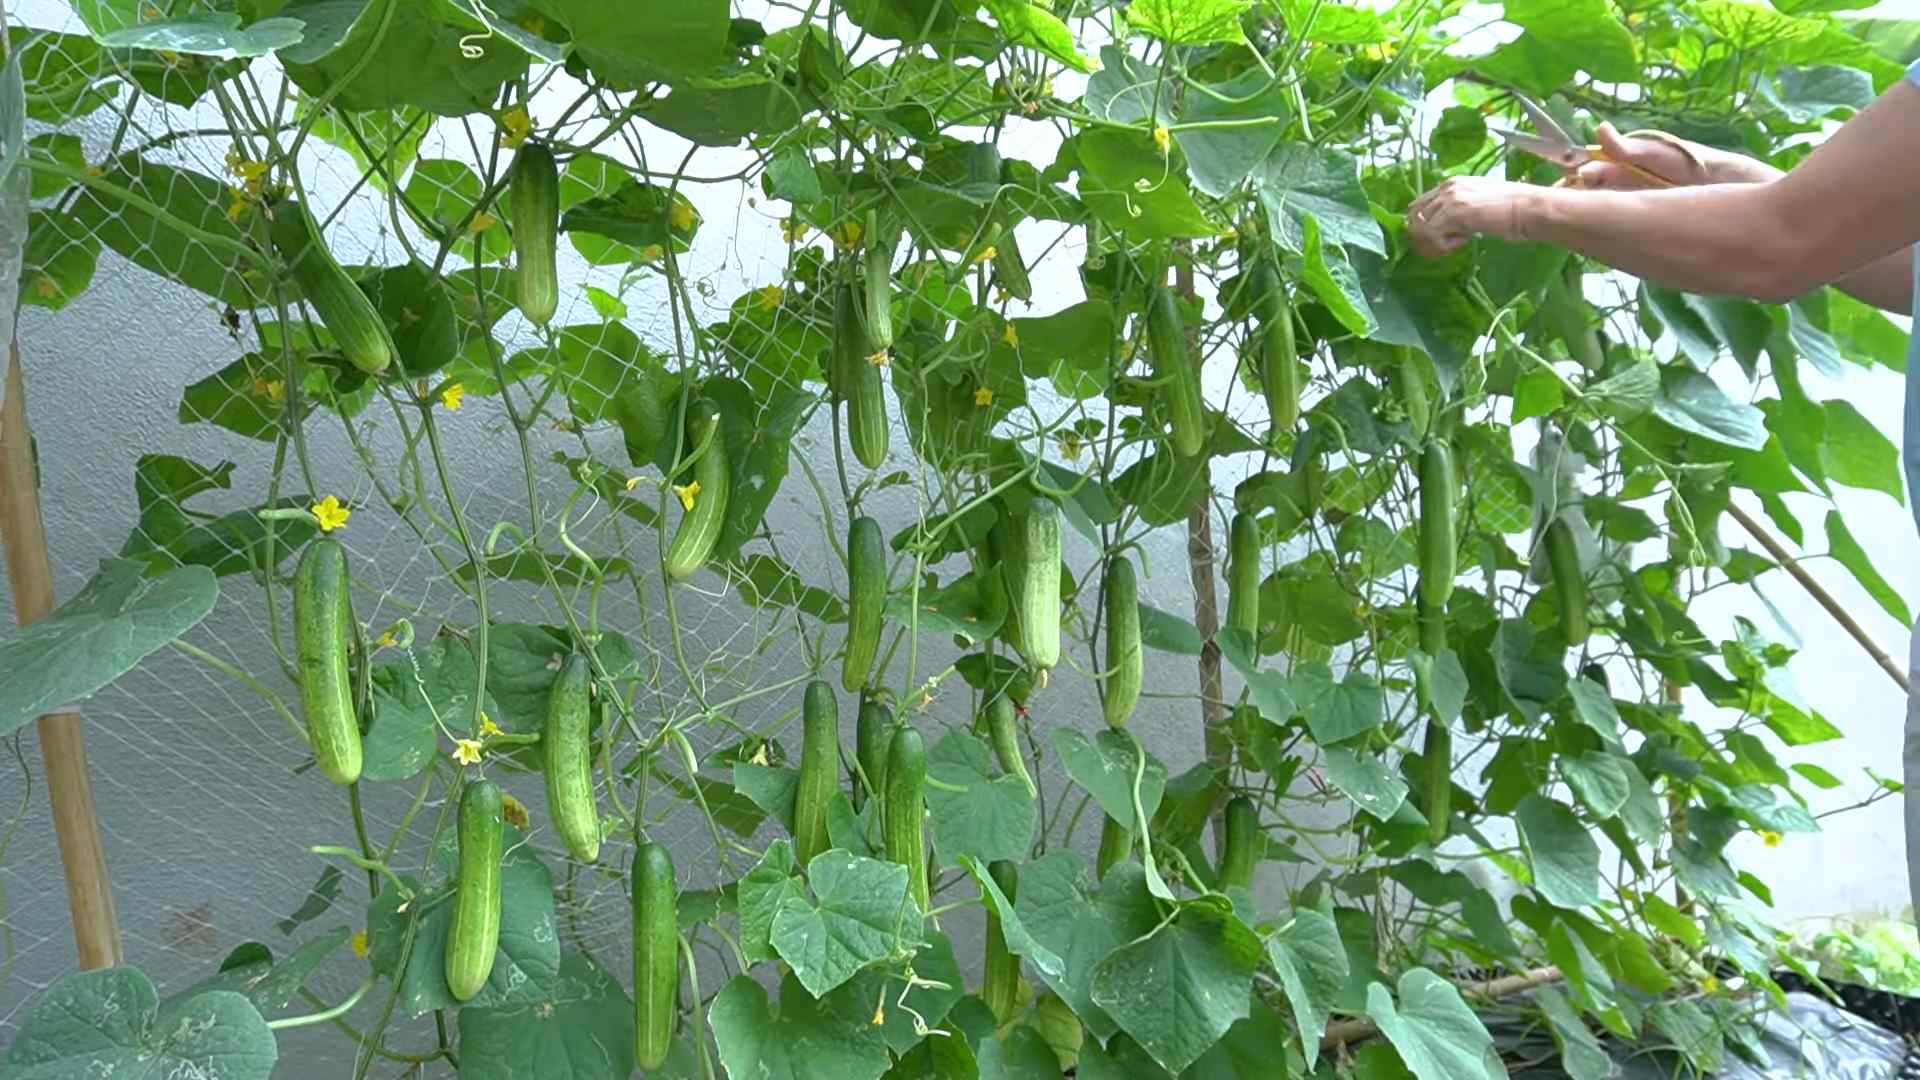
* Cherry Tomatoes: Provide support with stakes or cages. Pinch off suckers (the shoots that grow between the main stem and branches) to encourage more fruit production.
* Bush Beans: Harvest beans regularly as they mature. This encourages the plants to produce more beans.
* Herbs (Basil, Parsley, Mint): Harvest herbs regularly by pinching off the tips of the stems. This encourages bushier growth. Mint can be invasive, so consider growing it in a container.
Troubleshooting Common Problems
Even with the best planning, you might encounter some challenges. Here’s how to troubleshoot some common problems.
* Plants Not Growing: Check the soil pH, sunlight exposure, and watering schedule. Make sure the soil is well-drained and that the plants are getting enough sunlight.
* Yellowing Leaves: This could be a sign of nutrient deficiency. Fertilize with a balanced organic fertilizer.
* Pests: Identify the pest and use appropriate control measures (handpicking, insecticidal soap, neem oil).
* Diseases: Remove infected leaves or plants to prevent the spread of disease. Improve air circulation by spacing plants properly.
Expanding Your Garden
Once you’ve mastered the basics, you can start experimenting with new crops and techniques.
* Try New Varieties: Explore different varieties of your favorite vegetables. You might discover a new favorite!
* Extend Your Season: Use row covers or cold frames to extend your growing season into the fall and winter.
* Composting: Start composting your kitchen scraps and yard waste to create your own nutrient-rich soil amendment.
* Seed Saving: Save seeds from your favorite plants to grow them again next year.
Final Thoughts
Creating a weekly harvest garden is a journey, not a destination. Don’t be afraid to experiment, learn from your mistakes, and most importantly, have fun! With a little planning and
Conclusion
So, there you have it! Transforming your garden into a thriving, bountiful source of fresh produce with a weekly harvest garden for beginners is not only achievable but incredibly rewarding. We’ve walked through the essential steps, from planning your space and selecting the right crops to understanding the importance of succession planting and consistent care. But why is this DIY approach a must-try?
Firstly, a weekly harvest garden for beginners empowers you to take control of your food source. You know exactly what you’re eating, free from the pesticides and preservatives often found in commercially grown produce. The taste difference alone is a game-changer – imagine biting into a sun-ripened tomato, bursting with flavor, that you picked just moments before. It’s an experience that store-bought vegetables simply can’t replicate.
Secondly, it’s a fantastic way to connect with nature and de-stress. Gardening is a therapeutic activity, offering a welcome escape from the hustle and bustle of daily life. The simple act of nurturing plants and watching them grow can be incredibly calming and fulfilling. Plus, it’s a great way to get some exercise and fresh air.
Thirdly, a weekly harvest garden for beginners is surprisingly economical. While there’s an initial investment in seeds, soil, and tools, the long-term savings on groceries can be significant. You’ll be amazed at how much you can grow in even a small space, reducing your reliance on expensive supermarket produce.
But the benefits don’t stop there. A weekly harvest garden for beginners is also a sustainable choice. By growing your own food, you’re reducing your carbon footprint and supporting local biodiversity. You can even compost your kitchen scraps to enrich your soil, creating a closed-loop system that’s good for the planet.
Now, let’s talk about variations. If you’re short on space, consider vertical gardening or container gardening. These methods are perfect for balconies, patios, or even indoor spaces. You can also experiment with different companion planting combinations to maximize your yields and deter pests naturally. For example, planting basil near tomatoes can improve their flavor and repel insects.
Another exciting variation is to focus on specific types of produce. Perhaps you’re passionate about salads? Create a dedicated salad garden with a variety of lettuces, spinach, arugula, and herbs. Or maybe you’re a chili enthusiast? Grow a range of peppers, from mild to fiery, to spice up your meals. The possibilities are endless!
Don’t be afraid to experiment and adapt the techniques to suit your own needs and preferences. The most important thing is to get started and have fun.
We truly believe that anyone can create a thriving weekly harvest garden for beginners, regardless of their experience level. It’s a journey of learning, discovery, and delicious rewards. So, grab your gardening gloves, get your hands dirty, and start planting!
We’re eager to hear about your experiences. Share your photos, tips, and challenges in the comments below. Let’s build a community of passionate gardeners and inspire others to embrace the joy of growing their own food. What are you waiting for? Your weekly harvest garden for beginners awaits!
Frequently Asked Questions (FAQ)
What exactly is a “weekly harvest garden for beginners,” and why is it different from a regular garden?
A weekly harvest garden for beginners is specifically designed to provide a consistent supply of fresh produce throughout the growing season. Unlike a traditional garden where you might harvest everything at once, this approach focuses on succession planting and selecting crops that mature at different rates. This ensures a steady stream of vegetables, herbs, and fruits, allowing you to enjoy fresh, homegrown ingredients every week. It’s particularly beneficial for beginners because it breaks down the gardening process into manageable steps and provides continuous feedback and rewards.
I’m a complete beginner. Is a weekly harvest garden for beginners too ambitious for me?
Absolutely not! This guide is specifically tailored for beginners. The key is to start small and choose easy-to-grow crops. Focus on a few vegetables and herbs that you enjoy eating and that are known for their reliability. Radishes, lettuce, spinach, and herbs like basil and mint are excellent choices for beginners. Don’t be afraid to make mistakes – gardening is a learning process. The most important thing is to get started and learn as you go. Remember to properly prepare your soil, provide adequate water and sunlight, and follow the instructions on your seed packets.
What are the best vegetables and herbs to include in a weekly harvest garden for beginners?
For a consistent weekly harvest, consider these options:
* **Leafy Greens:** Lettuce (various types), spinach, kale, arugula, Swiss chard. Plant a small amount of each every week or two for a continuous supply.
* **Root Vegetables:** Radishes, carrots, beets. These mature relatively quickly and can be succession planted.
* **Herbs:** Basil, mint, parsley, chives, oregano. Herbs are generally easy to grow and can be harvested regularly.
* **Tomatoes (determinate varieties):** Determinate tomatoes produce a large crop all at once, making them suitable for a weekly harvest if you stagger your planting.
* **Bush Beans:** Bush beans produce beans in a shorter time frame than pole beans and can be planted in succession.
* **Peppers (early maturing varieties):** Choose pepper varieties that mature quickly for a faster harvest.
* **Strawberries (everbearing varieties):** Everbearing strawberries produce fruit throughout the growing season, providing a consistent harvest.
How do I plan my weekly harvest garden for beginners to ensure a continuous supply of produce?
The key is succession planting. This involves planting small amounts of the same crop at intervals of one to two weeks. For example, plant a row of lettuce this week, another row next week, and so on. This way, you’ll have a continuous supply of lettuce as each planting matures. Also, consider the “days to maturity” listed on your seed packets. Choose crops with different maturity times to spread out your harvest. Create a planting calendar to keep track of when you need to sow seeds or transplant seedlings.
What kind of soil is best for a weekly harvest garden for beginners?
Well-draining soil that is rich in organic matter is ideal. You can improve your soil by adding compost, aged manure, or other organic amendments. A soil test can help you determine the pH level and nutrient content of your soil. Most vegetables prefer a slightly acidic to neutral pH (around 6.0 to 7.0). If your soil is heavy clay or sandy, amending it with organic matter will improve its structure and drainage.
How much sunlight does my weekly harvest garden for beginners need?
Most vegetables require at least six hours of direct sunlight per day. Leafy greens and herbs can tolerate some shade, but they will still perform best in a sunny location. Observe your garden throughout the day to determine how much sunlight it receives. If you don’t have enough sunlight, you may need to choose shade-tolerant crops or consider using grow lights.
How often should I water my weekly harvest garden for beginners?
Water deeply and regularly, especially during dry periods. The frequency of watering will depend on the type of soil, the weather conditions, and the type of plants you’re growing. A good rule of thumb is to water when the top inch of soil feels dry to the touch. Avoid overwatering, as this can lead to root rot. Consider using a soaker hose or drip irrigation system to deliver water directly to the roots of your plants.
How do I deal with pests and diseases in my weekly harvest garden for beginners?
Prevention is key. Choose disease-resistant varieties, practice good sanitation (remove dead leaves and debris), and water plants at the base to avoid wetting the foliage. Regularly inspect your plants for signs of pests or diseases. If you find any problems, address them promptly. Consider using organic pest control methods, such as insecticidal soap, neem oil, or companion planting. Avoid using harsh chemicals, as these can harm beneficial insects and pollinators.
What tools do I need to start a weekly harvest garden for beginners?
You don’t need a lot of fancy equipment to get started. Here are some essential tools:
* **Gardening gloves:** To protect your hands.
* **Trowel:** For digging small holes and transplanting seedlings.
* **Hand rake:** For smoothing soil and removing debris.
* **Watering can or hose:** For watering your plants.
* **Pruning shears:** For trimming herbs and removing dead leaves.
* **Garden fork:** For turning soil and adding compost. (Optional, but helpful for larger gardens)
How do I know when my vegetables are ready to harvest in my weekly harvest garden for beginners?
Each vegetable has its own specific signs of maturity. Consult your seed packets or online resources for information on when to harvest each crop. Generally, look for vegetables that are fully colored, firm, and the right size. Taste-testing is also a good way to determine if a vegetable is ready to harvest. For example, radishes are ready when they are about an inch in diameter, and lettuce is ready when the leaves are large enough to eat.
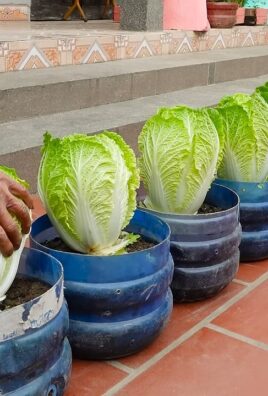
Can I grow a weekly harvest garden for beginners in containers?
Yes, absolutely! Container gardening is a great option for those with limited space. Choose containers that are at least 12 inches in diameter and have drainage holes. Use a high-quality

Leave a Comment