

DIY Power Cleaner Recipe: Unleash the cleaning power you never knew you had, right from your own kitchen! Are you tired of harsh chemicals and sky-high prices for cleaning products that promise the world but deliver… well, less than that? I know I was! That’s why I embarked on a mission to create a truly effective, eco-friendly, and budget-friendly cleaning solution. And guess what? I succeeded!
The history of homemade cleaning solutions stretches back centuries, long before the advent of commercial cleaners. Our grandmothers and great-grandmothers relied on simple, natural ingredients like vinegar, baking soda, and lemon juice to keep their homes sparkling. They understood the power of these humble ingredients, and now, we’re rediscovering it too.
In today’s world, where we’re increasingly conscious of the impact our choices have on the environment and our health, switching to a DIY Power Cleaner Recipe is more important than ever. Not only will you be reducing your exposure to harmful chemicals, but you’ll also be saving money and reducing plastic waste. Plus, there’s something incredibly satisfying about creating something useful with your own two hands. So, ditch the store-bought stuff and let’s get mixing! I’m going to show you how to create a powerful cleaner that will tackle even the toughest grime, leaving your home fresh, clean, and smelling amazing – all without breaking the bank or harming the planet.
DIY Power Cleaner: Unleash the Cleaning Beast!
Okay, friends, let’s ditch those expensive, chemical-laden cleaners and whip up a powerhouse cleaner right in our own kitchens! This DIY power cleaner is seriously amazing – it tackles grime, grease, and even those stubborn stains that seem impossible to remove. Plus, you probably already have most of the ingredients on hand. Get ready to be amazed!
Why This Power Cleaner Rocks
Before we dive into the recipe, let’s talk about why this cleaner is so awesome:
* It’s Budget-Friendly: Seriously, you’ll save a ton of money compared to buying commercial cleaners.
* It’s Eco-Friendly: We’re using natural ingredients, which means fewer harsh chemicals going down the drain and into the environment.
* It’s Versatile: This cleaner works on a variety of surfaces, from countertops to bathroom tiles. (Always test in an inconspicuous area first, though!)
* It’s Customizable: You can adjust the scent and strength to your liking.
* It’s Safe(r): While still needing caution, it avoids many of the harsh chemicals found in store-bought cleaners.
Ingredients You’ll Need
Here’s what you’ll need to gather:
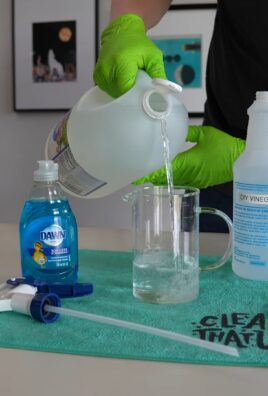
* 1 cup White Vinegar: The acid in vinegar helps to dissolve grime and hard water stains.
* 1 cup Water: Dilutes the vinegar and makes the solution easier to work with.
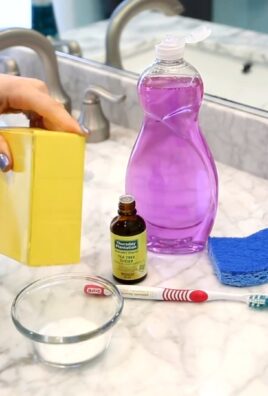
* 1/2 cup Baking Soda: A mild abrasive that helps to scrub away dirt and deodorize.
* 1 tablespoon Dish Soap: Cuts through grease and helps the cleaner cling to surfaces. I prefer using a natural dish soap.
* 10-20 drops Essential Oil (optional): For a pleasant scent. Lemon, lavender, tea tree, and eucalyptus are great choices.
* Spray Bottle: To store and dispense the cleaner.
Tools You’ll Need
* Measuring cups and spoons
* Mixing bowl
* Funnel (optional, but helpful)
Step-by-Step Instructions: Mixing the Magic
Alright, let’s get down to business! Follow these steps carefully to create your own power cleaner:
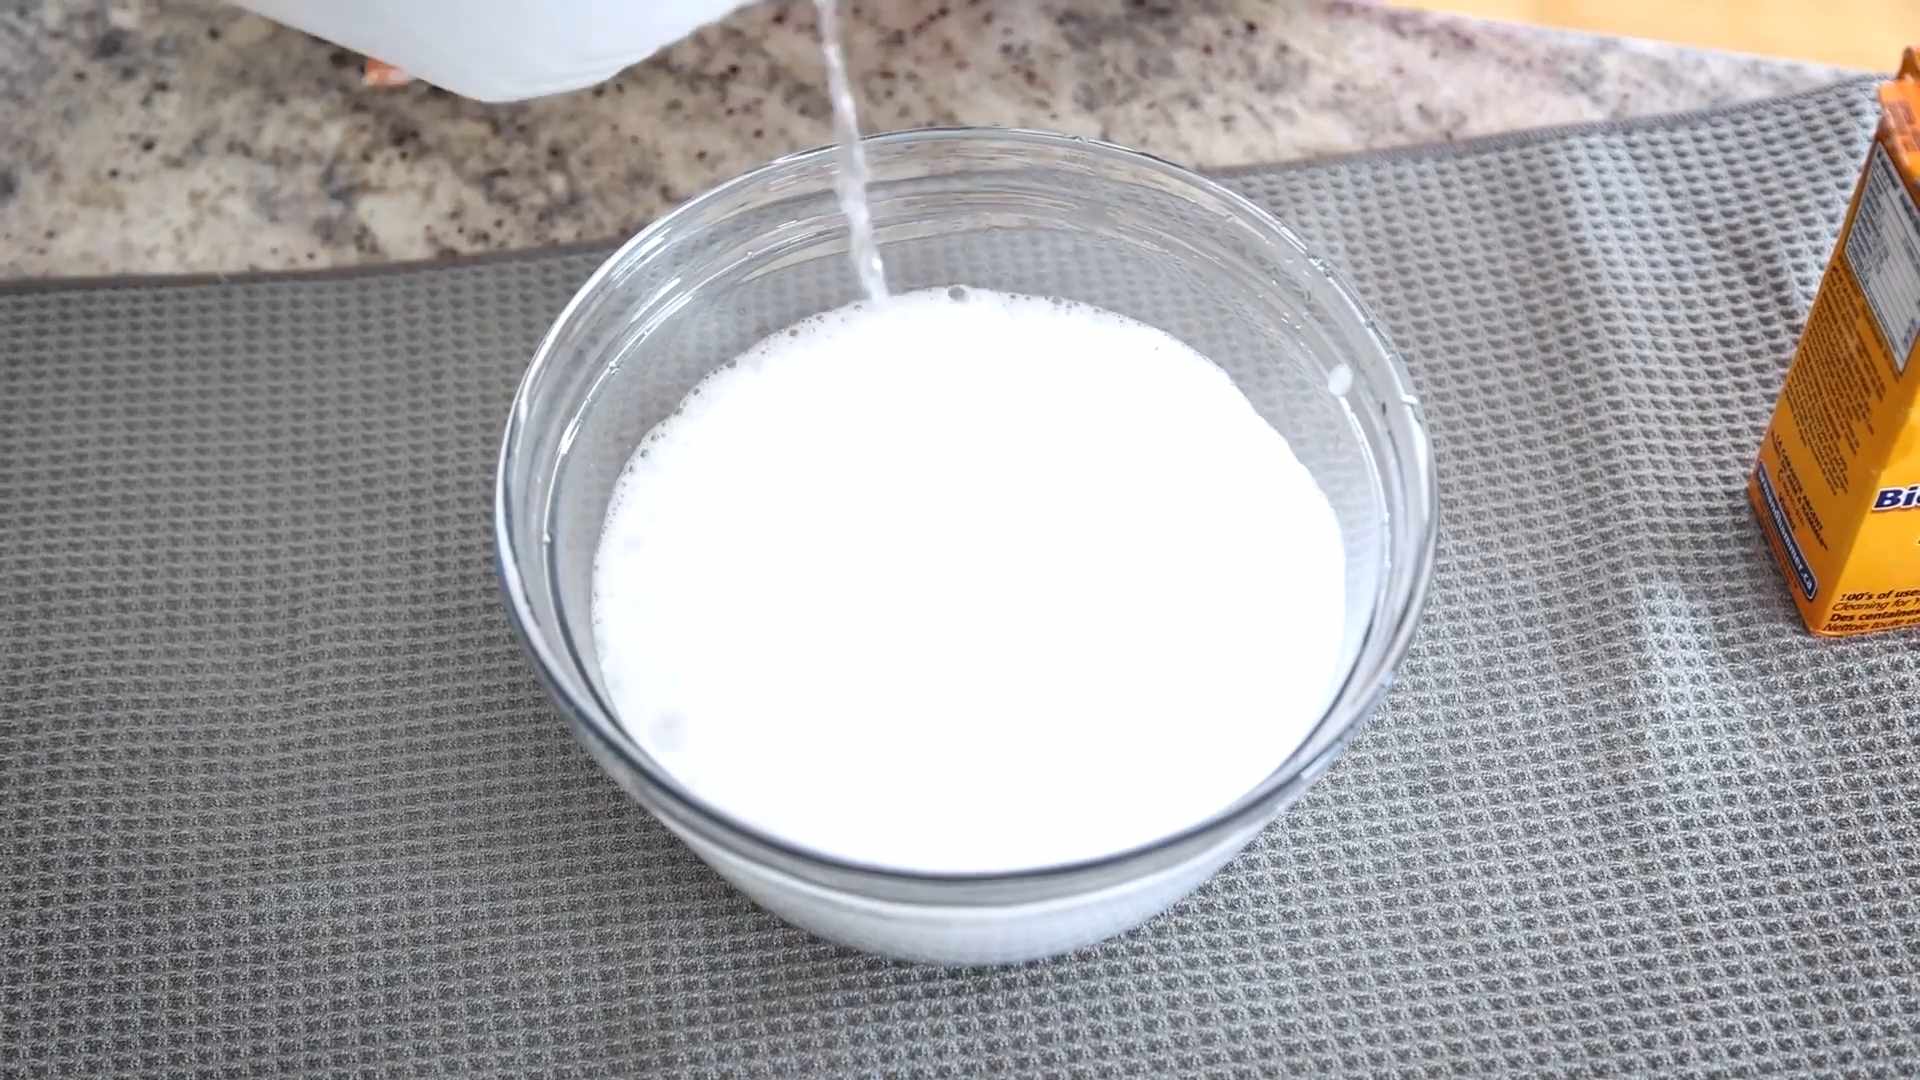
1. Combine Water and Vinegar: In your mixing bowl, pour in 1 cup of water and 1 cup of white vinegar. Give it a quick stir to combine.
2. Add Baking Soda (Slowly!): This is where things can get a little fizzy! Slowly add 1/2 cup of baking soda to the vinegar and water mixture. Add it gradually to prevent it from overflowing. The mixture will bubble up, so be patient and add the baking soda in small increments.
3. Stir in Dish Soap: Once the fizzing has subsided, add 1 tablespoon of dish soap to the mixture. Gently stir until everything is well combined. Avoid creating too many bubbles.
4. Add Essential Oils (Optional): If you’re using essential oils, now’s the time to add them. I usually go for around 10-20 drops, depending on the strength of the oil and my personal preference. Stir well to distribute the oils evenly.
5. Transfer to Spray Bottle: Using a funnel (if you have one), carefully pour the cleaner into your spray bottle.
Using Your Power Cleaner: Time to Clean!
Now that you’ve got your power cleaner ready, let’s put it to work!
1. Test in an Inconspicuous Area: Before you go wild spraying everything, test the cleaner on a small, hidden area of the surface you’re planning to clean. This is especially important for delicate surfaces like wood or painted walls. Wait a few minutes and check for any discoloration or damage.
2. Spray and Let Sit: Spray the cleaner liberally onto the surface you want to clean. Let it sit for a few minutes to allow the ingredients to work their magic. For tougher stains, you might want to let it sit for a bit longer – maybe 5-10 minutes.
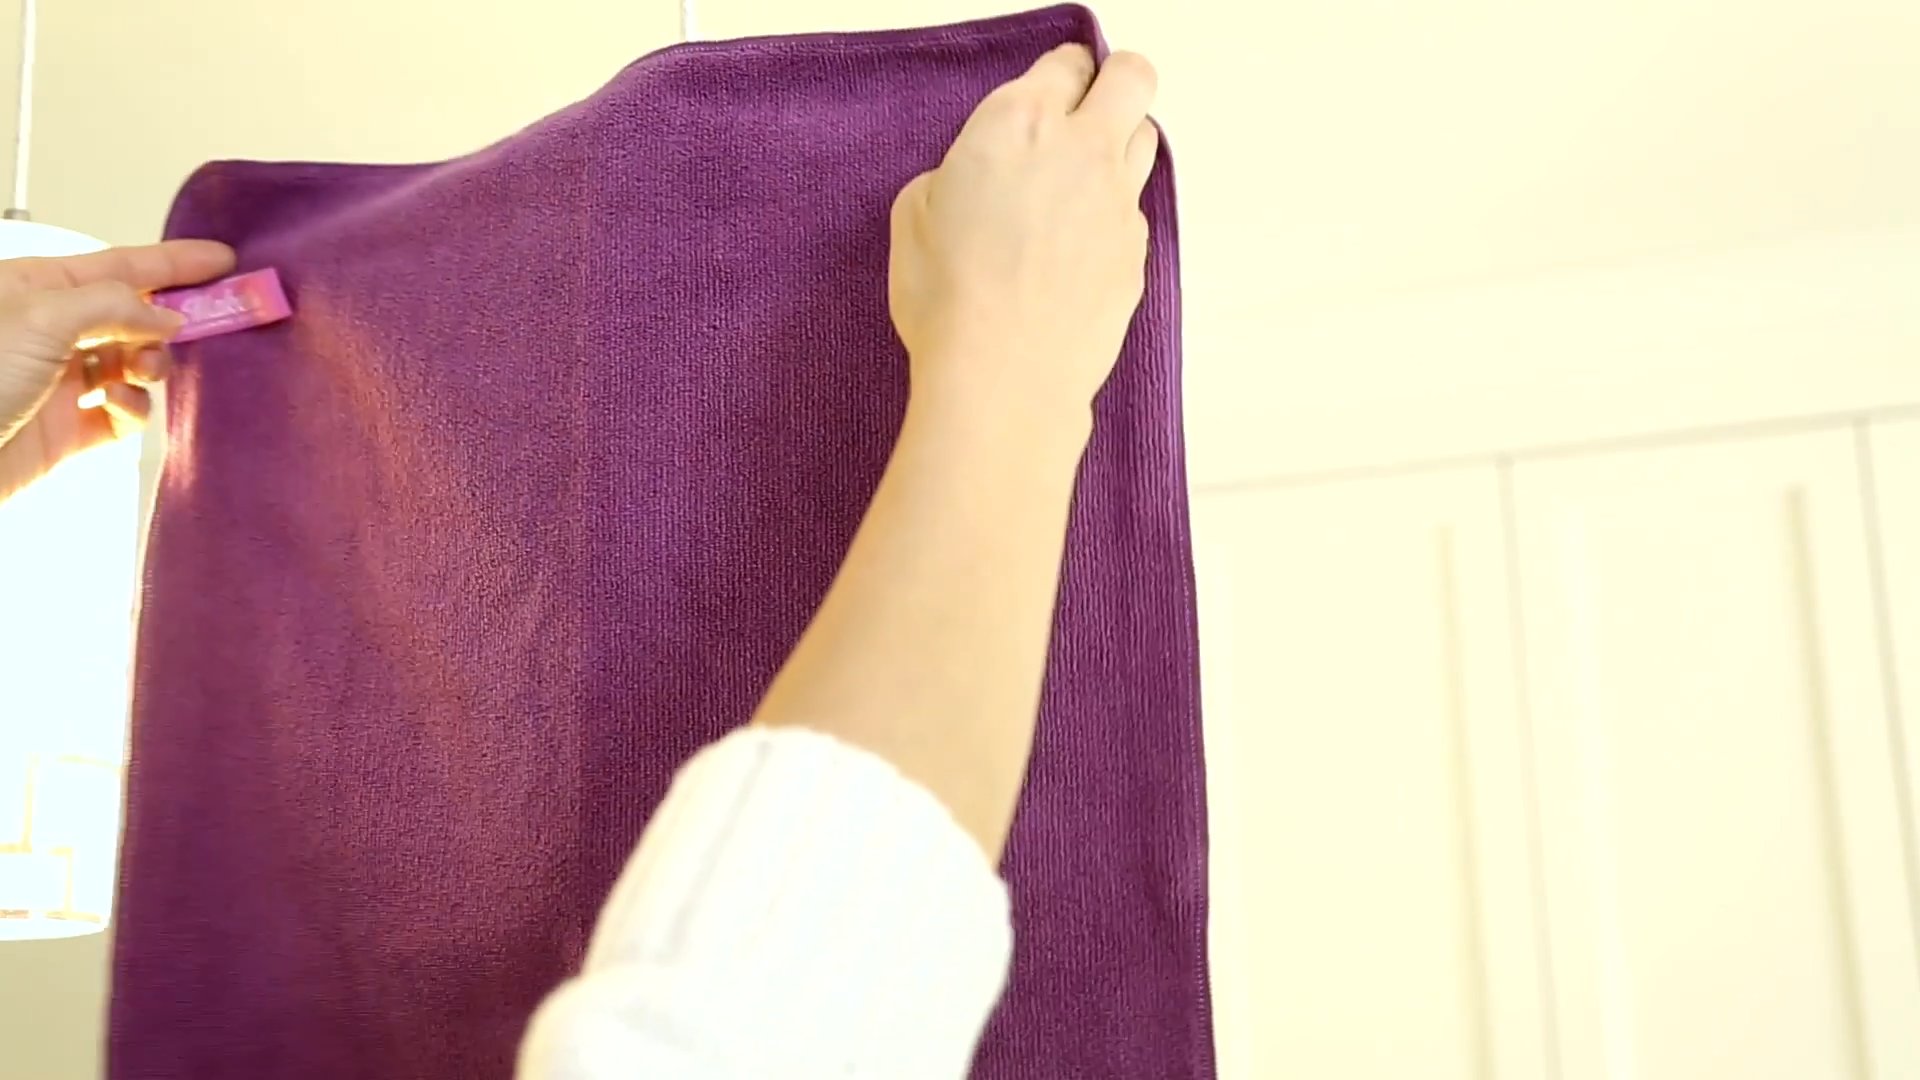
3. Scrub (if Necessary): For stubborn grime or stains, use a sponge, scrub brush, or microfiber cloth to scrub the surface. Apply gentle pressure and work in circular motions.
4. Wipe Clean: Once you’ve scrubbed (if needed), wipe the surface clean with a damp cloth or sponge.
5. Dry the Surface: Finally, dry the surface with a clean, dry cloth to prevent water spots.
Where to Use Your Power Cleaner
This DIY power cleaner is incredibly versatile and can be used on a variety of surfaces. Here are some ideas:
* Kitchen Countertops: Great for cleaning up spills and messes on granite, quartz, laminate, and tile countertops.
* Bathroom Tiles: Removes soap scum and hard water stains from bathroom tiles and grout.
* Sinks and Faucets: Cleans and shines sinks and faucets in both the kitchen and bathroom.
* Showers and Tubs: Helps to remove mildew and soap scum from showers and tubs.
* Appliances: Can be used to clean the exterior of appliances like refrigerators, ovens, and dishwashers.
* Floors (with caution): Can be used on some types of floors, but always test in an inconspicuous area first. Avoid using on hardwood floors, as the vinegar can damage the finish.
Important Safety Tips
While this cleaner is made with natural ingredients, it’s still important to take some precautions:
* Keep Out of Reach of Children and Pets: Even though the ingredients are natural, they can still be harmful if ingested.
* Avoid Contact with Eyes: If the cleaner gets in your eyes, rinse immediately with plenty of water.
* Don’t Mix with Bleach: Never mix this cleaner with bleach, as it can create harmful fumes.
* Test on Delicate Surfaces: Always test the cleaner on a small, hidden area before using it on delicate surfaces.
* Use in a Well-Ventilated Area: When using the cleaner, especially in enclosed spaces like bathrooms, make sure the area is well-ventilated.
Troubleshooting Tips
* Cleaner is Too Strong: If the cleaner is too strong or irritating, dilute it with more water.
* Cleaner is Not Strong Enough: If the cleaner isn’t strong enough, try adding a bit more vinegar or baking soda.
* Cleaner is Leaving a Residue: If the cleaner is leaving a residue, try using less dish soap or rinsing the surface more thoroughly.
* Spray Bottle is Clogging: If your spray bottle is clogging, try using a different spray bottle or filtering the cleaner through a coffee filter before pouring it into the bottle.
Variations and Customizations
The beauty of DIY is that you can customize things to your liking! Here are some variations and customizations you can try:
* Lemon Power Cleaner: Add the zest of one lemon to the mixture for an extra boost of cleaning power and a fresh, citrusy scent.
* Tea Tree Oil Cleaner: Add 10-20 drops of tea tree oil for its antibacterial and antifungal properties. This is great for cleaning bathrooms and kitchens.
* Lavender Cleaner: Add 10-20 drops of lavender essential oil for a calming and relaxing scent. This is perfect for cleaning bedrooms and living rooms.
* Orange Peel Infusion: Infuse your vinegar with orange peels for a citrusy scent and extra cleaning power. Simply place orange peels in a jar of vinegar and let it sit for a few weeks before using the vinegar in your cleaner.
Storing Your Power Cleaner
Store your DIY power cleaner in a cool, dark place away from direct sunlight. It should last for several months. Over time, the essential oils may lose their scent, but the cleaning power of the solution will remain.
Final Thoughts
So there you have it! Your very own DIY power cleaner that’s effective, affordable, and eco-friendly. I hope you enjoy using it as much as I do! Happy cleaning!
Conclusion
So, there you have it! This DIY Power Cleaner Recipe isn’t just another cleaning solution; it’s a game-changer for your home. We’ve walked you through a simple, cost-effective, and eco-friendly way to tackle even the most stubborn grime. Why spend a fortune on harsh chemicals when you can create a potent cleaner with ingredients you likely already have in your pantry?
The beauty of this DIY approach lies not only in its effectiveness but also in its adaptability. Feel free to experiment with different essential oils to personalize the scent and add extra cleaning power. Lavender and tea tree oil are fantastic for their antibacterial properties, while lemon and orange oils offer a refreshing, invigorating aroma. You can also adjust the ratios of ingredients to suit your specific cleaning needs. For heavily soiled areas, consider adding a bit more vinegar or baking soda for extra scrubbing power.
This DIY Power Cleaner Recipe is a must-try for anyone looking to simplify their cleaning routine, save money, and reduce their environmental impact. It’s a win-win-win!
But don’t just take our word for it. We wholeheartedly encourage you to give this recipe a try. Whip up a batch, tackle that grimy stovetop, or refresh your bathroom tiles. We’re confident you’ll be amazed by the results.
Once you’ve experienced the cleaning power of this homemade solution, we’d love to hear about it! Share your experiences, variations, and before-and-after photos in the comments below. Let’s build a community of DIY cleaning enthusiasts and discover even more ways to make our homes sparkle, naturally. We are excited to see how this DIY Power Cleaner Recipe transforms your cleaning routine!
Frequently Asked Questions (FAQs)
What exactly makes this DIY Power Cleaner Recipe so effective?
The effectiveness of this cleaner stems from the synergistic action of its ingredients. Vinegar, a natural acid, cuts through grease and grime, while baking soda acts as a mild abrasive to scrub away stubborn stains. Dish soap helps to emulsify the dirt and lift it away from surfaces. The combination of these ingredients creates a powerful cleaning solution that is both effective and safe for most surfaces.
Can I use this DIY Power Cleaner Recipe on all surfaces?
While this cleaner is generally safe for most surfaces, it’s always a good idea to test it in an inconspicuous area first, especially on delicate materials like marble, granite, or wood. The acidity of vinegar can potentially damage these surfaces over time. Avoid using it on waxed furniture, as it can strip the wax. For these surfaces, a milder solution of dish soap and water is recommended.
How long will this DIY Power Cleaner Recipe last?
This cleaner typically lasts for several weeks when stored in an airtight container. However, it’s best to use it within a month or two for optimal effectiveness. Over time, the baking soda may settle to the bottom, so be sure to shake the bottle well before each use. If you notice any changes in color or odor, it’s best to discard the cleaner and make a fresh batch.
Can I substitute any of the ingredients in this DIY Power Cleaner Recipe?
While the core ingredients (vinegar, baking soda, and dish soap) are essential for the cleaner’s effectiveness, you can certainly experiment with variations. For example, you can substitute white vinegar with apple cider vinegar, although the scent may be slightly different. You can also use different types of dish soap, but avoid using soaps that contain bleach or other harsh chemicals. As mentioned earlier, essential oils can be added to customize the scent and add extra cleaning power.
Is this DIY Power Cleaner Recipe safe for pets and children?
While this cleaner is made with natural ingredients, it’s still important to keep it out of reach of children and pets. Vinegar can be irritating if ingested, and dish soap can cause stomach upset. Store the cleaner in a clearly labeled container and avoid spraying it directly in the presence of children or pets. If your pet or child accidentally ingests the cleaner, contact your veterinarian or poison control center immediately.
What kind of dish soap should I use for this DIY Power Cleaner Recipe?
Any standard dish soap will work for this recipe. However, consider using a natural or plant-based dish soap to further reduce your environmental impact. Avoid using dish soaps that contain bleach or other harsh chemicals, as these can be irritating and may react with the other ingredients.
Can I use this DIY Power Cleaner Recipe to clean my oven?
Yes, this cleaner can be used to clean your oven, but it may require some extra effort. First, remove any loose debris from the oven. Then, spray the cleaner liberally on the interior surfaces and let it sit for several hours or overnight. The longer it sits, the easier it will be to scrub away the grime. Use a non-abrasive sponge or scrub brush to remove the loosened dirt and grease. Rinse thoroughly with water.
How do I get rid of the vinegar smell after using this DIY Power Cleaner Recipe?
The vinegar smell will dissipate quickly after the cleaner dries. You can also open windows or use a fan to ventilate the area. Adding essential oils to the cleaner can also help to mask the vinegar smell. Lemon, orange, and lavender essential oils are particularly effective at neutralizing odors.
Can I use this DIY Power Cleaner Recipe in a steam cleaner?
It’s generally not recommended to use this cleaner in a steam cleaner, as the baking soda can clog the machine. Steam cleaners are designed to work with water or specialized cleaning solutions. Using homemade cleaners can void the warranty and damage the machine.
What are some other uses for this DIY Power Cleaner Recipe?
Besides cleaning countertops, stovetops, and bathrooms, this cleaner can also be used to clean:
* Sinks and drains
* Garbage disposals
* Microwaves
* Refrigerators
* Tile and grout
* Outdoor furniture
* Car interiors
The possibilities are endless! Just remember to test the cleaner in an inconspicuous area first, especially on delicate surfaces.
How does this DIY Power Cleaner Recipe compare to store-bought cleaners?
This DIY Power Cleaner Recipe offers several advantages over store-bought cleaners. It’s more cost-effective, eco-friendly, and customizable. You can control the ingredients and avoid harsh chemicals that can be harmful to your health and the environment. While store-bought cleaners may be more convenient, this DIY option is a great way to reduce your carbon footprint and save money. Plus, you’ll have the satisfaction of knowing that you created a powerful cleaning solution yourself!

Leave a Comment