

Natural cleaning power – it’s not just a buzzword, it’s a revolution in how we care for our homes! Are you tired of harsh chemicals and overpowering fragrances that leave you feeling more concerned than clean? I know I was! For generations, our ancestors relied on the earth’s bounty for everything, including keeping their homes sparkling. Think about it: vinegar has been used for centuries, and even ancient civilizations understood the power of herbs and citrus for cleaning.
But in our modern world, we’ve often traded these time-tested methods for convenience, often at the expense of our health and the environment. That’s where this DIY guide comes in! I’m going to share some simple, effective, and totally natural cleaning tricks that will transform your cleaning routine.
Why do you need these DIY hacks? Because you deserve a clean home without the toxic baggage! These methods are not only safer for you and your family (especially kids and pets!), but they’re also incredibly budget-friendly. Plus, you’ll be reducing your environmental footprint by ditching those plastic bottles and chemical-laden products. So, let’s dive into the world of natural cleaning power and discover how to create a healthier, happier home, one DIY trick at a time!

DIY All-Purpose Citrus Cleaner: Harnessing Nature’s Cleaning Power
Hey everyone! I’m so excited to share my favorite DIY cleaning hack with you: a powerful, all-purpose citrus cleaner that’s not only effective but also smells amazing! Forget harsh chemicals and expensive store-bought cleaners. This recipe uses ingredients you probably already have, and it’s incredibly easy to make. Plus, it’s a fantastic way to reduce waste by repurposing those citrus peels. Let’s get started!
What You’ll Need
Before we dive in, let’s gather our supplies. This is a pretty straightforward project, so you won’t need anything too fancy.
* Citrus Peels: Orange, lemon, lime, grapefruit – any combination works! The more, the merrier. I usually save mine up over a week or two in a container in the freezer.
* White Vinegar: This is our cleaning powerhouse. Its acidity helps break down grime and disinfect surfaces.
* Spray Bottle: A clean, empty spray bottle is essential for dispensing your cleaner.
* Large Jar or Container: To infuse the vinegar with the citrus peels. A mason jar works perfectly.
* Water: For diluting the concentrate.
* Optional: Essential Oils: For an extra boost of fragrance and cleaning power. Lavender, tea tree, and eucalyptus are great choices.
* Optional: Funnel: Makes transferring liquids easier and less messy.
* Optional: Strainer or Cheesecloth: To filter out any small particles from the infused vinegar.
Step-by-Step Instructions: Making Your Citrus Cleaner
Okay, let’s get down to business! Here’s how to make your own all-purpose citrus cleaner:
1. Prepare Your Citrus Peels: First, give your citrus fruits a good wash to remove any dirt or residue. Then, peel them, making sure to remove as much of the white pith as possible. The pith can make the cleaner bitter. I like to use a vegetable peeler for this.
2. Pack the Jar: Place the citrus peels into your large jar or container. Pack them in tightly, filling the jar as much as possible. The more peels you use, the stronger the citrus scent will be.
3. Pour in the Vinegar: Now, pour white vinegar over the citrus peels, making sure they are completely submerged. You might need to press them down a bit to ensure they’re covered.
4. Seal and Infuse: Seal the jar tightly with a lid. Place it in a cool, dark place for at least two weeks, but ideally four to six weeks. The longer it sits, the more potent the citrus-infused vinegar will become. I usually put a label on the jar with the date so I don’t forget when it’s ready.
5. Strain the Vinegar: After the infusion period, it’s time to strain the vinegar. Place a strainer or cheesecloth over a clean bowl or container. Carefully pour the infused vinegar through the strainer to remove the peels. Discard the peels – they’ve done their job!
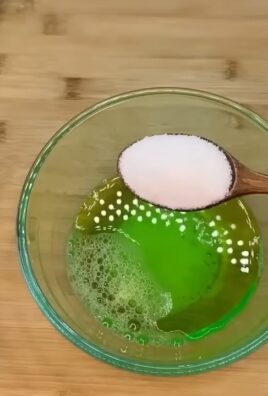
6. Dilute the Concentrate: Now, dilute the citrus-infused vinegar with water. I usually use a 1:1 ratio (one part vinegar to one part water), but you can adjust this to your preference. For tougher cleaning jobs, you can use a stronger concentration.
7. Add Essential Oils (Optional): If you want to add essential oils, now’s the time. I usually add about 10-20 drops per spray bottle. My favorite combinations are lemon and lavender, or orange and tea tree.
8. Fill Your Spray Bottle: Using a funnel (if you have one), carefully pour the diluted citrus cleaner into your clean spray bottle.
9. Label Your Bottle: Don’t forget to label your spray bottle so you know what’s inside! I usually write “Citrus Cleaner” and the date I made it.
Using Your Citrus Cleaner: Tips and Tricks
Now that you’ve made your amazing citrus cleaner, let’s talk about how to use it effectively.
* All-Purpose Cleaning: This cleaner is great for wiping down countertops, cleaning sinks, and mopping floors (dilute it further for floors).
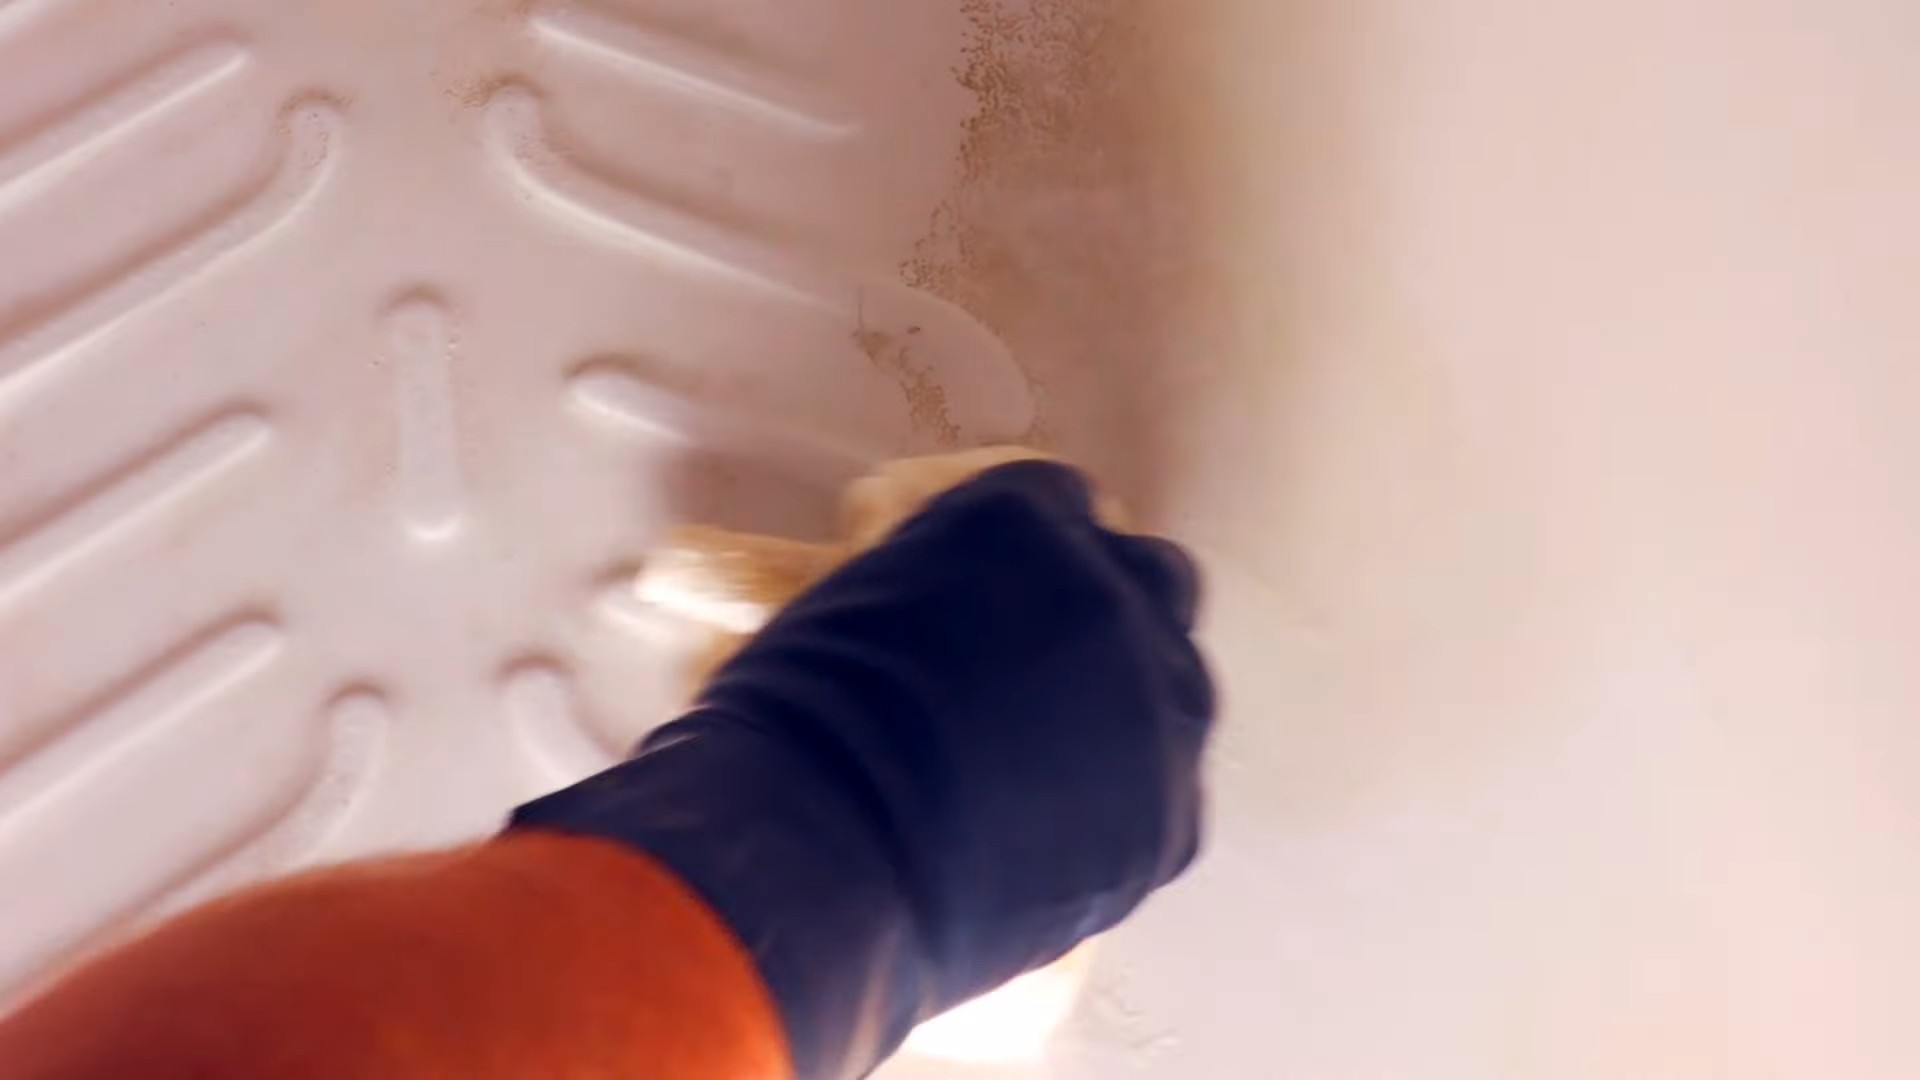
* Degreasing: The citrus oils help cut through grease, making it perfect for cleaning stovetops and ovens.
* Deodorizing: The fresh citrus scent will leave your home smelling clean and refreshed.
* Glass Cleaning: While vinegar can be used on glass, it can sometimes leave streaks. I recommend diluting it more for glass surfaces or using a separate glass cleaner.
* Spot Testing: Always test the cleaner on an inconspicuous area first, especially on delicate surfaces like wood or painted walls.
Areas to Avoid
While this cleaner is generally safe and effective, there are a few surfaces you should avoid:
* Marble and Granite: The acidity of vinegar can etch these surfaces over time.
* Waxed Furniture: Vinegar can strip the wax finish.
* Electronics: Avoid spraying directly onto electronics. Instead, spray a cloth and then wipe the surface.
Troubleshooting
Sometimes things don’t go exactly as planned. Here are a few common issues and how to fix them:
* Weak Citrus Scent: If your cleaner doesn’t have a strong citrus scent, try using more citrus peels or letting the vinegar infuse for a longer period.
* Cloudy Cleaner: This is normal and doesn’t affect the cleaner’s effectiveness. It’s just sediment from the citrus peels.
* Vinegar Smell Too Strong: If you find the vinegar smell overpowering, try diluting the cleaner further or adding more essential oils.
Boosting Cleaning Power: Advanced Techniques
Want to take your citrus cleaner to the next level? Here are a few advanced techniques I’ve experimented with:
* Adding Borax: For extra cleaning power, you can add a tablespoon of borax to your spray bottle. Borax is a natural mineral that helps boost the cleaning and disinfecting properties of the vinegar. Be careful when using borax, and always wear gloves.
* Using Baking Soda: For scrubbing stubborn stains, sprinkle baking soda on the surface and then spray with your citrus cleaner. The combination of baking soda and vinegar creates a fizzing action that helps lift dirt and grime.
Hey everyone! I’m so excited to share my favorite DIY cleaning hack with you: a powerful, all-purpose citrus cleaner that’s not only effective but also smells amazing! Forget harsh chemicals and expensive store-bought cleaners. This recipe uses ingredients you probably already have, and it’s incredibly easy to make. Plus, it’s a fantastic way to reduce waste by repurposing those citrus peels. Let’s get started!
What You’ll Need
Before we dive in, let’s gather our supplies. This is a pretty straightforward project, so you won’t need anything too fancy.
* Citrus Peels: Orange, lemon, lime, grapefruit – any combination works! The more, the merrier. I usually save mine up over a week or two in a container in the freezer.
* White Vinegar: This is our cleaning powerhouse. Its acidity helps break down grime and disinfect surfaces.
* Spray Bottle: A clean, empty spray bottle is essential for dispensing your cleaner.
* Large Jar or Container: To infuse the vinegar with the citrus peels. A mason jar works perfectly.
* Water: For diluting the concentrate.
* Optional: Essential Oils: For an extra boost of fragrance and cleaning power. Lavender, tea tree, and eucalyptus are great choices.
* Optional: Funnel: Makes transferring liquids easier and less messy.
* Optional: Strainer or Cheesecloth: To filter out any small particles from the infused vinegar.
Step-by-Step Instructions: Making Your Citrus Cleaner
Okay, let’s get down to business! Here’s how to make your own all-purpose citrus cleaner:
1. Prepare Your Citrus Peels: First, give your citrus fruits a good wash to remove any dirt or residue. Then, peel them, making sure to remove as much of the white pith as possible. The pith can make the cleaner bitter. I like to use a vegetable peeler for this.
2. Pack the Jar: Place the citrus peels into your large jar or container. Pack them in tightly, filling the jar as much as possible. The more peels you use, the stronger the citrus scent will be.
3. Pour in the Vinegar: Now, pour white vinegar over the citrus peels, making sure they are completely submerged. You might need to press them down a bit to ensure they’re covered.
4. Seal and Infuse: Seal the jar tightly with a lid. Place it in a cool, dark place for at least two weeks, but ideally four to six weeks. The longer it sits, the more potent the citrus-infused vinegar will become. I usually put a label on the jar with the date so I don’t forget when it’s ready.
5. Strain the Vinegar: After the infusion period, it’s time to strain the vinegar. Place a strainer or cheesecloth over a clean bowl or container. Carefully pour the infused vinegar through the strainer to remove the peels. Discard the peels – they’ve done their job!
6. Dilute the Concentrate: Now, dilute the citrus-infused vinegar with water. I usually use a 1:1 ratio (one part vinegar to one part water), but you can adjust this to your preference. For tougher cleaning jobs, you can use a stronger concentration.
7. Add Essential Oils (Optional): If you want to add essential oils, now’s the time. I usually add about 10-20 drops per spray bottle. My favorite combinations are lemon and lavender, or orange and tea tree.
8. Fill Your Spray Bottle: Using a funnel (if you have one), carefully pour the diluted citrus cleaner into your clean spray bottle.
9. Label Your Bottle: Don’t forget to label your spray bottle so you know what’s inside! I usually write “Citrus Cleaner” and the date I made it.
Using Your Citrus Cleaner: Tips and Tricks
Now that you’ve made your amazing citrus cleaner, let’s talk about how to use it effectively.
* All-Purpose Cleaning: This cleaner is great for wiping down countertops, cleaning sinks, and mopping floors (dilute it further for floors).
* Degreasing: The citrus oils help cut through grease, making it perfect for cleaning stovetops and ovens.
* Deodorizing: The fresh citrus scent will leave your home smelling clean and refreshed.
* Glass Cleaning: While vinegar can be used on glass, it can sometimes leave streaks. I recommend diluting it more for glass surfaces or using a separate glass cleaner.
* Spot Testing: Always test the cleaner on an inconspicuous area first, especially on delicate surfaces like wood or painted walls.
Areas to Avoid
While this cleaner is generally safe and effective, there are a few surfaces you should avoid:
* Marble and Granite: The acidity of vinegar can etch these surfaces over time.
* Waxed Furniture: Vinegar can strip the wax finish.
* Electronics: Avoid spraying directly onto electronics. Instead, spray a cloth and then wipe the surface.
Troubleshooting
Sometimes things don’t go exactly as planned. Here are a few common issues and how to fix them:
* Weak Citrus Scent: If your cleaner doesn’t have a strong citrus scent, try using more citrus peels or letting the vinegar infuse for a longer period.
* Cloudy Cleaner: This is normal and doesn’t affect the cleaner’s effectiveness. It’s just sediment from the citrus peels.
* Vinegar Smell Too Strong: If you find the vinegar smell overpowering, try diluting the cleaner further or adding more essential oils.
Boosting Cleaning Power: Advanced Techniques
Want to take your citrus cleaner to the next level? Here are a few advanced techniques I’ve experimented with:
* Adding Borax: For extra cleaning power, you can add a tablespoon of borax to your spray bottle. Borax is a natural mineral that helps boost the cleaning and disinfecting properties of the vinegar. Be careful when using borax, and always wear gloves.
* Using Baking Soda: For scrubbing stubborn stains, sprinkle baking soda on the surface and then spray with your citrus cleaner. The combination of baking soda and vinegar creates a fizzing action that helps lift dirt and grime.
* Infusing with Herbs: Try adding herbs like rosemary, thyme, or lavender to your citrus peels for an even more fragrant and effective cleaner.
* Making a Citrus Scrub: Combine citrus peels, baking soda, and a little bit of olive oil to create a powerful scrubbing paste for tough stains.
Safety First: Important Considerations
While this cleaner is natural and generally safe, it’s important to take a few precautions:
* Keep Out of Reach of Children and Pets: Although the ingredients are natural, they can still be harmful if ingested.
* Avoid Contact with Eyes: If the cleaner gets in your eyes, rinse thoroughly with water.
* Don’t Mix with Bleach: Never mix vinegar with bleach, as this can create toxic fumes.
* Ventilation: When cleaning, especially in enclosed spaces, make sure to have adequate ventilation.
Why I Love This DIY Cleaner
I’ve been using this DIY citrus cleaner for years, and I absolutely love it. Here’s why:
* It’s Eco-Friendly: I’m reducing waste by repurposing citrus peels and avoiding harsh chemicals.
* It’s Cost-Effective: It’s much cheaper than buying store-bought cleaners.
* It’s Effective: It cleans just as well, if not better, than commercial cleaners.
* It Smells Amazing: The fresh citrus scent is so much more pleasant than the chemical smell of many cleaners.
* It’s Customizable: I can adjust the recipe to suit my specific needs and preferences.
Storage Tips
Proper storage will help maintain the effectiveness and longevity of your citrus cleaner.
* Cool, Dark Place: Store your cleaner in a cool, dark place away from direct sunlight. This will help prevent the essential oils from degrading and the vinegar from losing its potency.
* Proper Labeling: Always label your spray bottle clearly with the contents and the date you made it. This will prevent any confusion and ensure you’re using a fresh batch.
* Check for Sediment: Over time, some sediment may settle at the bottom of the bottle. This is normal and doesn’t affect the cleaner’s effectiveness. Simply shake the bottle well before each use.
* Shelf Life: This citrus cleaner typically lasts for several months. However, if you notice any changes in color, smell, or consistency, it’s best to discard it and make a fresh batch.
Variations and Experimentation
The beauty of DIY is the ability to customize and experiment! Here are some variations you can try to personalize your citrus cleaner:
* Different Citrus Combinations
Conclusion
So, there you have it! Embracing the power of natural cleaning isn’t just a trend; it’s a conscious choice for a healthier home and a happier planet. This simple DIY trick, leveraging readily available ingredients, offers a potent and effective alternative to harsh chemical cleaners. It’s a win-win: you save money, reduce your exposure to potentially harmful substances, and contribute to a more sustainable lifestyle.
But why is this DIY trick a must-try? Because it works! It cuts through grease, eliminates odors, and leaves surfaces sparkling clean, all without the lingering chemical scent that can irritate sensitive noses and trigger allergies. Plus, the satisfaction of knowing you created a powerful cleaner with your own two hands is incredibly rewarding.
Don’t be afraid to experiment with variations to suit your specific needs and preferences. For instance, if you’re tackling particularly stubborn grime, consider adding a tablespoon of borax to the mixture for an extra boost of cleaning power. For a refreshing scent, infuse your vinegar with citrus peels for a few weeks before using it in the recipe. Lemon, orange, and grapefruit peels all work beautifully and impart a delightful fragrance to your homemade cleaner. You can also add a few drops of your favorite essential oils, such as lavender, tea tree, or eucalyptus, for their antibacterial and aromatherapy benefits. Remember to always test your cleaner on an inconspicuous area first, especially on delicate surfaces like wood or marble.
This DIY approach to cleaning isn’t just about saving money or avoiding chemicals; it’s about empowering yourself to take control of your home environment. It’s about understanding what goes into your cleaning products and making informed choices that benefit your health and the well-being of the planet. It’s about embracing a simpler, more sustainable way of life.
We wholeheartedly encourage you to give this DIY trick a try. You might be surprised at how effective and easy it is to create your own powerful, natural cleaner. Once you experience the difference, you’ll likely never go back to store-bought chemical cleaners again.
And most importantly, we want to hear about your experience! Did you try the recipe as is, or did you experiment with variations? What surfaces did you use it on? What were the results? Share your tips, tricks, and feedback in the comments below. Let’s build a community of natural cleaning enthusiasts and inspire others to embrace the power of natural cleaning! Your insights could be invaluable to someone just starting their journey towards a healthier, more sustainable home. So, go ahead, get cleaning, and let us know what you think!
Frequently Asked Questions
What exactly makes this cleaning method “natural”?
This cleaning method is considered natural because it relies on ingredients derived from natural sources, rather than synthetic chemicals. The primary ingredients, such as vinegar, baking soda, and lemon juice, are readily available, biodegradable, and generally considered safe for both humans and the environment. Unlike many commercial cleaners that contain harsh chemicals like bleach, ammonia, and phthalates, this DIY solution avoids these potentially harmful substances, reducing your exposure to toxins and minimizing your environmental impact. The focus is on harnessing the inherent cleaning properties of these natural ingredients to achieve effective results without compromising your health or the planet’s well-being.
Can I use this cleaner on all surfaces in my home?
While this natural cleaner is generally safe and effective for most surfaces, it’s crucial to exercise caution and test it on an inconspicuous area first, especially on delicate or sensitive materials. Avoid using vinegar-based cleaners on natural stone surfaces like marble, granite, and limestone, as the acidity can etch and damage them over time. Similarly, be cautious when using it on waxed wood furniture, as it may strip the wax finish. For these surfaces, a milder solution of soap and water is generally recommended. Always check the manufacturer’s instructions for specific cleaning recommendations for your surfaces. When in doubt, err on the side of caution and test the cleaner in a hidden spot before applying it to the entire surface.
How long will this DIY cleaner last?
The shelf life of this DIY cleaner depends largely on the ingredients used and how it’s stored. Generally, a vinegar-based cleaner will last for several months, if not longer, due to vinegar’s natural preservative properties. However, if you add fresh ingredients like lemon peels or herbs, the shelf life may be shorter, typically a few weeks. To maximize the lifespan of your cleaner, store it in a cool, dark place in an airtight container. This will help prevent the growth of bacteria and maintain the potency of the ingredients. If you notice any changes in color, odor, or consistency, it’s best to discard the cleaner and make a fresh batch. It’s always a good idea to label your DIY cleaner with the date it was made so you can keep track of its age.
Is this cleaner as effective as commercial cleaners?
In many cases, yes! This DIY cleaner can be just as effective as commercial cleaners, especially for everyday cleaning tasks. Vinegar is a powerful disinfectant and degreaser, while baking soda is a mild abrasive that helps scrub away dirt and grime. Lemon juice adds a refreshing scent and acts as a natural bleaching agent. However, for heavily soiled or stained surfaces, or for specialized cleaning tasks like disinfecting medical equipment, commercial cleaners may be necessary. The effectiveness of this DIY cleaner also depends on the specific recipe and the ingredients used. Experimenting with different variations and adjusting the proportions of ingredients can help you find a formula that works best for your needs. Remember that natural cleaning often requires a bit more elbow grease than using harsh chemicals, but the benefits for your health and the environment are well worth the effort.
Can I add essential oils to this cleaner?
Absolutely! Adding essential oils to your DIY cleaner is a great way to enhance its cleaning power and add a pleasant fragrance. Many essential oils have antibacterial, antiviral, and antifungal properties, making them a valuable addition to your cleaning arsenal. Some popular choices for cleaning include tea tree oil, lavender oil, eucalyptus oil, lemon oil, and peppermint oil. When adding essential oils, start with a small amount, typically 10-20 drops per cup of cleaner, and adjust to your preference. Be sure to use high-quality, pure essential oils for the best results. Also, keep in mind that some essential oils may not be safe for use around pets or children, so do your research before adding them to your cleaner. Always store essential oils and cleaners containing essential oils out of reach of children and pets.
What if I don’t like the smell of vinegar?
The strong smell of vinegar can be off-putting to some people, but there are several ways to minimize or mask it in your DIY cleaner. One option is to infuse your vinegar with citrus peels for a few weeks before using it in the recipe. This will impart a refreshing citrus scent to the vinegar and help to neutralize the strong odor. Another option is to add essential oils to your cleaner, as mentioned above. The essential oils will not only add a pleasant fragrance but also help to mask the smell of vinegar. You can also try using a milder type of vinegar, such as white wine vinegar or apple cider vinegar, which have a less pungent odor than white distilled vinegar. Finally, remember that the vinegar smell will dissipate quickly after cleaning, so it’s often not a long-lasting issue.
Is this cleaner safe to use around children and pets?
While this DIY cleaner is generally safer than commercial cleaners, it’s still important to exercise caution when using it around children and pets. Keep the cleaner out of reach of children and pets to prevent accidental ingestion. Avoid spraying the cleaner directly on children or pets, and be sure to ventilate the area well after cleaning. If you’re using essential oils in your cleaner, research their safety for use around children and pets, as some essential oils can be toxic to animals. If you’re concerned about potential sensitivities or allergies, test the cleaner on a small, inconspicuous area before using it on a larger surface. As with any cleaning product, it’s always best to err on the side of caution and take steps to minimize the risk of exposure to children and pets.

Leave a Comment