

Watermelon growing tips are what you need to transform your backyard into a personal oasis of juicy, refreshing goodness! Imagine biting into a perfectly ripe, homegrown watermelon on a hot summer day – there’s simply nothing quite like it. But let’s be honest, growing watermelons can seem a little intimidating, right? Don’t worry, I’m here to tell you it’s totally achievable, even if you don’t have a green thumb (yet!).
For centuries, watermelons have been a symbol of summer, abundance, and pure enjoyment. Originating in Africa, they’ve traveled the globe, becoming a beloved fruit in countless cultures. From elaborate watermelon carvings in Asian festivals to simple backyard picnics in America, this fruit has a rich history of bringing people together. But beyond the cultural significance, the real magic lies in the taste and the satisfaction of growing your own.
Why do you need these watermelon growing tips? Because store-bought watermelons, while convenient, often lack the intense flavor and sweetness of a homegrown variety. Plus, you’ll know exactly what went into growing your watermelon, avoiding any unwanted pesticides or chemicals. I’m going to share some simple, effective DIY tricks and hacks that will help you cultivate healthy, thriving watermelon plants, even if you’re a complete beginner. Get ready to impress your friends and family with the most delicious watermelons they’ve ever tasted!

Growing Watermelons: From Seed to Sweetness – My DIY Guide
Okay, watermelon lovers, gather ’round! I’m going to share everything I’ve learned about growing these juicy giants in my own backyard. It’s not as intimidating as it seems, and the reward of biting into a homegrown watermelon is absolutely worth the effort. Let’s get started!
Choosing Your Watermelon Variety
Before we even think about planting, we need to pick the right watermelon for our space and climate. There are tons of varieties out there, so do a little research!
* Consider your space: Bush varieties are great for smaller gardens or containers, while vining types need plenty of room to sprawl.
* Think about your climate: Some watermelons mature faster than others. If you have a short growing season, choose a variety that ripens quickly.
* Flavor preferences: Do you prefer a super sweet, red-fleshed watermelon, or something a little different like a yellow or orange variety?
Some of my personal favorites include:
* Sugar Baby: A classic, small, and early-maturing variety. Perfect for beginners!
* Crimson Sweet: A larger, red-fleshed watermelon with excellent flavor.
* Yellow Doll: A unique yellow-fleshed watermelon that’s incredibly sweet.
* Blacktail Mountain: A very early maturing variety, great for cooler climates.
Starting Your Watermelon Seeds (Indoors or Out)
You can either start your watermelon seeds indoors or directly sow them in the garden. I usually start mine indoors to get a head start, especially since I live in an area with a shorter growing season.
Starting Seeds Indoors:
This is my preferred method for getting a jump start.
1. Gather your supplies: You’ll need seed starting trays or small pots, seed starting mix, watermelon seeds, a spray bottle, and a heat mat (optional, but helpful).
2. Prepare your containers: Fill your seed starting trays or pots with seed starting mix. Gently moisten the mix with a spray bottle. You don’t want it soaking wet, just damp.
3. Plant your seeds: Plant 2-3 watermelon seeds per cell or pot, about ½ inch deep.
4. Provide warmth: Watermelon seeds need warmth to germinate. Place your seed starting trays on a heat mat if you have one. Otherwise, find a warm spot in your house.
5. Keep them moist: Mist the soil regularly to keep it moist, but not soggy.
6. Wait for germination: Watermelon seeds usually germinate in 5-10 days.
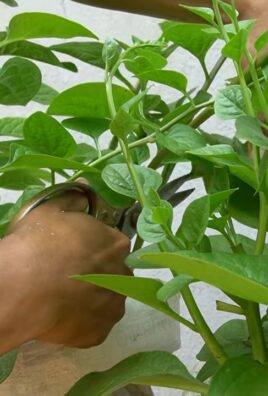
7. Thin the seedlings: Once the seedlings have emerged and have a couple of true leaves, thin them to one strong seedling per cell or pot. Snip off the weaker seedlings at the soil line with scissors. Don’t pull them out, as this can disturb the roots of the remaining seedling.
8. Provide light: Once the seedlings emerge, they need plenty of light. Place them under grow lights or in a sunny window. If using a window, rotate the trays regularly to prevent the seedlings from becoming leggy.
9. Harden off the seedlings: Before transplanting your seedlings outdoors, you need to harden them off. This means gradually exposing them to outdoor conditions over a period of 7-10 days. Start by placing them in a sheltered spot outdoors for a few hours each day, gradually increasing the amount of time they spend outside.
Direct Sowing Seeds Outdoors:
If you live in a warm climate with a long growing season, you can directly sow your watermelon seeds in the garden.
1. Wait for warm weather: Watermelons need warm soil to germinate. Wait until the soil temperature is consistently above 70°F (21°C) before planting.
2. Prepare the soil: Choose a sunny spot with well-drained soil. Amend the soil with compost or well-rotted manure to improve its fertility.
3. Plant your seeds: Plant 4-6 watermelon seeds in hills or rows, about 1 inch deep. Space the hills or rows according to the variety you’re growing. Check the seed packet for specific spacing recommendations.
4. Water well: Water the seeds thoroughly after planting.
5. Thin the seedlings: Once the seedlings have emerged and have a couple of true leaves, thin them to 2-3 strong seedlings per hill or row.
Preparing Your Garden Bed
Watermelons are heavy feeders, so preparing your garden bed is crucial for success.
1. Choose a sunny location: Watermelons need at least 6-8 hours of sunlight per day.
2. Improve the soil: Watermelons prefer well-drained, sandy loam soil. If your soil is heavy clay, amend it with compost, peat moss, or other organic matter to improve drainage.
3. Add fertilizer: Watermelons need plenty of nutrients. Before planting, amend the soil with a balanced fertilizer or compost. I like to use a fertilizer that’s high in phosphorus and potassium, which are important for fruit development.
4. Create mounds or rows: Watermelons grow best in mounds or rows. This helps with drainage and allows the soil to warm up quickly.
Transplanting Your Watermelon Seedlings
Once your seedlings are hardened off and the weather is warm, it’s time to transplant them into the garden.
1. Choose a cloudy day: Transplanting on a cloudy day will help prevent the seedlings from getting stressed.
2. Dig holes: Dig holes that are slightly larger than the root balls of your seedlings. Space the holes according to the variety you’re growing.
3. Gently remove the seedlings: Carefully remove the seedlings from their containers, being careful not to damage the roots.
4. Place the seedlings in the holes: Place the seedlings in the holes and gently backfill with soil.
5. Water thoroughly: Water the seedlings thoroughly after transplanting.
6. Mulch around the plants: Mulch around the plants with straw, wood chips, or other organic mulch to help retain moisture and suppress weeds.
Caring for Your Watermelon Plants
Now that your watermelon plants are in the ground, it’s time to give them the care they need to thrive.
* Watering: Watermelons need consistent watering, especially during hot, dry weather. Water deeply and regularly, aiming for about 1-2 inches of water per week. Avoid overhead watering, as this can lead to fungal diseases. Drip irrigation is ideal.
* Fertilizing: Fertilize your watermelon plants every 2-3 weeks with a balanced fertilizer or compost tea. Once the fruits start to develop, switch to a fertilizer that’s higher in potassium.
* Weeding: Keep the area around your watermelon plants free of weeds. Weeds compete with the plants for water and nutrients.
* Pruning: Pruning watermelons is optional, but it can help improve air circulation and fruit production. Remove any dead or diseased leaves and any suckers that grow from the base of the plant.
* Pest and disease control: Watermelons can be susceptible to a variety of pests and diseases, including aphids, squash bugs, vine borers, and powdery mildew. Inspect your plants regularly for signs of pests or diseases and take action promptly. I prefer to use organic pest control methods whenever possible.
* Supporting the fruit: As the watermelons grow larger, you may need to support them to prevent them from rotting on the ground. You can use straw, wood, or even old tires to elevate the fruits.
Hand Pollinating Watermelons (If Needed)
Watermelons have separate male and female flowers. Bees are usually responsible for pollinating the female flowers, but if you’re not seeing many bees in your garden, you may need to hand-pollinate them.
1. Identify the male and female flowers: Male flowers have a long, thin stem, while female flowers have a small, immature watermelon at the base of the flower.
2. Pollinate in the morning: The best time to hand-pollinate watermelons is in the morning, when the flowers are open.
3. Transfer the pollen: Use a small paintbrush or cotton swab to collect pollen from the male flower. Then, gently brush the pollen onto the stigma of the female flower.
4. Repeat as needed: Repeat the process every day until the female flowers start to develop into watermelons.
Harvesting Your Watermelons
Harvesting watermelons at the right time is crucial for getting the best flavor. It can be tricky to tell when a watermelon is ripe, but here are a few things to look for:
* The tendril closest to the fruit turns brown and dry: This is one of the most reliable indicators of ripeness.
* The bottom of the watermelon (the “ground spot”) turns from white to
Conclusion
So, there you have it! Mastering these simple yet effective watermelon growing tips can transform your backyard into a personal watermelon patch, overflowing with juicy, sweet rewards. Forget those bland, store-bought watermelons that lack flavor and character. With a little dedication and these proven techniques, you’ll be harvesting watermelons that are bursting with flavor and a testament to your green thumb.
But why is this DIY approach a must-try? Because it puts you in control. You dictate the quality of the soil, the amount of sunlight, and the watering schedule, ensuring that your watermelons receive the precise care they need to thrive. You’ll avoid harmful pesticides and herbicides, knowing exactly what goes into your food. Plus, there’s an unparalleled satisfaction in nurturing a plant from seed to fruit, a connection to nature that’s both grounding and rewarding.
Beyond the basic techniques, there’s room for experimentation and personalization. Consider these variations to tailor your watermelon growing experience:
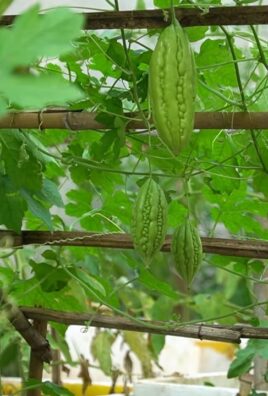
* **Vertical Growing:** If space is limited, explore vertical growing methods using trellises or sturdy supports. This not only saves space but also improves air circulation around the plants, reducing the risk of fungal diseases.
* **Companion Planting:** Enhance your watermelon patch by incorporating companion plants like marigolds (to deter pests), basil (to improve flavor), or radishes (to break up the soil).
* **Grafting:** For advanced gardeners, grafting watermelon scions onto disease-resistant rootstock can significantly improve plant health and yield.
* Different Varieties: Don’t limit yourself to just one type of watermelon! Experiment with different varieties, from the classic Crimson Sweet to the smaller Sugar Baby or the unique yellow-fleshed watermelons. Each variety offers a distinct flavor profile and growing characteristics.
Ultimately, growing your own watermelons is an investment in your health, your well-being, and your connection to the natural world. It’s a chance to learn, to experiment, and to reap the delicious rewards of your labor.
We wholeheartedly encourage you to put these watermelon growing tips into practice. Start small, be patient, and don’t be afraid to make mistakes. Every challenge is an opportunity to learn and improve. And most importantly, share your experiences with us! We’d love to hear about your successes, your challenges, and any unique techniques you discover along the way. Post pictures of your watermelon patch, share your favorite recipes using homegrown watermelons, and let’s build a community of passionate watermelon growers.
Now, go forth and cultivate your own slice of summer sweetness!
Frequently Asked Questions (FAQ)
Q: How long does it take to grow a watermelon from seed?
A: The time it takes to grow a watermelon from seed to harvest can vary depending on the variety, climate, and growing conditions. Generally, it takes between 70 and 90 days from planting the seeds to harvesting the ripe fruit. Some smaller varieties may mature faster, while larger varieties may require more time. It’s crucial to check the specific seed packet or plant tag for the recommended maturity time for your chosen variety. Also, remember that warmer temperatures and ample sunlight will accelerate growth, while cooler temperatures may slow it down.
Q: What kind of soil is best for growing watermelons?
A: Watermelons thrive in well-drained, sandy loam soil that is rich in organic matter. The soil should have a slightly acidic to neutral pH, ideally between 6.0 and 6.8. Good drainage is essential to prevent root rot, a common problem for watermelons. Before planting, amend the soil with compost, well-rotted manure, or other organic materials to improve its fertility and drainage. If your soil is heavy clay, consider adding sand or perlite to improve drainage. A soil test can help you determine the pH and nutrient levels of your soil and guide you in making necessary amendments.
Q: How much sun do watermelons need?
A: Watermelons are sun-loving plants and require at least 6-8 hours of direct sunlight per day to thrive. Choose a planting location that receives full sun throughout the day. Insufficient sunlight can lead to stunted growth, reduced fruit production, and less flavorful watermelons. If you live in a particularly hot climate, some afternoon shade may be beneficial to prevent sunburn on the fruits.
Q: How often should I water my watermelons?
A: Watermelons need consistent watering, especially during fruit development. Water deeply and regularly, aiming for about 1-2 inches of water per week. Avoid overhead watering, as this can promote fungal diseases. Instead, water at the base of the plant, using a soaker hose or drip irrigation system. Monitor the soil moisture regularly and adjust your watering schedule accordingly. During hot, dry periods, you may need to water more frequently. As the watermelons ripen, you can gradually reduce watering to concentrate the sugars and improve the flavor.
Q: How do I know when a watermelon is ripe?
A: Determining when a watermelon is ripe can be tricky, but there are several indicators to look for:
* **The tendril closest to the fruit turns brown and dries up:** This is a reliable sign that the watermelon is nearing maturity.
* **The underside of the watermelon (where it rests on the ground) turns from white to a creamy yellow:** This is often referred to as the “ground spot.”
* **The watermelon sounds dull and hollow when thumped:** A ripe watermelon will have a deeper, more resonant sound than an unripe one.
* **The skin becomes dull and loses its shine:** A ripe watermelon will have a slightly dull appearance.
It’s best to use a combination of these indicators to determine ripeness. With practice, you’ll develop a feel for when your watermelons are ready to harvest.
Q: What are some common pests and diseases that affect watermelons?
A: Watermelons can be susceptible to various pests and diseases, including:
* **Aphids:** These small insects suck sap from the leaves, causing them to curl and distort.
* **Squash bugs:** These pests feed on the leaves and stems, weakening the plant.
* **Cucumber beetles:** These beetles can transmit bacterial wilt, a serious disease that can kill watermelon plants.
* **Powdery mildew:** This fungal disease causes a white, powdery coating on the leaves.
* **Fusarium wilt:** This soilborne disease causes wilting and yellowing of the leaves.
To prevent pest and disease problems, practice good garden hygiene, such as removing weeds and debris, and rotate your crops regularly. Use organic pest control methods, such as insecticidal soap or neem oil, to control pests. Choose disease-resistant varieties of watermelons and provide adequate air circulation to prevent fungal diseases.
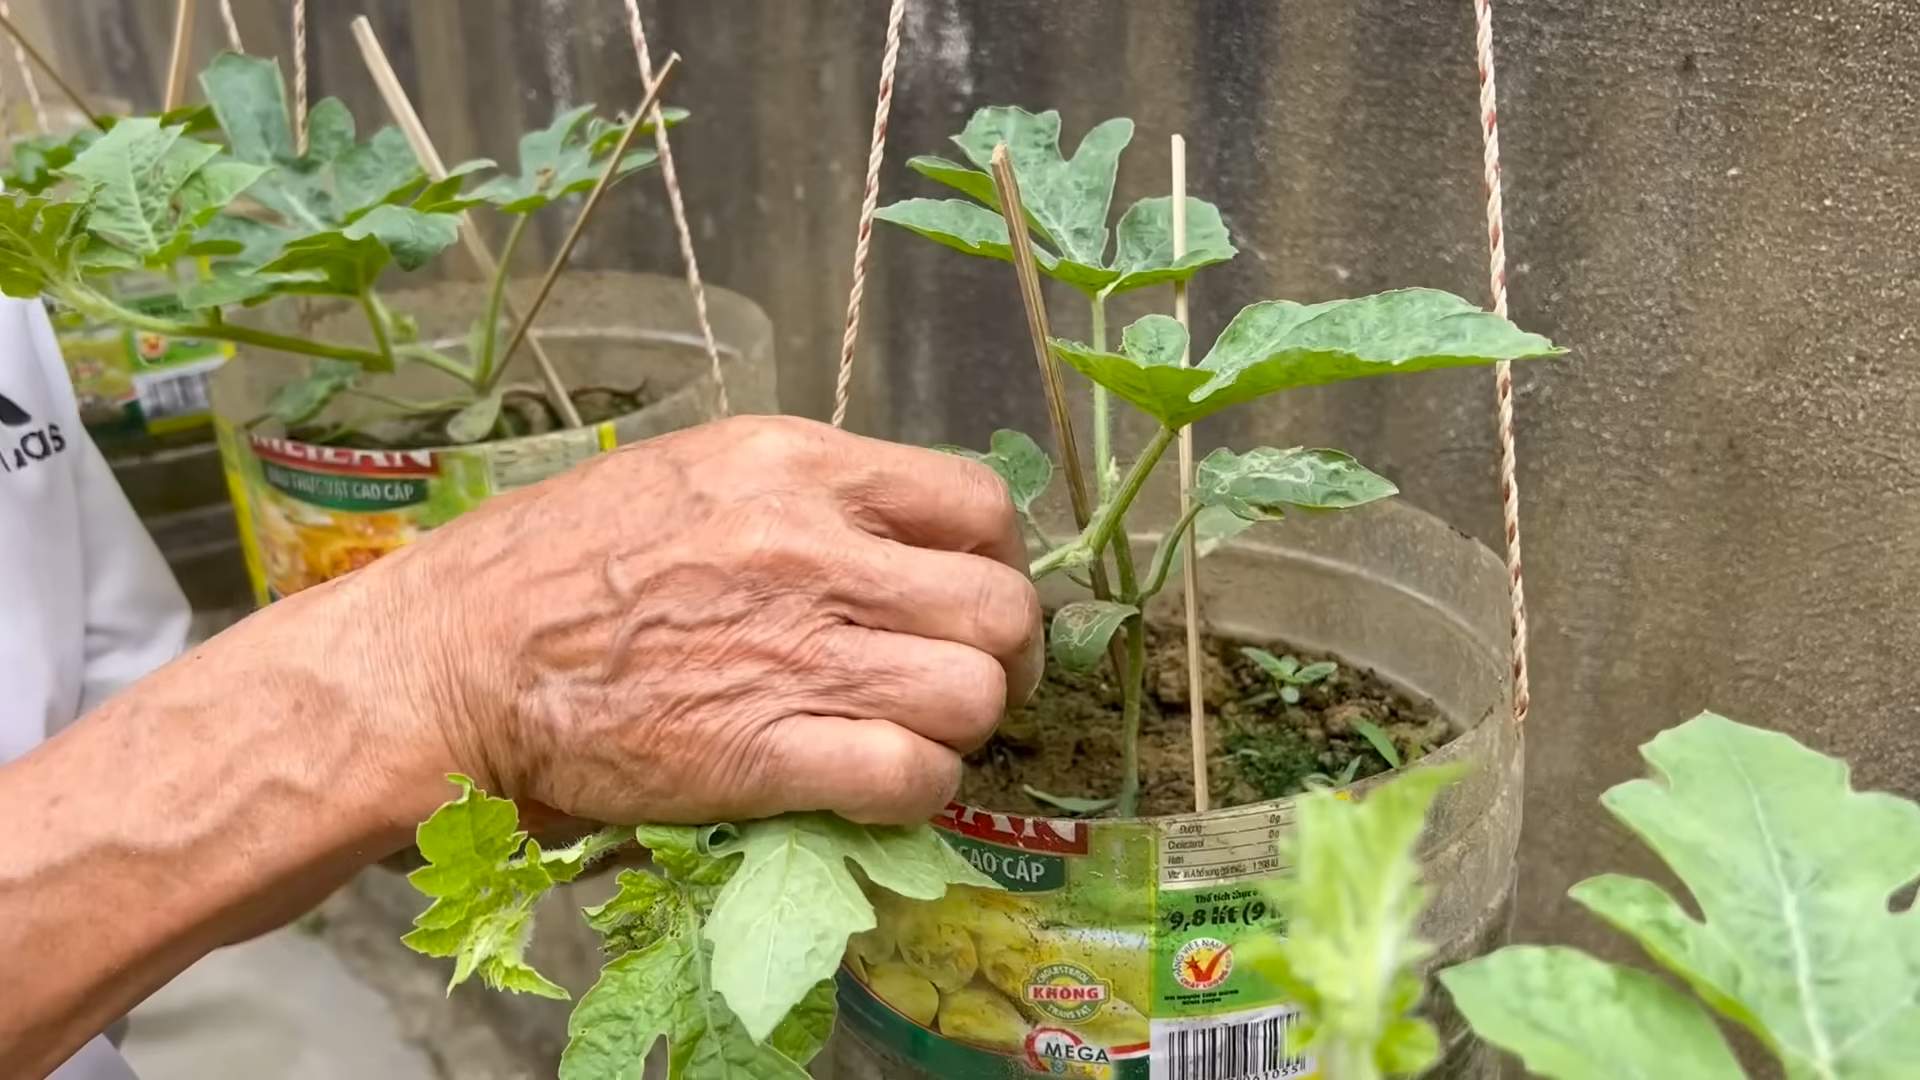
Q: Can I grow watermelons in containers?
A: Yes, you can grow watermelons in containers, but you’ll need to choose a large container (at least 20 gallons) and select a compact or bush variety of watermelon. Ensure the container has good drainage and use a high-quality potting mix. Water container-grown watermelons more frequently than those grown in the ground, as the soil in containers tends to dry out faster. Provide support for the vines as they grow.
Q: How do I store harvested watermelons?
A: Whole, uncut watermelons can be stored at room temperature for up to two weeks. For longer storage, refrigerate them. Cut watermelons should be wrapped tightly in plastic wrap and stored in the refrigerator for up to 3-4 days.
Leave a Comment