

Easy to grow healthy food is a dream for many, isn’t it? Imagine stepping into your backyard and harvesting fresh, vibrant vegetables for your dinner table. No more mystery ingredients or sky-high grocery bills! For centuries, humans have cultivated their own food, from ancient Roman kitchen gardens to the victory gardens of wartime eras. This connection to the earth, this ability to nourish ourselves, is deeply ingrained in our history.
But let’s face it, modern life can feel a million miles away from that idyllic scene. We’re busy, space is limited, and gardening can seem intimidating. That’s where these DIY home gardening tricks come in! I’m here to show you that easy to grow healthy food is absolutely achievable, even if you’re a complete beginner with a tiny balcony.
This article is packed with simple, effective hacks that will transform your gardening experience. We’ll cover everything from choosing the right plants to maximizing your yield with clever DIY solutions. So, ditch the overwhelm and get ready to unlock the secrets to a thriving, homegrown harvest. Let’s get our hands dirty and create your own little edible paradise!
DIY Hydroponic Garden: Grow Your Own Food Easily!
Hey there, fellow gardening enthusiasts! Are you dreaming of fresh, delicious veggies right at your fingertips, but maybe you’re short on space or dealing with less-than-ideal soil? Well, I’ve got just the project for you: a DIY hydroponic garden! Hydroponics is a fantastic way to grow plants without soil, using nutrient-rich water solutions. It’s efficient, space-saving, and surprisingly easy to set up. Trust me, if I can do it, you can too!
What is Hydroponics?
Before we dive in, let’s quickly cover the basics. Hydroponics is a method of growing plants using mineral nutrient solutions in water, without soil. Plant roots are supported by an inert medium like perlite, coco coir, or rockwool, or they may be suspended directly in the nutrient solution. The plants get everything they need – water, nutrients, and oxygen – directly from the solution. This leads to faster growth, higher yields, and less water waste compared to traditional soil gardening.
Why Choose Hydroponics?
* Space-Saving: Perfect for apartments, balconies, or small backyards.
* Faster Growth: Plants grow faster because they have direct access to nutrients.
* Higher Yields: You can often harvest more produce per square foot than with soil gardening.
* Water Conservation: Hydroponics uses significantly less water than traditional gardening.
* Fewer Pests and Diseases: No soil means fewer soil-borne pests and diseases.
* Year-Round Growing: You can grow indoors year-round with the right lighting.
Choosing Your Hydroponic System
There are several types of hydroponic systems, but for this DIY project, we’ll be focusing on a simple and effective method: the Kratky method.
* Kratky Method: This is a passive hydroponic system, meaning it doesn’t require pumps or electricity. Plants are suspended in a container of nutrient solution, and as the water level drops, an air gap forms, providing oxygen to the roots. It’s super low-maintenance and perfect for beginners.
Materials You’ll Need
Okay, let’s gather our supplies! Here’s what you’ll need to build your own Kratky hydroponic garden:
* Container: A dark-colored plastic container with a lid (e.g., a storage tote, a bucket). Dark colors prevent algae growth. I recommend a container that holds at least 5 gallons.
* Net Pots: These are small, slotted pots that hold your plants and growing medium. You can find them at most garden centers or online. 2-inch or 3-inch net pots are a good size.
* Growing Medium: Choose an inert medium like coco coir, perlite, rockwool cubes, or clay pebbles. I personally love coco coir because it’s sustainable and holds moisture well.
* Hydroponic Nutrients: You’ll need a balanced hydroponic nutrient solution. Look for a two-part or three-part nutrient system specifically designed for hydroponics.
* Seedlings or Seeds: You can start your plants from seeds or purchase seedlings from a nursery. Lettuce, spinach, herbs, and strawberries are great choices for hydroponics.
* Drill with Hole Saw Attachment: You’ll need this to cut holes in the lid of your container for the net pots. Choose a hole saw that matches the diameter of your net pots.
* Measuring Cups and Spoons: For measuring your nutrient solution.
* pH Meter (Optional but Recommended): To ensure your nutrient solution has the correct pH level.
* pH Up and pH Down (Optional but Recommended): To adjust the pH of your nutrient solution if needed.
* Water: Tap water is usually fine, but if your tap water is heavily chlorinated, let it sit out for 24 hours to allow the chlorine to dissipate.
* Marker: For marking the lid of your container.
Step-by-Step Instructions: Building Your Kratky Hydroponic Garden
Alright, let’s get building! Follow these steps to create your own thriving hydroponic garden:
1. Prepare the Container
* Clean the Container: Thoroughly wash the container with soap and water to remove any dirt or debris. Rinse it well.
* Mark the Lid: Place your net pots on the lid and use a marker to trace around them. Space the holes evenly, allowing enough room for the plants to grow. I usually aim for about 6-8 inches between plants.
* Cut the Holes: Using your drill with the hole saw attachment, carefully cut out the holes in the lid. Be sure to wear safety glasses!
2. Prepare the Net Pots
* Rinse the Growing Medium: If you’re using coco coir or clay pebbles, rinse them thoroughly to remove any dust or debris.
* Fill the Net Pots: Fill each net pot with your chosen growing medium. Leave a little space at the top.
3. Prepare the Nutrient Solution
* Read the Instructions: Carefully read the instructions on your hydroponic nutrient solution. Different brands have different mixing ratios.
* Mix the Solution: In a separate container, mix the nutrient solution with water according to the instructions. Use measuring cups and spoons to ensure accuracy.
* Check the pH (Optional): Use your pH meter to check the pH of the nutrient solution. The ideal pH range for most hydroponic plants is between 5.5 and 6.5.
* Adjust the pH (Optional): If the pH is too high or too low, use pH Up or pH Down to adjust it to the correct range. Add small amounts at a time and recheck the pH after each addition.
4. Plant Your Seedlings or Seeds
* Seedlings: Gently remove the seedlings from their containers and place them in the net pots, nestled in the growing medium.
* Seeds: If you’re starting from seeds, sow a few seeds in each net pot, following the instructions on the seed packet. Keep the growing medium moist until the seeds germinate.
5. Assemble Your Hydroponic Garden
* Fill the Container: Pour the nutrient solution into the container, leaving about an inch or two of space at the top.
* Place the Lid: Place the lid on the container, making sure the net pots fit snugly in the holes.
* Position the Plants: Gently place the net pots with your seedlings or seeds into the holes in the lid. The bottom of the net pots should be submerged in the nutrient solution.
6. Provide Light and Air
* Sunlight or Grow Lights: Place your hydroponic garden in a location that receives at least 6 hours of direct sunlight per day. If you’re growing indoors, you’ll need to use grow lights. LED grow lights are energy-efficient and work well for hydroponics.
* Air Circulation: Ensure good air circulation around your plants to prevent mold and mildew. A small fan can help with this.
Maintaining Your Hydroponic Garden
Now that your hydroponic garden is set up, here’s how to keep it thriving:
* Monitor the Water Level: Check the water level in the container regularly. As the plants grow, they’ll absorb water, and the water level will drop. Add more nutrient solution as needed to keep the roots submerged.
* Check the pH (Optional): Periodically check the pH of the nutrient solution and adjust it if necessary.
* Change the Nutrient Solution: Every 2-3 weeks, completely change the nutrient solution to prevent nutrient imbalances and the buildup of harmful bacteria.
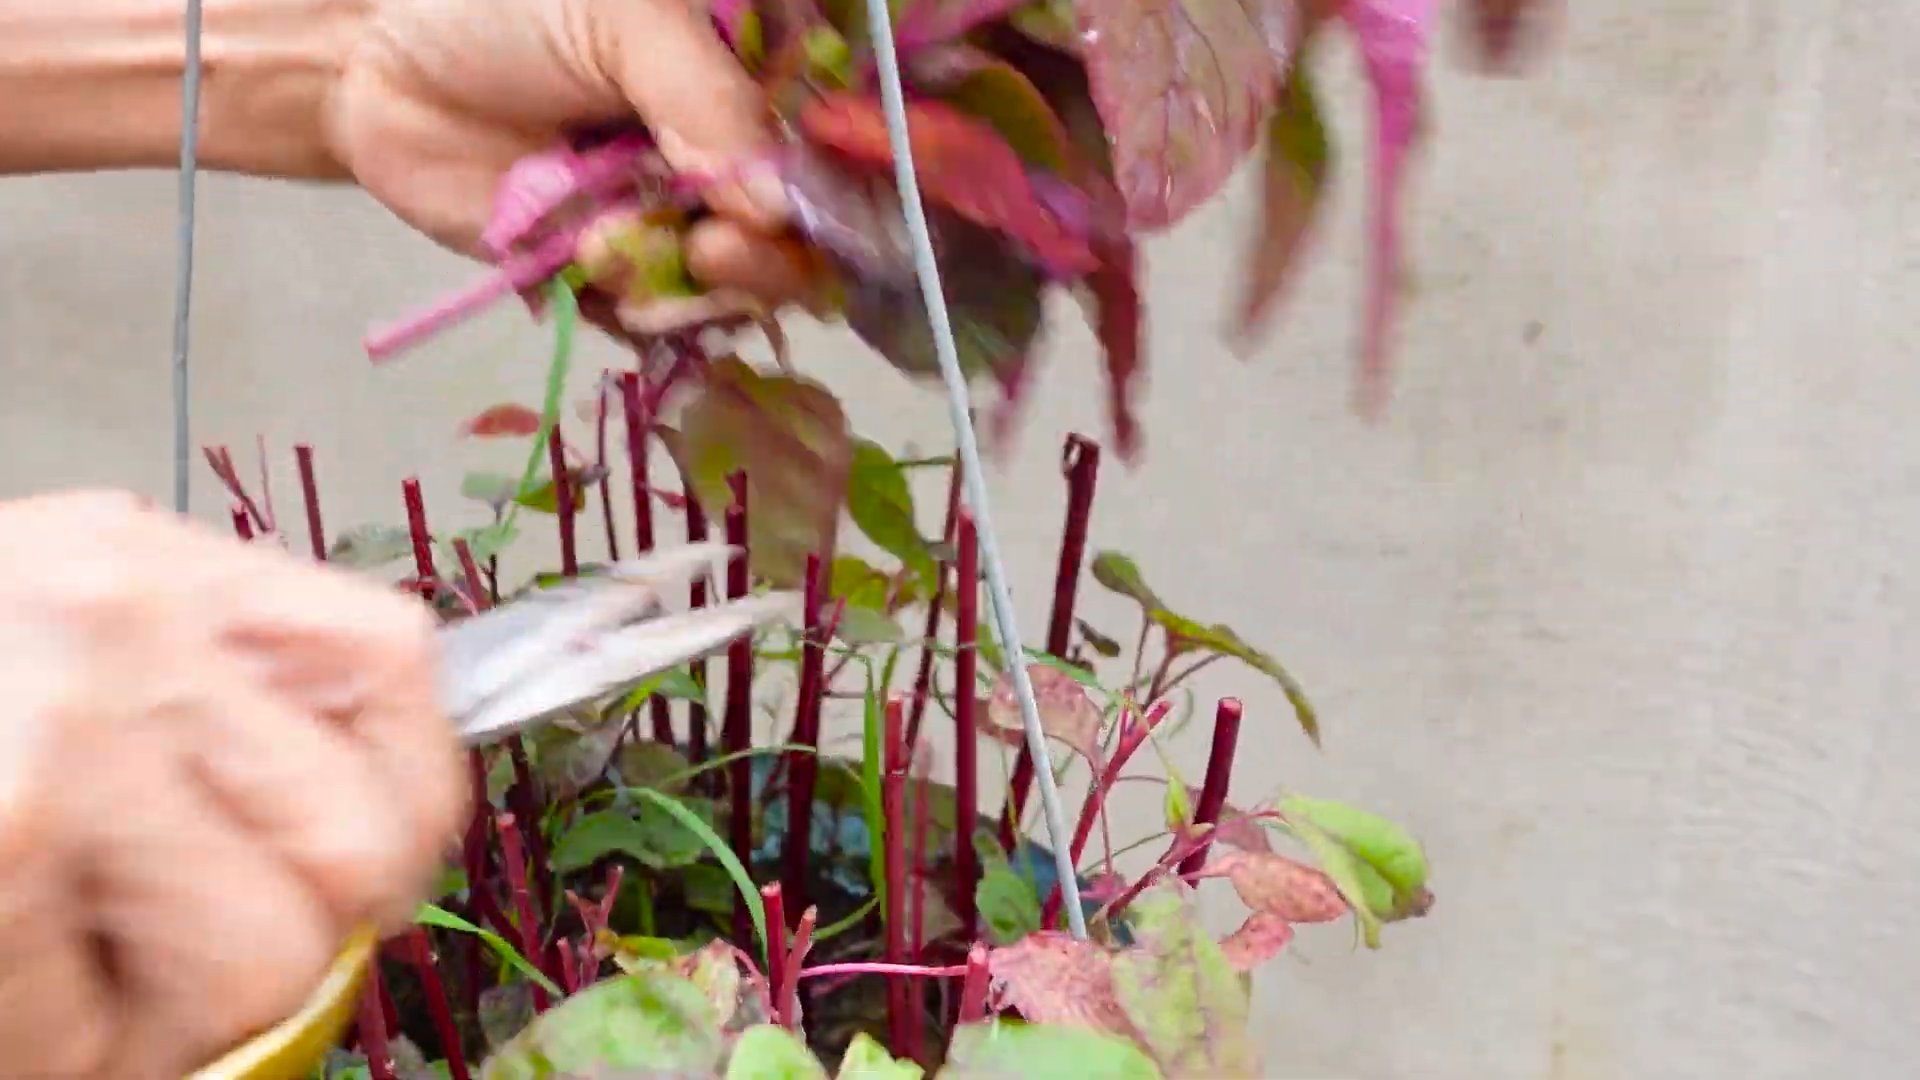
* Prune Your Plants: Prune your plants regularly to encourage growth and prevent overcrowding. Remove any yellowing or dead leaves.
* Watch for Pests and Diseases: Keep an eye out for any signs of pests or diseases. If you spot any problems, address them promptly with appropriate organic pest control methods.
Troubleshooting Tips
Even with the best planning, you might encounter a few challenges along the way. Here are some common issues and how to address them:
* Algae Growth: Algae can grow in the nutrient solution if it’s exposed to too much light. Make sure your container is dark-colored and that the lid is tightly sealed. You can also add a small amount of hydrogen peroxide to the nutrient solution to kill algae.
* Nutrient Deficiencies: If your plants are showing signs of nutrient deficiencies (e.g., yellowing leaves, stunted growth), double-check your nutrient solution and make sure you’re using the correct mixing ratios. You may also need to adjust the pH of the solution.
* Root Rot: Root rot is a fungal disease that can occur if the roots are not getting enough oxygen. Make sure there’s an air gap between the water level and the bottom of the net pots. You can also add an air stone to the nutrient solution to
Conclusion
So, there you have it! Transforming your kitchen scraps into a thriving garden is not just a fun project; it’s a sustainable way to put fresh, healthy food on your table and reduce waste. This DIY trick to easy to grow healthy food from what you’d normally toss in the compost bin is a game-changer for anyone looking to embrace a greener lifestyle and enjoy the unparalleled flavor of homegrown produce.
Why is this a must-try? Because it’s incredibly simple, cost-effective, and deeply rewarding. Imagine the satisfaction of watching a discarded onion sprout into a vibrant green onion, or a forgotten potato yield a whole new crop. It’s a tangible connection to the earth, a lesson in resourcefulness, and a delicious way to enhance your meals.
Beyond the basics, there’s a world of variations to explore. Experiment with different vegetables and herbs. Try sprouting seeds from store-bought peppers or tomatoes. Consider creating a small indoor herb garden using repurposed containers. You can even get the kids involved and turn it into a fun and educational family activity. Think about using the water you boil your eggs or pasta in (once cooled, of course!) to water your plants – it’s full of nutrients they’ll love.
Don’t be afraid to get creative and adapt the process to your own space and preferences. Whether you have a sprawling backyard or a sunny windowsill, there’s a way to make this DIY trick work for you. The key is to start small, be patient, and enjoy the journey.
We’re confident that once you experience the joy of growing your own food from scraps, you’ll be hooked. It’s a small change that can make a big difference, both for your health and for the planet.
So, what are you waiting for? Gather your scraps, grab some soil, and get ready to embark on a rewarding gardening adventure. We can’t wait to hear about your experiences! Share your photos, tips, and triumphs in the comments below. Let’s build a community of resourceful gardeners, one scrap at a time. Let us know what worked for you, what challenges you faced, and any innovative techniques you discovered along the way. Together, we can unlock the full potential of this amazing DIY trick and inspire others to embrace a more sustainable way of life. Remember, every little bit helps, and even a small contribution to growing your own food can make a world of difference. Happy gardening!
Frequently Asked Questions (FAQ)
What vegetables and herbs are easiest to regrow from scraps?
Some of the easiest vegetables and herbs to regrow from scraps include:
* **Green Onions:** Simply place the white bulb end with roots in a glass of water, changing the water every day or two. Once roots have grown, plant in soil.
* **Lettuce:** Place the lettuce stump in a bowl with a little water. New leaves will sprout from the center.
* **Celery:** Similar to lettuce, place the celery base in a bowl with water. Once roots appear, plant in soil.
* **Garlic:** Plant individual cloves directly in soil, pointy side up.
* **Ginger:** Plant a piece of ginger root in soil, ensuring it has at least one “eye” or bud.
* **Potatoes:** Plant potatoes that have sprouted “eyes” in soil. You can cut larger potatoes into pieces, ensuring each piece has an eye.
* **Sweet Potatoes:** Suspend a sweet potato in a jar of water, with the bottom half submerged. Sprouts will emerge, which can be planted in soil.
* **Basil:** Place basil cuttings in water until roots develop, then plant in soil.
* **Mint:** Similar to basil, mint cuttings root easily in water.
How much sunlight do regrown vegetables and herbs need?
Most regrown vegetables and herbs need at least 6 hours of sunlight per day. South-facing windows are ideal for indoor growing. If you don’t have enough natural light, consider using grow lights to supplement.
What kind of soil should I use?
Use a well-draining potting mix for best results. You can also amend your soil with compost or other organic matter to improve its fertility. Avoid using garden soil in containers, as it can become compacted and prevent proper drainage.
How often should I water my regrown vegetables and herbs?
Water when the top inch of soil feels dry to the touch. Avoid overwatering, as this can lead to root rot. Ensure your containers have drainage holes to prevent water from pooling at the bottom.
How long does it take to see results?
The time it takes to see results varies depending on the vegetable or herb and the growing conditions. Some, like green onions, can start to regrow within a few days. Others, like potatoes, may take several weeks. Be patient and consistent with your care, and you’ll eventually see your scraps transform into edible plants.
Can I regrow vegetables and herbs indoors year-round?
Yes, you can regrow many vegetables and herbs indoors year-round, especially with the help of grow lights. This is a great way to enjoy fresh produce even during the colder months.
What if my regrown vegetables and herbs don’t thrive?
If your regrown vegetables and herbs aren’t thriving, consider the following:
* **Light:** Are they getting enough sunlight?
* **Water:** Are you watering them properly?
* **Soil:** Is the soil well-draining and fertile?
* **Nutrients:** Are they getting enough nutrients? Consider using a liquid fertilizer.
* **Pests:** Are there any signs of pests? Treat accordingly.
Is it really possible to get a significant harvest from regrowing scraps?
While you may not get a massive harvest, regrowing scraps can provide a steady supply of fresh herbs and vegetables for your meals. It’s a sustainable way to supplement your grocery shopping and reduce food waste. Plus, it’s incredibly satisfying to harvest something you grew from what would have otherwise been thrown away. This is a great way to easy to grow healthy food.
Can I compost the scraps that don’t regrow?
Absolutely! Any scraps that don’t successfully regrow can be added to your compost bin. This is a great way to further reduce waste and create nutrient-rich compost for your garden.
What are some other tips for successful scrap gardening?
* Start with healthy scraps.
* Use clean water and containers.
* Provide adequate drainage.
* Monitor your plants regularly for pests and diseases.
* Don’t be afraid to experiment and learn from your mistakes.
* Most importantly, have fun!


Leave a Comment