

Vinegar cleaning: it’s not just for salads anymore! Are you tired of harsh chemicals and expensive cleaning products cluttering your cabinets? Do you dream of a simpler, more eco-friendly way to keep your home sparkling? Well, you’re in the right place! For generations, vinegar has been a secret weapon in households around the world, from ancient civilizations using it as a disinfectant to modern-day eco-conscious cleaners.
I’m going to let you in on some amazing DIY tricks and hacks that will transform your cleaning routine. We’ll explore how this humble pantry staple can tackle everything from stubborn stains to grimy surfaces, all while saving you money and reducing your environmental footprint.
In today’s world, where we’re all striving for a simpler life and a healthier planet, vinegar cleaning offers a powerful solution. These DIY methods are not only effective but also incredibly easy to implement. So, ditch the chemicals and embrace the power of vinegar – your home (and your wallet) will thank you for it!
DIY Vinegar Cleaning Hacks: Unleash the Power of White Vinegar!
Hey there, fellow DIY enthusiasts! I’m so excited to share some of my favorite cleaning hacks using the humble, yet mighty, white vinegar. Forget those expensive, chemical-laden cleaners – vinegar is a natural, affordable, and incredibly versatile cleaning agent that can tackle almost anything in your home. Let’s dive in!
Why Vinegar?
Before we get started, let’s quickly touch on why vinegar is such a cleaning superstar. It’s all about the acetic acid! This mild acid is a natural disinfectant, deodorizer, and degreaser. Plus, it’s non-toxic and biodegradable, making it a much more eco-friendly option than many commercial cleaners.
General Guidelines for Using Vinegar
* Always use distilled white vinegar: This is the most common and effective type for cleaning.
* Dilute when necessary: While vinegar is great on its own, diluting it with water can prevent damage to certain surfaces. A 50/50 solution is a good starting point for most tasks.
* Test in an inconspicuous area first: Before cleaning an entire surface, always test a small, hidden area to ensure the vinegar doesn’t cause any discoloration or damage.
* Don’t mix with bleach: This is a crucial safety tip! Mixing vinegar with bleach creates toxic chlorine gas, which is extremely dangerous.
* Ventilate the area: While vinegar is generally safe, it can have a strong odor. Open windows or turn on a fan to ventilate the area while you’re cleaning.
Cleaning Your Kitchen with Vinegar
The kitchen is a breeding ground for grime and germs, but vinegar can help you keep it sparkling clean!
Cleaning the Microwave
Microwaves can get pretty gross with splattered food and lingering odors. Here’s how to clean yours with vinegar:
1. Prepare the solution: Mix 1/2 cup of white vinegar with 1/2 cup of water in a microwave-safe bowl.
2. Microwave the solution: Place the bowl in the microwave and heat it on high for 2-3 minutes, or until the solution boils and the microwave is filled with steam.
3. Let it sit: Leave the door closed for another 5-10 minutes to allow the steam to loosen any stuck-on food particles.
4. Wipe it clean: Carefully remove the bowl (it will be hot!) and wipe down the inside of the microwave with a clean cloth or sponge. The grime should come off easily.
5. Clean the turntable: Remove the turntable and wash it with warm, soapy water.
6. Dry and reassemble: Dry all the components and reassemble the microwave.
Cleaning the Coffee Maker
Over time, mineral deposits can build up in your coffee maker, affecting the taste of your coffee. Vinegar to the rescue!
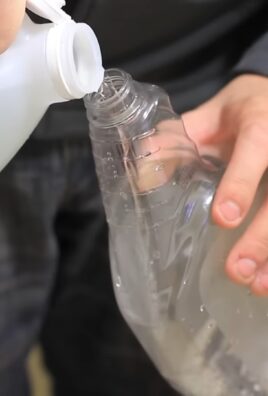
1. Fill the reservoir: Fill the coffee maker’s water reservoir with a 50/50 solution of white vinegar and water.
2. Brew halfway: Start the brewing cycle and let it run until the reservoir is about halfway empty.
3. Let it sit: Turn off the coffee maker and let the vinegar solution sit in the reservoir for about an hour. This will give the vinegar time to dissolve the mineral deposits.
4. Finish brewing: Turn the coffee maker back on and let it finish brewing the remaining vinegar solution.
5. Rinse thoroughly: Run two or three cycles of fresh water through the coffee maker to remove any lingering vinegar taste.
Cleaning the Dishwasher
Your dishwasher works hard to clean your dishes, but it needs cleaning too! Vinegar can help remove food particles, soap scum, and hard water stains.
1. Remove debris: Make sure the dishwasher is empty and remove any large food particles from the drain.
2. Vinegar bath: Place a dishwasher-safe cup or bowl filled with 1 cup of white vinegar on the top rack of the dishwasher.
3. Run a cycle: Run the dishwasher on a normal cycle with hot water.
4. Repeat monthly: Repeat this process once a month to keep your dishwasher clean and fresh.
Cleaning the Kitchen Sink
Sinks can harbor bacteria and unpleasant odors. Vinegar can help disinfect and deodorize your sink.
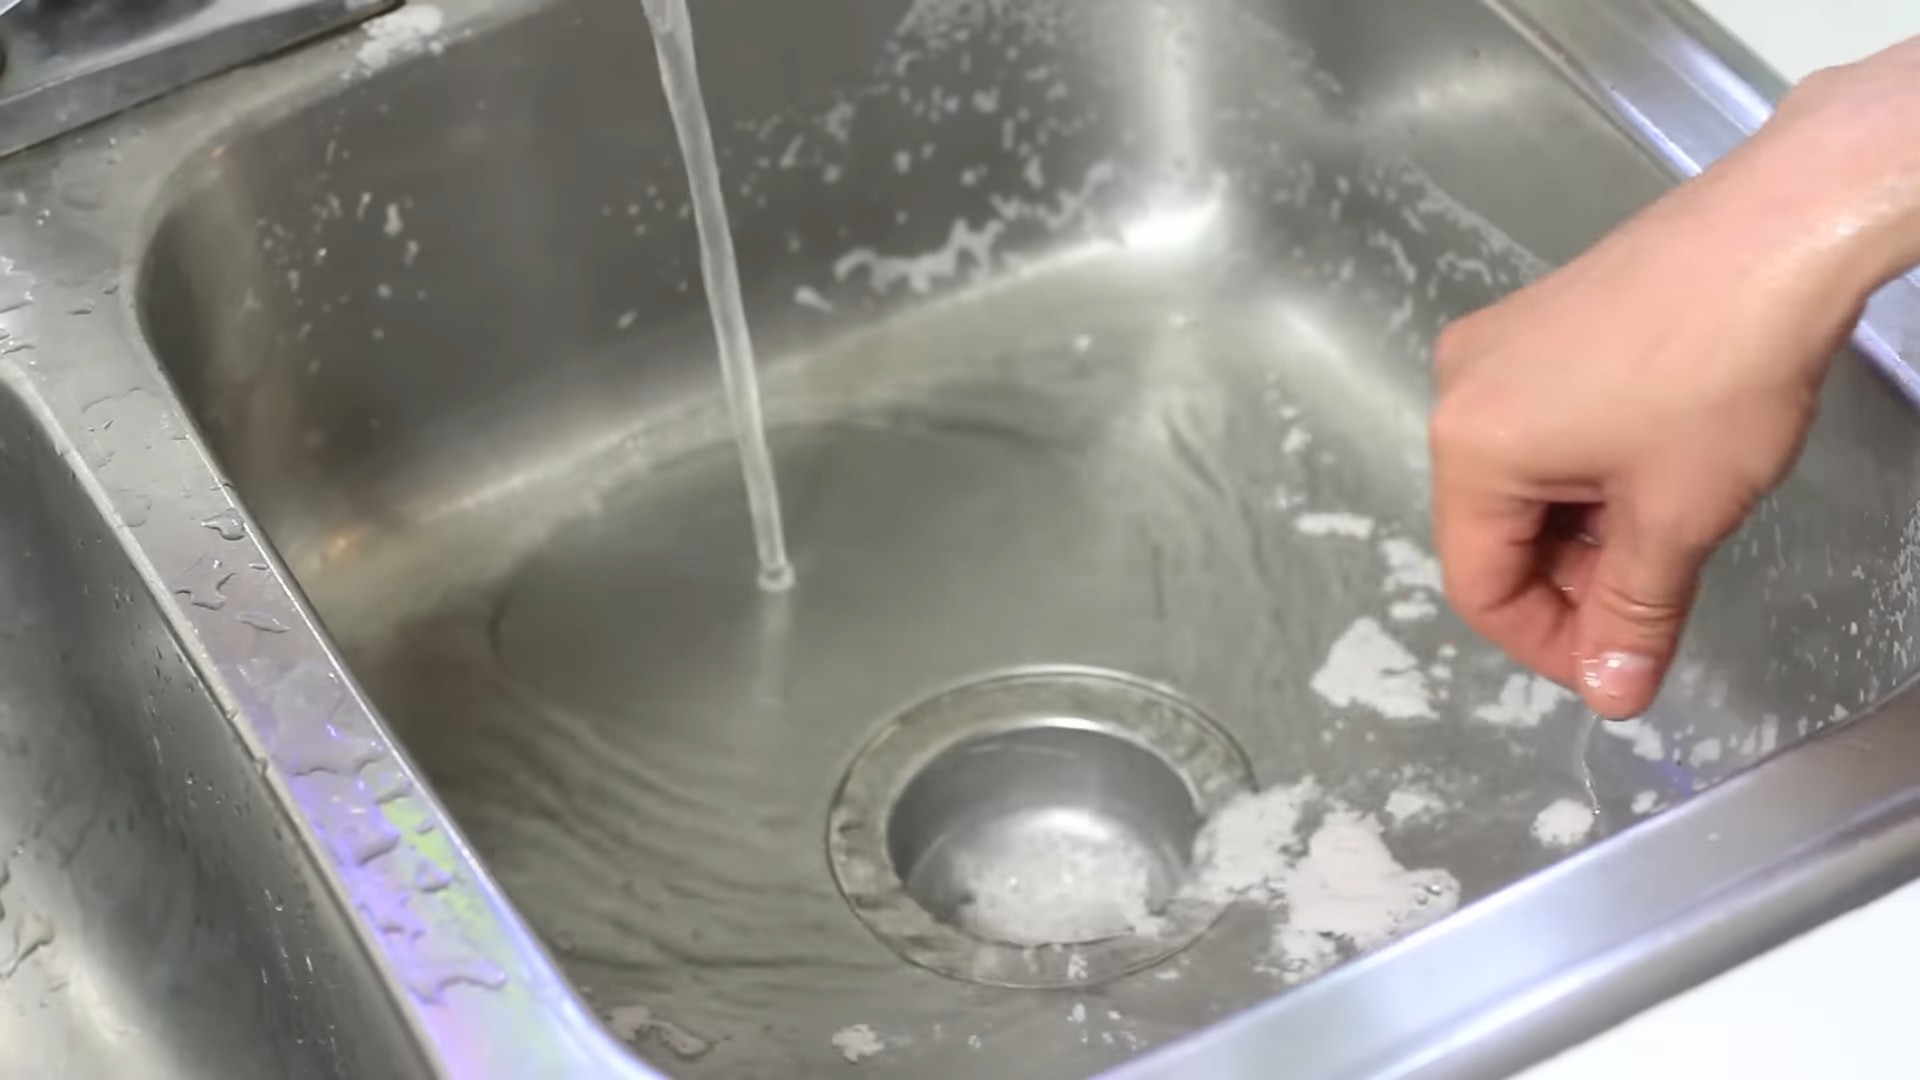
1. Rinse the sink: Rinse the sink with water to remove any loose debris.
2. Sprinkle with baking soda: Sprinkle baking soda generously over the entire surface of the sink.
3. Spray with vinegar: Spray white vinegar over the baking soda. The mixture will fizz and bubble.
4. Scrub: Use a sponge or scrub brush to scrub the sink thoroughly.
5. Rinse and dry: Rinse the sink with water and dry it with a clean cloth.
Cleaning Your Bathroom with Vinegar
The bathroom is another area that benefits greatly from vinegar’s cleaning power.
Cleaning Showerheads
Showerheads can get clogged with mineral deposits, reducing water pressure. Here’s how to clean them with vinegar:
1. Vinegar soak: Fill a plastic bag with white vinegar.
2. Secure the bag: Place the bag over the showerhead, ensuring the showerhead is completely submerged in the vinegar. Secure the bag with a rubber band or twist tie.
3. Soak overnight: Let the showerhead soak in the vinegar overnight.
4. Remove and rinse: Remove the bag and rinse the showerhead thoroughly with water.
5. Remove stubborn deposits: If any mineral deposits remain, use an old toothbrush to scrub them away.
Cleaning Toilets
Vinegar can help remove stains and odors from your toilet bowl.
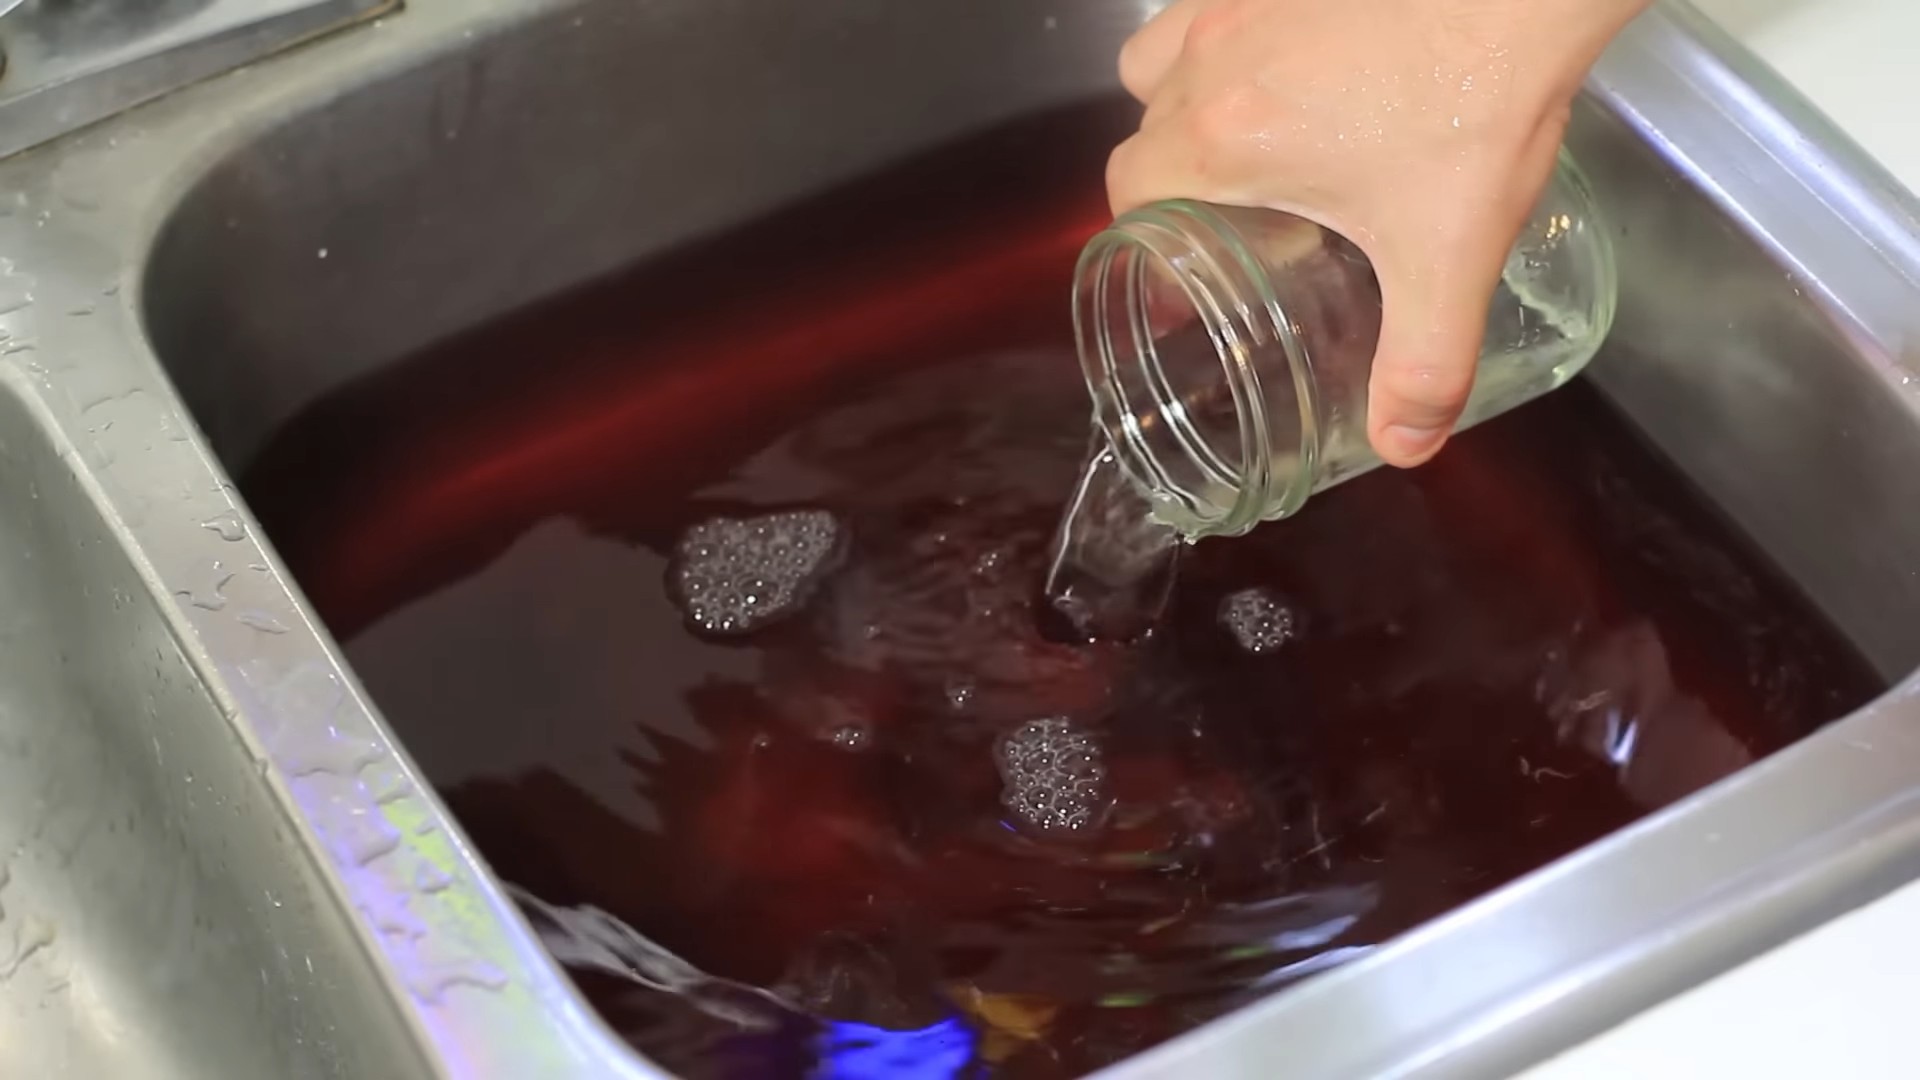
1. Pour in vinegar: Pour 1-2 cups of white vinegar into the toilet bowl.
2. Let it sit: Let the vinegar sit for at least 30 minutes, or preferably overnight.
3. Scrub: Use a toilet brush to scrub the bowl thoroughly, paying attention to any stains or mineral deposits.
4. Flush: Flush the toilet to rinse away the vinegar and debris.
Cleaning Bathroom Mirrors and Glass
Vinegar makes an excellent glass cleaner, leaving your mirrors and windows streak-free.
1. Prepare the solution: Mix equal parts white vinegar and water in a spray bottle.
2. Spray the surface: Spray the vinegar solution onto the mirror or glass surface.
3. Wipe clean: Wipe the surface clean with a microfiber cloth or paper towel.
Other Amazing Vinegar Hacks
Vinegar’s cleaning prowess extends beyond the kitchen and bathroom!
Removing Hard Water Stains
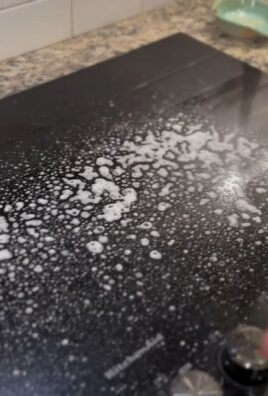
Hard water stains can be a real pain, but vinegar can help dissolve them.
1. Apply vinegar: Soak a cloth or paper towel in white vinegar and apply it to the hard water stain.
2. Let it sit: Let the vinegar sit for 15-30 minutes.
3. Scrub and rinse: Scrub the area with a sponge or scrub brush and rinse with water.
Deodorizing Laundry
Vinegar can help remove odors from your laundry and soften fabrics.
1. Add to the wash: Add 1/2 cup of white vinegar to the fabric softener dispenser of your washing machine.
2. Wash as usual: Wash your clothes as usual. The vinegar will help remove odors and soften fabrics without leaving a vinegar smell.
Cleaning Cutting Boards
Cutting boards can harbor bacteria, especially after cutting raw meat or poultry. Vinegar can help disinfect them.
1. Wipe with vinegar: Wipe the cutting board with undiluted white vinegar.
2. Let it sit: Let the vinegar sit for a few minutes.
3. Rinse and dry: Rinse the cutting board with water and dry it with a clean cloth.
Reviving Dull Floors
Give your floors a new lease on life with a vinegar solution.
1. Prepare the solution: Mix 1/2 cup of white vinegar with a gallon of warm water.
2. Mop the floor: Mop the floor with the vinegar solution, making sure to wring out the mop well to avoid leaving excess water.
3. Dry the floor: Let the floor air dry or dry it with a clean cloth. Important: Always test the solution in an inconspicuous area first, especially on hardwood floors, as vinegar can damage some finishes.
Removing Stickers and Labels
Those pesky stickers and labels can be a nightmare to remove. Vinegar to the rescue!
1. Soak the sticker: Soak a cotton ball or cloth in white vinegar and apply it to the sticker or label.
2. Let it sit: Let the vinegar sit for 5-10 minutes to soften the adhesive.
3. Peel and scrape: Gently peel away the sticker or label. If any adhesive remains, use a scraper or
Conclusion
So, there you have it! This simple yet incredibly effective DIY cleaning trick using vinegar is more than just a way to save money; it’s a step towards a simpler, healthier, and more sustainable lifestyle. We’ve explored how this humble kitchen staple can transform into a powerful cleaning agent, tackling everything from stubborn grime to lingering odors. The versatility of vinegar is truly remarkable, and its ability to replace a multitude of harsh chemical cleaners makes it a must-try for anyone looking to reduce their environmental impact and create a safer home environment.
Why is this DIY trick a must-try? Because it’s cost-effective, readily available, environmentally friendly, and surprisingly powerful. You’re not just cleaning; you’re making a conscious choice to prioritize your health and the planet. Think about the reduction in plastic waste from fewer store-bought cleaners, the elimination of harsh chemicals from your home, and the satisfaction of knowing you’re using a natural and effective solution.
But the benefits don’t stop there. The simplicity of this DIY approach means you can easily customize your cleaning solutions to suit your specific needs. For instance, infusing your vinegar with citrus peels (lemon, orange, grapefruit) for a few weeks will not only add a pleasant scent but also boost its cleaning power. The citric acid in the peels acts as a natural degreaser and disinfectant. You can also add a few drops of your favorite essential oils, like lavender for a calming aroma or tea tree oil for its antibacterial properties. Remember to always test your vinegar solution on an inconspicuous area first, especially on delicate surfaces like marble or granite.
Another variation to consider is using different types of vinegar. While white distilled vinegar is the most common and versatile, apple cider vinegar can also be used for certain cleaning tasks, particularly those involving grease or mildew. Just be aware that apple cider vinegar has a stronger scent, so you might want to dilute it more or add essential oils to mask the odor.
We encourage you to embrace this simple yet transformative DIY trick and experience the benefits for yourself. Start with a small project, like cleaning your microwave or descaling your coffee maker, and gradually incorporate vinegar cleaning into your regular routine. You’ll be amazed at how effective and versatile it is.
Don’t just take our word for it! We want to hear about your experiences with this DIY vinegar cleaning method. Share your tips, tricks, and before-and-after photos on social media using #VinegarCleaningDIY. Let’s build a community of eco-conscious cleaners and inspire others to embrace a simpler, healthier way of life. Your feedback is invaluable, and it helps us refine and improve our recommendations. So, go ahead, give it a try, and let us know what you think! We’re confident that you’ll be pleasantly surprised by the power of vinegar.
Frequently Asked Questions (FAQ)
What kind of vinegar should I use for cleaning?
The best type of vinegar for cleaning is white distilled vinegar. It’s inexpensive, readily available, and has a high acidity level, making it effective at cutting through grease, grime, and mildew. Avoid using colored vinegars, like balsamic or red wine vinegar, as they can stain surfaces. Apple cider vinegar can be used for some cleaning tasks, but its stronger scent might require more dilution or the addition of essential oils.
Is vinegar safe to use on all surfaces?
While vinegar is a versatile cleaner, it’s not safe for all surfaces. Avoid using it on marble, granite, and other natural stone surfaces, as the acidity can etch and damage them. It’s also not recommended for waxed wood, as it can strip the wax finish. Always test your vinegar solution on an inconspicuous area first to ensure it doesn’t cause any damage or discoloration.
How do I dilute vinegar for cleaning?
The ideal dilution ratio for vinegar depends on the cleaning task. For general cleaning, a 50/50 solution of vinegar and water is usually sufficient. For tougher stains or grime, you can use a stronger concentration of vinegar, but always test it on a small area first. For delicate surfaces, dilute the vinegar even further.
Can I mix vinegar with other cleaning products?
It’s generally not recommended to mix vinegar with other cleaning products, especially bleach. Mixing vinegar with bleach can create toxic chlorine gas, which is harmful to breathe. Avoid mixing vinegar with ammonia as well, as this can create chloramine gas, another dangerous substance. It’s best to use vinegar on its own or with natural ingredients like baking soda or essential oils.
How do I get rid of the vinegar smell after cleaning?
The vinegar smell usually dissipates within a few hours. To speed up the process, you can open windows and ventilate the area. You can also add a few drops of your favorite essential oils to your vinegar solution to mask the odor. Citrus peels, like lemon or orange, can also be infused into the vinegar to create a more pleasant scent.
Can I use vinegar to clean my laundry?
Yes, vinegar can be used to clean laundry. It can help to brighten whites, remove odors, and soften fabrics. Add about 1/2 cup of white distilled vinegar to your washing machine’s fabric softener dispenser. Avoid using vinegar with bleach, as this can create toxic fumes.
How can I use vinegar to clean my microwave?
To clean your microwave with vinegar, mix equal parts vinegar and water in a microwave-safe bowl. Microwave the mixture for 5-10 minutes, or until the solution boils and the microwave is filled with steam. Let the microwave sit for a few minutes to allow the steam to loosen any grime. Then, carefully remove the bowl and wipe down the interior of the microwave with a clean cloth.
Can vinegar kill mold and mildew?
Yes, vinegar can kill mold and mildew. Spray undiluted white distilled vinegar onto the affected area and let it sit for an hour. Then, scrub the area with a brush and rinse with water. Repeat as needed. For stubborn mold or mildew, you may need to use a stronger solution or a combination of vinegar and baking soda.
Is vinegar safe for pets and children?
Vinegar is generally considered safe for pets and children when used properly. However, it’s important to keep vinegar out of reach of children and pets, as ingestion can cause irritation. Avoid spraying vinegar directly onto pets or children. Always supervise children when they are helping with cleaning tasks.
How often should I clean with vinegar?
The frequency of cleaning with vinegar depends on your individual needs and preferences. For general cleaning, you can use vinegar once or twice a week. For tougher cleaning tasks, you may need to use it more frequently. Listen to your own judgment and adjust your cleaning schedule accordingly.
Leave a Comment